So, I just finished the demo and although I had a pleasant time there are things that I'll like to point out to. There is a bunch of stuff, some more important, some not so much so here we go.
General stuff:
1. Terrec's item doesn't give give stats properly. The Endurance Aura works fine, but the +5 to agility actually goes to strength (+4 to strength). This is only in mission 2. In mission 1 the item only gives the endurance aura and the plus stat isn't even mentioned.
2. During the first two missions Terrec is titled "The Chosen" even though Vaar is supposedly the Exxen leader. Do they have like a two-king system or does Hokan just prefer Terrec over Vaar?
Now the missions themselves.
Mission 1:
1. Spirit walker's mastery training is bugged. It shows as though you need two of the same building.
2. I'm not certain about this one, but I think AI just didn't attack. On my first playthrough it worked just fine, even providing a decent challenge but on the second one it just didn't bother attacking.
3. From a historic point of view, viziers were always the second most powerful man in the Ottoman empire right after the Sultan. With that in mind, the ones in game are not only powerful, but even weaker than some regular units. You could increase their HP, attack, etc and perhaps give them some spells or an aura.
4. When Terrec clears the canyon and summons that gigantic Exxen zigurat, he joins Vaar. However, even after joining Vaar's base, he still has to survive to the very end.
5. Exxen Impaler and Exxen Trapper and practically identical. They have same hp, armor, damage. They do have different skills, but we never get to play with Trappers so it's hard to say which one is actually better.
Mission 2:
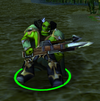
1. You did mention this, but yeah, Coaltusks just do not attack at all. I think it would be better not to give the player the ability to just click on their tent and click Q. They should cost like 500-1k gold so that it looks like you are supplying them. Adding a gold cost gives another dimension of strategy because you'd want to pay for them when you want to move against a base and not just overwhelm bases with infinite number of boars.
2. Speaking of bases, enemy bases do not revive heroes. This isn't such a big deal, their heroes are easily killed anyways.
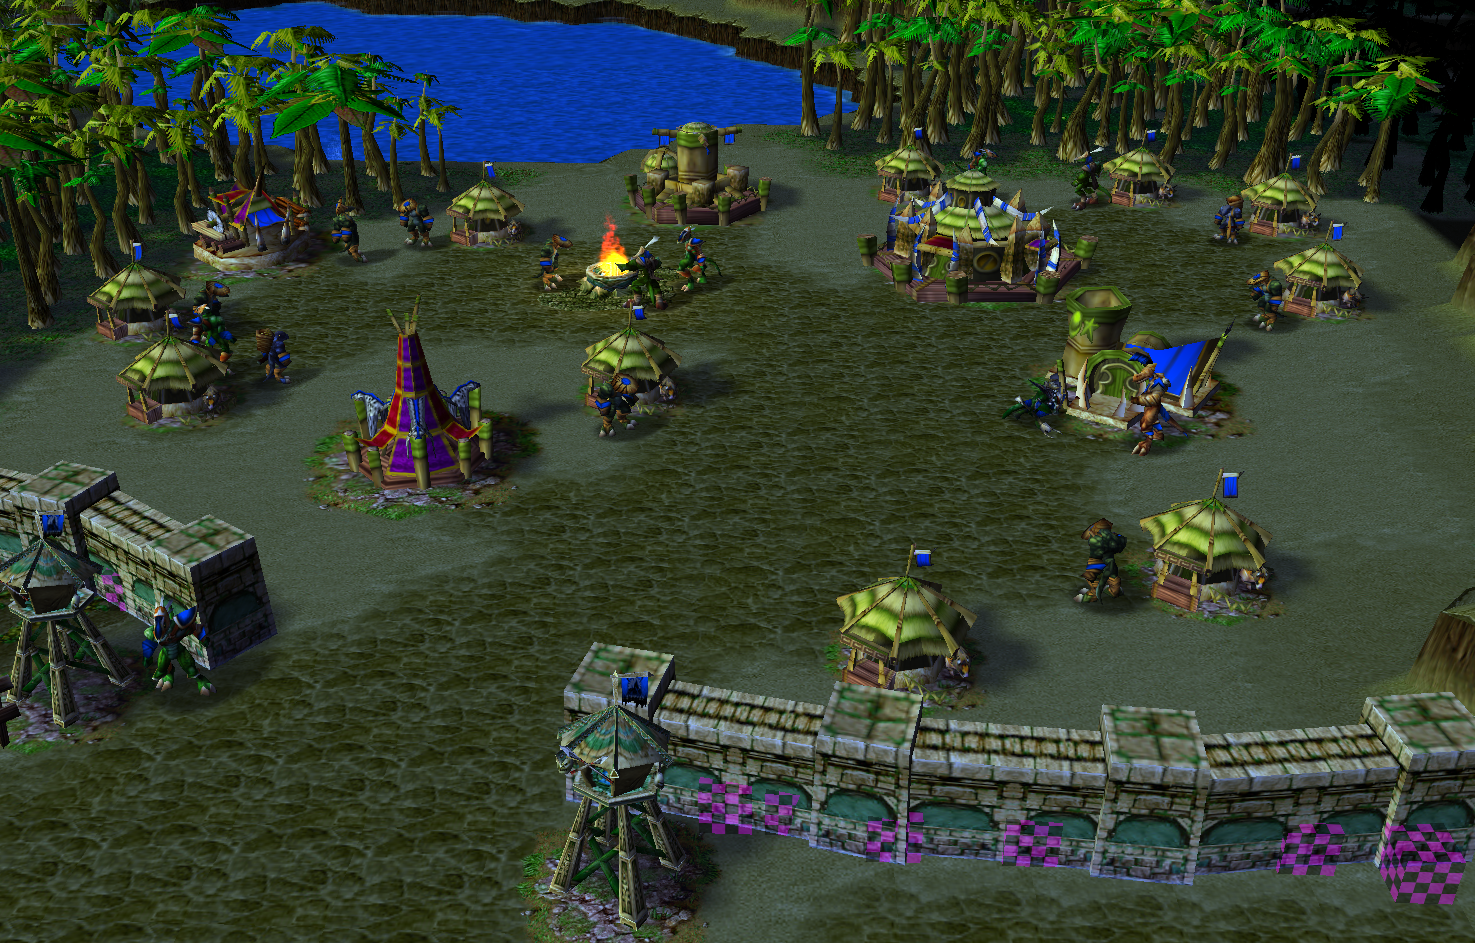
3. Above the gray base that lies north of our starting base there are invulnerable rocks that lead to a goldmine. It would be cool if Vaar made his base there and sent attack waves or maybe even Coaltusks having a base there. Just a thought.
4. The Exxen shop's ability to regen mana is nice, it sets it apart from any other shop in the game. However, I think it regenerates mana a bit too quickly. A nerf might be in place.
5. In mission 1 we had Shaman which were next to useless and then on mission 2 they were removed when we could actually make good use of them (purge cripple, skeletons, slow etc).
6. Speaking of units and abilities, Exxen Archers have an ability called The Poison Tips but we never get to research it.
7. When you destroy yellow and wheat bases there is a massive lag spike after which someone says something, but in both instances it feels very abrupt, as if there is more dialogue that we couldn't read because of the lag.
8. This isn't a huge issue, but main objectives take time to show up so you kinda just go blind until you stumble upon what you were supposed to do.
9. With so much area covered by water at the top of the map, you could possibly convert that into more land for the capital city. I get that it looks and feels like Medieval Middle Eastern city but it's kinda very hard to navigate around with a large army.
10. Aside from Impalers and Trappers, there are no long range siege units so you are always forced to brute force the towers and poke buildings with arrows/swords. Also Impalers die easily because of their medium armor.
11. Towers are just basic Orc towers. However, those towers that spawn in the canyons to camp the caravans are really neat. You could make them a separate tower or perhaps an expensive upgrade for existing ones just nerf their attack speed ever so slightly.
12. As was the case with previous mission, this mission AI once again just decides to not attack at all. However, once they do, all of them attack at the same time.
13. Another one of those not so important things, but there are Empire heroes that appear multiple times (Osman appears again inside the capital city, Henec appears again in green's base)
14. I believe the emperor says to raise the drawbridges or something along those lines. It would be cool if they actually dropped those bridges into the water so you'd perhaps have to take the boats from Yellow and Wheat's bases or tame those bats in bottom right corner.
Mission 3:
1. While standing, Zissrik always appears to be invisible, but sometimes he is visible.
2. There is a glitch where the shadows will spawn into houses or such environment when Zissrik is too close to them. They are unable to move out of them but they can still attack.
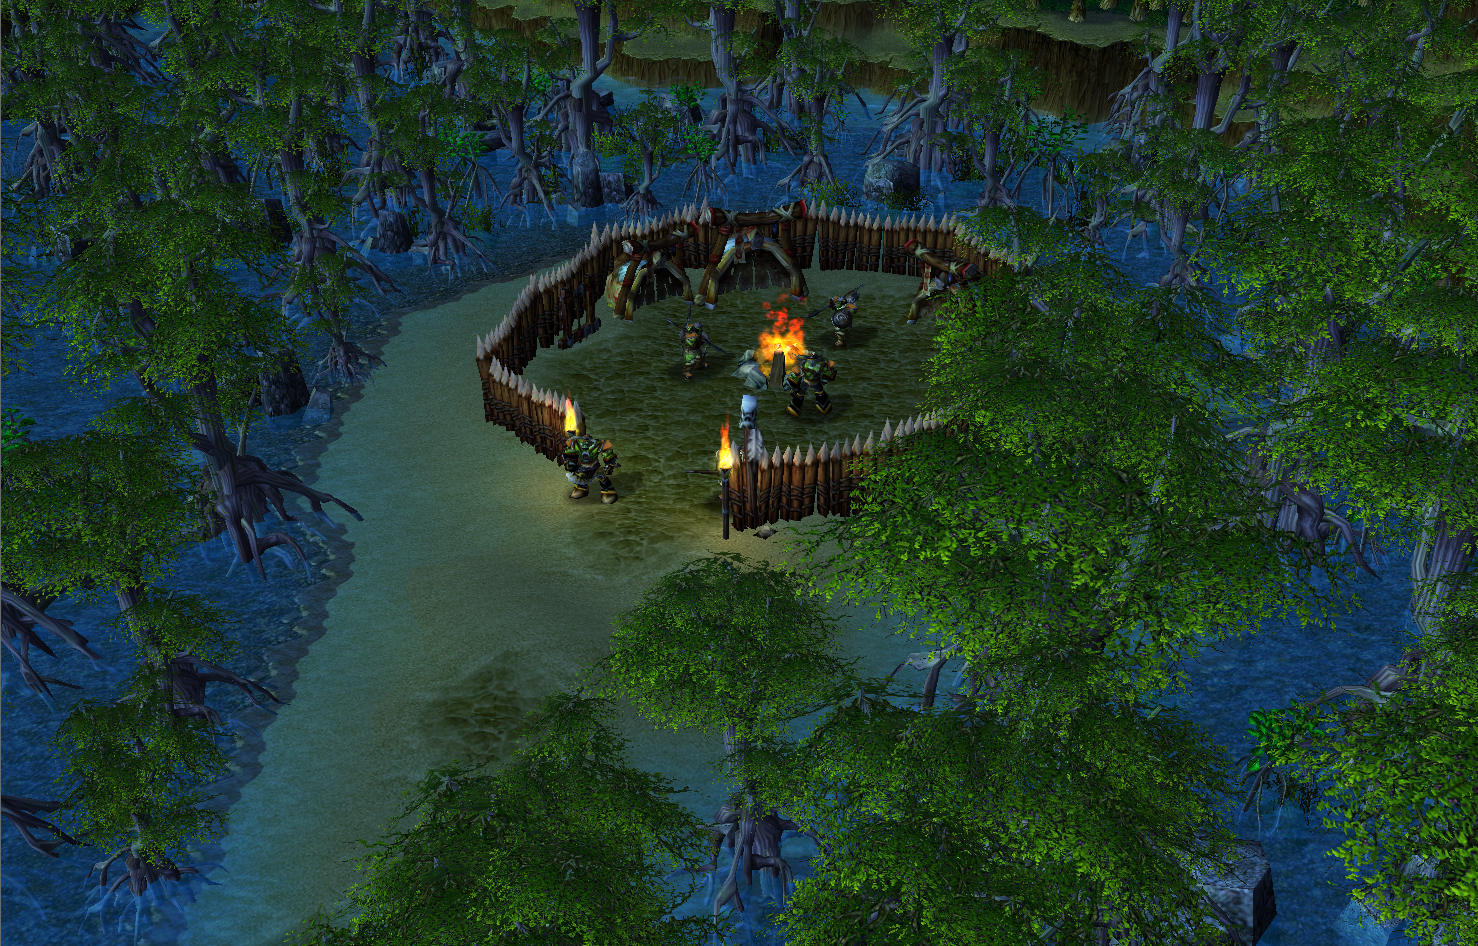
3. Might want to put those Black Priests in the beginning section on hold position so that the army doesn't get overwhelmed and you lose for no reason lol
4. Speaking of that position, enemy melee units can hit Advanced Flame Towers in the water from the bridge. You could push them back a bit so that only arches can hit them.
5. During that cutscene where those 2 Zyainor noblemen go to the wall to watch the dragon raze the rebel camp, the rebels keep on spawning so it eventually looks something like this.
6. Zardas should be first when you select multiple units since he is an important unit and a demi hero.
7. This is more out of confusion than anything, but, my understanding is that we are helping the Army of Zyainor, right? Shouldn't we be allied with them if that's the case?
8. Not really important, but Black Bowman have the same description and icon as Riflemen and Black Spearman have the same icon as the Black Swordsman.
9. Zardas' Chain Lightning is bound to Q but it is in position where W would be and Fireball is bound to W and in position where Q would be. Kinda confusing and annoying when I want to cast Chain Lightning but instead I stun a random dwarf lol
10. The second main quest's objective is "Get to her". Although it creates a mistery surrounding this "her", I don't think it's all that necessary.
11. This mission probably has the buggiest quests of all 3 missions. You can actually not do the first main objective. You can skip the barracks section which is probably why those rebels keep on spawning. You can even finish the entire mission without finishing that quest first.
12. You know that lever near the end of the mission, the one which floods that narrow corridor and kills your units instead of enemy units? Yeah i think you can remove the water. It's a cool mechanic like the second to last mission in Legacy of the Damned, but it's ultimately pointless when the gate closes either way. Both water and gate is kinda excessive.
13. I LOVE the The Violet Gate easter egg since it's my favorite campaign. However, without vision cheat or perhaps accidental mousing over the destructible wall, it's practically impossible to find. You could add a line of dialogue by Zissrik or Zardas like "Do you hear that" or "I hear something nearby" to kinda poke at player's curiosity.
14. Just wanted to quickly go back to point 11. If you don't complete the first main quest, the 3rd quest just doesn't show up at all so you are left to wander for yourself (thankfully it's just a dungeon crawler from that point until the end lol)
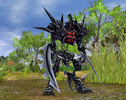
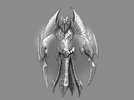
15. I also want to use this opportunity to talk about the Amalgamation. It's an interesting model, kinda reminds me of The Dehaka from Prince of Persia: Warrior Within. However, i don't exactly see the point of it being unstoppable force when 5 minutes before that you kill an undead dragon which has double the hp, and idk how much damage (not just kill, but outright perma stun with rusty mining pick and fireball)
I hope I wasn't too nit-picking and that this will help you in improving your campaign!
")
 Approved


 ) also thanks for that, he wasnt intended to be on this map anymore.