 Approved


After "finishing" the A path, some thoughts on the gameplay and the story.
Chapter 14-A
This mission in hard is crazy. I mean, it makes mission 4 seem easy (I played mission 4 on normal, but according to Shar, you only receive some more attacks on your base in hard, and defending your base isn't that hard, it's the grind on attack which is painful). I threw in the towel after over 70 saves and just cheated my way through the end because I couldn't take it anymore. If there is some extra strategy allowing to beat the level with much less grind, let me know.
See the spoiler for details.
I haven't played yet missions 11-B, 12-B and 14-B, but I have some idea of how they play out :
- 11B = a bunch of paladins to take care of ground units, destructors to raze enemy bases (destructors are much better than dragons at this, it should be easy)
- 12B : use your destructors to destroy the orcs fortress. Congratulations, you only need to survive long enough for 3 cannon blast instead of 4, and with your heroes and paladins, that's a given.
- 14B : I have not even seen how it looks like, but "paladins and destructors" is most probably the answer once again.
Some gameplay thoughts about the heroes.
Completing the sidequest in 9 means that you will have to deal with a strong destructor attack in the beginning, peaking with an attack by the lord of the sky. But I think it dropped an immunity necklace (at least I saw one on ground after that battle), so it may be not too bad.
Just go back with all your heroes, train marksmen from the beginning, and you should manage to repel the initial onslaught.
Then, we get to the frustrating part. With banishers to heal, your heroes and some knight of kome to tank and deal damage, and some marksmen (especially useful when the enemy try to attack you with destructors), it's not very hard to repeal the enemy attacks. You can use the gold mines in front of your base, but it's not really necessary at this point. What you want is to destroy the twinned base of the paladins and of the royal army renegade, and you don't have much options for this.
With saves and reloads, I could manage it with aerial attacks of black dragons (1st attack : destroy castle and try to kill some peasants) (2nd attack : destroy the townhall in construction and kill some more peasants) (3rd attack : try to finish cleaning up those peasants) ; distracting enemy troops with a ground attack can be useful (or use your allies attacks), but beware Renald coming to help them. Once all peasants and the castle are eliminated, you can eliminate easily the units production building, and after some time, all their remaining units will die.
I recommend choosing Vail's leadership bonus ; stronger heroes is by far the most useful ability you can get in this mission. The bonus to dragons, which I took instead, is too weak, those boosting other units are equally uninteresting because those units don't survive well enough.
That said, I should mention that having up to 80 food used before hitting medium ukpeep, and a max upkeep of 120, is a really nice touch for this mission. It makes it much less frustrating than it would have been with normal upkeep limits.
When, after a long grind, you've got rid of these two bases, you can claim this terrain as your own. At this point, I collected from 7 gold mines at once. Build a lot of barracks, arcane sanctum, and other production buildings, and it won't be hard. Don't bother with towers, they are not useful against destructors, but you can put one or two in front to alert you.
Now, you've got two options. The first one is trying to flood your enemies under units. The issue is, though the yellow golden guard units won't be retrained (contrast with the yellow templars of van durce and the cream lord marin's golden guard), you still have three enemy bases, and your allies are as dumb as ever.
My suggestion, instead, is to use and abuse of your heroes, and to use two black dragons who will slowly clean up towers and the very powerful siege machines which block your offensive. When an enemy attack wave is too strong for your heroes (often : the dwarven attack wave), pull back to get support from a bunch of marksmen and to heal them with banishers. Don't bother too much with knights of kome at this point. They suffer from a serious mobility hindrance due to collision issues, have no interesting ability, and only serve to take some damage away from your heroes.
Try to help your allies when they attack, but pull back before losing your heroes, it's better to heal them than to retrain them.
At some point, you should manage a breakthrough with your allies help. In my situation, it was against Van Durce templars. Most of his base got destroyed. The enemy didn't give up, though, and the destructors guarding Lord Marin's base are very frustrating. I think that at this point, flooding the enemy under a constant stream of units work well (I had over 120K gold at the end, so that's enough to send a few hundreds units to their death), though the slower grinding method will also pay out. In my case, the dwarves tried to help Lord Marin while one of my allies (and a bunch of my marksmen I sent to help) attacked their base and their defences broke.
Big letdown in this mission : arcane towers don't have the reveal ability. This is frankly frustrating.
This chapter is quite cool. I think it is doable in hard without any save reloads and huge headache, because you only need to survive some time to win. My suggestions are to start by moving your heroes to the main entrance, and moving all your secondary units in one group on the north and south. You want them to be too far to take the initiative to stupidly charge into main battles, but close enough to be able to retreat behind them and protect as much of your buildings as you can. You want your units grouped, because 12 soldiers are much more stronger than 2x6 soldiers. There is a reason why "defeat in detail" is one of the most useful military tactics ever.
Also, form a group with your banishers. They will help you heal your heroes (Vail, especially) from time to time.
Blocking the main entrance with your heroes allows you to get a maximum benefit from enemies attacking each other. You can often pull back your heroes and just let demons, undead and orcs fight each other.
Your first purificator blast should go to destroy 3 of the 6 souleater's demon gates, for what follow you can do as you please, take out those who annoy you the more first.
You regularly receive reinforcements, and even if all your units are killed, it takes several minutes for the enemy to destroy the buildings to get to the purificator (I did a test where I didn't do anything but waiting, and I got enough time for a blast).
This mission is mostly a patience thing. Don't use your base units, only your heroes and their summons, and mostly the summons to tank the damages (as your heroes will die very quickly if focused). Try to take out the red priests by using your two ranged damage spells, and it shouldn't be hard to finish the other units of the groups. Just be patient and pull back when your heroes start to be focused.
When you reach the end, all of the dwarves and humans will try to help father Redfist, so you better kill most of them. Only those guarding the path to the life fountain are far enough they shouldn't matter.
Completing the sidequests make this mission easier, as not only you won't have two powerful units coming to help Volarian Redfist, but they grant you useful items on their death and trigger the arrival of small reinforcements.
Still, considering that Aedale is under the demoness control, and that what the demoness want is most assuredly bad, I wanted to try without killing either Fox or Thorn (who the game even tells us was a friend of Aedale). This is doable, but it is hard.
To clean up the units supporting father redfist (and so reduce the final battle's duration), I used a silence on the area where the units are.
The rally to Volarian Redfist happens only if one of your units go on the place of the last battle, or if you attack him. The silence don't trigger this and allows you to kill most of his underlings. Then, for the final battle, it's a spell spam. His armor is absurdly high (71% damage reduction), so the main damage source will be your ranged damaging spells. They should be used as often as possible. Kill any supporting units fast with normal damage, because you don't want them to heal Volarian or to inflict damage to your heroes. Use and abuse of your summon, the Felguard's taunt is a vital ability. Don't hesitate to tell your orc hero to run away to reduce taken damage. Use Adeale's demon form to get additional HP (and some additional attack too). Use your doom guard stun and cripple abilities on father Redfist. He deals crazy damage, any stun or reduced attack rate is very useful. At the end, you should be able to finish him.
I personally left my moghtar warriors away in the north, at the crossroads, to block the two commanders from helping Volarian. They will die, but when they are only three or four left, send them away to the east. The commanders will follow them and won't join the main battle. Of course, if you kill them, it becomes much easier.
Not having consumed any demon shard in book 1, I could save the father, and this was quite satisfying.
Chapter 14-A
This mission in hard is crazy. I mean, it makes mission 4 seem easy (I played mission 4 on normal, but according to Shar, you only receive some more attacks on your base in hard, and defending your base isn't that hard, it's the grind on attack which is painful). I threw in the towel after over 70 saves and just cheated my way through the end because I couldn't take it anymore. If there is some extra strategy allowing to beat the level with much less grind, let me know.
See the spoiler for details.
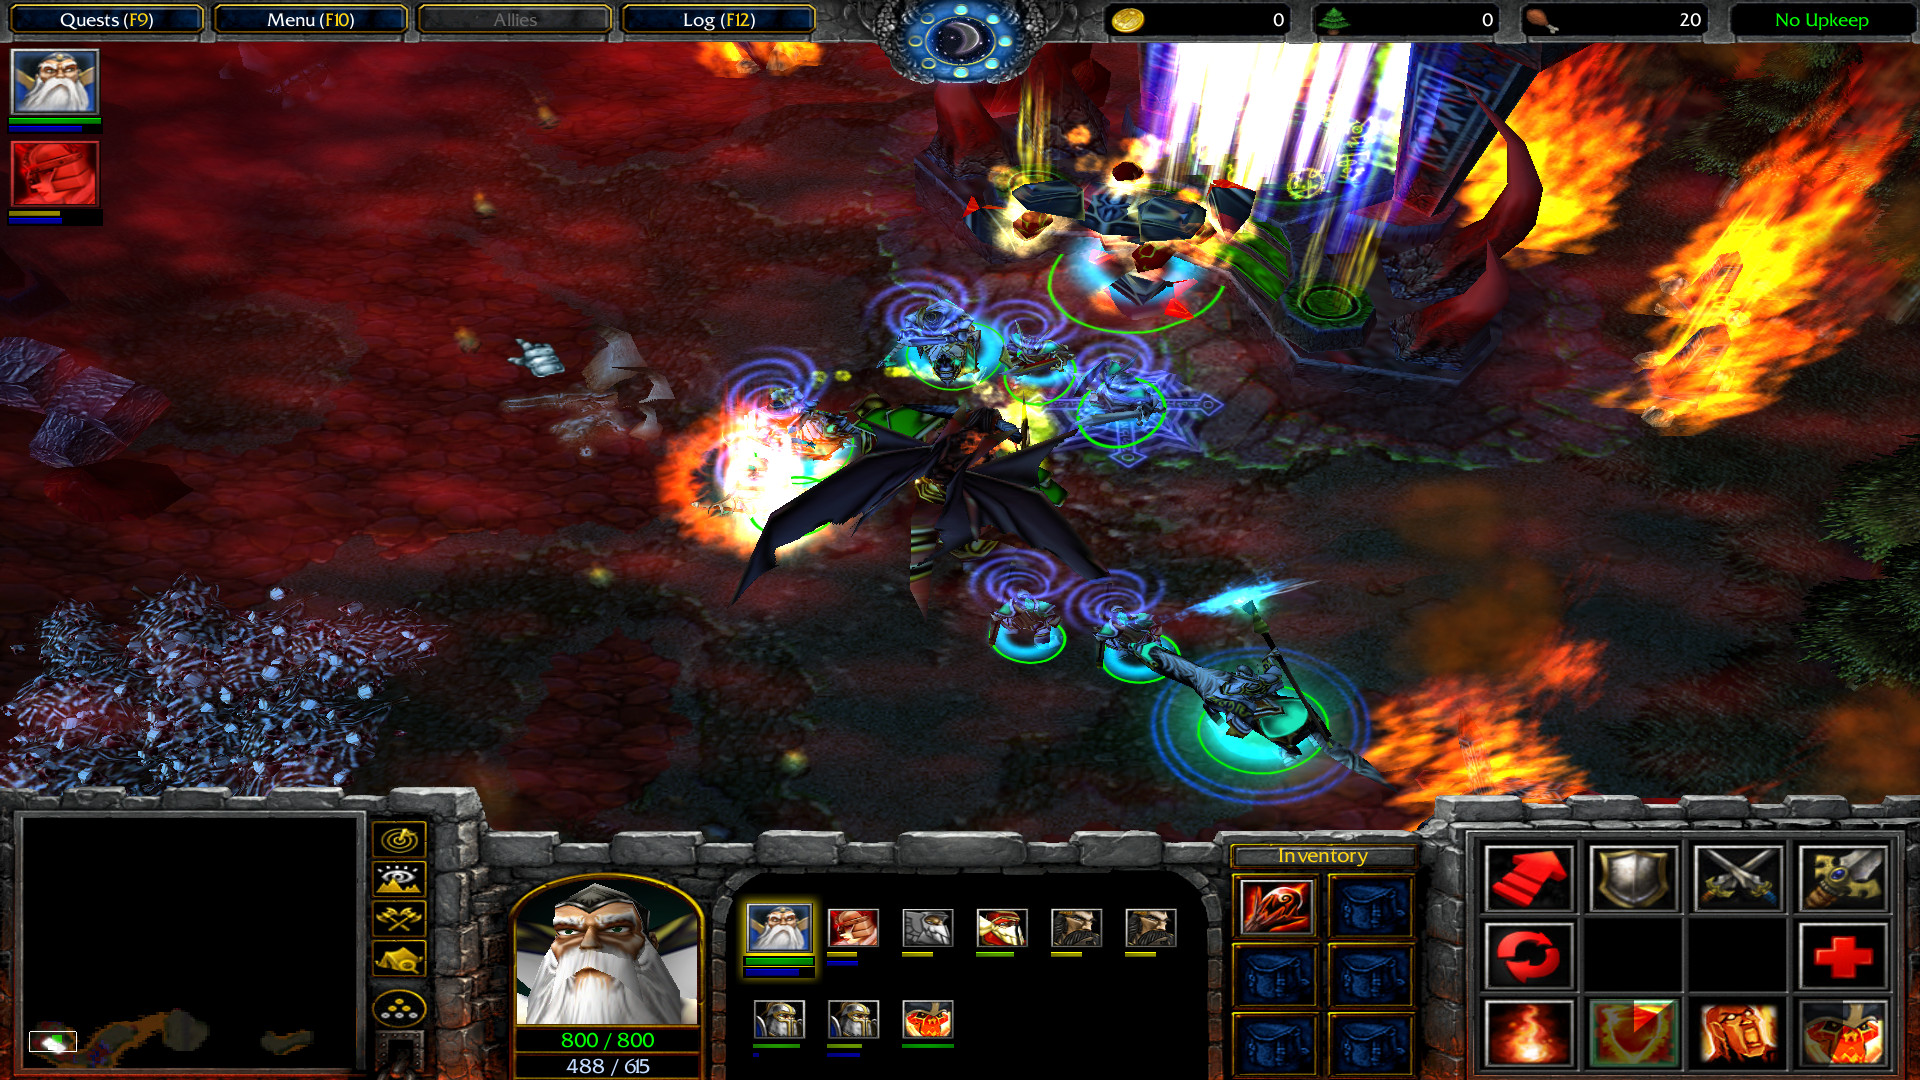
The issue can be summed up simply : "rain of fire spam". The elite doom guard have a gigantic mana pool (800 mana), their rain of fire deals 70 damage per wave, and if you have several waves targetting an area, the damage stacks. Oh, did I mention that you have no good stun ability ? The only hero who has one (Merlon Seabright) is not controlled by you in this chapter. Occasionally, the fire golem offers a stun, but with 180s cooldown, this is not reliable. The one that Brian has only target one enemy, has a too long cooldown, and require aiming. As a general rule, it takes way too much time to micro.
If Warcraft 3 had a "pause" or "very slow" feature, this mission may be manageable, but it doesn't. Without saves and reloads, this mission is humanly impossible, even with them it is the worst grind I've ever seen.
When you get big enemy waves and have 10 elite doom guards to kill (of course with 10 infernals, 2 demon heroes, and a lot of smaller units in the mix), this becomes extremely frustrating.
The rain of fire spam makes most units entirely useless, because they will die very, very quickly. This of course apply to your allies from the royal army and from the knight of kome who will help you during this mission. They die like flies, doing minimal damage on the enemy. The "heroes of zayinor" leadership bonus is mandatory as it allows your heroes to tank a little more. You will do most of the fighting with your heroes, because they are the only one who can avoid dying very fast. You can also use black dragons ; as bulky ranged aerial units they increase your DPS and don't die too fast, but they cost a lot. Some darksteel golems to gain you critical time when your heroes are in a bad shape can also help. Destructors will help to destroy demon gates, but they are too frail against the rain of fire spam and cost too much food to be good otherwise.
You will want to have banishers in your base, because while Vail can heal your other heroes with holy light (whose 600 HP heal feels frankly weak in a mission where damage is much higher than the standard warcraft 3 this value has been balanced for), you can't heal Vail otherwise. Banishers die very, very quickly if they approach enemies, and the rain of fire spam means that even blocking the path with your heroes doesn't work. So you either need to have killed the attack wave, or to have some units slowing down the enemy while you pull back your heroes to heal them (with the priority on vail, as she can heal the others). Obviously, you can't order the banishers to use 6 heal waves at the same time, but you need to order it one at the time. Did I mention that the "E" keyboard shortcut for the heal wave don't work, meaning that you must point the heal wave icon with the mouse, point to an unit to heal (the heroes icon on the left are often useful because at least they don't move), click, and do so again, which means the healing process is way too slow ? Did I mention that your banishers will try to attack the enemy if it gets too close and will be killed very fast, instead of trying to pull out and stay alive ? Did I mention that your own heroes you pulled out for a heal may try to return to fight and **** your healing attempt ?
So, with all that, you can somewhat survive. Great ? Not so fast. You see, destroying demon gates is not really useful, at least at the beginning. It doesn't weaken noticeably the attack waves you receive. I threw the towel when, after having managed to destroy the two demon gates closest to my base, I got attacked by a gigantic enemy armies (two heroes, tons of doom guards, infernals, etc). Despite many, many efforts, I couldn't manage to repeal it (I guess I may have succedeed while losing 3 or 4 heroes, but the time needed to revive them would make defeat likely)
I'm sure the mission could be less impossible if I had been informed beforehand that I will lose Cora and Merlon for the final missions, and had their stuff transferred to my other heroes. Aside from a few hundreds of HP boni, one of them had the immunity necklace which would make Salana's ultimate (starfall) very useful instead of semi-useless.
I haven't played yet missions 11-B, 12-B and 14-B, but I have some idea of how they play out :
- 11B = a bunch of paladins to take care of ground units, destructors to raze enemy bases (destructors are much better than dragons at this, it should be easy)
- 12B : use your destructors to destroy the orcs fortress. Congratulations, you only need to survive long enough for 3 cannon blast instead of 4, and with your heroes and paladins, that's a given.
- 14B : I have not even seen how it looks like, but "paladins and destructors" is most probably the answer once again.
Some gameplay thoughts about the heroes.
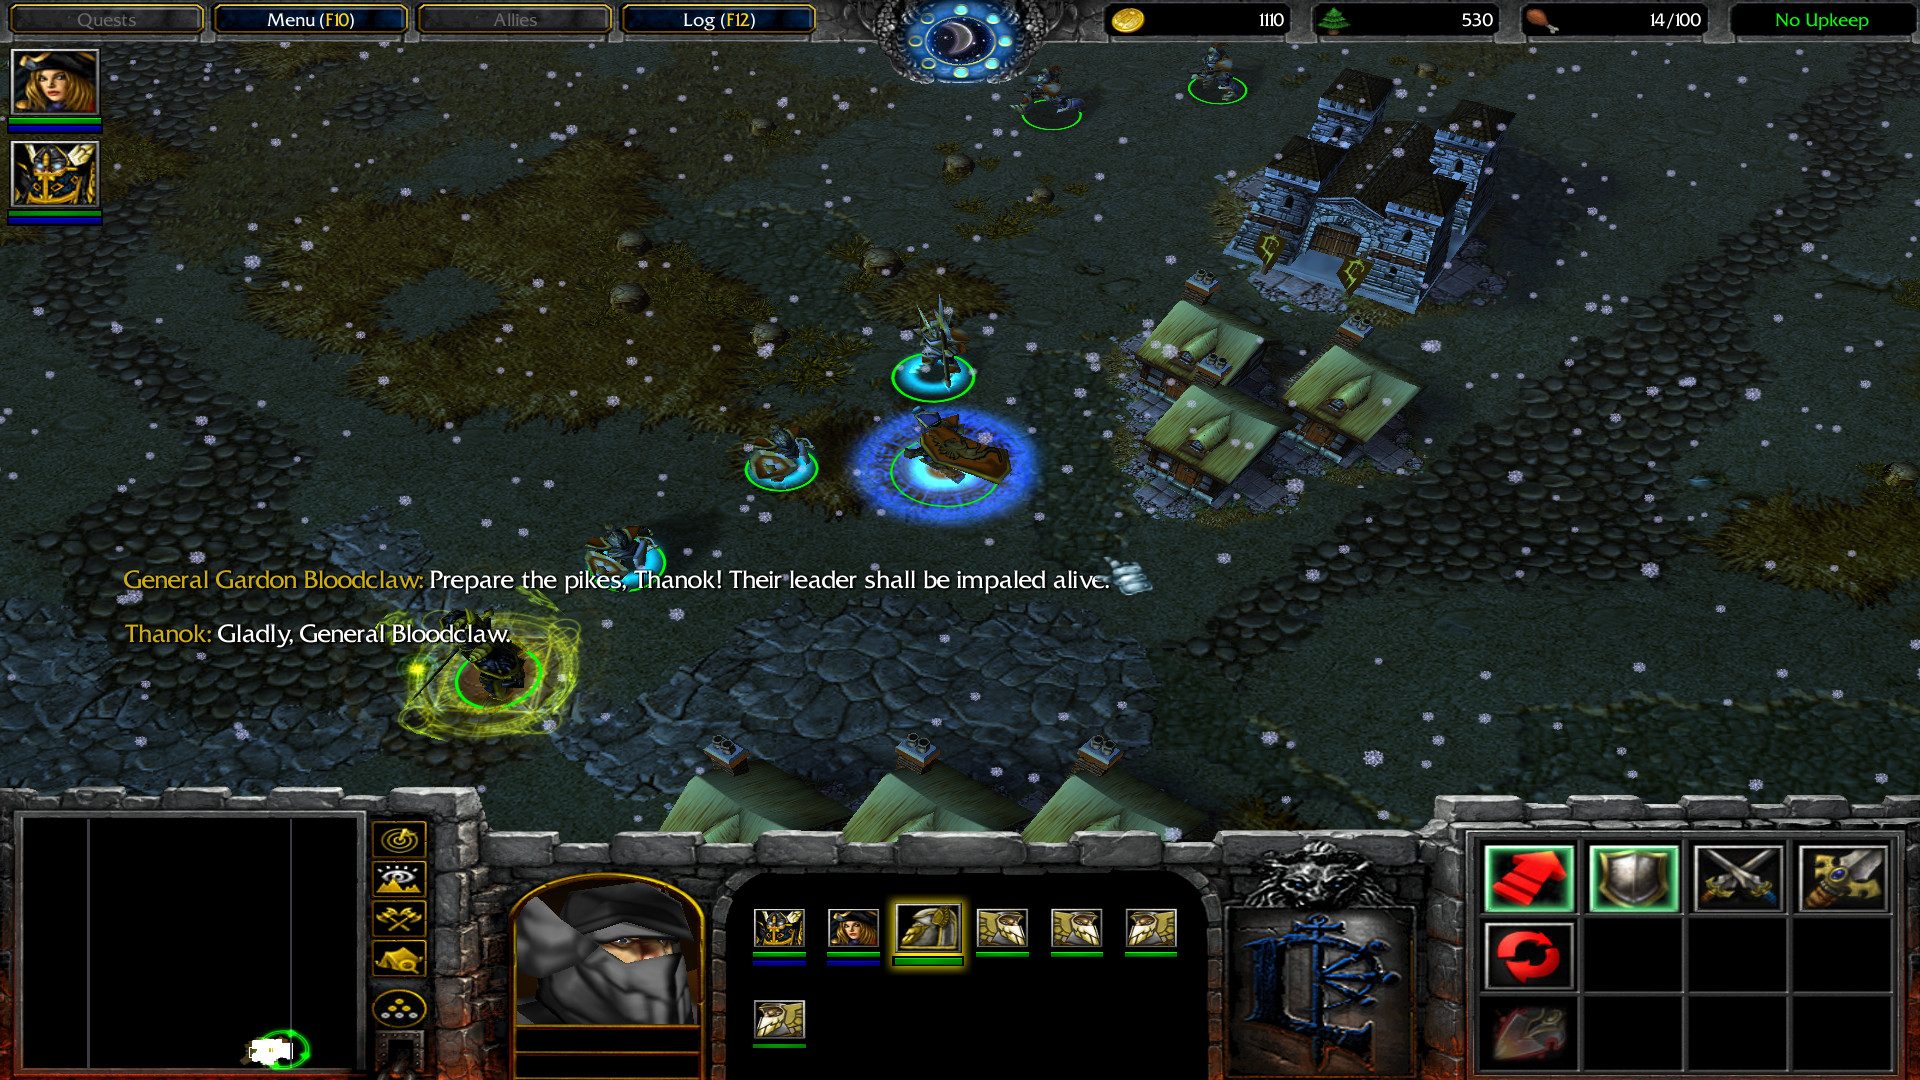
- Gardon : the melee range of his damage + armor malus attack makes it very weak. Did I mention the damage are poor and the armor reduction is not that useful against enemy heroes (where you'd expect it to be the most useful because they have a lot of HP), because going from 20 to 13 of armors isn't as significant as from 7 to 0 ?). Immolation can surely be useful, if you remember to turn it off... I often don't because I have 20 things to micro, and it consumes all the mana. Invoking Zed is a good ability. The bonus damage and lifesteal is good, but doom guards can dissipate it, and in micro-heavy missions I often skip over it. The war aura is obviously extremely good.
- Merlon : a very nice hero. Likeable, and with good abilities. The stomp stun is extremely useful, the endurance aura is decent, the ultimate is excellent if you can avoid stuns/sleep. The damages in a line is also very nice to finish off ranged units you can't deal with directly.
- Cora : a great hero. Her ultimate is absolutely savage in mission 3 against militia, but can also be very useful in any battle with a lot of enemies, or even in places with a lot of enemy buildings. The cold aura helps a lot your units to survive, and the bolt's ability to stun at range can be a lifesaver.
Obviously, you get neither Merlon nor Cora in the last mission, while the aura stacking is exactly what you'd want.
Didn't see how Scarlett Retka plays as I killed her. Ridiculous she is reanimated by the undead in the epilogue, Gardon should have learned long before to burn corpses exactly as he saw the demons do.
- Larine : didn't impress me. The bird summon is ok, but the heal ability has both a huge cooldown and is overtime. It would need to either have no cooldown or to be an instant heal to be decent. I nearly never used Shadow Cloak, because sneaking through stealthily is very rarely useful. I guess it could work to kill enemy peasants once you've destroyed a castle, though. The mirage ultimate is quite nice, as it reduces damage taken and allows to deal more at the same time.
- Salana : I probably should have given her a sobi mask, because she needs a lot of mana if she is to use her cold arrows on a constant basis. The thunder, the aura and the starfall are all quite nice.
- Brian : didn't like him, and the epilogue told me I was right. As for his abilities, I have a hard time deciding what to think of it. The damage+stun one is obviously good, the "miss 75% of your attacks" is great... except when it doesn't do anything against rain of fire spam and magic immune infernals in mission 14A. The boost damage and lifesteal is meh, in my experience. I only use the ultimate when Brian is about to die and I can't heal him fast enough (or at least not without sacrificing another hero/unit), but this may not be optimal. In my experience, he takes damage faster than any of my other melee hero, but this may be related to item build.
- Harmos : it's hard to gauge how useful incinerate is, as it's not very visible. Still not bad. I used rarely the rain of fire, because when enemy are concentrated enough for it to be able to deal impressive damages, your heroes are probably taking huge damages and must pull back to not die. The fire shield looks very good on paper, but I never could micro fast enough to use it agressively. The fire golem is excellent.
- Vail : the holy light is very useful, but definitely too weak for what's needed in the last missions. You take much more damage than in standard W3, you should also be able to heal more. The ultimate makes her extremely though and with a very good manapool, nothing to complain about here. Command aura is great, immolation can be very useful but I forget too often to turn it off, and you don't want to end up with no mana for healing. The big weakness is that she can't heal herself.
- Van Durce : the golden bastard has quite impressive fighting abilities, namely his gigantic HP and excellent armor. The ultimate is nice against big packs of enemies, retribution is too. The devotion aura is not bad, but not great as 4 armor isn't that useful when your units already have 10 of it.
- Praxeus : a super-paladin. The holy light isn't that useful because most of the time, you'll have your paladins do it instead ; but the command aura, the defensive bonus and best of all the resurrect ultimate are great.
- Zarin : a standard dwarf hero. Get the job done, the stun abilities are very useful.
- Whitebeard (runepriest dwarf hero) : forgettable. Very weak ultimate, but chain lightning, barrier and healing rune are all rather good.
Last edited:


")

