• 🏆 Texturing Contest #33 is OPEN! Contestants must re-texture a SD unit model found in-game (Warcraft 3 Classic), recreating the unit into a peaceful NPC version. 🔗Click here to enter!
  • It's time for the first HD Modeling Contest of 2024. Join the theme discussion for Hive's HD Modeling Contest #6! Click here to post your idea!

LOTR: Conquest 34.c

Welcome to Lord of the Ring Conquest AKA LOTR:C


I first want to mention that all credit goes accordingly to the original owner of the map, our wonderful map creator Marshmalo. I want to also mention my co-worker TGleds that made me learn most of the editing stuff and is helping me on my journey to make our map better every update.

I am telling this here, our main source and I should say our only source of communication is the Discord: Marsh's Sanctum

Any suggestion is carefully red and discussed with bugs as well so don’t hesitate I do read EVERYTHING, all the patchnotes will also be available in the map news of the server.


ABOUT THE MAP ITSELF:


LOTR:C is no easy multiplayer map. This is a macro strategy map with a control point based system. Our map is a lot inspired from BFME and follows the story of the third age during the war of the Ring. The game requires the knowledge of the factions that are in the game and a lot of macro/micro management for your units and your heroes. A game can last from 40 to 1h15 minutes if nothing went wrong.


This is a 5v5 evil side against good side with teamwork required. The armies you control are quite massive with a 100 to 150 food with 4 to 5 iconic heroes for each player with a unique skill set acquired as the game goes along. The game is won once all the main iconic buildings of every faction on the good/evil side are destroyed which includes:


For evil side:

Tribal Palace: The Easterlings

Barad-Dur: The armies of Mordor

Minas Morgul: The second part of the armies of Mordor

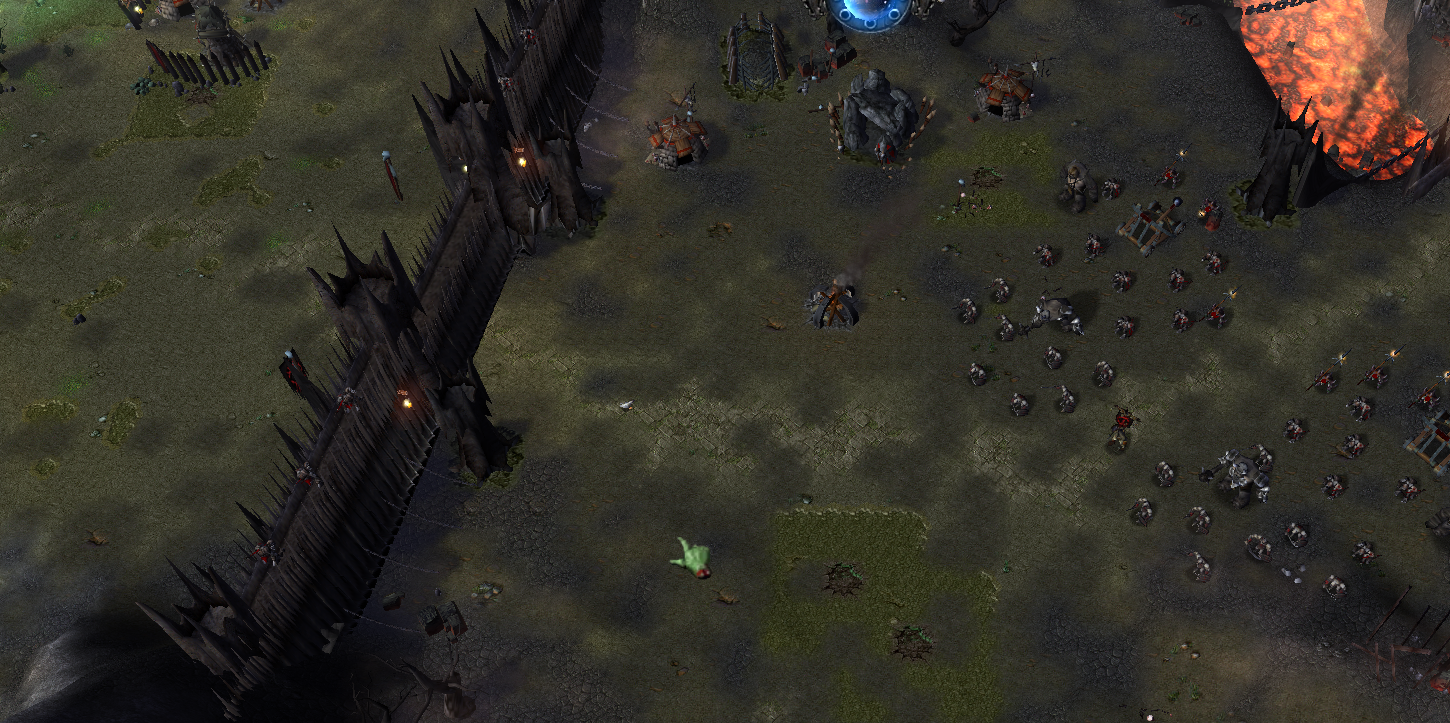
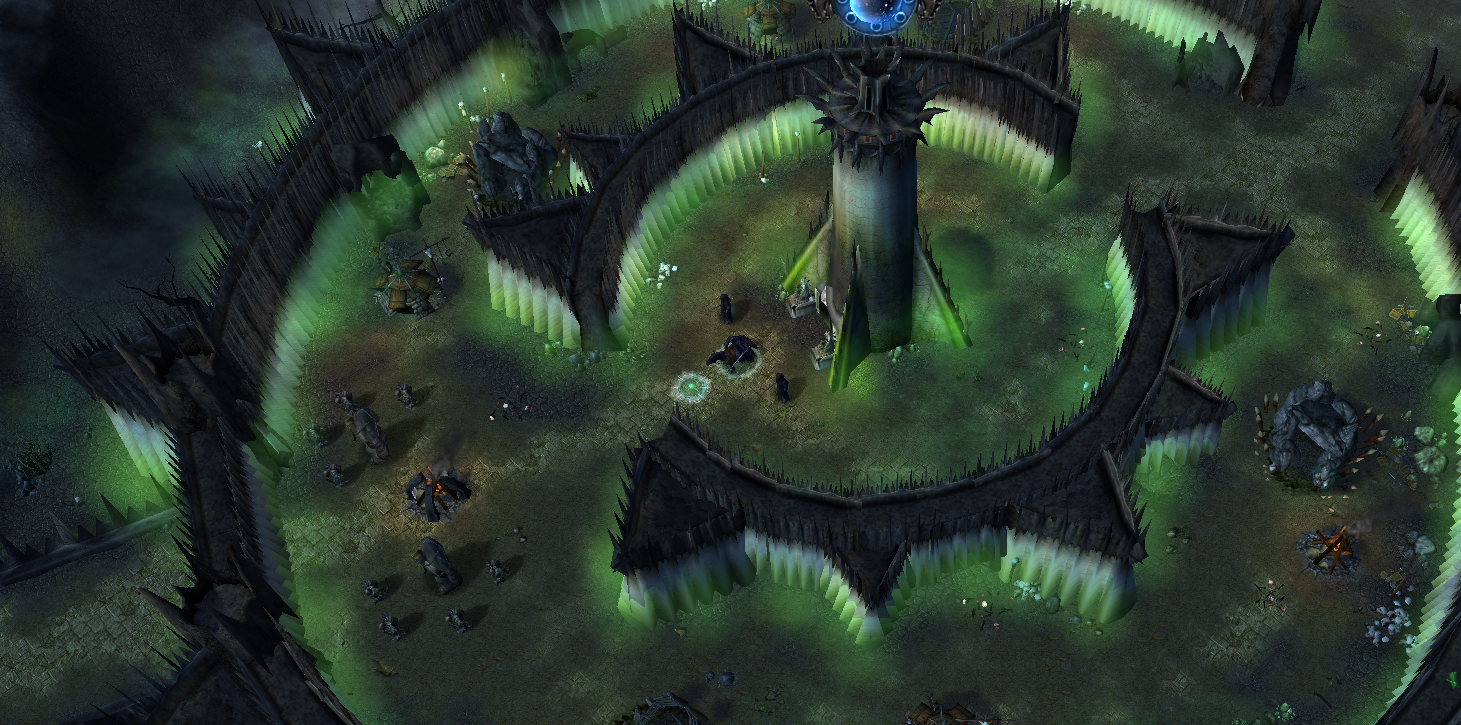
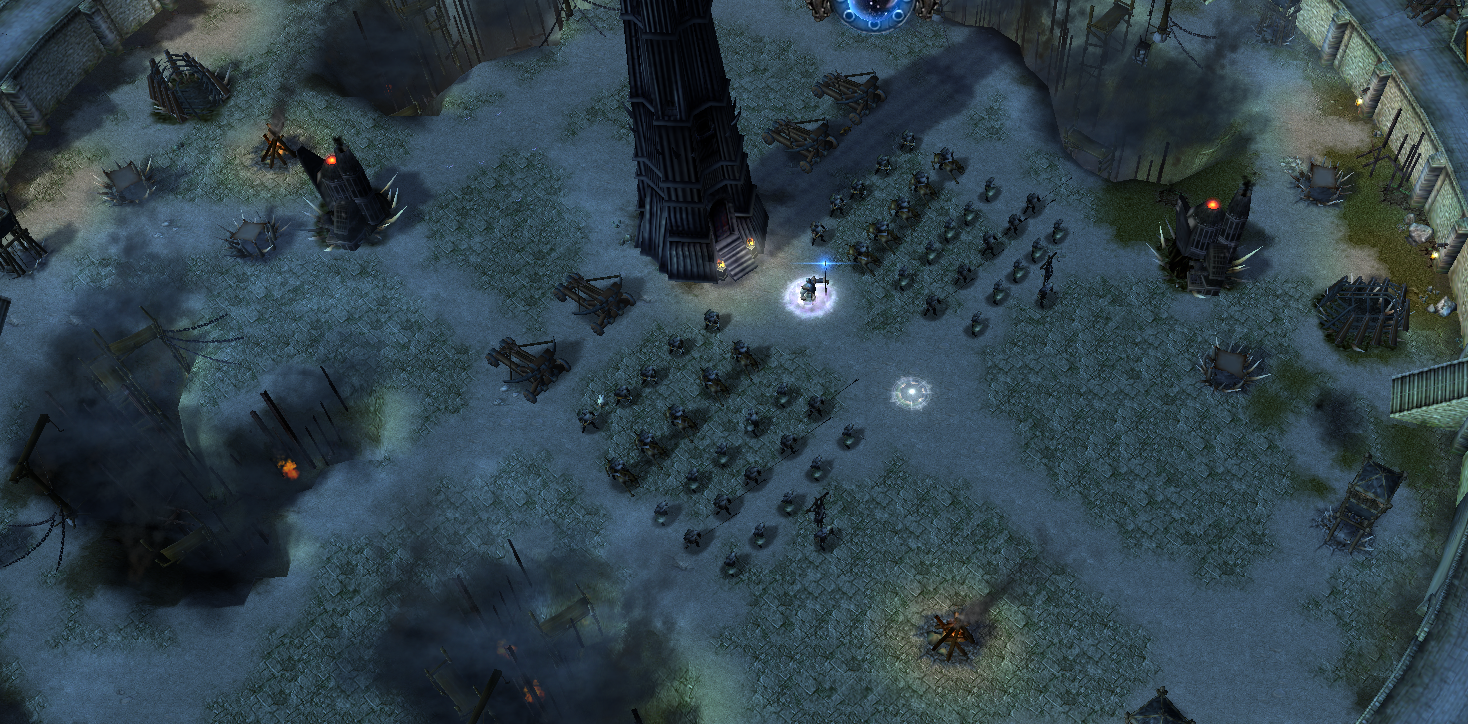
Isengard: The Uruks-Hai

Dol Guldur: The third part of the armies of Mordor


For good side:

Helm’s Deep: The Helm’s Deep resistance

Minas Tirith: The Gondor

Dol Amroth: The second part of the armies of Gondor

Caras Galadhon: Lorien

Golden Hall of Meduseld: The Rohan


We do have observers that can take over AFKs but they are not unlimited and not everyone wants to be observer to take over them.

WARNING: Be careful AS A NEW PLAYER, if you enter a game without knowing anything of the game you might create a massive imbalance so tell your teammates about this or do play the map in solo to see how things are working around and try to figure out what are the first things you want to engage in.

If you’re interested about the global faction review of the map and screenshots than hop on to the next part of this post.


THE FACTIONS:


The Easterlings:
The group of men that allied with Sauron to take down the free people of the world. Located at North-East of Barad-Dur, they are a support faction. This is the safest faction among all. Your army is mainly composed of riders to let you roam freely around the map, you also have access to the mighty Mumakils that will be a significant advantage later on. Your goal is to help either Barad-Dur’s army to take down the Cair Andros and open up the map or help Dol Guldur’s army to take down the Eastermnet. Your role is decisive in the dynamic of the game so don’t sleep too much on your safety. You kinda are the ganker of the factions.


The armies of Mordor: The army of the Dark Lord himself behind the Black Gate, led by the Mouth of Sauron to oppose the army of Gondor that serves as the last barrage to them. You are the one that will open up the map and make evil going further into the map. You are connected with Minas Morgul so be very careful, if one of you fall down the other will inevitably too. Your role is to charge the Cair Andros and win the battle against Minas Tirith. Your army is composed of orcs and trolls, you also have access to Dark Numenoreans that will be essential for you. You later have access to the powerful Balrog that will help you make your opponents burn. Don’t forget to use the Eye of Sauron inside Barad-Dur to help you or your allies in the conquest of Middle Earth.


Minas Morgul: One ring to rule them all, one ring to find them, One ring to bring them all, and in the darkness bind them; In the Land of Mordor where the shadows lie. Led by Akhôrahil the Blind Sorcerer and later the Witch King of Angmar, your army is the same as the Mordor one, composed of orcs and trolls but with the help of Ringwraiths that should help you prevail in your fight against Dol Amroth and Minas Tirith. You are very weak early on but you can scale very brutally so be aware of your power. You are also very exposed to the Gondor’s army that will push you to your limits but don’t get intimated too fast. You are not alone, once Cair Andros is taken down, Barad-Dur might come to help you and the Easterlings will give you a hand later on with the troops nearby the Tribal Palace down Minas Morgul’s position. A Fel Beast will join the carnage later on so be patient with your strategy and try to hold as much as you can, your upgrades are your best friends and will make you greater than any opponent.


Dol Guldur: The old fortress of the Necromancer led now by Khamûl and Azog the Defiler. Your armies are again the same as the Mordor ones and Minas Morgul ones, trolls and orcs. With the help of Castellans and later on your personal Fel Beast, you shall conquer Either the woods of Lorien or take down the Rohan as your main goal. You need to cooperate with Isengard in order to make everything as successful as possible. Take down the Eastemnet to open up the connection between you two and from here you shall prevail in your fight against the good side. Be careful to the woodland realm coming to disturb your plans later in the game and Lorien being a very threatening enemy.


The Uruks-hai: This is no rabble of mindless Orcs. These are the Uruk-hai, their armor thick and their shields broad... The armies of the Isengard, the most powerful faction in the game. The industry of the Isengard shall prevail in order to dominate your opponents. The Uruks are the strongest army, they have an immense potential and can easily dominate any opponent. Your position looks more complexe, you are sealed within the walls of Isengard between the Lorien, the Edoras, Helm’s Deep and seperated from your allies but you are far from being directly assaulted by everyone early on. You are the only faction in the game that is able to take wood with your workers, the wood you gather serves to fuel your army and brings you an entire regiment of new troops that can exceed the maximum amount of population you can have. Your armies can flood an opponent but be careful to where you place your workers to gather that precious wood. Saruman is also your biggest control tool, he has an immense potential so be careful to not lose him. Cooperating with Dol Guldur is your main priority, take down the Westfold and don’t forget to later recruit the Dulendings to take down the Edoras and assert your complete dominance among the people of Middle Earth.


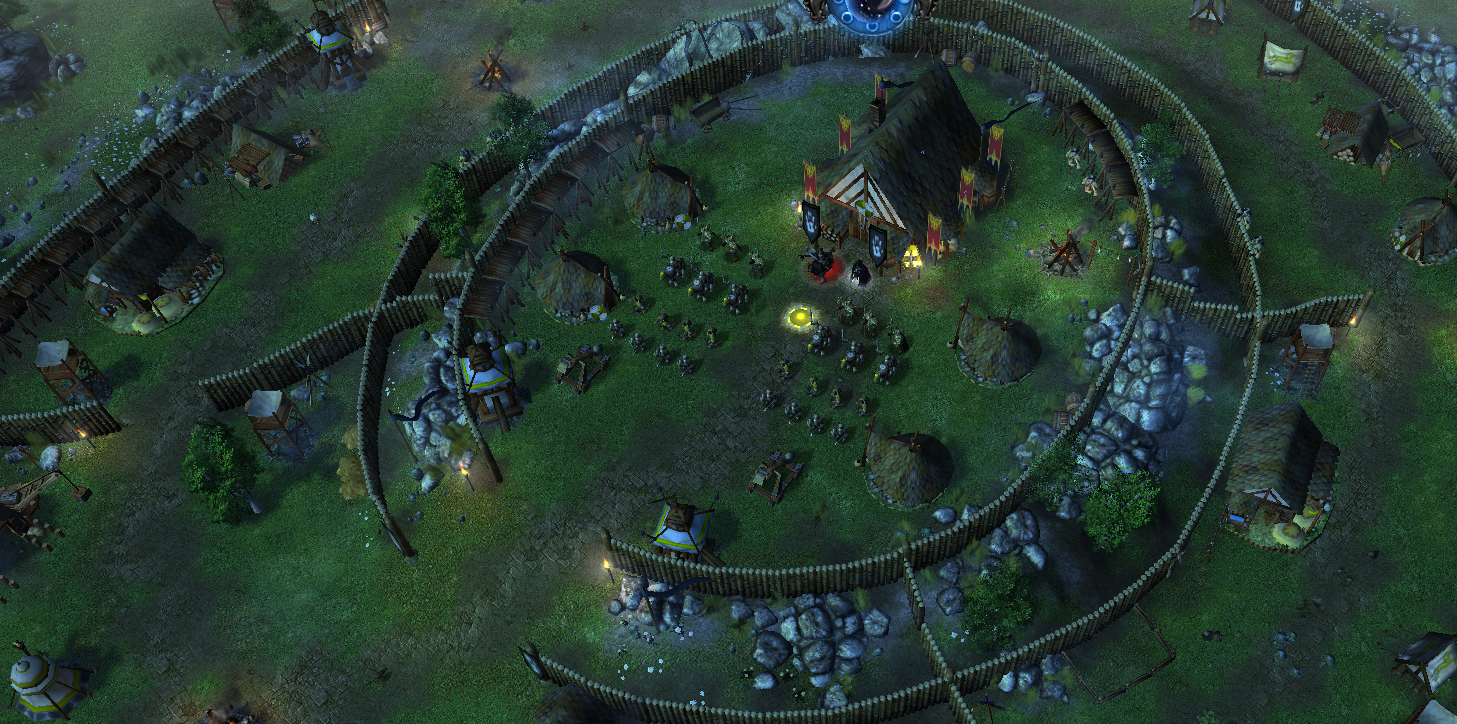
Helm’s Deep resistance: The legendary siege of the Helm’s Deep can make its comeback into LOTRC. You command Eomer the Rohirrim Captain at the head of a part of the mighty cavalry of Rohan. Your army is mainly composed of horsemen that will allow you to be faster and stronger than the classic infantry of the Mordor. Your main concern as the resistance is to hold grey and push him out of the Westfold. Work closely with Edoras and Lorien as your main concern will be the Isengard army that can flood at any moment into your lands. You are not exposed to any kind of attack at the beginnings of the game your defenses are very solid but the Westfold shall remain protected. Edoras can be welcomed inside your walls if the Golden Hall of Meduseld fall which later on will make you the principal target of the evil side. By the time you should get access to Gwaihir and crush the Isengard with the help of your allies if you hold strongly enough.


The Gondor: The last wall against the Mordor, the last city and the throne of all the mightiest kings of men. Minas Tirith is the main enemy of Barad Dur and Minas Morgul. Your troops are split in 2 groups with Boromir leading the assault on Osgiliath and the Dome of Stars, and Faramir leading the defense on the Cair Andros. The Cair’s defense is your main concern and the most important position to defend. If Barad Dur manages to get through this place you will have a very hard time to reconquer it. Tower Guards, knights of Gondor, archers and trebuchet is everything you need to prevent the armies of Mordor from overwhelming you. The Easterlings might come to enforce the Cair but you need to hold your position. Once pushed back the counter attack shouldn’t wait. Aragorn the true king of Gondor should help you in your defense against the Mordor later on.


Dol Amroth: Part of the Gondor’s army and located at the very south of Minas Tirith. Under the banner of the Silver Swan you control the Prince of Dol Amroth with his Swan Knights. You are the only faction in the game that is completely duel oriented, your only opponent and your only goal is to reconquer Minas Morgul. You have a very certain advantage against Minas Morgul early on and should go right away to fight them. Your only concern is to lay the siege of Osgiliath and push the evil back when you still can. You are one of the two faction that doesn’t have to hold or defend a position as a good side faction so take advantage of this. Once you get Gandalf don’t hesitate to send him to cure the King of Rohan, Theoden. If the dome of star is lost Pelargir shall be your last standing point before getting cornered. Be brave and you shall defeat the evil!


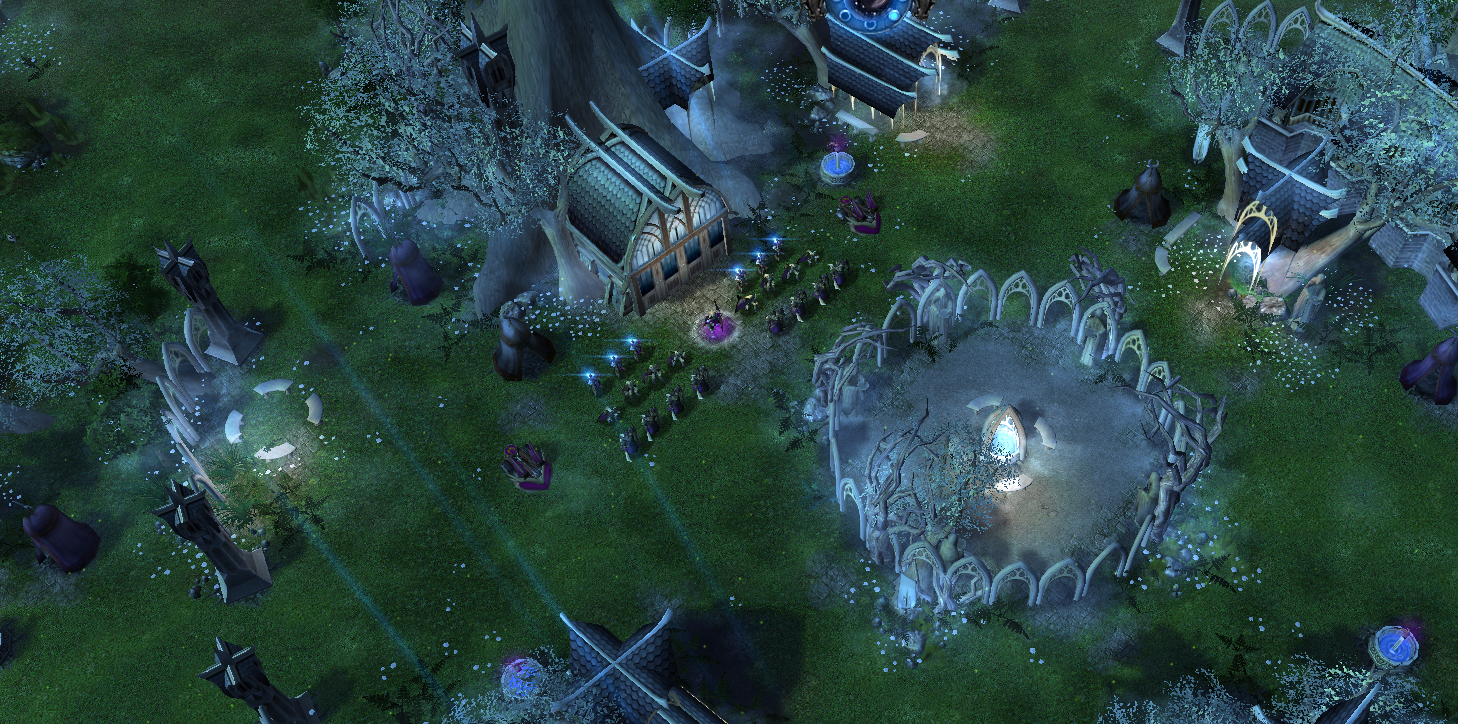
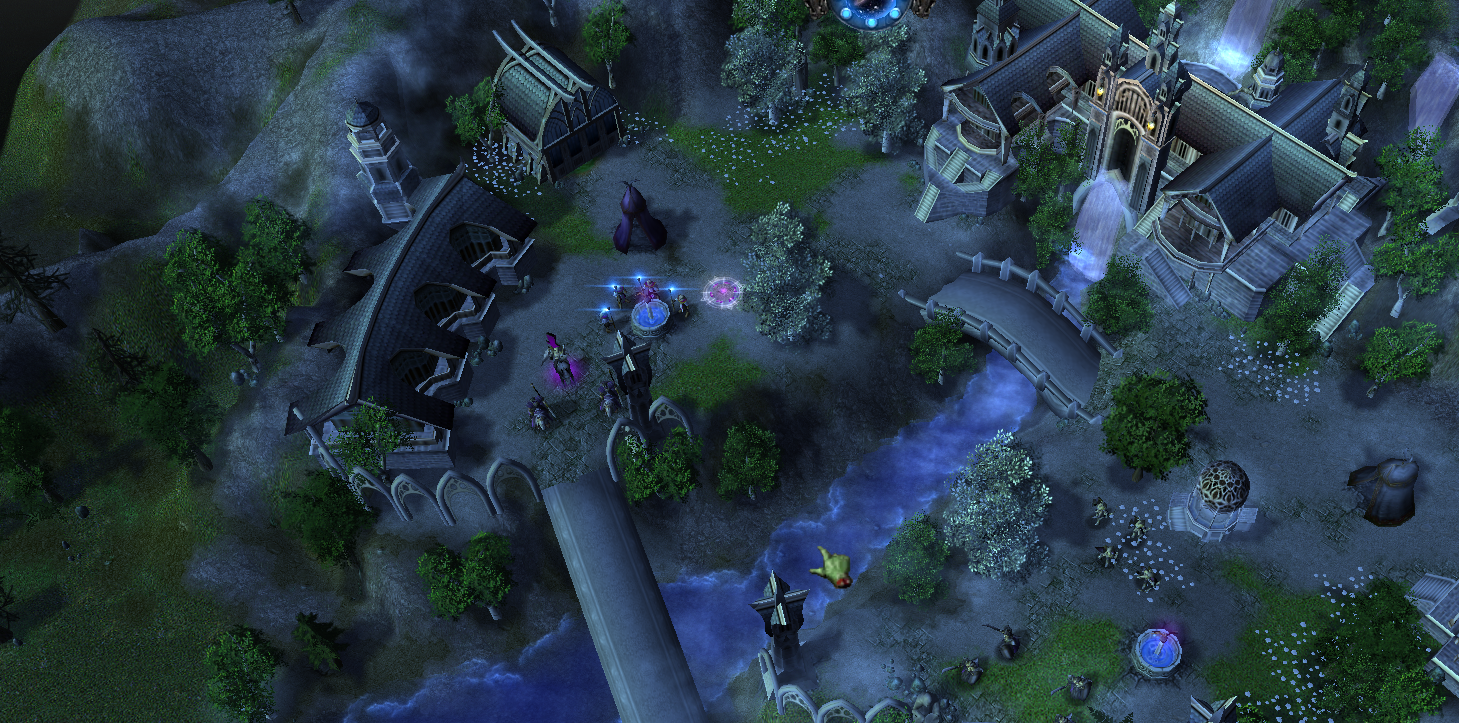
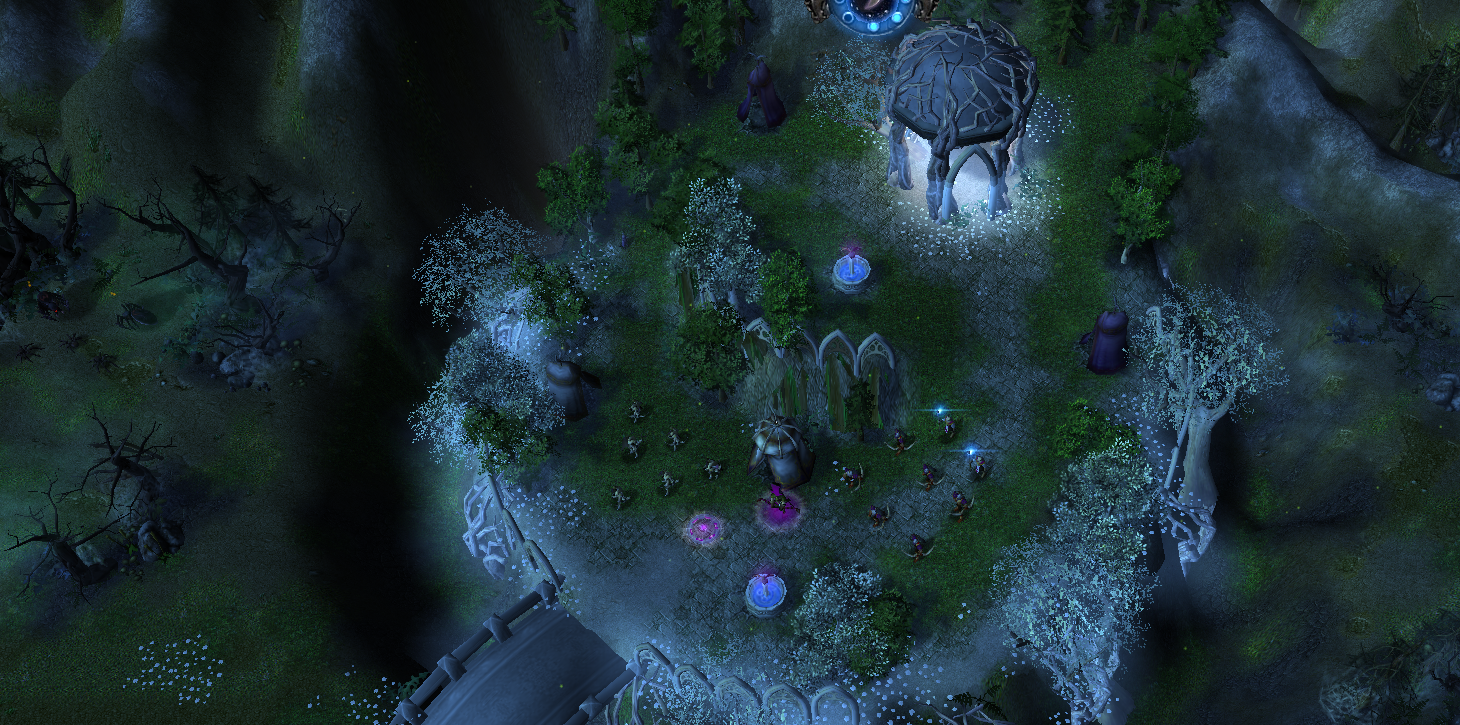
Lorien: The vast realm of the Galadhrim elves located near the lower Misty Mountains in northern Middle Earth. The mysterious elves led by Haldir and his archers. Your territory is split into 3 sides of the map, Lorien, Rivendell and Woodland Realm that you progressively acquire with Arwen and Legolas. You face both Dol Guldur and Isengard but they both also have to deal with Edoras and Helm’s Deep resistance, you are not the main target here. Your role is to help both of your ally to ensure you win on one of these 2 sides the choice is yours. Your army is very mobile and very strong, your aiming potential in limitless and you are very safe from frontal attacks. If you shall fail once, the ring of Galadriel Nenya, shall protect your lands from any attack for a brief period but only once, you are the only faction given a second chance like this one so don’t waste it! Your faction rapidly turns into a roaming one once the field is free from Isengard or Dol Guldur, make wise decisions and victory should be yours.


The Rohan: Arise, arise, Riders of Theoden! Spear shall be shaken, shield shall be splintered, a sword-day, a red day, ere the sun rises! The legendary cavalry of the Rohan, led by King Theoden. As long as King Theoden is under Saruman’s possession and Grima Wormtongue’s poisonous advices, it is her daughter Eowyn that will press the attack. Your main concern like the resistance of Helm’s Deep with the Westfold, is the Eastemnet encampment that is holding Dol Guldur from flooding Edoras. You will have to hold the attacks led by the evil side and eventually force them to go back. Once Gandalf came to heal Theoden you will regain the control over King Theoden and don’t forget Gwaihir that will also help you later in the game. You are and will be the main target of all the evil faction because you are the centre of the map. Your position is very compromised and you need to stay strong in order to defend yourself against the evil. If you shall fall you can always go back to Helm’s Deep where your last siege will be waiting you.


THE ONE RING:


The One Ring is the jewel that once burned in Mordor by Frodo would establish peace among the free people of Middle Earth with the fall of Sauron in the lore. Too bad! There is no Frodo in this game! The One Ring here is an item carried by Gollum. Once the game reaches 50 minutes there are 4 areas (it’s randomized) where Gollum can spawn. If the creature is killed the One Ring is dropped and can be captured by a hero (be careful if your hero dies the One Ring drops again!). Once the One Ring is being brought back to the main building of a player there are 2 unique twist that can happen.

If the good side gets the ring, the player that receives it in his main hall can summon Galadriel as a God Tier hero that carries the One Ring.

If the evil side gets the ring, the player that receives it in his main hall can summon Sauron as a God Tier hero that also carries the One Ring. Be careful with Sauron, once he dies both Minas Morgul and Barad-dur are doomed to oblivion.

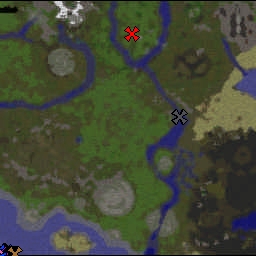
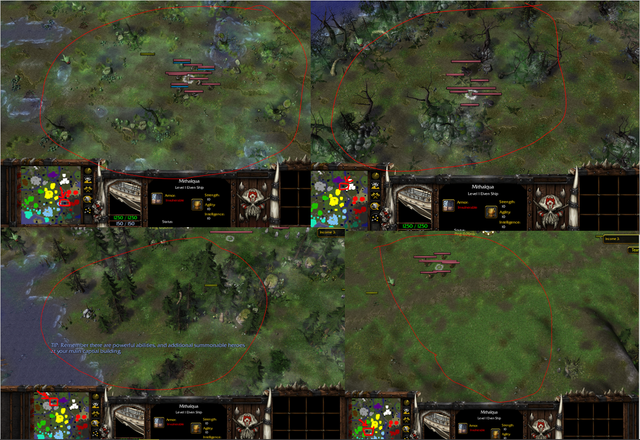
Here are the four locations where Gollum can spawn at 50 minutes, be AWARE about the fact that you will need to scout these areas to spot Gollum. The Palantirs, the Eye of sauron or other abilities will help you spot him:

Gollum-s-spawning-locations.png


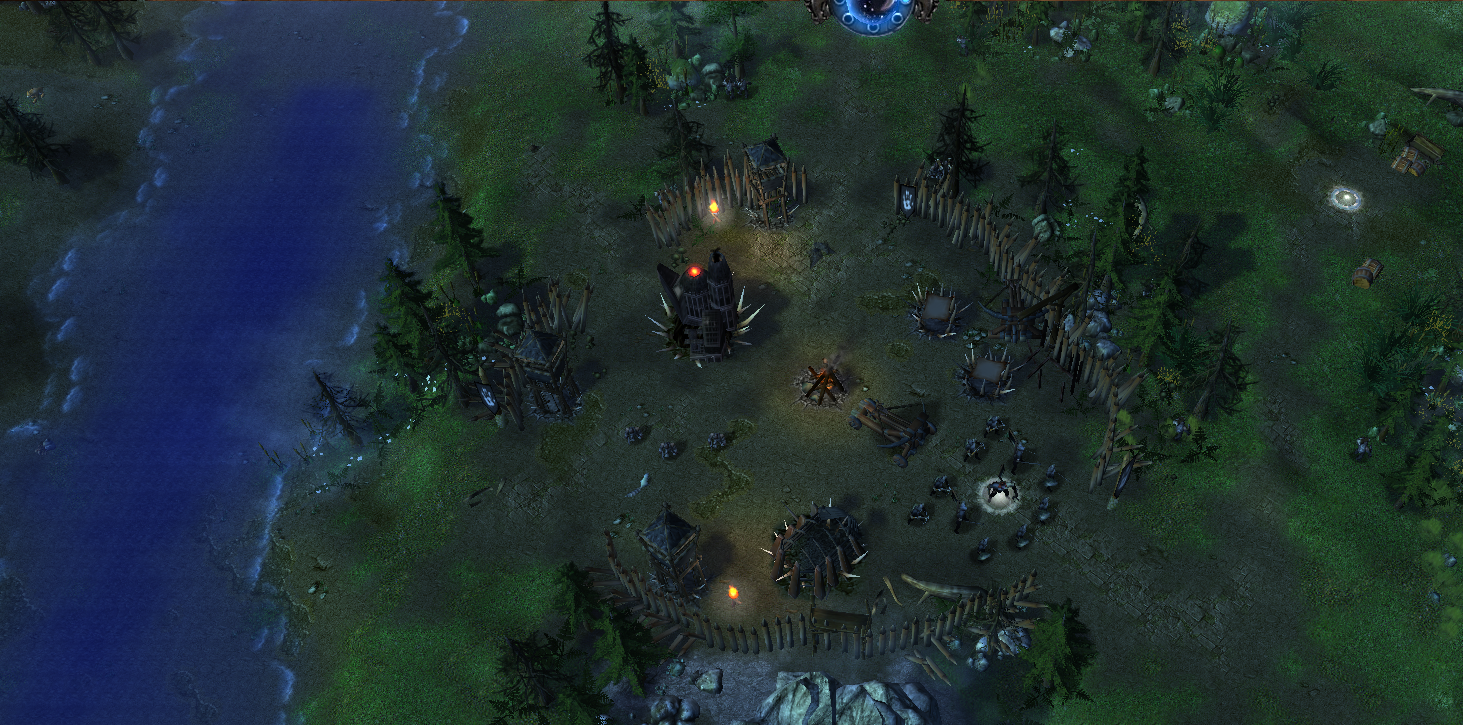
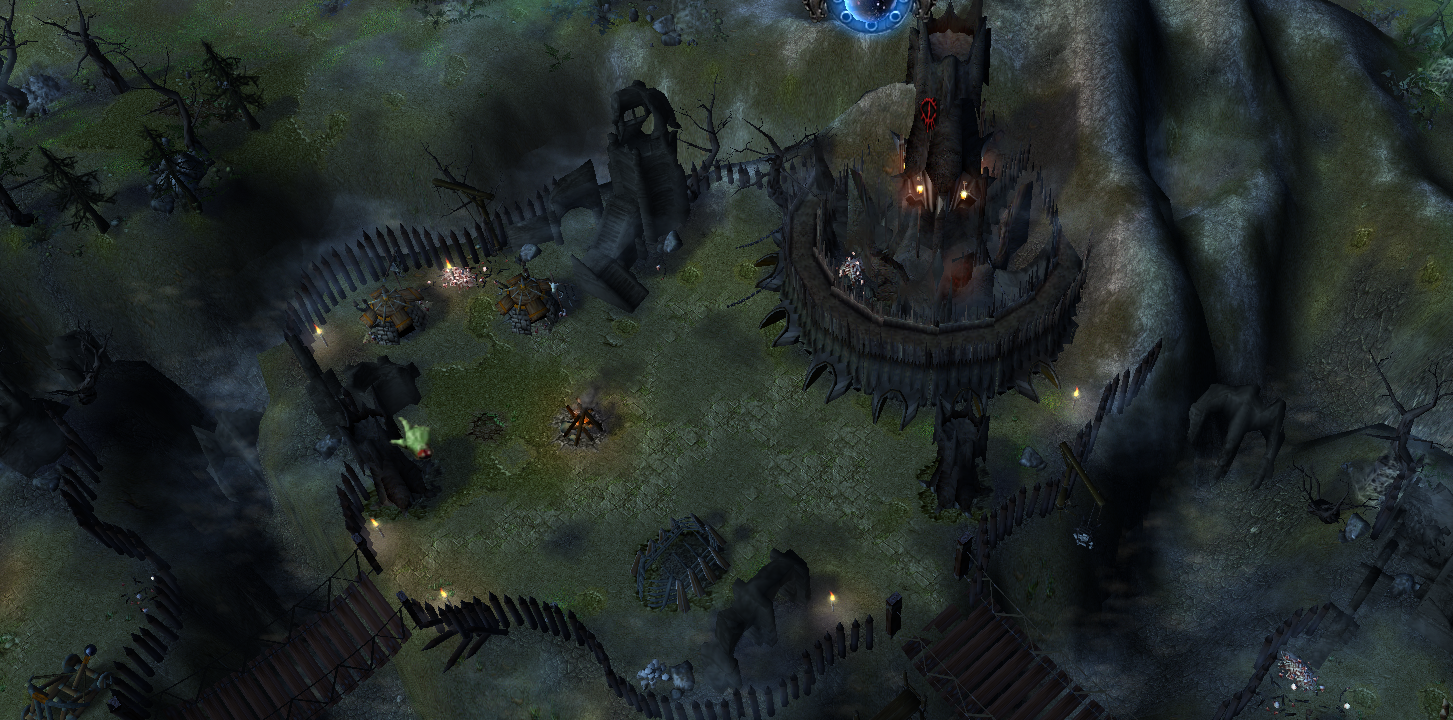
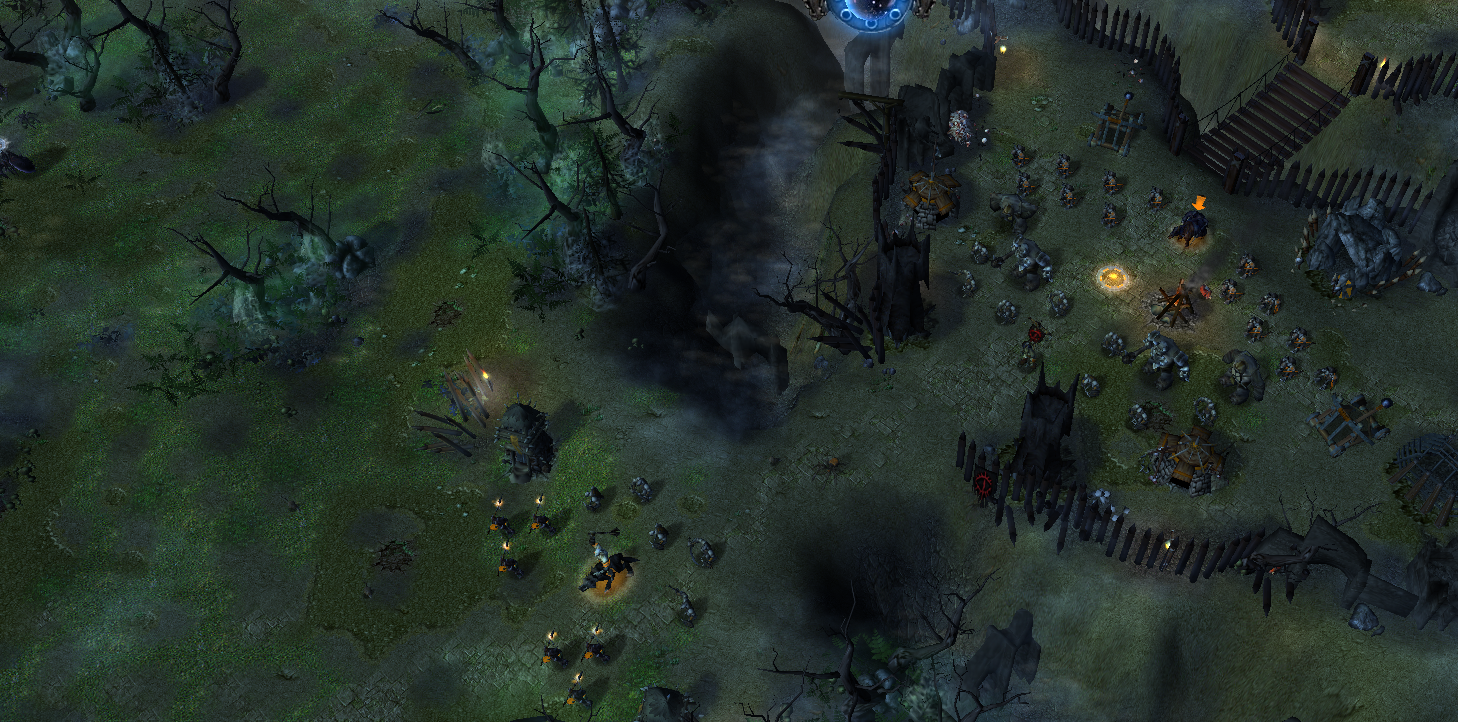
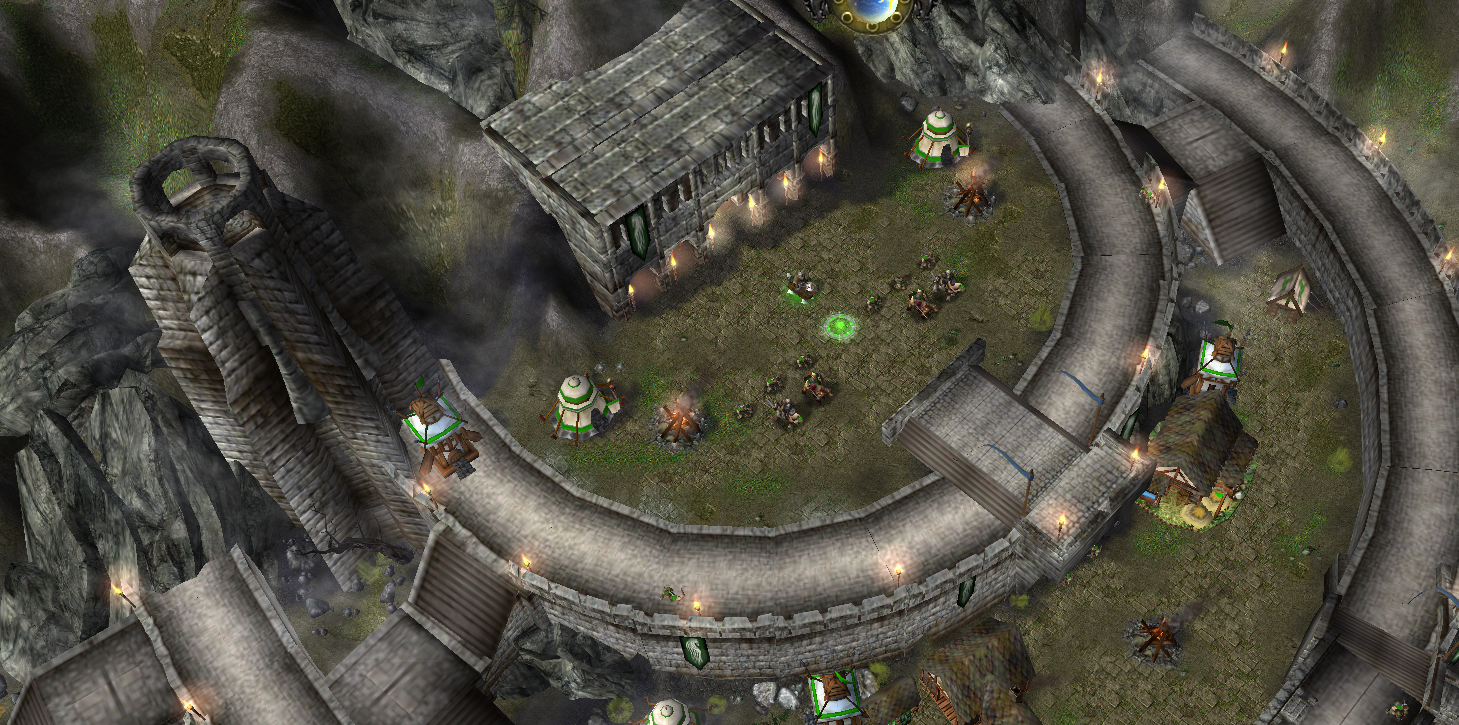
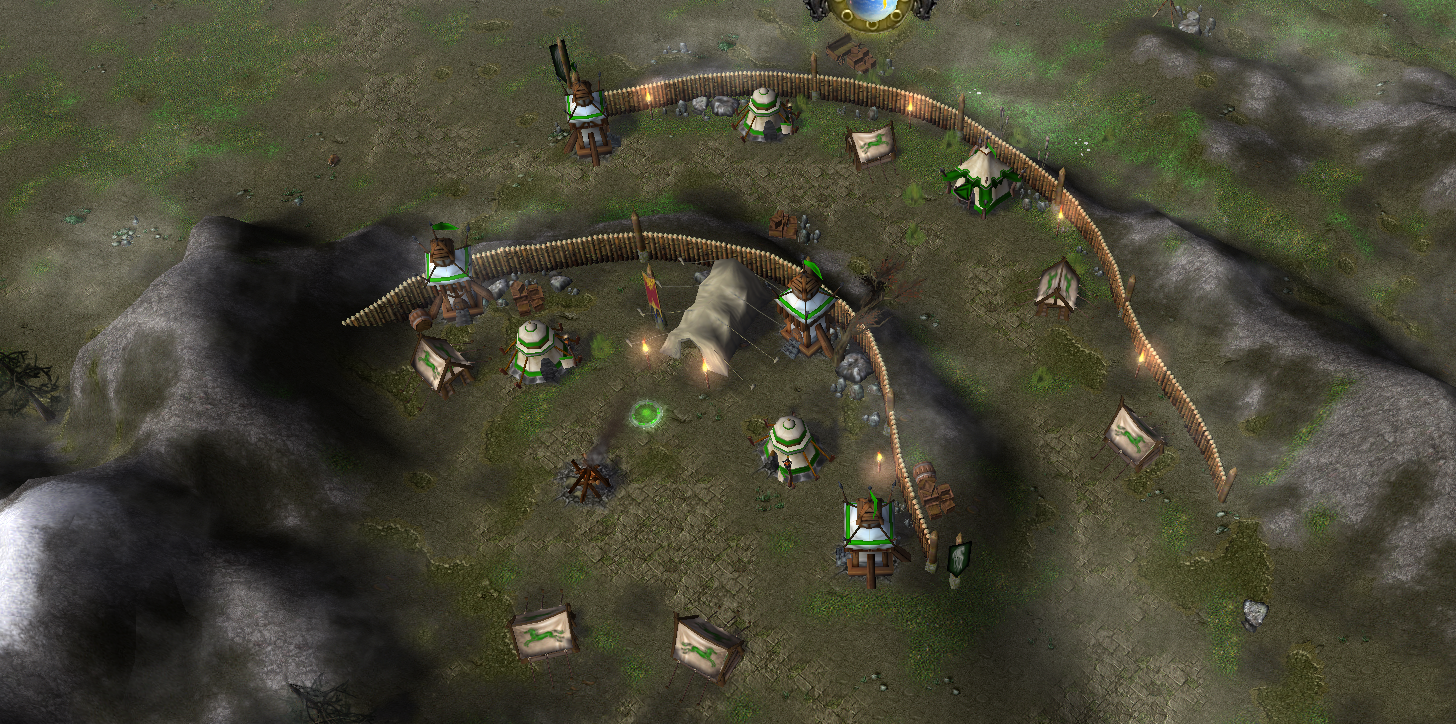
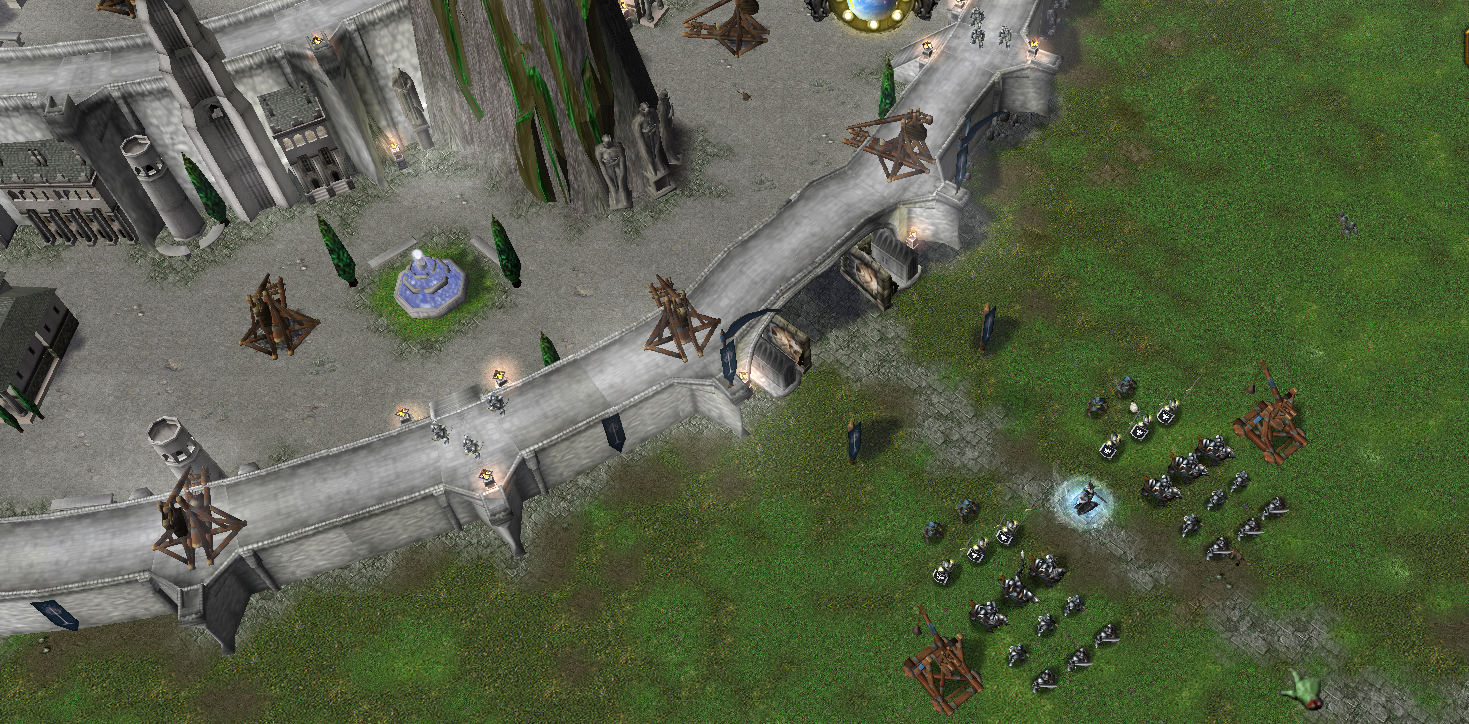
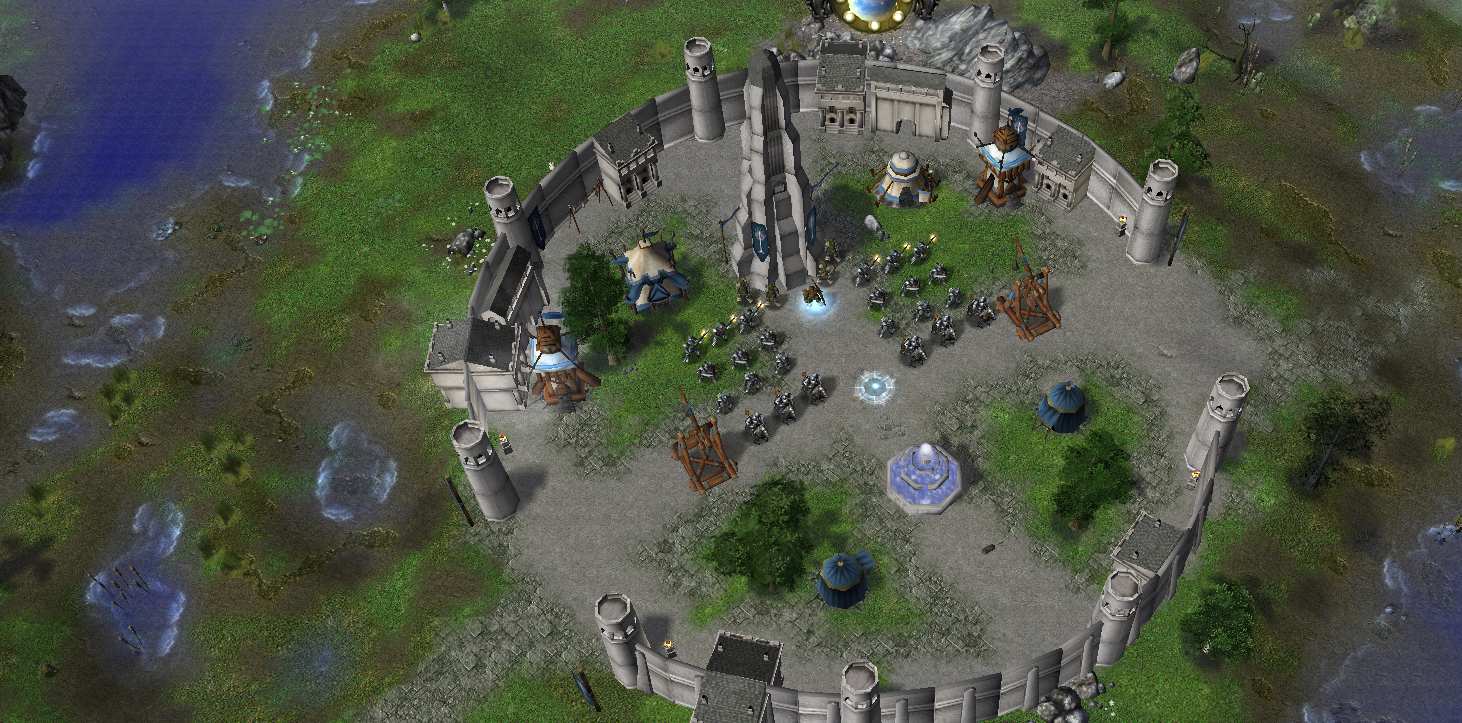
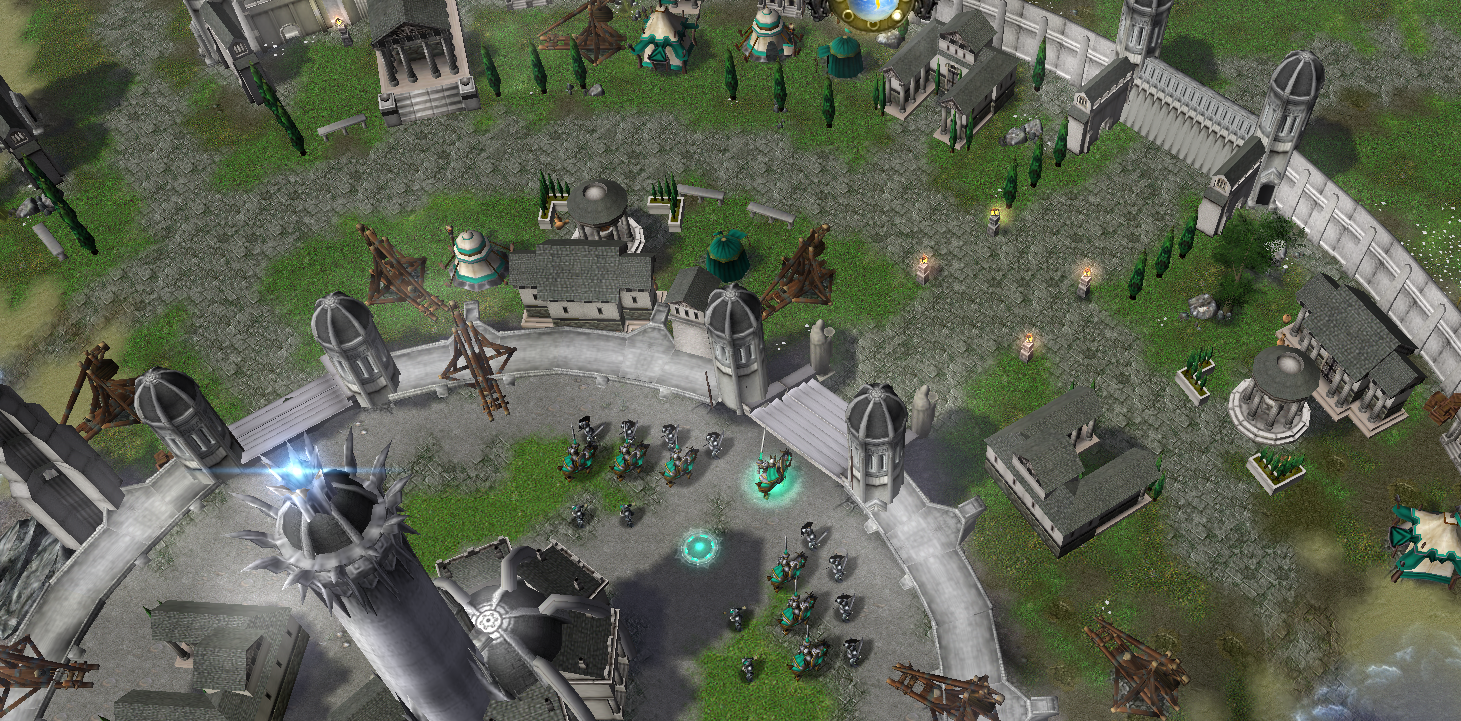
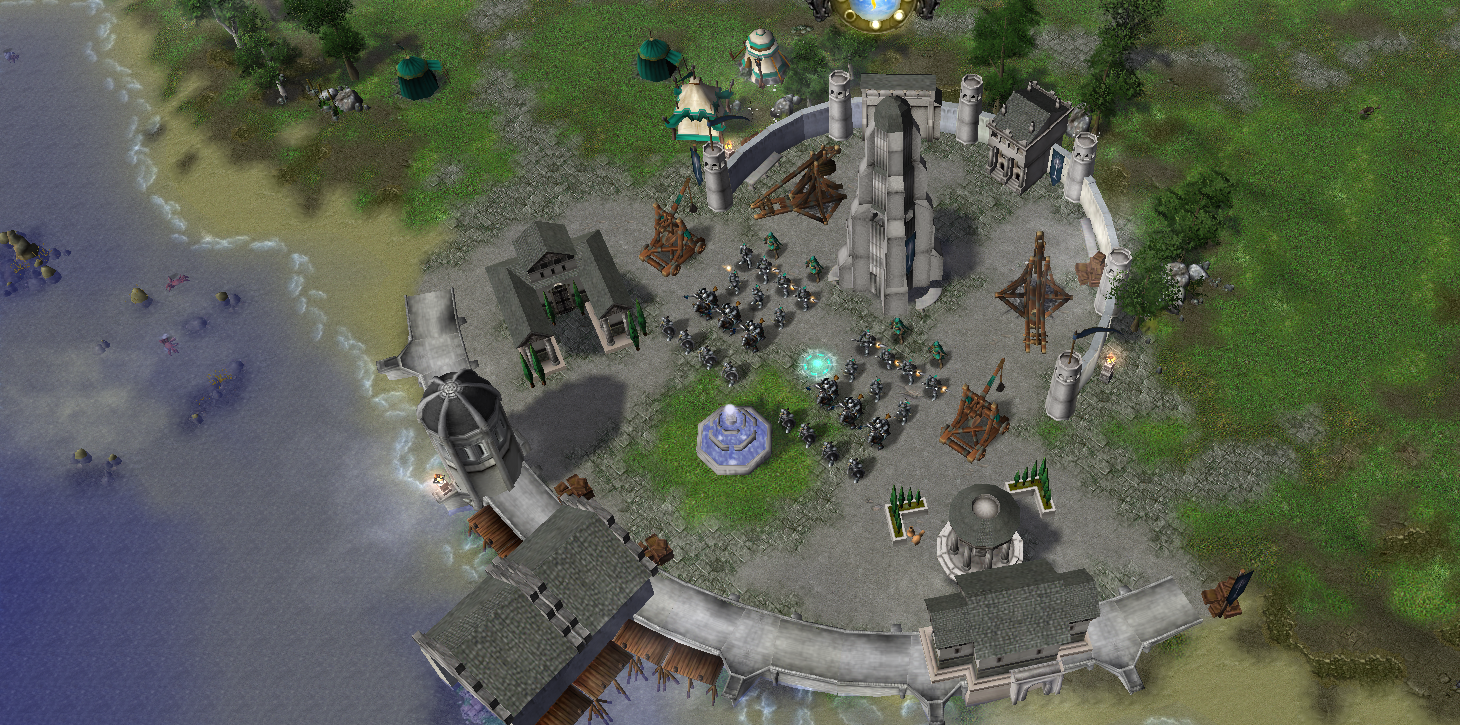
All the incoming pictures are available in the game, I didn't wanted to make wide plans to have a more realistic approach.


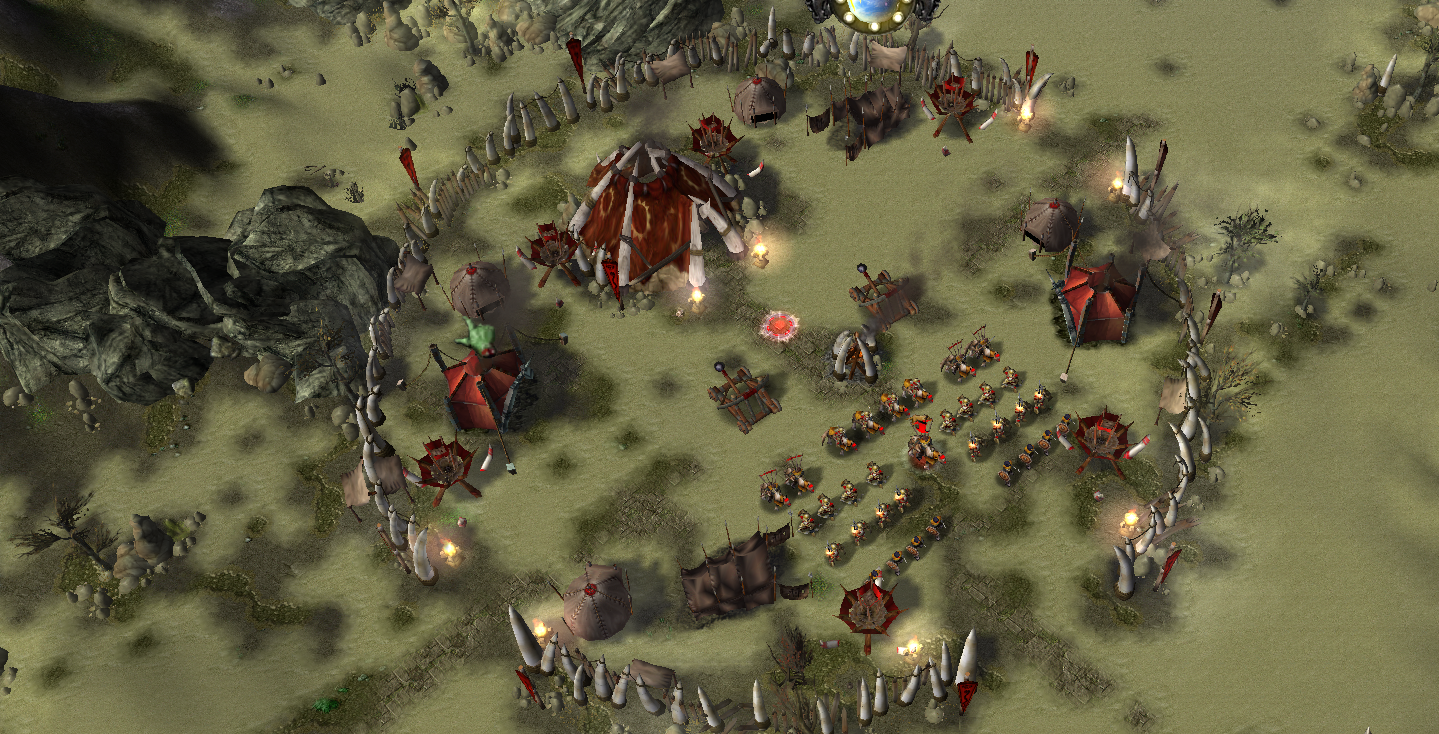
Tribal Palace:
EASTERLINGS.png


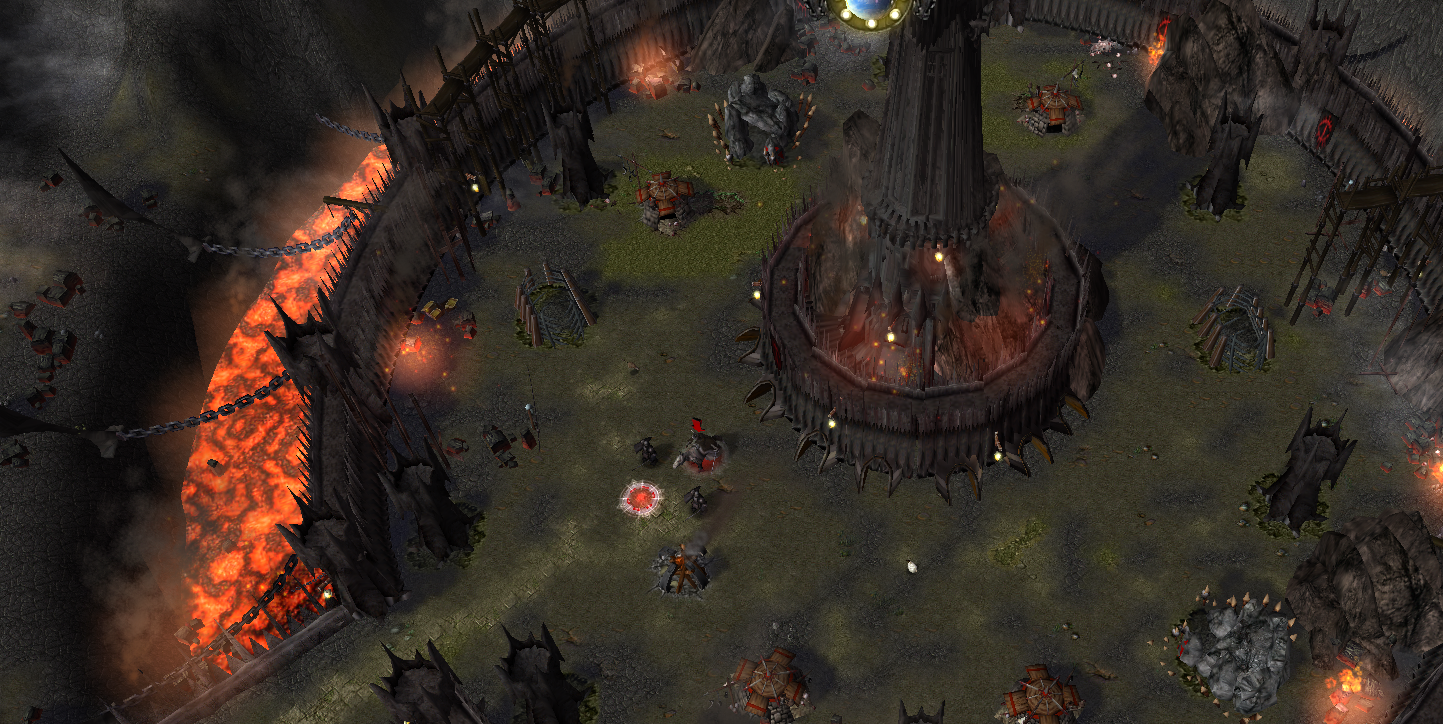
Barad Dur:
Barad-Dur.png


The Black gate:
Barad-Dur-2.png


Minas Morgul:
Minas-Morgul.png


Isengard:
Isengard.png

Isengard-2.png


Dol Guldur:
Dol-Guldur.png

Dol-Guldur-2.png


Helm's Deep:
Helm-s-Deep.png

Helm-s-Deep-2.png


Minas Tirith:
Minas-Tirith.png

Minas-Tirith-2.png


Cair Andros:
Minas-Tirith-3.png


Dol Amroth:
Dol-Amroth.png


Pelargir
Dol-Amroth-2.png


Lorien:
Lorien.png


Rivendell:
Lorien-2.png


Woodland realm:
Lorien-3.png

Edoras:
Edoras.png

credit:

Accelerator
HerrDave
TGleds
Battle for middle earth
Ujimasa Hojo
Forgotten Warlord
imforfun
Tranquil
Hantoo
DaveDave91
Mike
Himperion
Tenebrae
Eubz
General Frank
Edge45
Bakr
Elenai
Olofmoleman
Kuhneghetz
HappyTauren
Kehel
Sellenisko
Teaspoon
Tillinghast
Gluma
Stefan.K
Olofmoleman
8512590215848
Eubz
imforfun
Freezer
JetFangInferno
BLazeKraze
OgeRfaCes
Blizzard Entertainment
PrinceYaser
Remixer
Thrikodius
Infrisios
bu3ny
Muoteck
Deathclaw24
-Berz-
Stanakin
NFWar
The_Silent
The Panda
kola
CRAZYRUSSIAN
D.ee
olofmoleman
Moy
Cavman
Marcos DAB
Sin'dorei300
morbent
I3lackDeath
The Panda
nGy
Grey Knight
assasin_lord
Uncle Fester
Craka_J
Peacegetter
tobyfat50
Borric
CloudWolf
Darkfang
Mephestrial
Taylor Mouse
UgoUgo
s4nj
Callahan
RightField
Buster
Cihparg
communist_orc
WILL THE ALMIGHTY
Legal_Ease
xorkatoss

Marshmalo's approval:

Marsh-s-approval.png


Side note: I am very dedicated for this map and this is the first map that completely blew my mind away when I saw it and made me want to be editor. We have a very nice community and I am very proud of how everyone is still playing this game after so long.


Hoping to see you come play with us and give feedbacks!
Contents

LOTR: Conquest 34.c (Map)

Reviews
deepstrasz
It's a nice LotR Risk map but extensively Warcraft III gameplay mechanics based aside the Risk part. Approved.

deepstrasz

Map Reviewer
Level 69
Joined
Jun 4, 2009
Messages
18,876
As with your previous upload of this map:

Is @Marshmalo OK with you editing/uploading his stuff? Provide permission.

A credits list in the map description with the names of the authors whose resources you've used is mandatory. That includes models, skins, icons, custom spells, systems. Also, sounds, music and everything outside this site.
This helps you with the models, skins and icons from Hiveworkshop: Resources in use by LOTR: Conquest 34.c
You can also upload your map here to generate a list: Asset scanner

Awaiting Update.


If you want more reviews, you should participate in the The Grand Review Exchange!

R U L E S

Site Rules
Map Submission Rules

M A P - D E S C R I P T I O N
BB CODES
BB Codes | HIVE

MELEE MAPS
Description Guide - Melee Maps
Describing Your Melee Map
Melee Map Description Generator v1.3


MAPS IN GENERAL
The importance of a Description
Description Guide - Maps
Map Thread Guide
Map Description Making: Good & Bad
Map Description - Templates
Map Description Generator [1.2]

How to Add a Screenshot to your Map Description


ADDITIONAL NECESSARY INFORMATION
  • A credits list in the map thread description is required where the names of the resource (models, skins, icons, spells, sound etc.) authors are mentioned along with the specific resource. It would be a luxury to have links leading to the used resources. Credits in the Quest Log would be appreciated too.
  • A detailed changelog in the first post would be helpful to reviewers and notify fans about the newest implementations to your map.
  • Map thread tags are important. Please use those that fit and not more or none.


M A P - C R E A T I O N - G U I D E S

If you're not satisfied with the review and wish another opinion, contact the other reviewers or use the staff contact:
https://www.hiveworkshop.com/forums/staff-contact.692/

 
Level 5
Joined
Dec 7, 2022
Messages
14
@deepstrasz Marshmalo officialy gave the map to TGleds who is allowing me to co-edit with him, she is not active anymore it is likely she will never answer you. If you want an "official" thing you can always come to our discord and DM her directly and/or TGleds. As for the models, I came midway into the map and can't retrack the entire thing myself that's not possible, most of the models here are handmade or from BFME or we gave them to us.
 

deepstrasz

Map Reviewer
Level 69
Joined
Jun 4, 2009
Messages
18,876
@deepstrasz Marshmalo officialy gave the map to TGleds who is allowing me to co-edit with him, she is not active anymore it is likely she will never answer you. If you want an "official" thing you can always come to our discord and DM her directly and/or TGleds as for the models, I came midway into the map and can't retrack the entire thing myself that's not possible, most of the models here are handmade or from BFME or we gave them to us.
Please contact the author or show proof.
As for the credits list, add whatever is possible but don't get lazy.
 
Top