Listen to a special audio message from Bill Roper to the Hive Workshop community (Bill is a former Vice President of Blizzard Entertainment, Producer, Designer, Musician, Voice Actor) 🔗Click here to hear his message!
Not all Blood Elves followed Kael'thas to Outland, and many remained in Quel'Thalas, and many returned. After the Scourge invasion and the renaming of the High Elves to Blood Elves, a portion of the survivors stayed behind to reclaim and rebuild their homeland, while others followed Kael'thas on a journey to find new sources of power.
In Quel'Thalas, the Blood Elves who remained started experimenting with new sources of magic to fill the void left by the destroyed Sunwell. Under the leadership of Lor'themar Theron and Halduron Brightwing, these Blood Elves managed the restoration efforts and defended their territory, gradually learning to harness fel magic and siphoning energy from various sources, including captured demonic beings. This story continued in The Burning Crusade, where Blood Elves officially became a playable faction and rejoined the larger events in Azeroth.
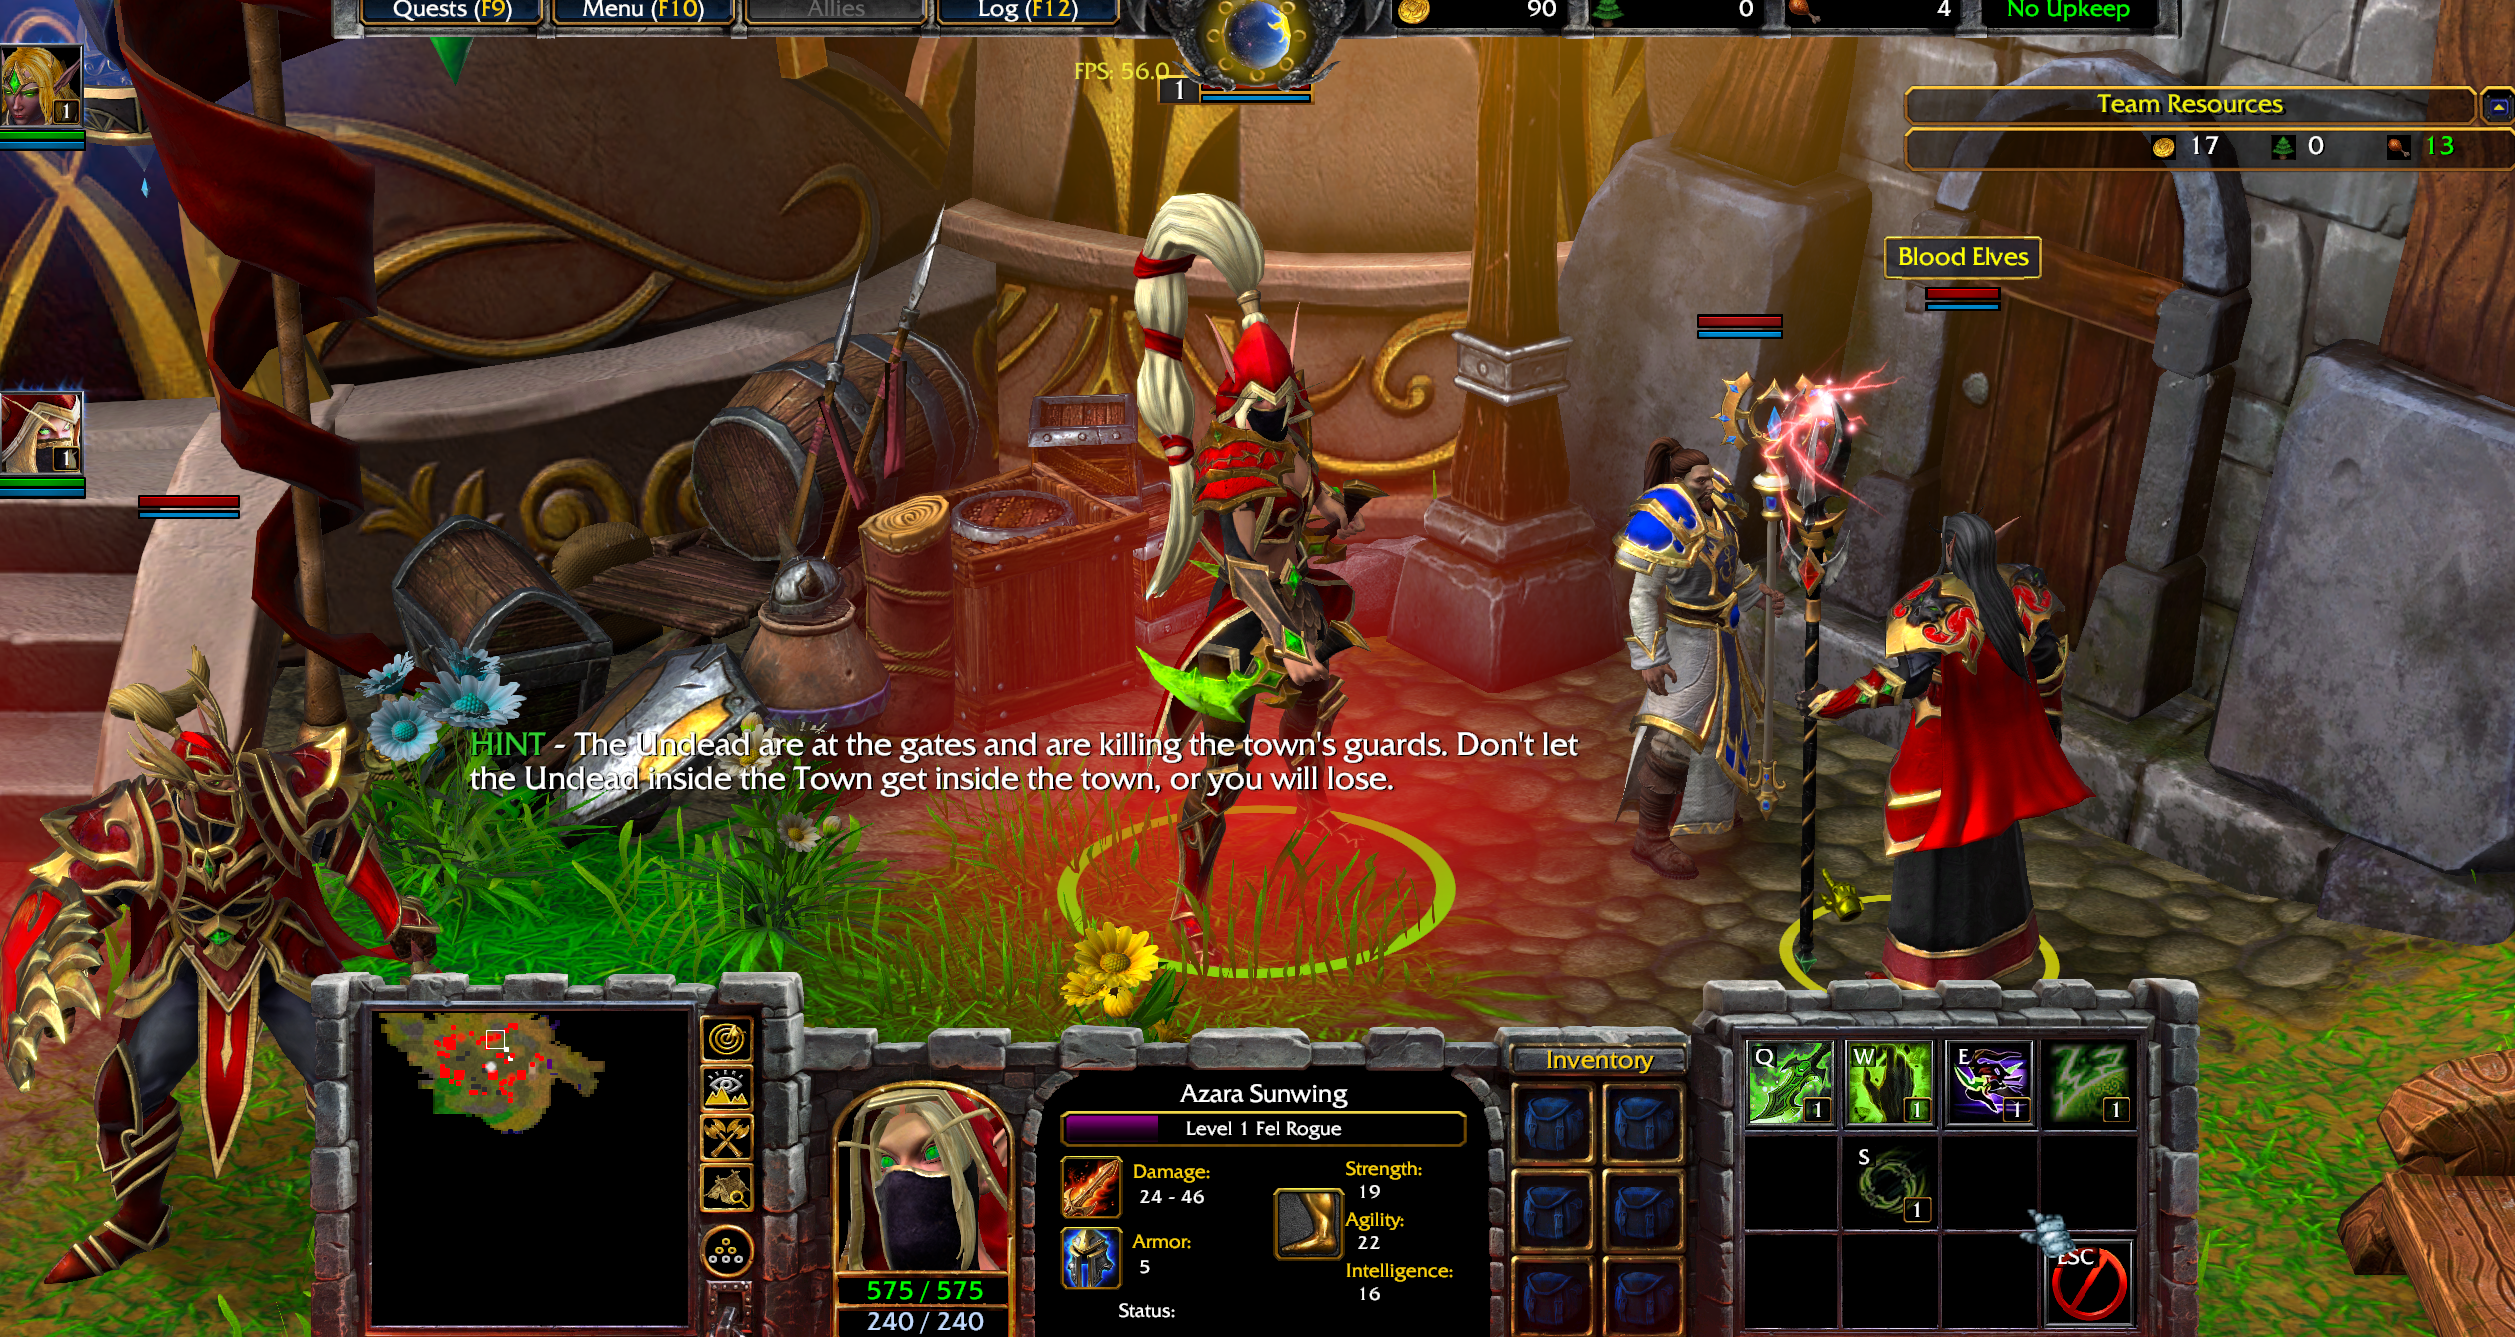
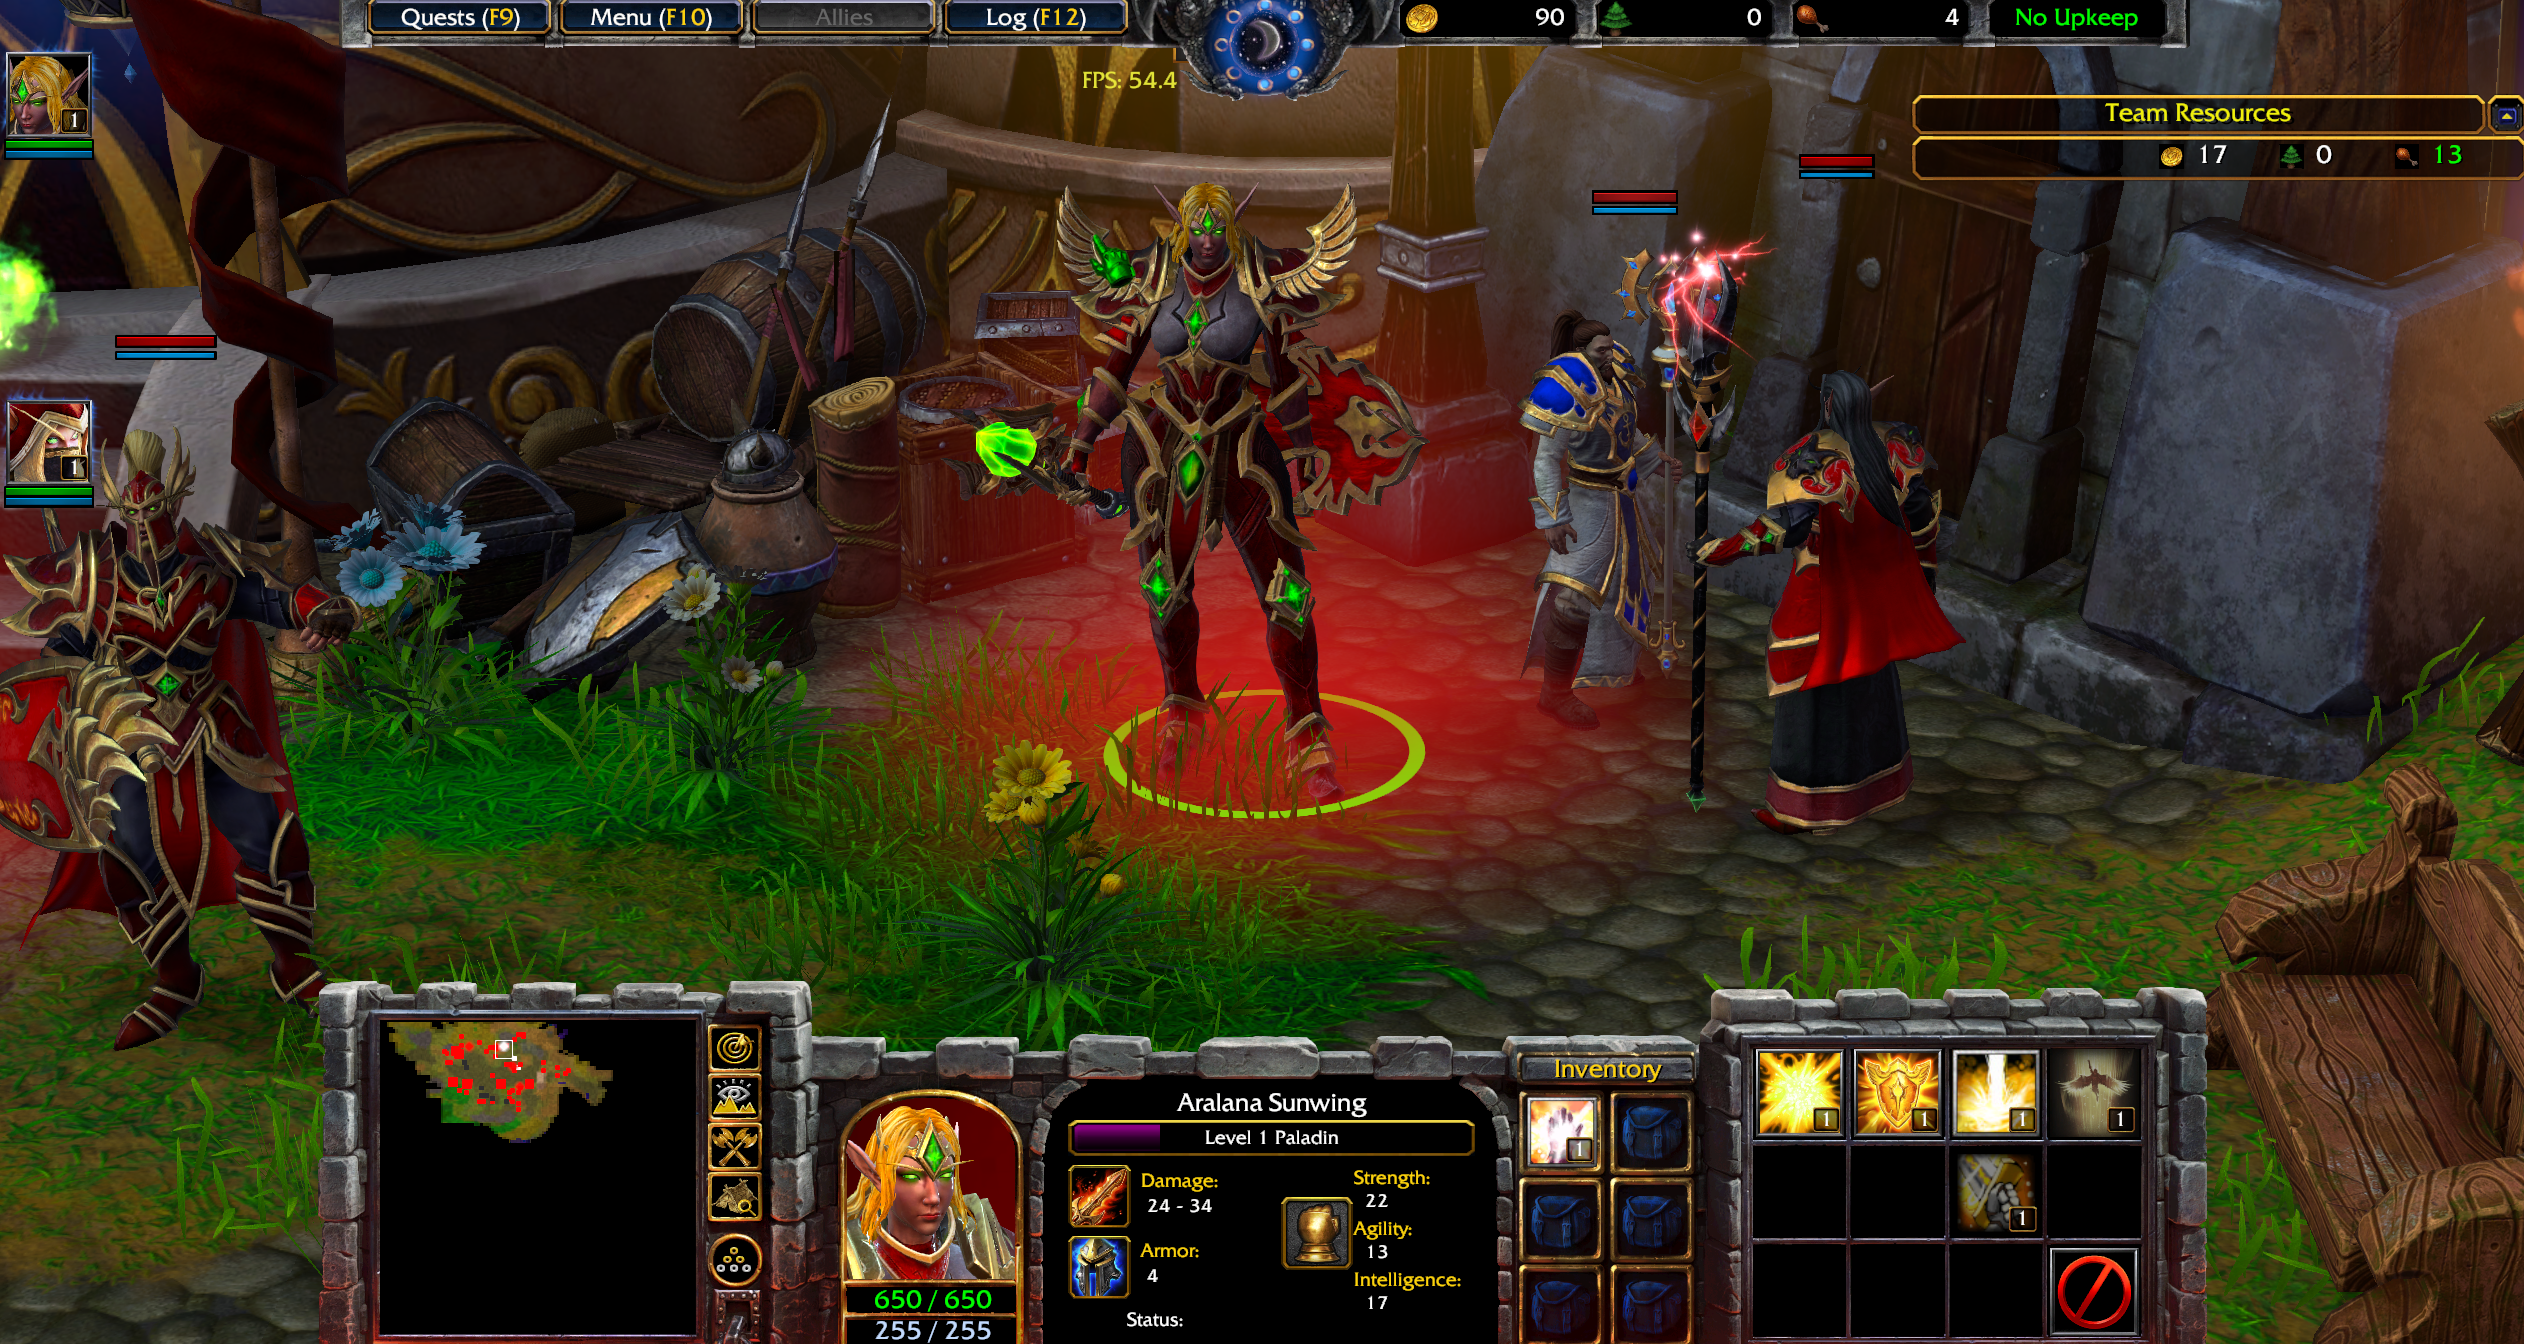
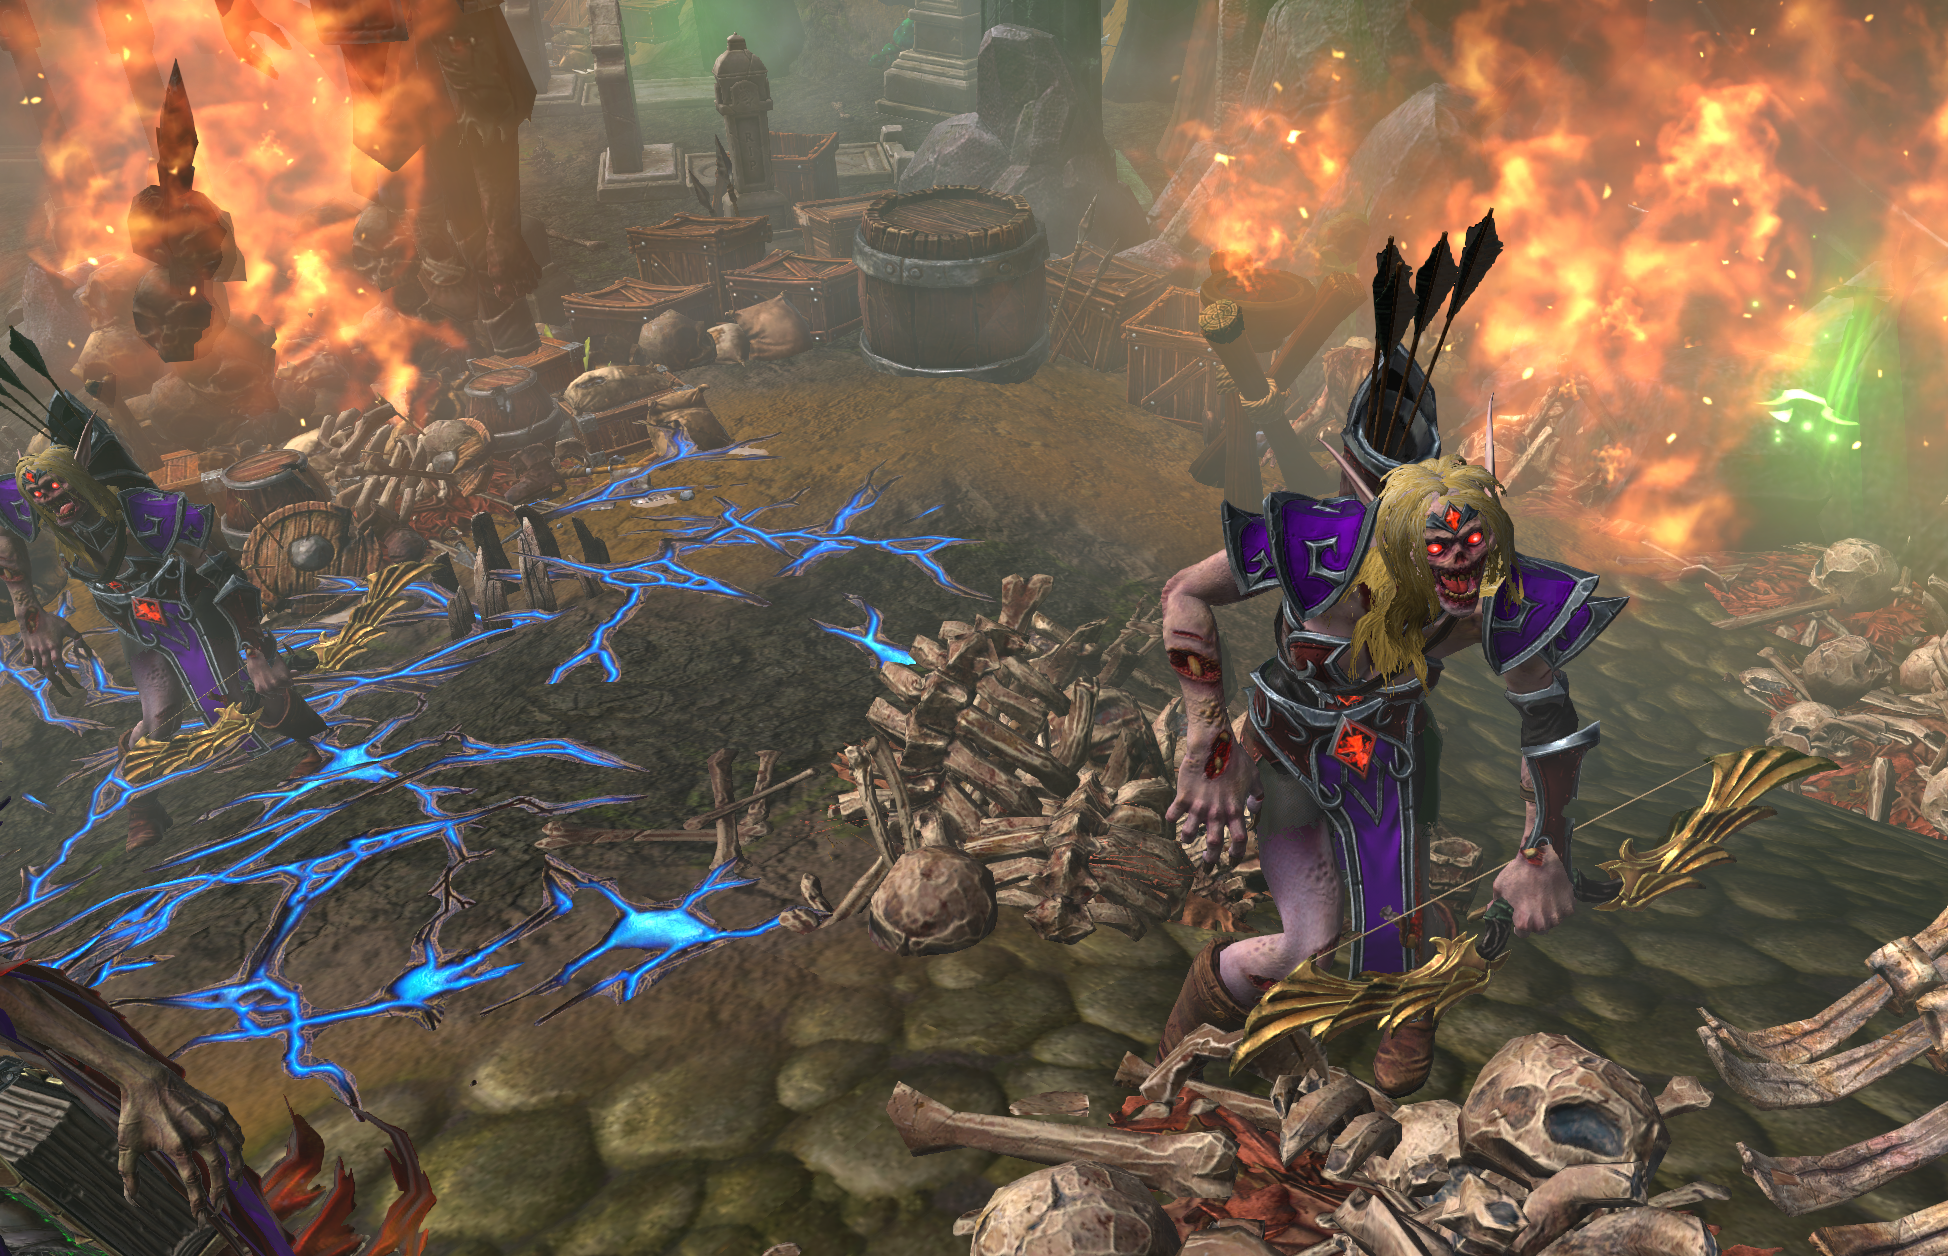
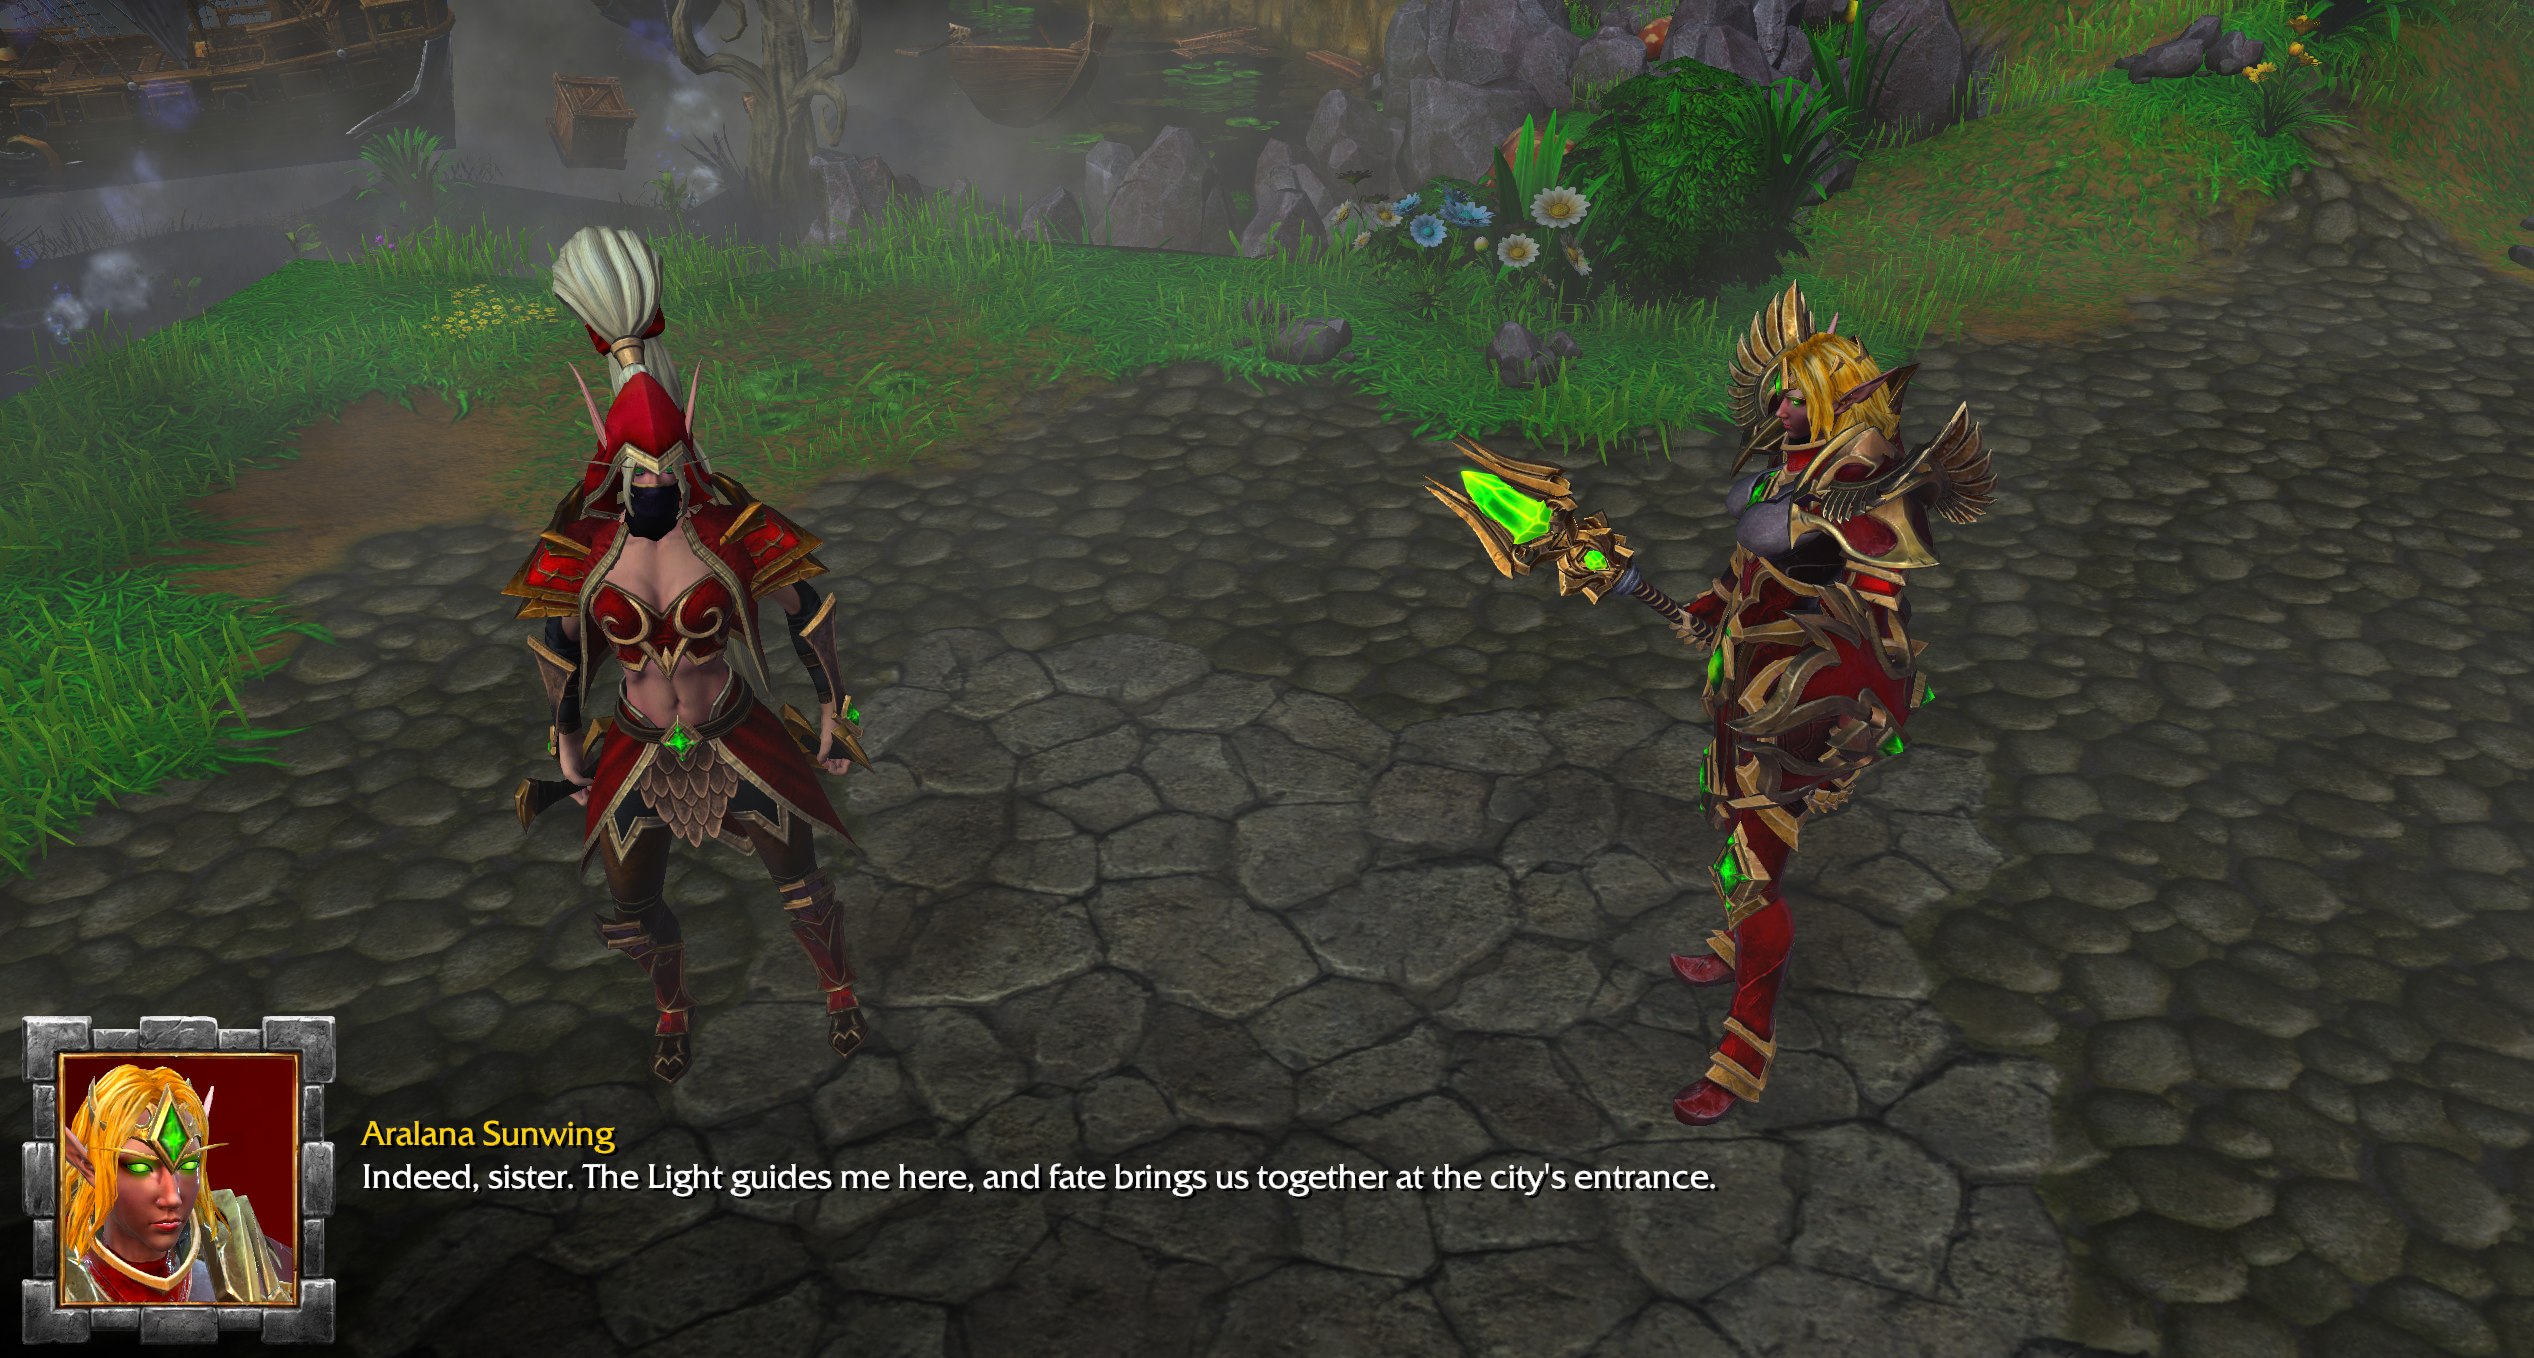
Azara and Aralana Sunwing, two sisters, are coming together after years of training and travel. United after long-standing disputes, they are ready to defend their homelands with their newly acquired powers. As they set out to reconquer the land and rid it of the foul undead that plague it, their determination and strength grow even stronger. An epic tale of redemption and triumph as the Sunwing siblings embark on their quest to cleanse the land and restore peace.
Chapter 1: The Scourge Invasion
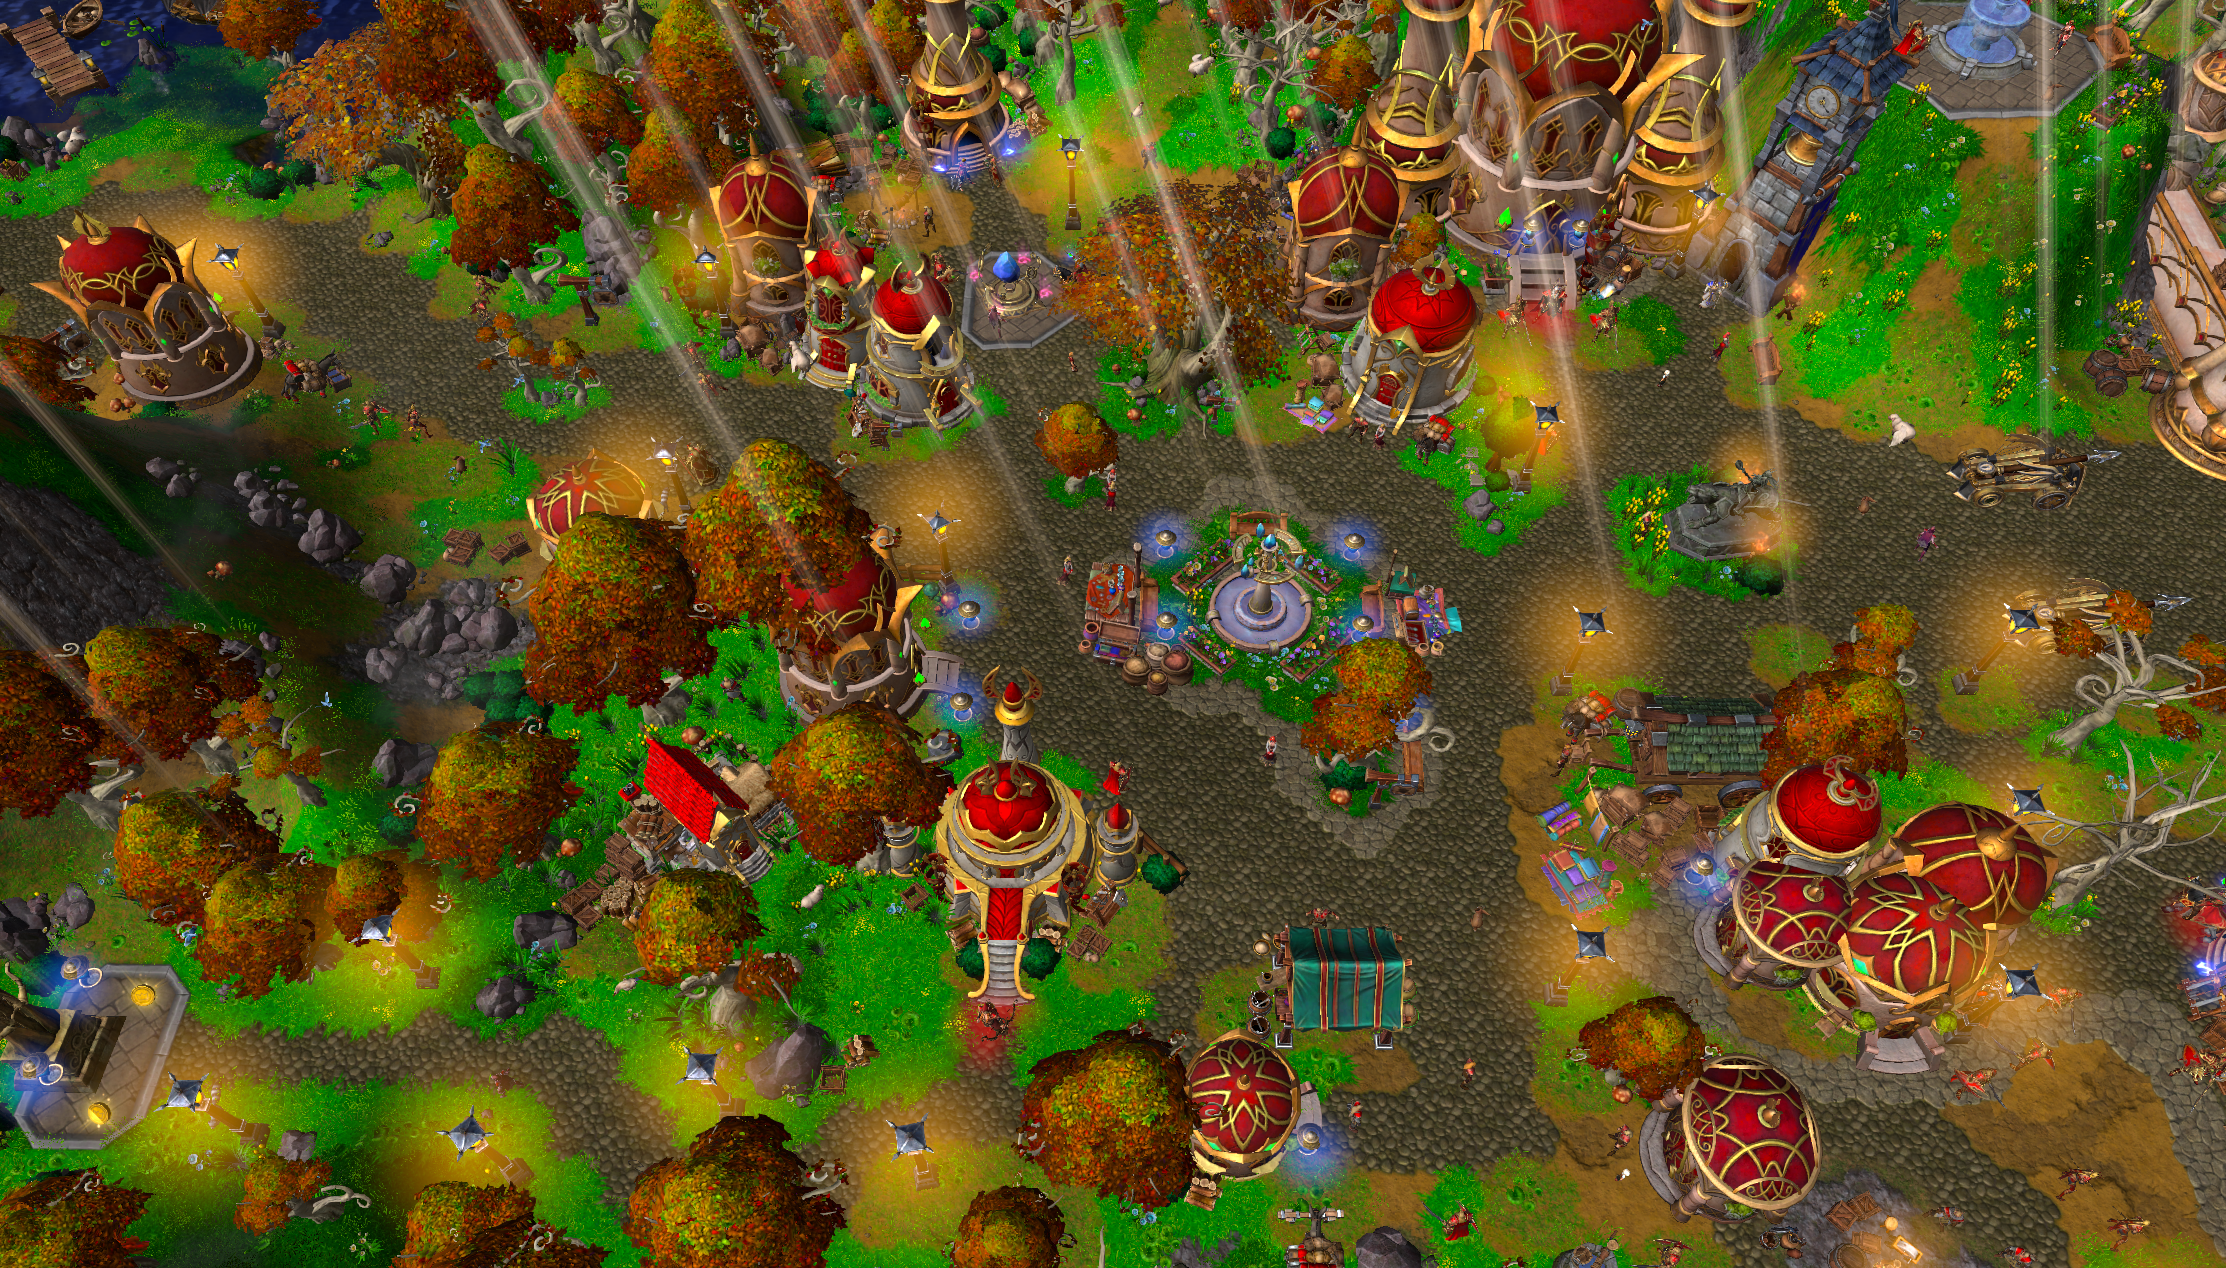
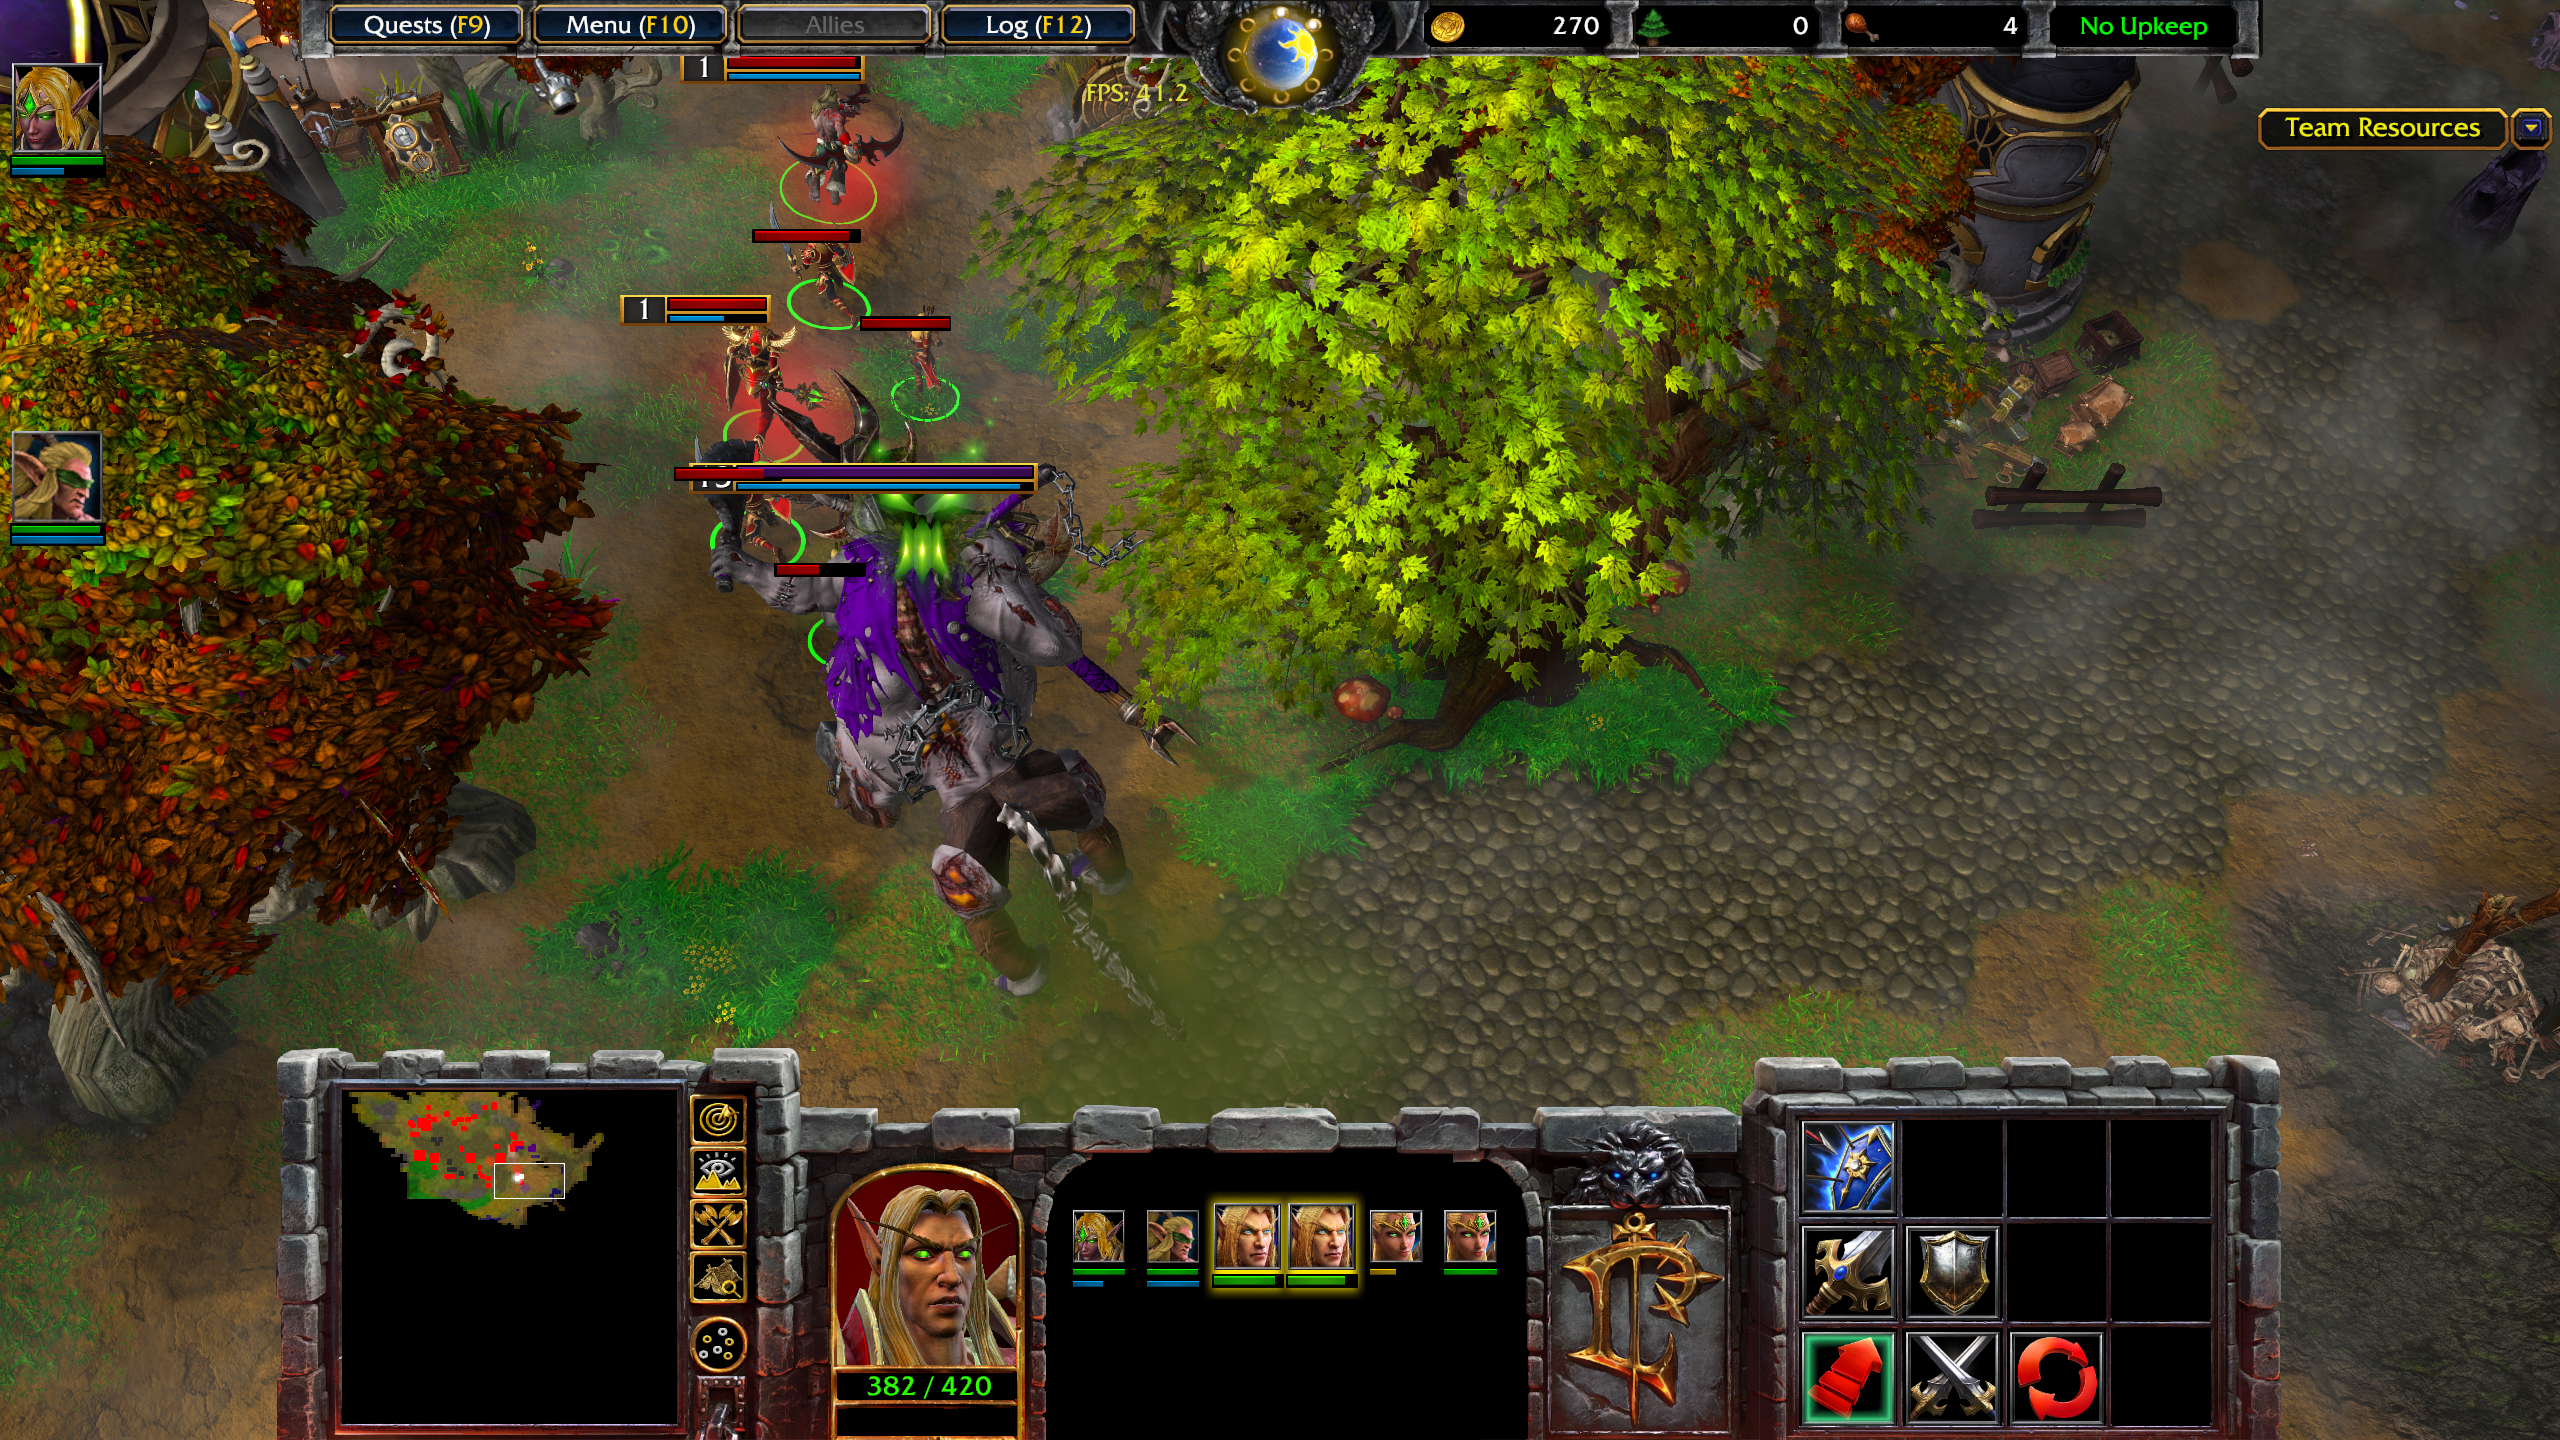
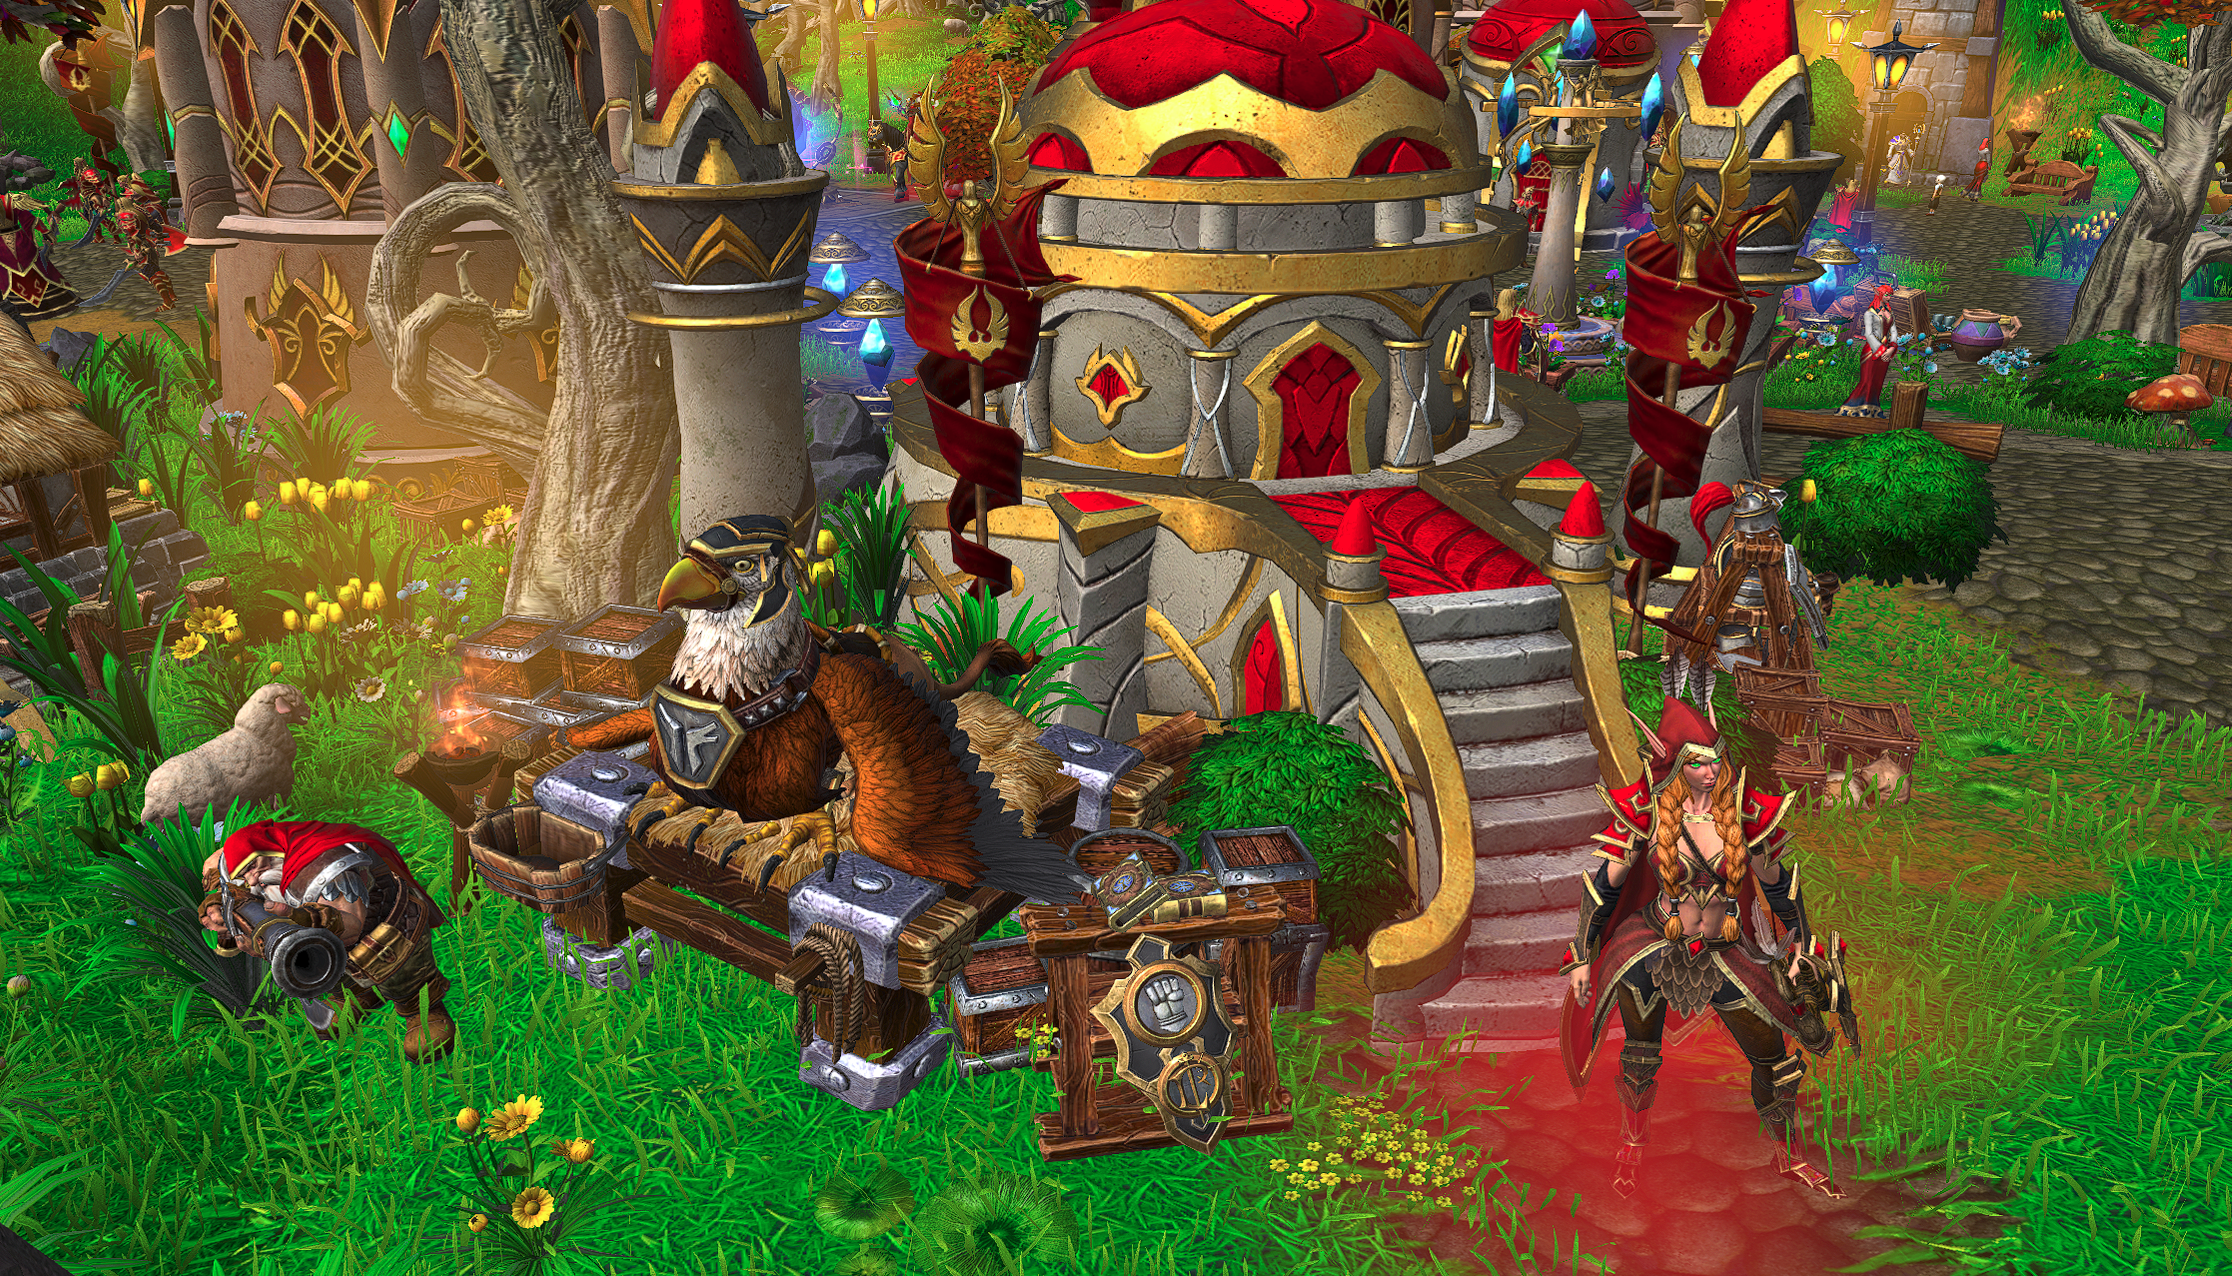
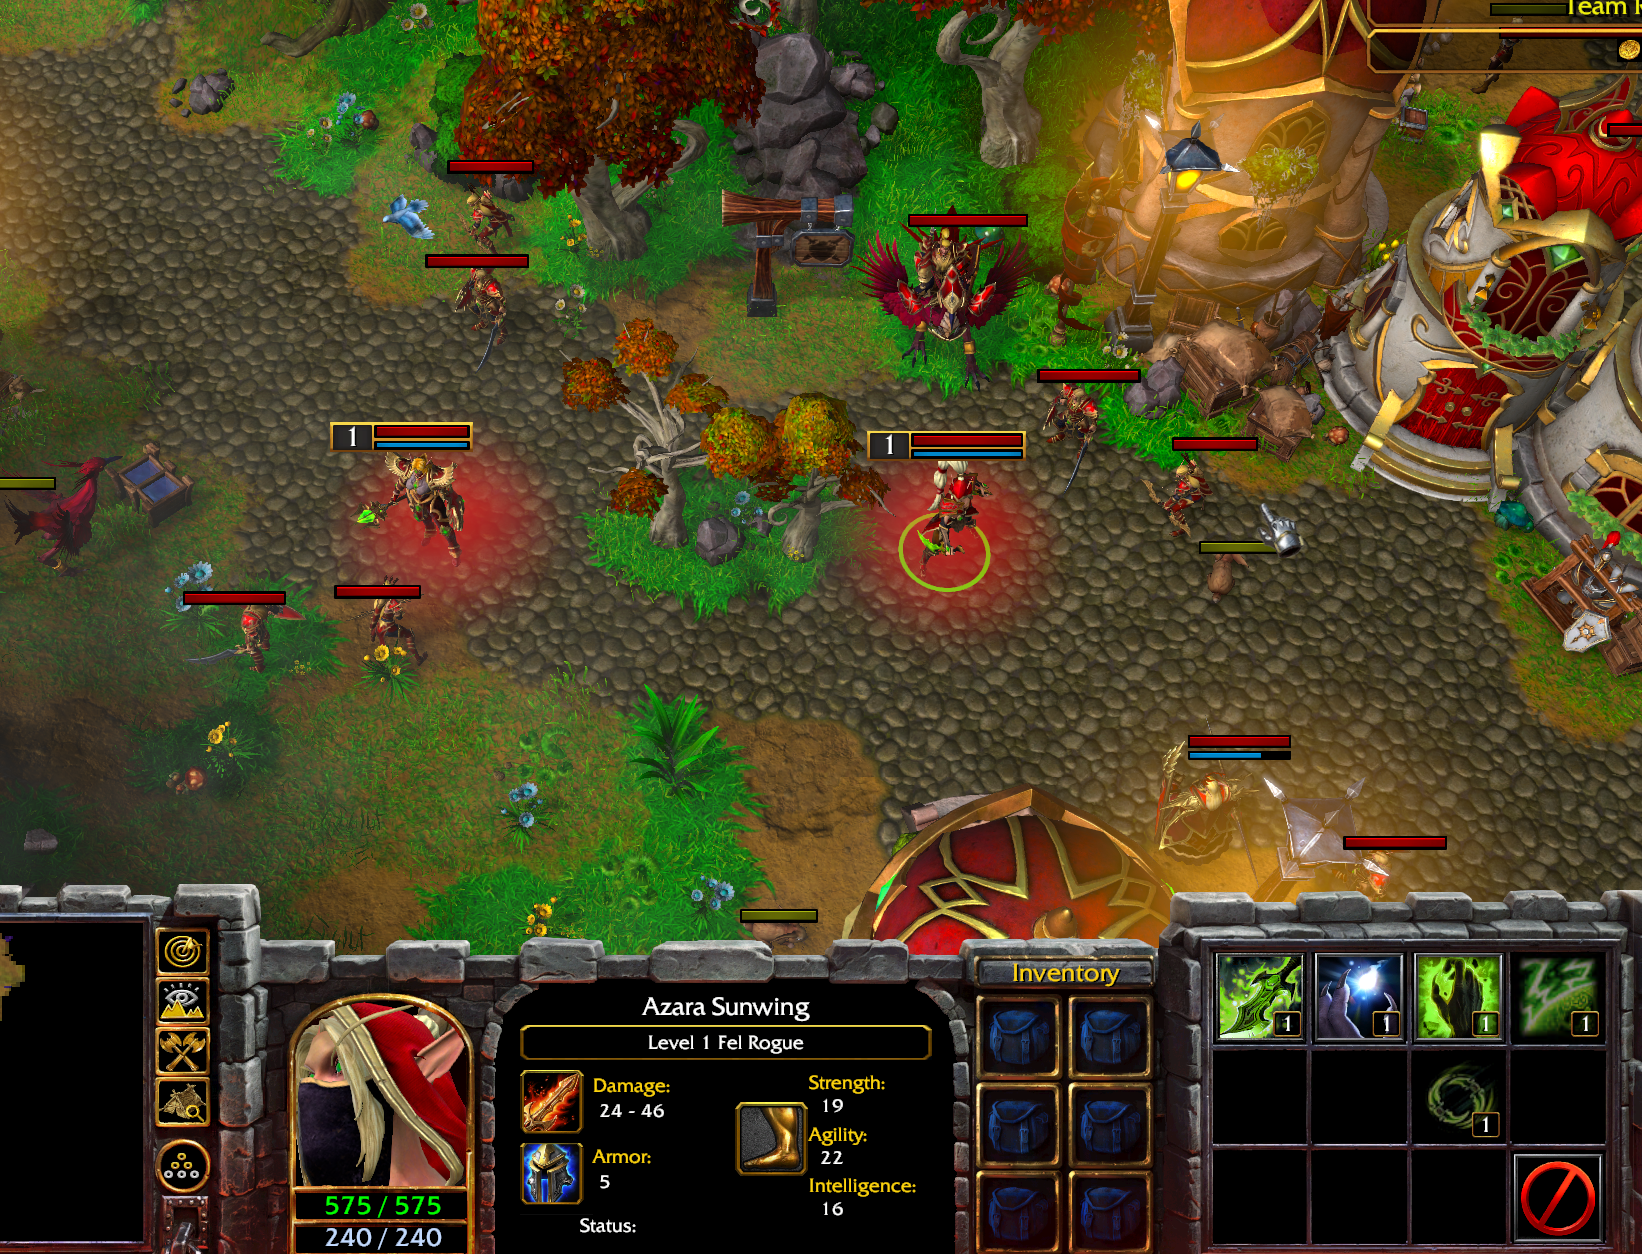
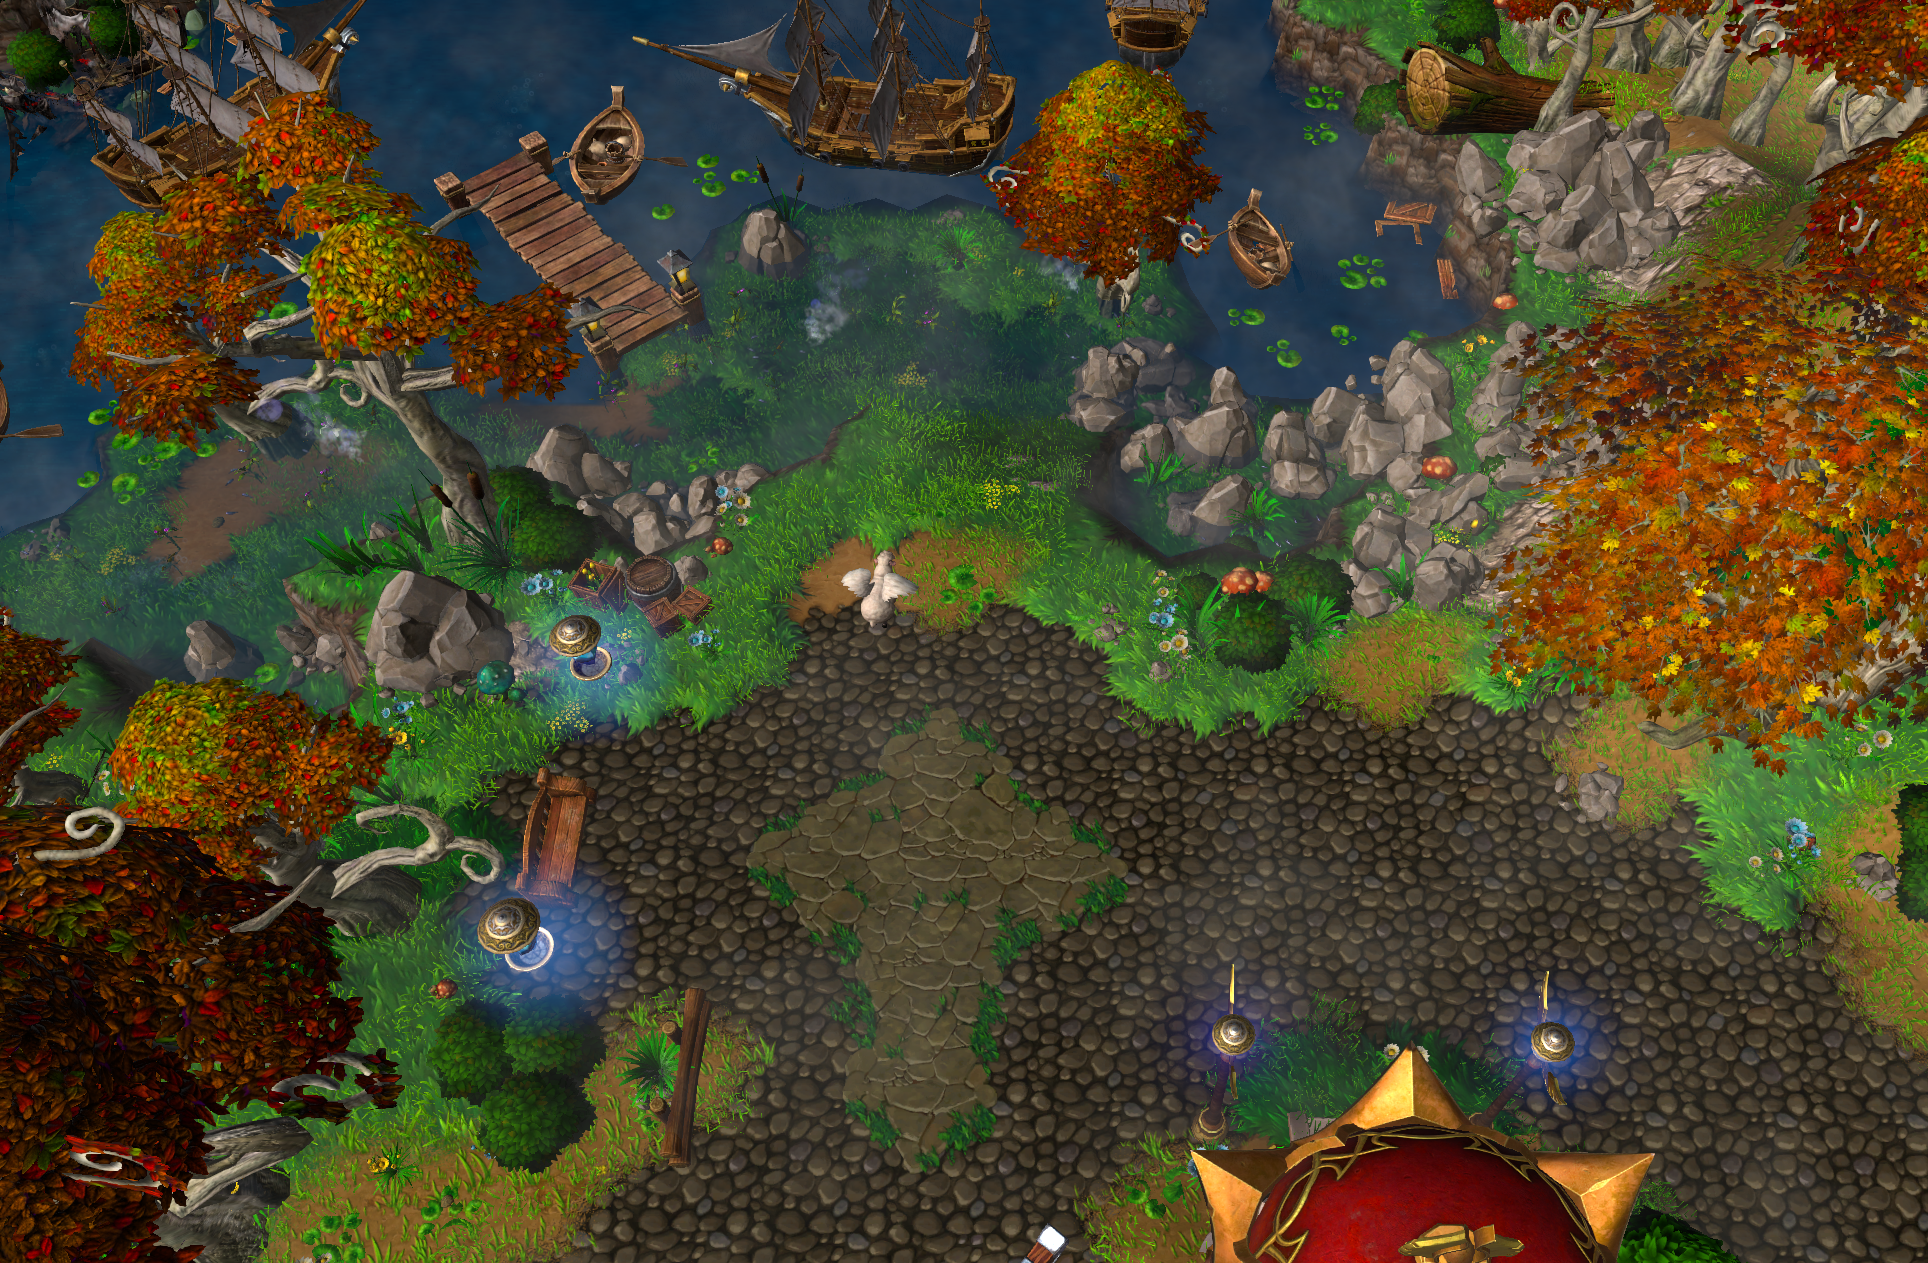
The campaign begins in Eversong Woods, where Azara Sunwing, a Blood Elf Fel Rogue, and her sister Aralana, a Paladin, lead the defense of a besieged city. The Scourge, remnants of the undead armies of Arthas, have been pressing into Blood Elf lands, threatening the very survival of their people. The sisters unite their skills and ideals to protect their homeland despite their differing paths.
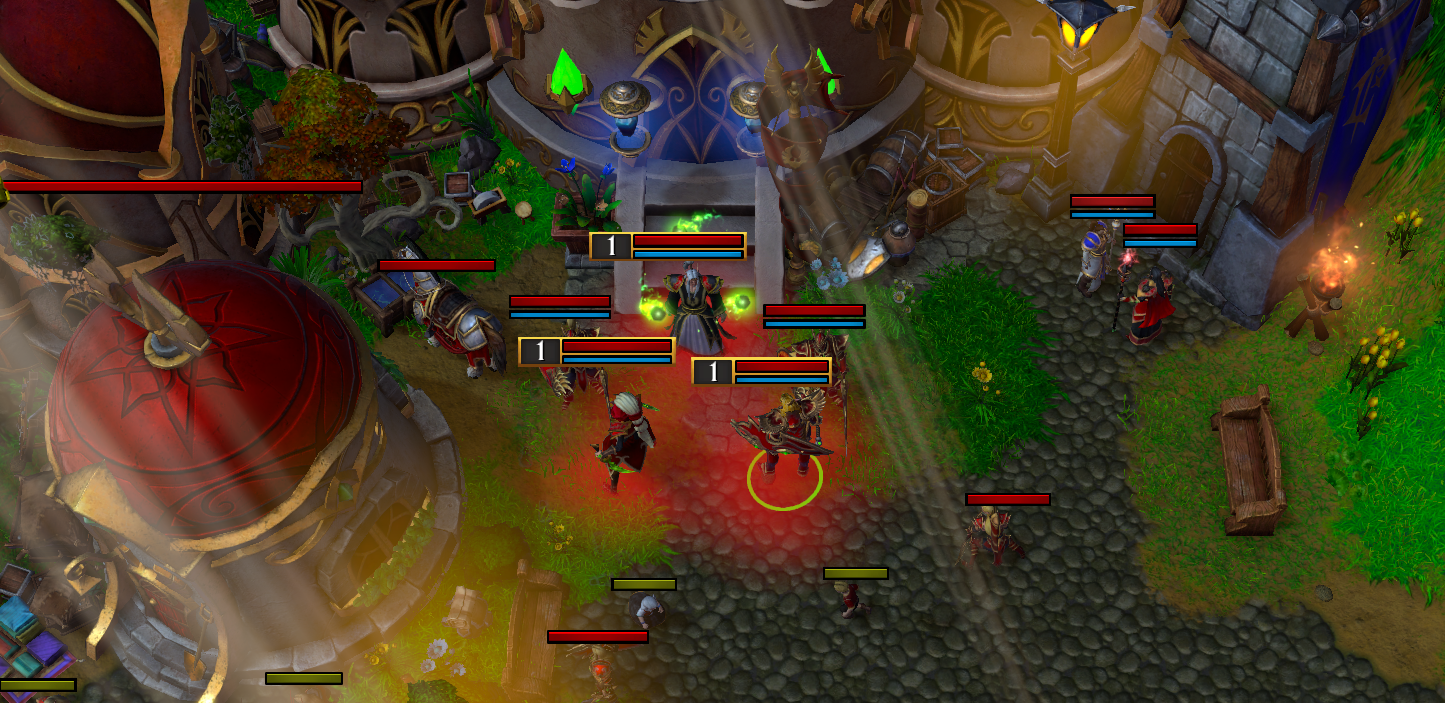
The first mission centers on holding the line against an overwhelming Scourge assault. As victory is achieved, the sisters and their allies discover disturbing signs that the Scourge forces are more coordinated than expected, hinting at a deeper, darker plan.
Chapter 2: The Ghostlands Battle
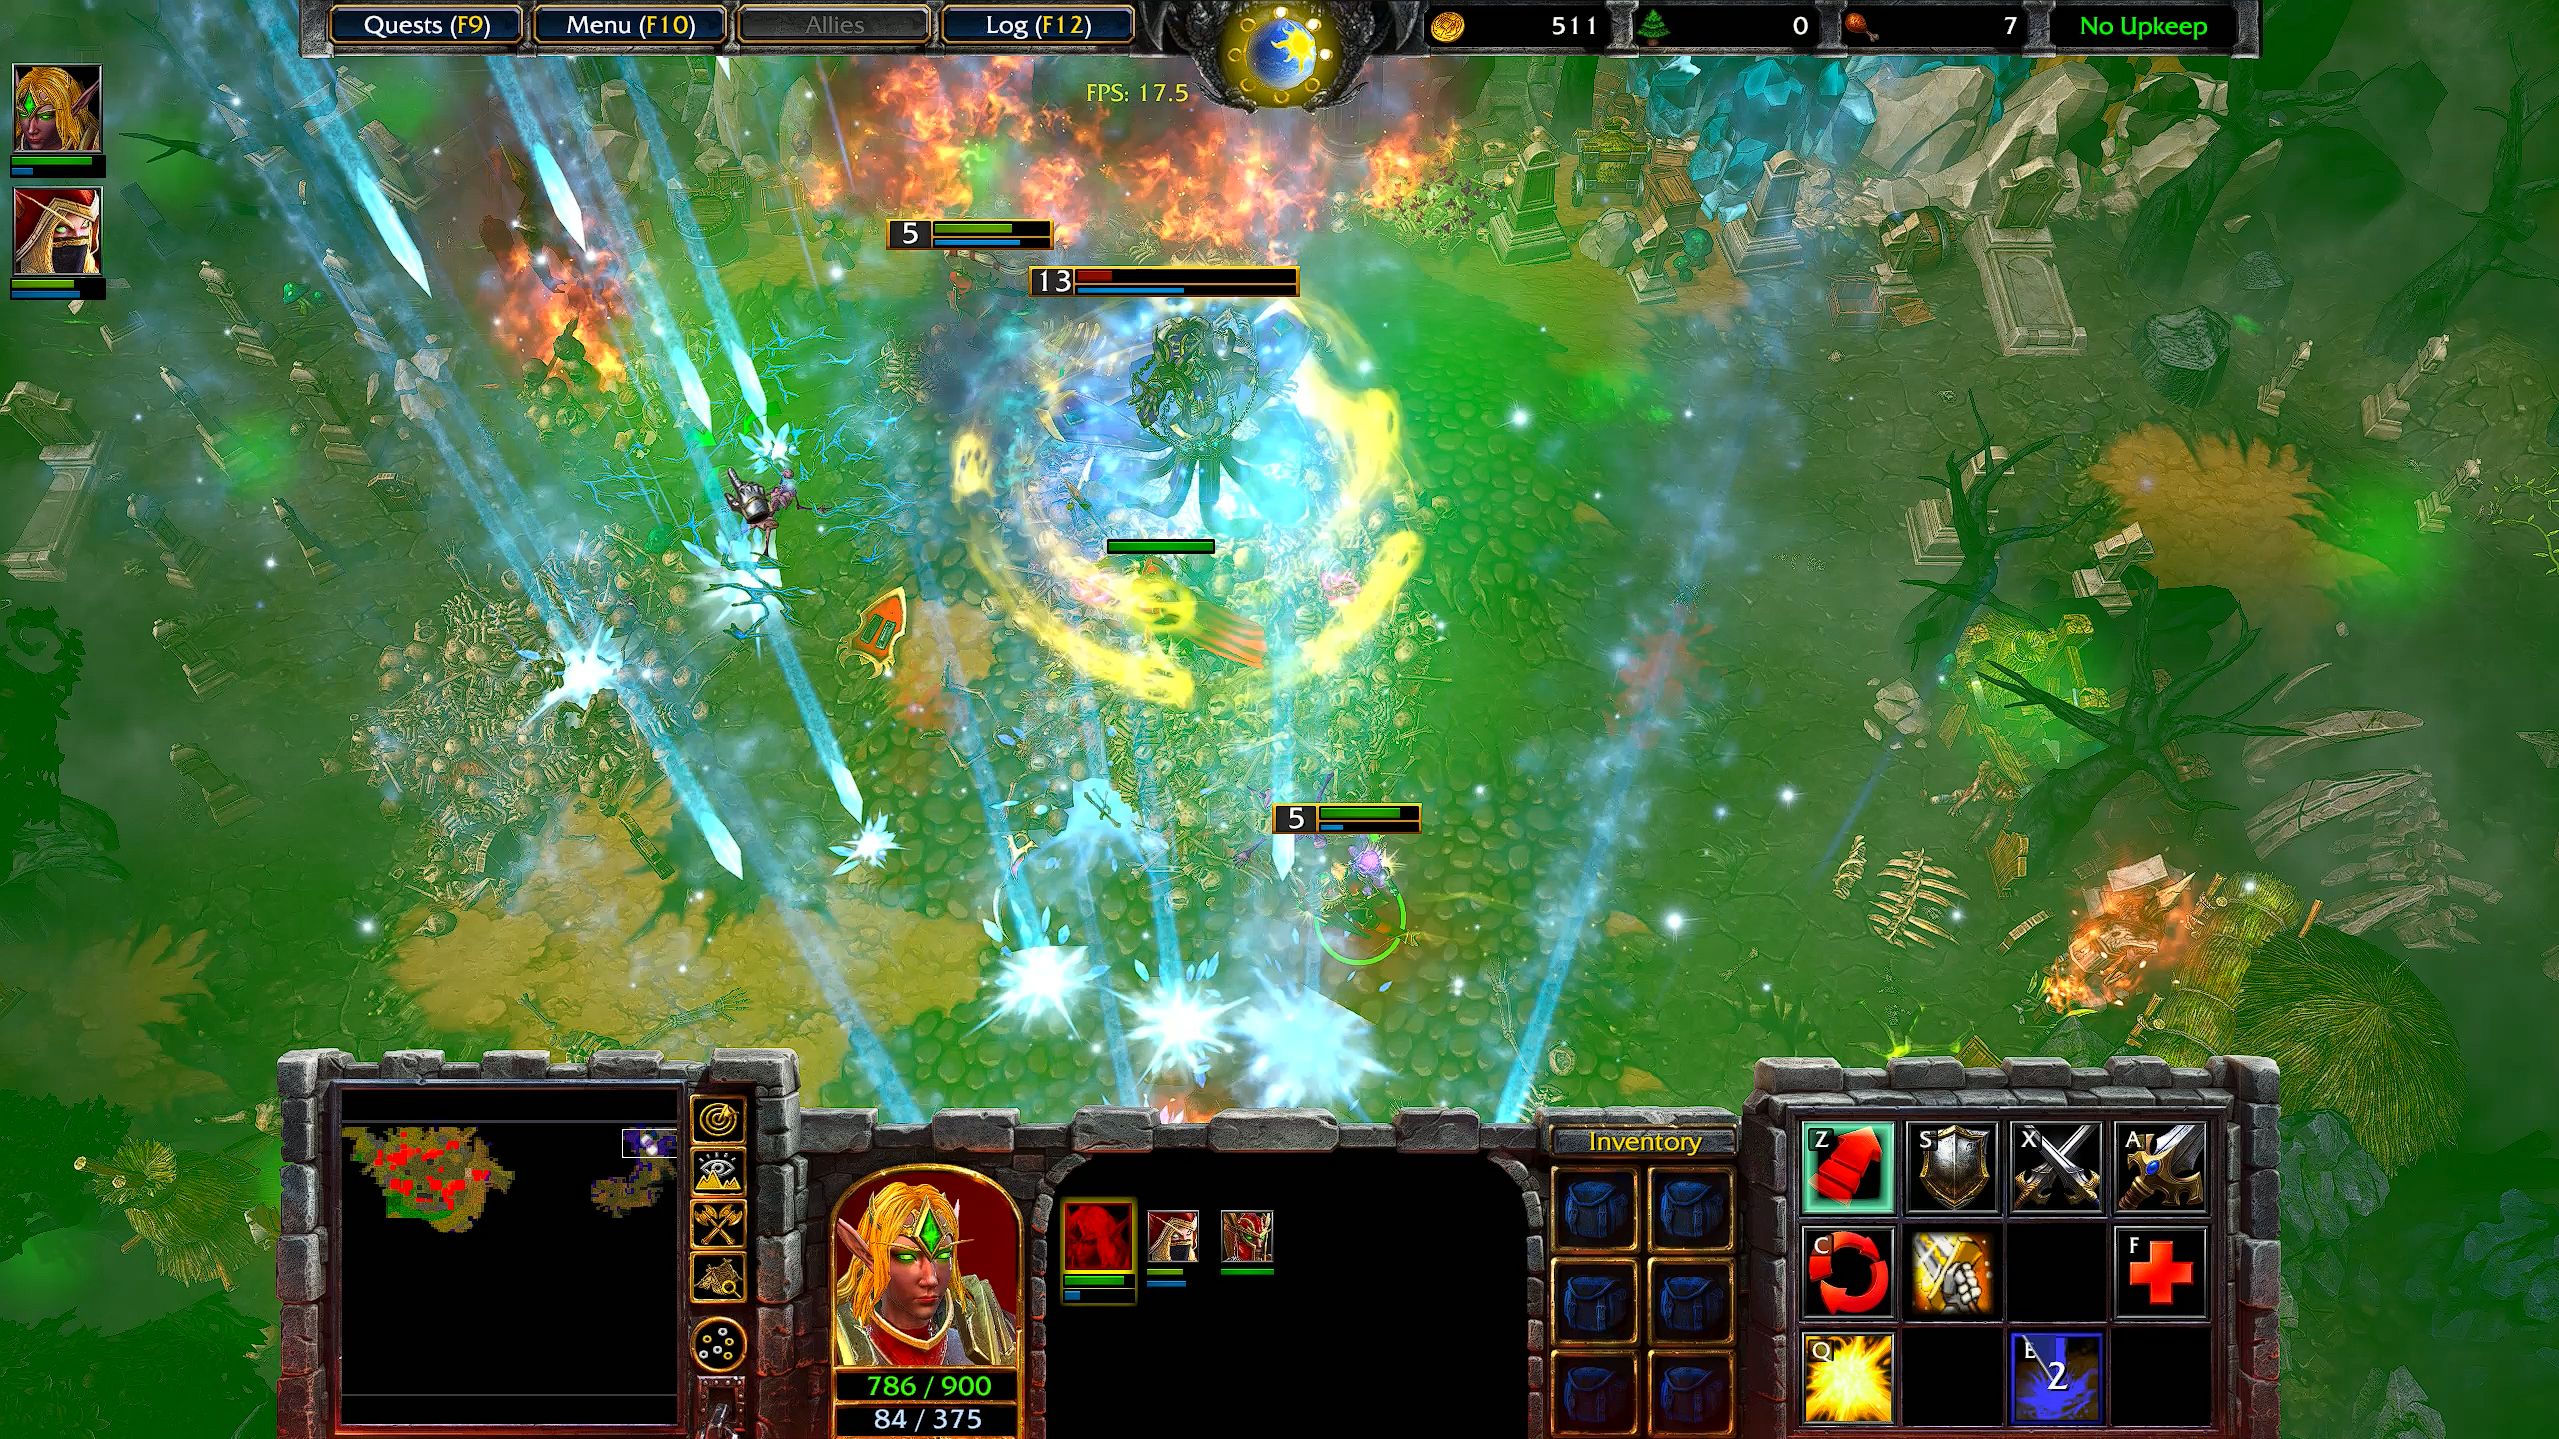
In the second mission, the heroes venture into the Ghostlands to push back the Scourge and eliminate a powerful necromancer who commands the undead forces. Despite fierce resistance, they succeed in destroying the Scourge commanders and their armies.
However, their triumph is short-lived. As the necromancer falls, three Dreadlords of the Burning Legion appear, led by Zorath Doomshard, the Bringer of Chaos. Using demonic magic and a Soulcatcher Device, the Dreadlords resurrect the defeated Scourge, twisting them into even darker forms of undeath. The Scourge armies are now under the Legion's control, their corrupted souls harvested for a sinister purpose.
The Dreadlords reveal their plan: to use the power of the Scourge’s corrupted souls to summon Prince Malchezaar, a powerful Eredar Lord from the Twisting Nether. Before the heroes can react, the Dreadlords escape, leaving the Blood Elves to contend with the newly risen undead.
Chapter 3: The Search for the Shard of Eternity
Realizing they cannot defeat Malchezaar without extraordinary power, Azara and Aralana seek counsel from an ancient arcane scholar who tells them of the Shard of Eternity. This fragment of a legendary artifact was said to have been forged by the Titans themselves, capable of severing even the strongest ties to the Twisting Nether.
The Shard’s last known location is in the corrupted lands of Felwood, but to reach it, the heroes must first journey to Winterspring, where they can find a portal leading deeper into the wilds of Kalimdor.
Chapter 4: Journey Through Winterspring
The heroes teleport to Winterspring, where they must navigate the icy wilderness while fending off Legion agents trying to stop them. Along the way, they encounter dangerous wildlife, harsh weather conditions, and remnants of ancient Highborne ruins tied to the Shard’s lore. The trials of Winterspring test the heroes' resolve and hint at the power they will need to claim the artifact.
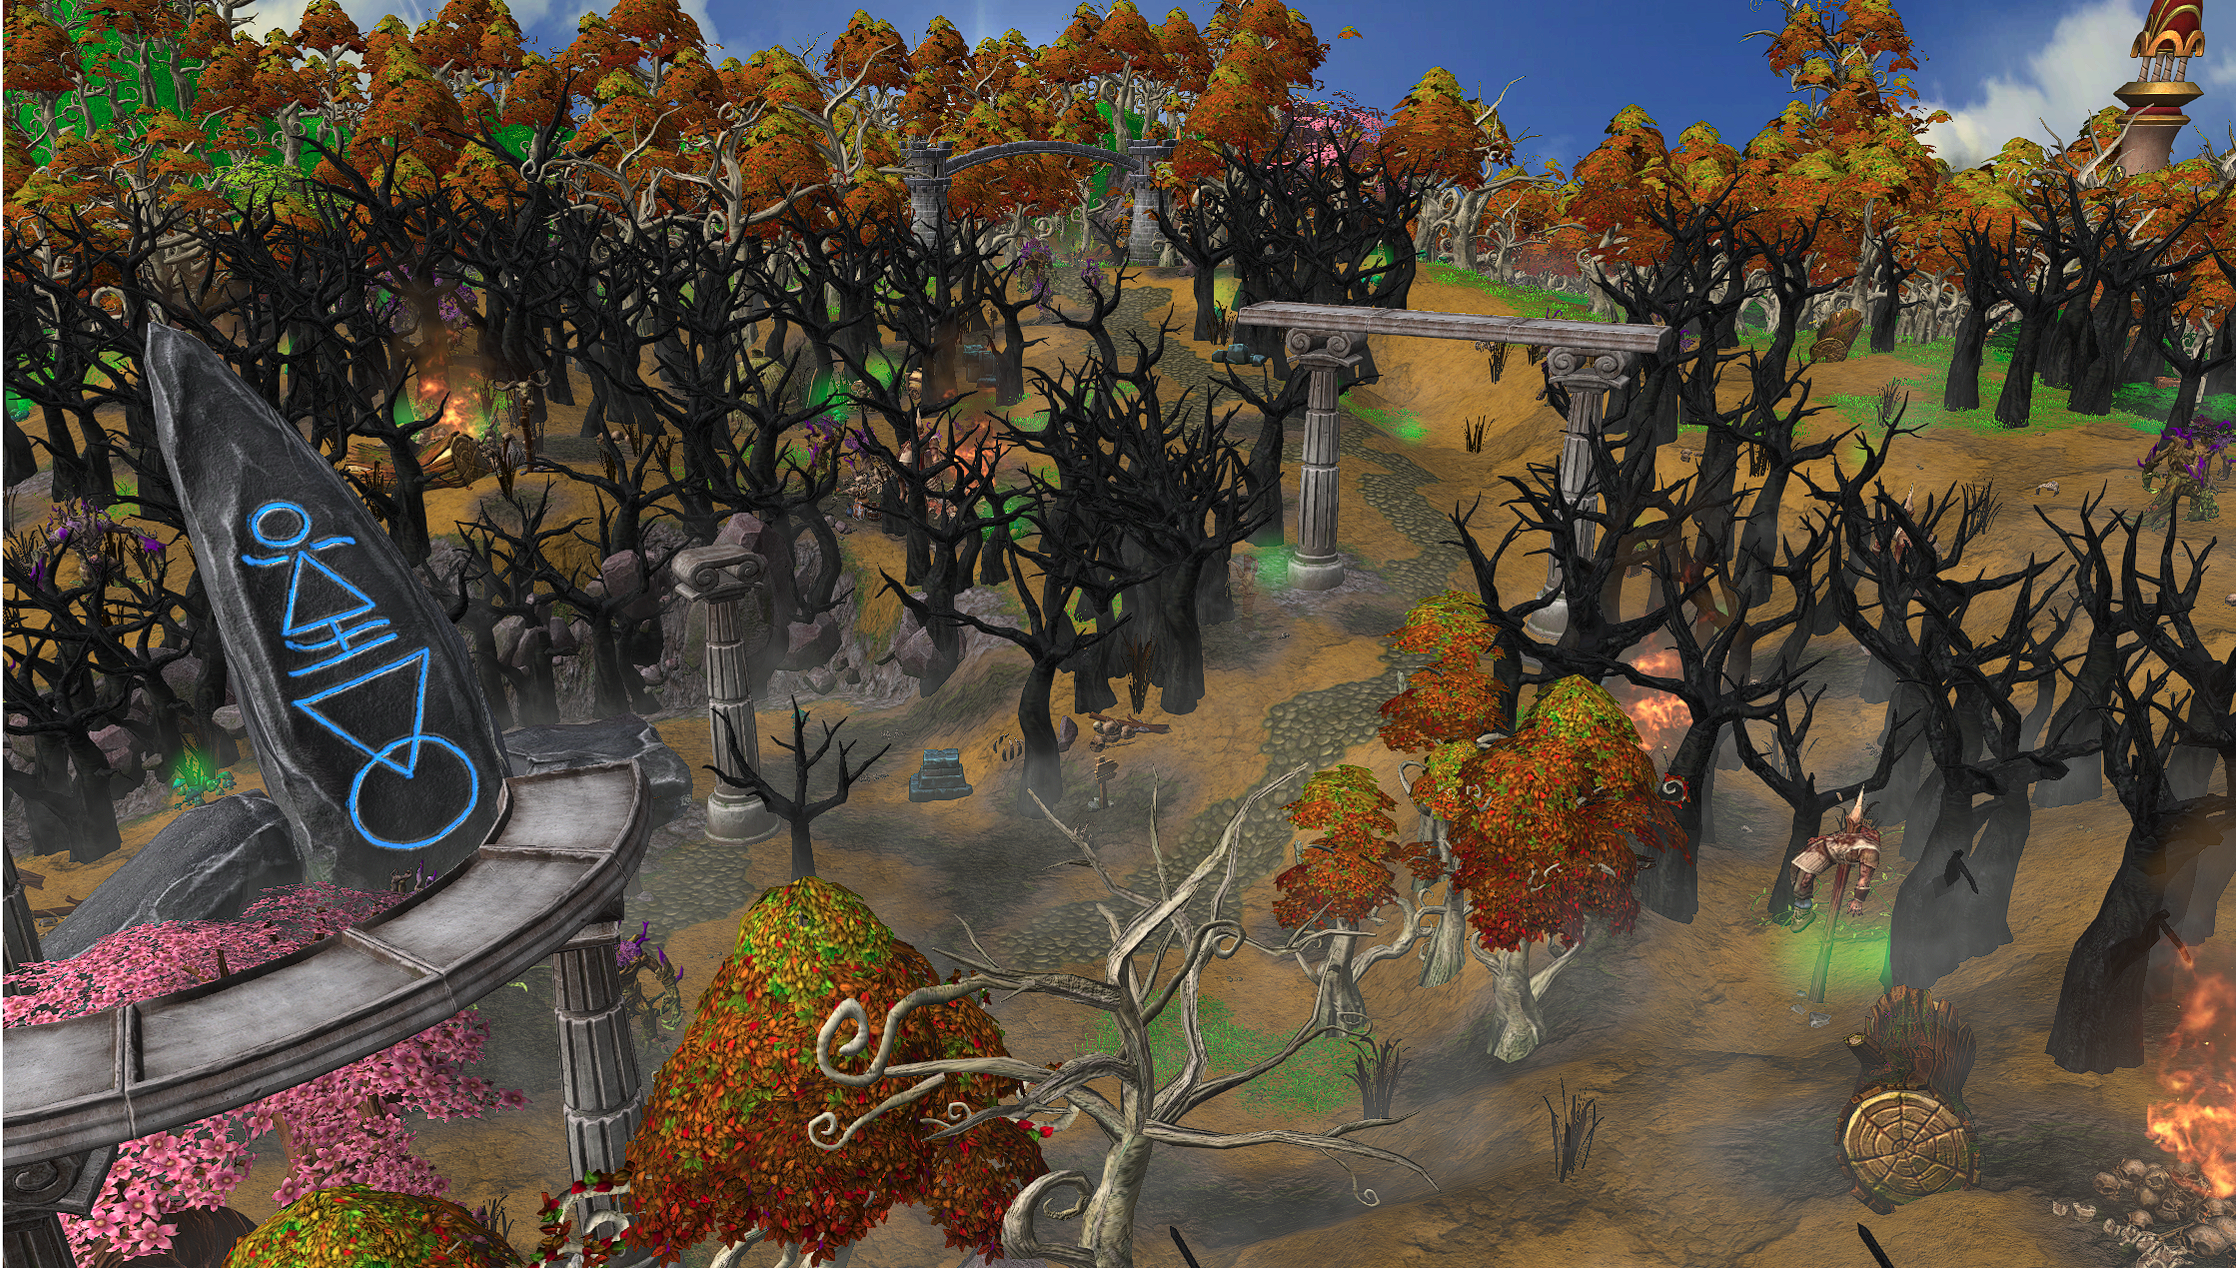
Chapter 5: The Corruption of Felwood
Reaching Felwood, the heroes must brave the toxic, demon-infested forests to locate the cave housing the Shard of Eternity. The corrupted woods are crawling with Legion forces and undead minions, forcing the heroes to battle their way through increasingly dire threats. They discover that the land itself has been twisted by fel magic, and they must overcome both physical and magical challenges to proceed.
Chapter 6: The Cave in Felwood
At the heart of Felwood lies the cave where the Shard of Eternity is hidden. Inside, the heroes encounter both natural and magical defenses, including puzzles, traps, and monstrous guardians protecting the Shard. At the center of the cave lies the artifact, glowing with ancient energy.
Upon claiming the Shard, the heroes are ambushed by Zorath Doomshard and his forces. A climactic battle ensues as the heroes fend off waves of demons and undead. Zorath attempts to corrupt the Shard, but the combined efforts of Azara and Aralana purify its power, driving the Dreadlord back.
Chapter 7: The Final Confrontation in the Plaguelands
Armed with the Shard of Eternity, the heroes return to the Plaguelands, where the Burning Legion is completing their summoning ritual. The corrupted Scourge, under the Legion’s command, defend the summoning site with unrelenting ferocity. The heroes and their forces push through, finally reaching the epicenter of the ritual.
The summoning culminates with the arrival of Prince Malchezaar, whose entrance tears the sky open, revealing glimpses of his infernal citadel in the Twisting Nether. Malchezaar, now wielding the power of countless corrupted souls, taunts the heroes, claiming that all their efforts have led to his inevitable ascension.
The final battle is an epic confrontation against Malchezaar and his spectral fel knights, formed from the souls of the Scourge. Azara uses the Shard of Eternity to sever Malchezaar’s connection to the Nether, weakening him enough for the Blood Elves to destroy him. As Malchezaar falls, he attempts to retreat to the Twisting Nether, but the corrupted energies of Karazhan pull him into the cursed tower instead. His defeat inadvertently ties his essence to Karazhan, setting the stage for his return during the Burning Crusade.
In the process, the Shard is overwhelmed by the chaotic energy unleashed during the battle and shatters, its fragments scattering across the battlefield.
The Dreadlords attempt to escape, but the heroes pursue them, vowing to end the Legion’s schemes once and for all.
Epilogue: A Fragile Peace
With Prince Malchezaar defeated, the Shard of Eternity destroyed, and the Burning Legion’s plans temporarily thwarted, the Blood Elves have struck a significant blow against their enemies. However, the cost of victory weighs heavily. Azara and Aralana reflect on their journey and the sacrifices made, reaffirming their bond as sisters despite their differences. The campaign ends with the heroes vowing to protect their people and rebuild their shattered lands, even as new threats loom on the horizon.
Aralana has two abilities mentioning Turalyon. Ability descriptions should be consistent in the way they are written (text colour, formatting etc.).
Luzran has no hero glow. It could be simply added: How to add Hero Glow without Modeling Same Cold...
Please understand that alphas go here: Map Development
Do not use the resource threads for unfinished works.
Also, please don't spam tags. It's not a campaign yet as it's just one map. Only choose the most fitting ones. I presume RPG and Co-op work best, not Footman Frenzy. That's an entirely different genre.
Six months ago i wanted to play an old map that did't work from 1.23v of Warcraft III. I made it to work on (1.)1.30++ patch so I can play it with my brother, it's all just fun. I wanted to integrate an (3.)AI into this map but the AI is at (0.4 version) still needs much, much work. Have fun...
Six months ago i wanted to play an old map that did't work from 1.23v of Warcraft III. I made it to work on (1.)1.30++ patch so I can play it with my brother, it's all just fun. I wanted to integrate an (3.)AI into this map but the AI is at (0.4 version) still needs much, much work. Have fun...
Map is going massive through changes from Demon Hunter model changed to Fel Rogue model. Changed some core spells from both main Heroes and will be posting finished second map that will be Altered Melee with Blood Elven Tech Tree. After that you can translate it.
All voice lines were changed, every single one and many more changes. Now using Elven Labs and it's much better experience.
Map is going massive changes from Demon Hunter model changed to Fel Rogue model. Changed some core spells from both main Heroes and will be posting finished second map that will be Altered Melee with Blood Elven Tech Tree. After that you can translate it.
All voice lines were changed, every single one and many more changes. Now using Elven Labs and it's much better experience.
Blood Elven Chapter 1 has been updated my friend. It has been changed so much that you should play it again!
You can translate it but give credits to me! Need feedback too.
All of the dialogs texts in the whole map have been changed
All of Voice Characters were changed -
Went from Cheap AI to Elven Labs Pro AI Voice to Text
Feel there should be less undead at the gates message spam. Have a triggered timer before the text can appear again, once in x seconds or so.
Had 11 items to use on Runes and used one on the runestone near the corrupted keeper of the grove resulting in all 11 items to disappear from the inventory.
Undead Unrest doesn't tell you how many you should kill but the requirements update with how much you've killed. Same with The Sanctum of the Light.
The orb quests says the bandits are north in the woods but they're actually southeast.
Reaching the cemetery you get the message that the elite undead will attack the elf base. I assume it was Luzran. But he/it was dead already.
Pressing ESC after Tannia tells of the "wonderful news" will get you that message again and camera moved to her location; runestone quest completed too.
Kaedanis' "!" mark remains after finishing the quest with ghosts. Keel's was not visible anymore though, not even the "?".
Overall, a very nice co-op RPGish map which can definitely become a lovely campaign.
A credits list in the map thread description is required where the names of the resource (models, skins, icons, spells, sound etc.) authors are mentioned along with the specific resource. It would be a luxury to have links leading to the used resources. Credits in the Quest Log would be appreciated too.
A detailed changelog in the first post would be helpful to reviewers and notify fans about the newest implementations to your map.
Map thread tags are important. Please use those that fit and not more or none.
Feel there should be less undead at the gates message spam. Have a triggered timer before the text can appear again, once in x seconds or so.
Had 11 items to use on Runes and used one on the runestone near the corrupted keeper of the grove resulting in all 11 items to disappear from the inventory.
Undead Unrest doesn't tell you how many you should kill but the requirements update with how much you've killed. Same with The Sanctum of the Light.
The orb quests says the bandits are north in the woods but they're actually southeast.
Reaching the cemetery you get the message that the elite undead will attack the elf base. I assume it was Luzran. But he/it was dead already.
Pressing ESC after Tannia tells of the "wonderful news" will get you that message again and camera moved to her location; runestone quest completed too.
Kaedanis' "!" mark remains after finishing the quest with ghosts. Keel's was not visible anymore though, not even the "?".
Hey @DarkIllidan! I played your map recently, and will share my walkthrough here:
I liked it. It keeps the pressure during constant undead assaults. I liked voice lining, and like to see it as a common thing nowadays.
Albeit I could mark the following as interesting stuff:
I understand - this map is not for solo players, but maybe it would be better to deliver the second hero to the 1 player than share it?
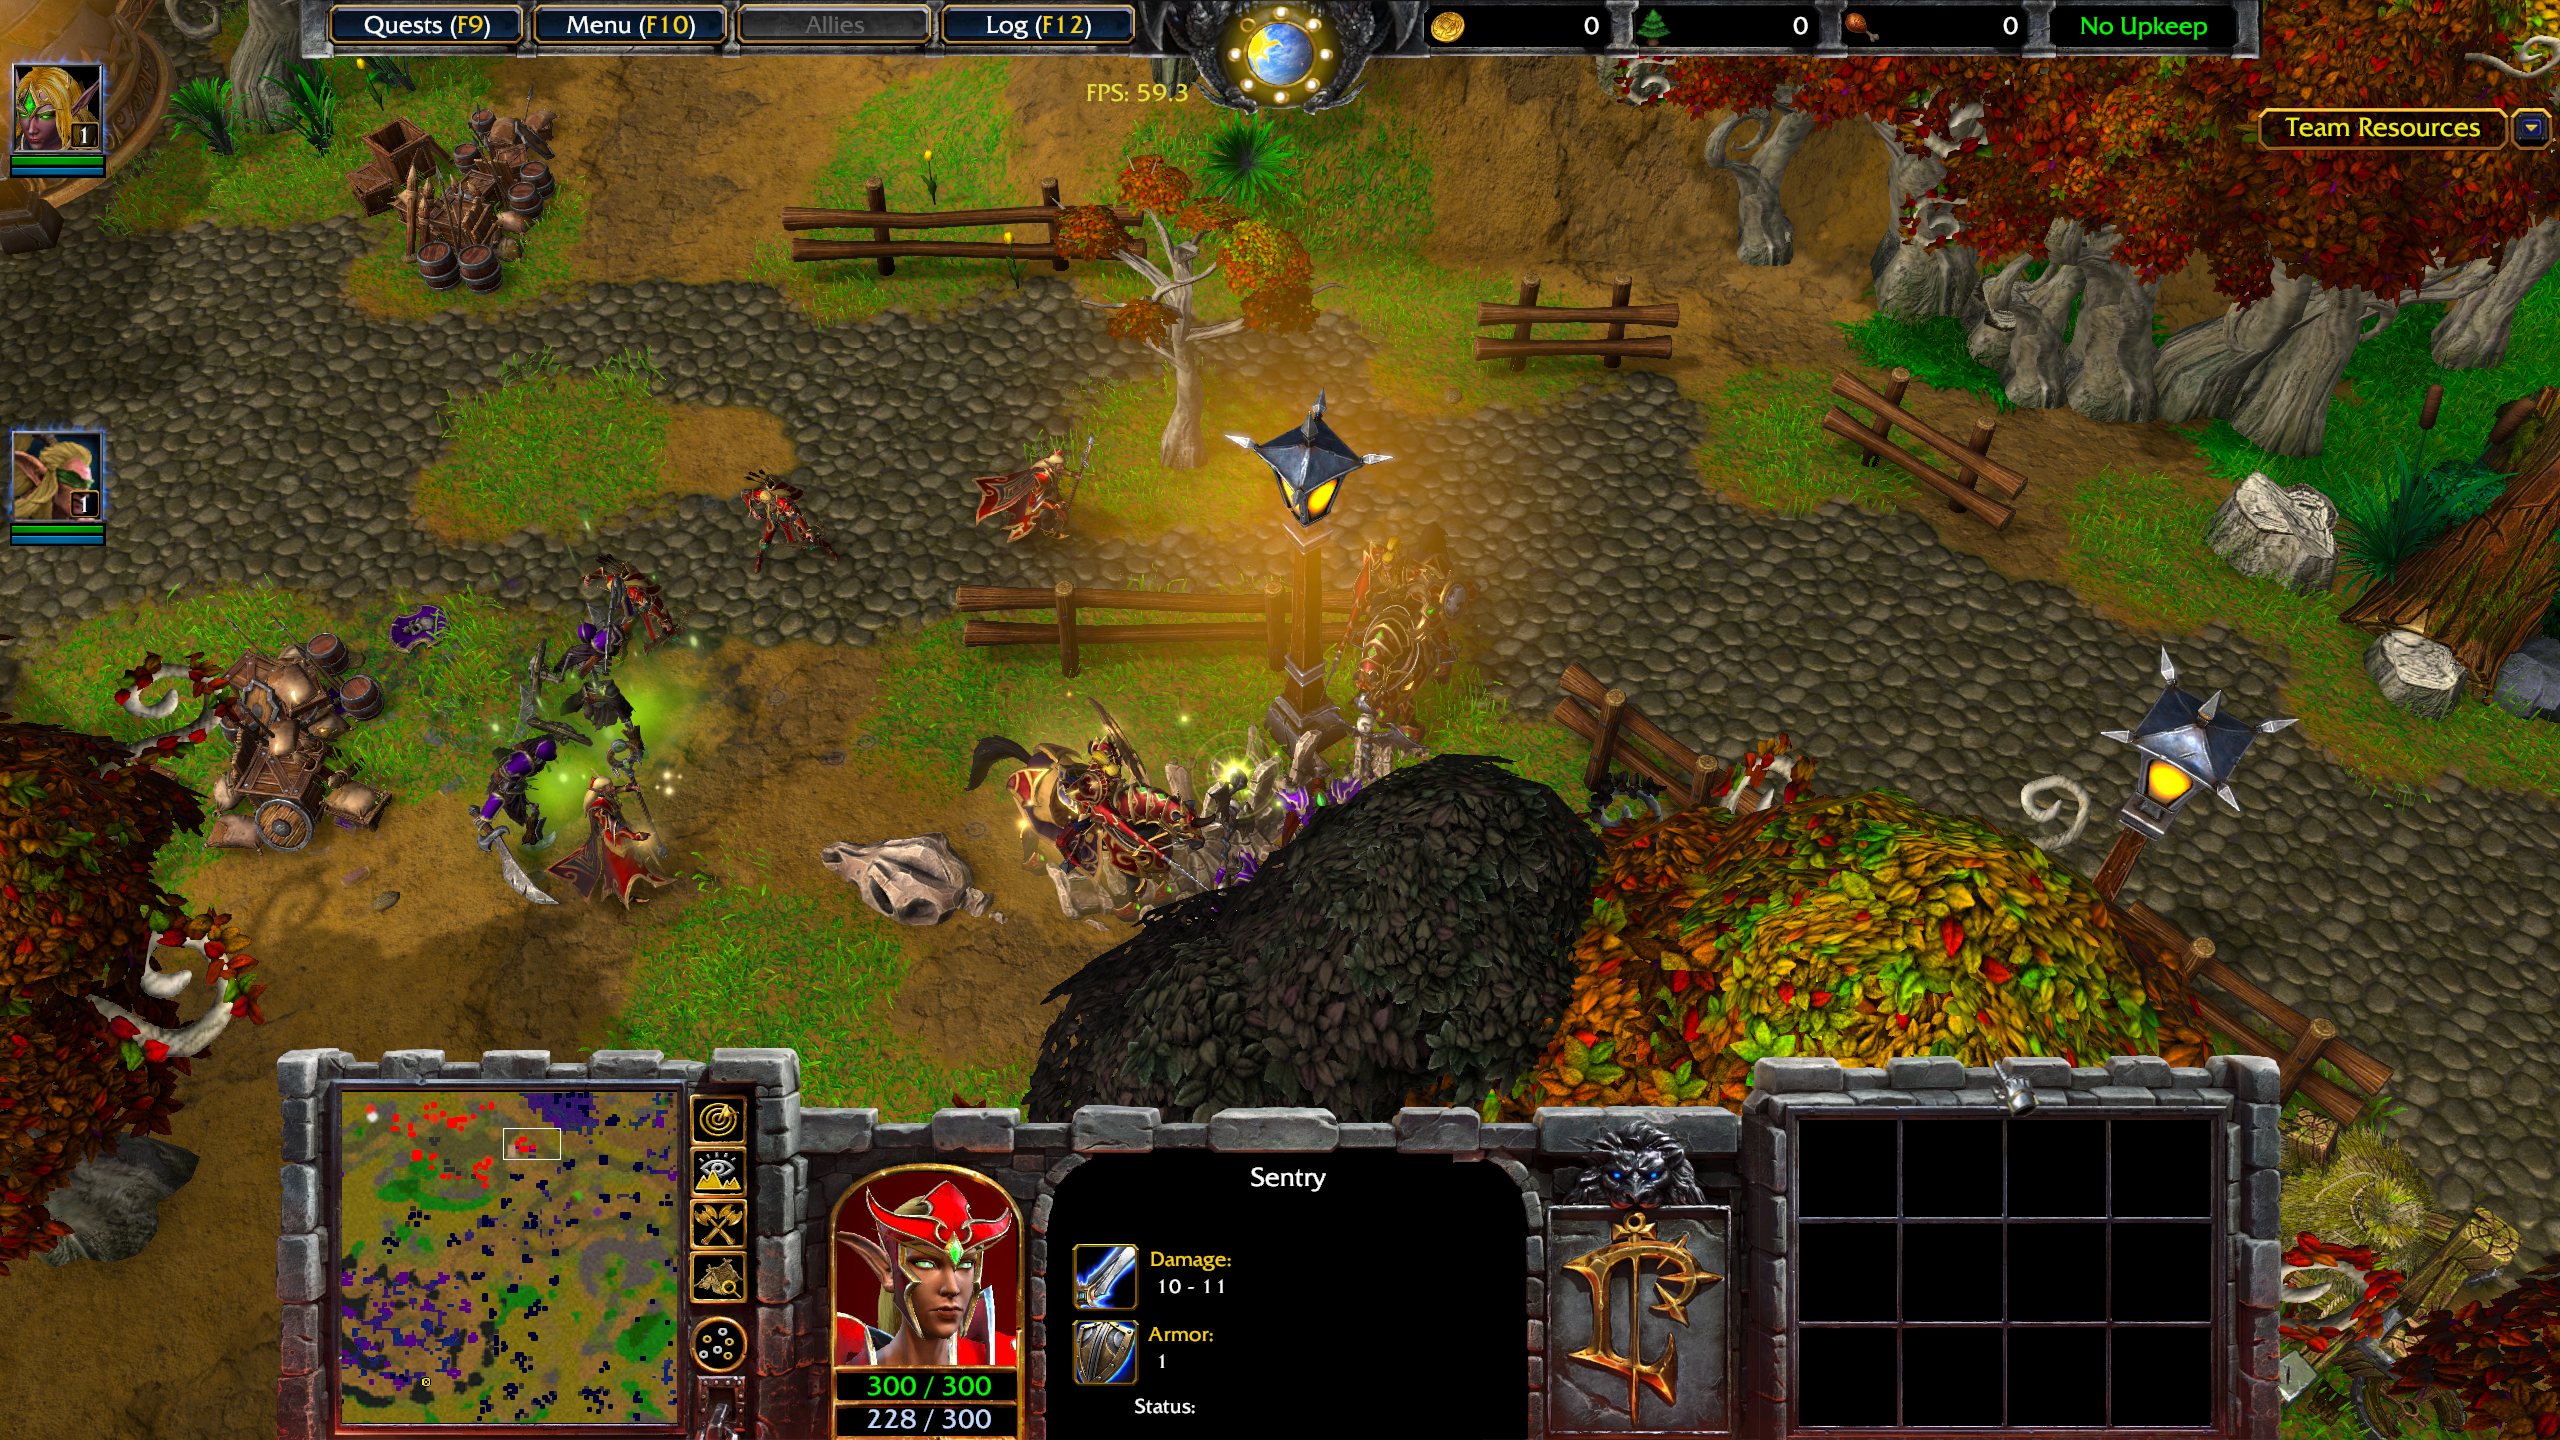
Patroling abomination is not so hard, but why in Azeroth's name there are "defeat" conditions if Undead enter the village? I think it would be clever and nice to force all those units near the gates to rush & defend the village. Yet constant pressure always forced me to go back to help defenders or pray that they could solo it. It's not bad, but I think that you should state that staff teleportation is a required item for success in that case.
After one dialog all sound effects on the map became nearly muted - even music, even voice lines. Perhaps something-something with cinematic sound mode.
The Keeper of Grove quest boss is a tough fellow, but if you summon him and rush toward his spawn - he will mostly ignore you and run toward Runestone.
I was forced to finish the last quest twice to get the victory.
Overall all the above is what I found interesting. Looking forward to see into what story will develop. I sense that those nathrezim have a cunning plan...
Hey @DarkIllidan! I played your map recently, and will share my walkthrough here:
Patroling abomination is not so hard, but why in Azeroth's name there are "defeat" conditions if Undead enter the village? I think it would be clever and nice to force all those units near the gates to rush & defend the village. Yet constant pressure always forced me to go back to help defenders or pray that they could solo it. It's not bad, but I think that you should state that staff teleportation is a required item for success in that case.
Great ideas will do. I wanted people to feel the pressure of possible loss, while that pressure can be minimized. Quest 2 the stolen orb, involves returning the Arcane Orb, which fixes the Arcane Golem and causes it to start defending the gates which alleviates the pain of returning constantly.
To get faster from the right part of the map. Quest 4 that involves of killing the Ghosts you get 'Flame Strike' as an consumable item and you can destroy the forest left of and open a faster way home.
I try to give more possibilities for interesting play. Or just use 'Flame Strike' to get some secret areas for more rewards.
Dialog fix will be in next update!
Did not understand about the last quest. You killed the Lich two times?
Some of the triggers aren't working properly at the moment.
The big undead can't go into his attack trigger at 2100 seconds because of conflicts with the patrol triggers. The big undead will not attack the city unless provoked.
The minimap pings for the runestone and wraith quests have no kills. The minimap will continue to be pinged even after the quest is completed.
The defenders can't go back into their defending positions.
Some of the triggers aren't working properly at the moment.
The big undead can't go into his attack trigger at 2100 seconds because of conflicts with the patrol triggers. The big undead will not attack the city unless provoked.
The minimap pings for the runestone and wraith quests have no kills. The minimap will continue to be pinged even after the quest is completed.
The defenders can't go back into their defending positions. This m
Great map, really liked the heroes, i played solo but i liked the map idea, i found some bugs, but they weren't game changing, the story is pretty simple but i liked it, some hero abilites icon are weird, like some look reforged the other look more like classic. Now lets hope you make the other missions as good as this one.
Mission one is already too difficult. Can't level up fast enough before the charge attack happens. Really looked like a lot of effort went into this too.
EDIT: Nvm. I didn't know that there was an option to type solo. Up until now i was just playing with ONLY the pally. That extra hero and 2 units made all the difference.
In the future there will be difficulty options. I'll adjust the diff a bit today. Play it tomorrow.
If you feel pressure, that's definitely what I was going for.
Second map that will have Blood Elven base building will be uploaded in a few weeks.
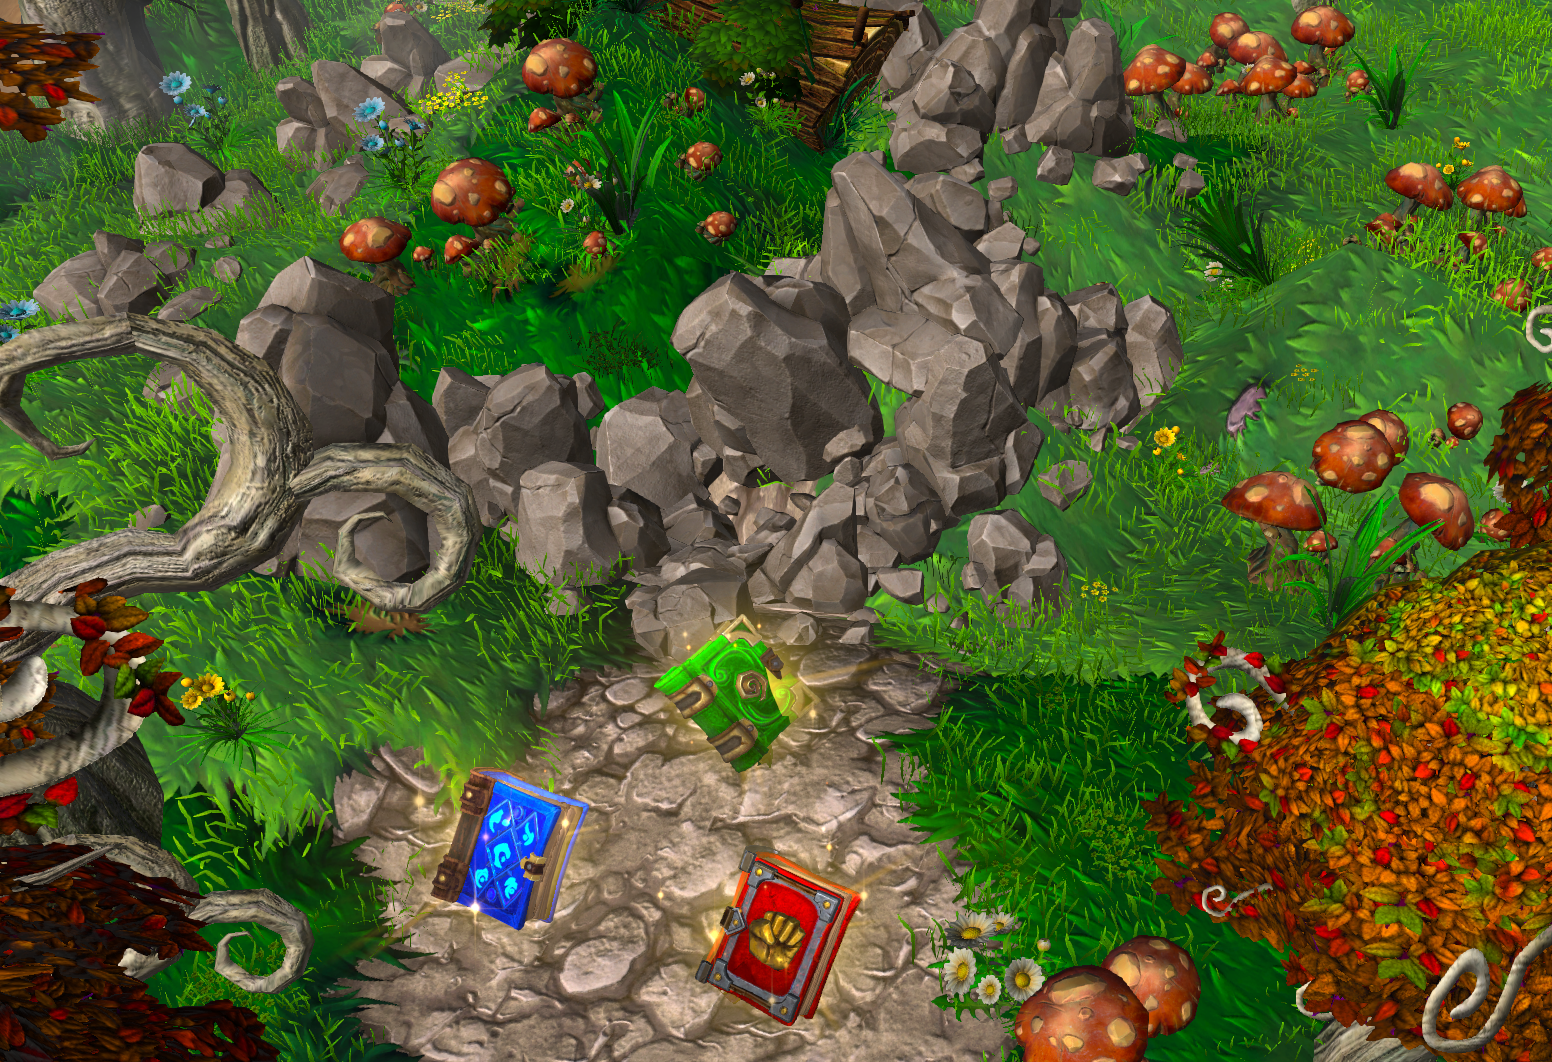
Try to find secrets (I put tons of them, easter eggs) that are all over the place in means of:
Glyphs that upgrade units
Tomes
Items
Gold
Utilize the shop for items and its healing and mana options
Extra units (Priest, even Hawkstrider Knight)
Quest 2 reward revives Arcane Golem which helps and defend the town
Many more options to get stronger, explore free your mind
Loot on many creeps is randomized by triggers so its even more replayable, some great items have very low change of drop and drop after more played games.
This site uses cookies to help personalise content, tailor your experience and to keep you logged in if you register.
By continuing to use this site, you are consenting to our use of cookies.
Listen to a special audio message from Bill Roper to the Hive Workshop community (Bill is a former Vice President of Blizzard Entertainment, Producer, Designer, Musician, Voice Actor) 🔗Click here to hear his message!
Read Evilhog's interview with Gregory Alper, the original composer of the music for WarCraft: Orcs & Humans 🔗Click here to read the full interview.
 Approved