

- Joined
- Aug 31, 2018
- Messages
- 64
This will be my last custom campaign series that I will play probably for a long time.
I will be patient and I will take time to complete it.
I will be patient and I will take time to complete it.

 Approved
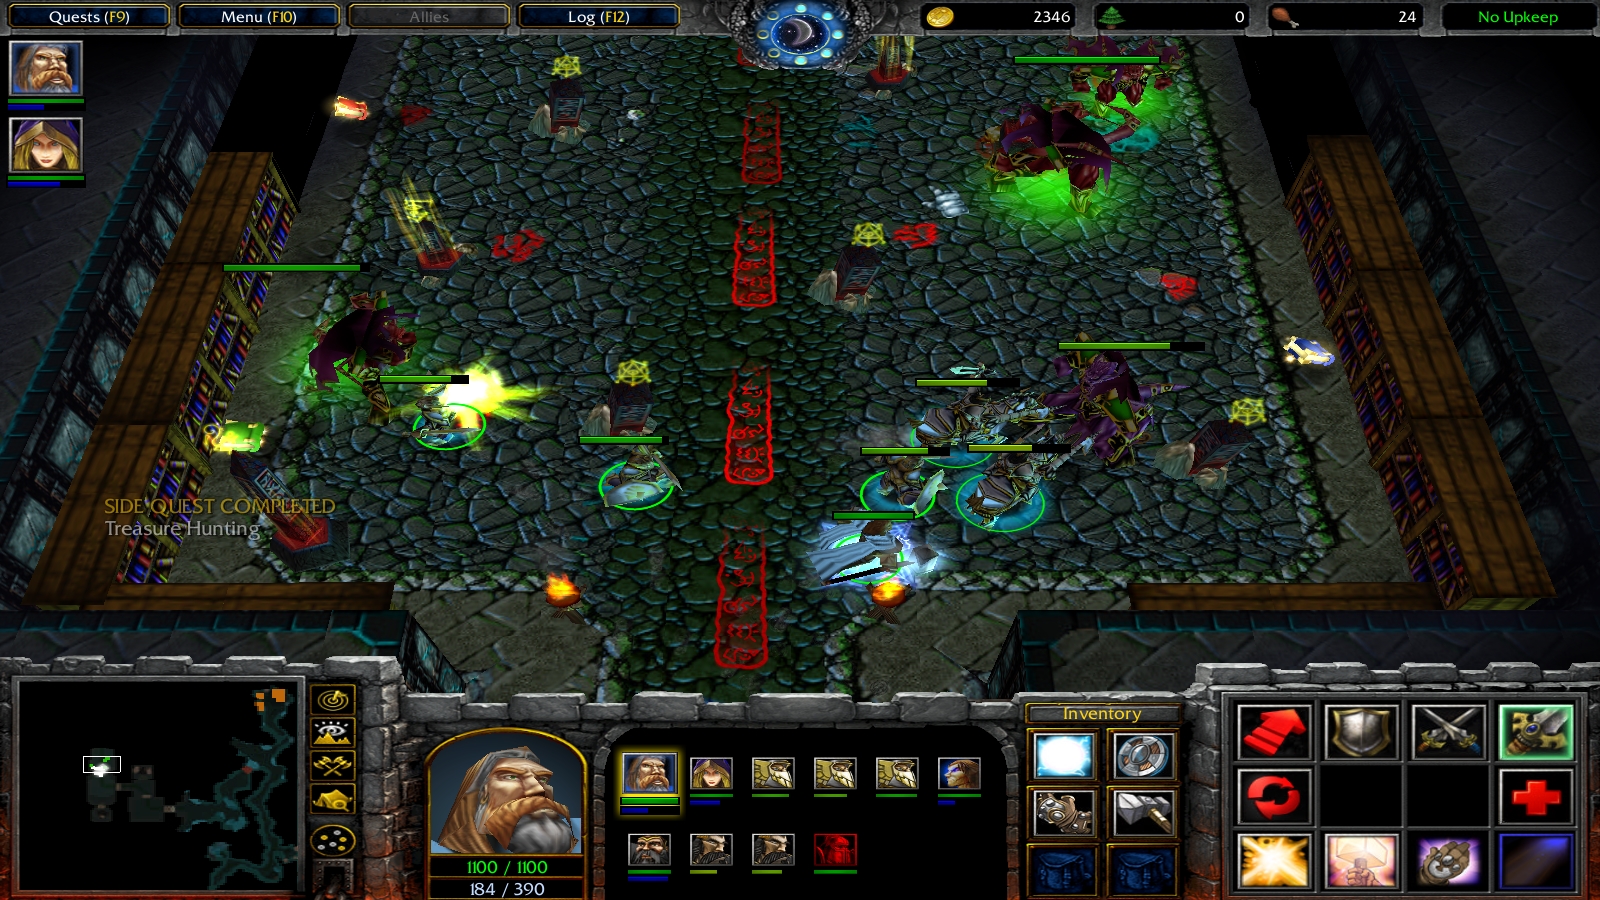
Story
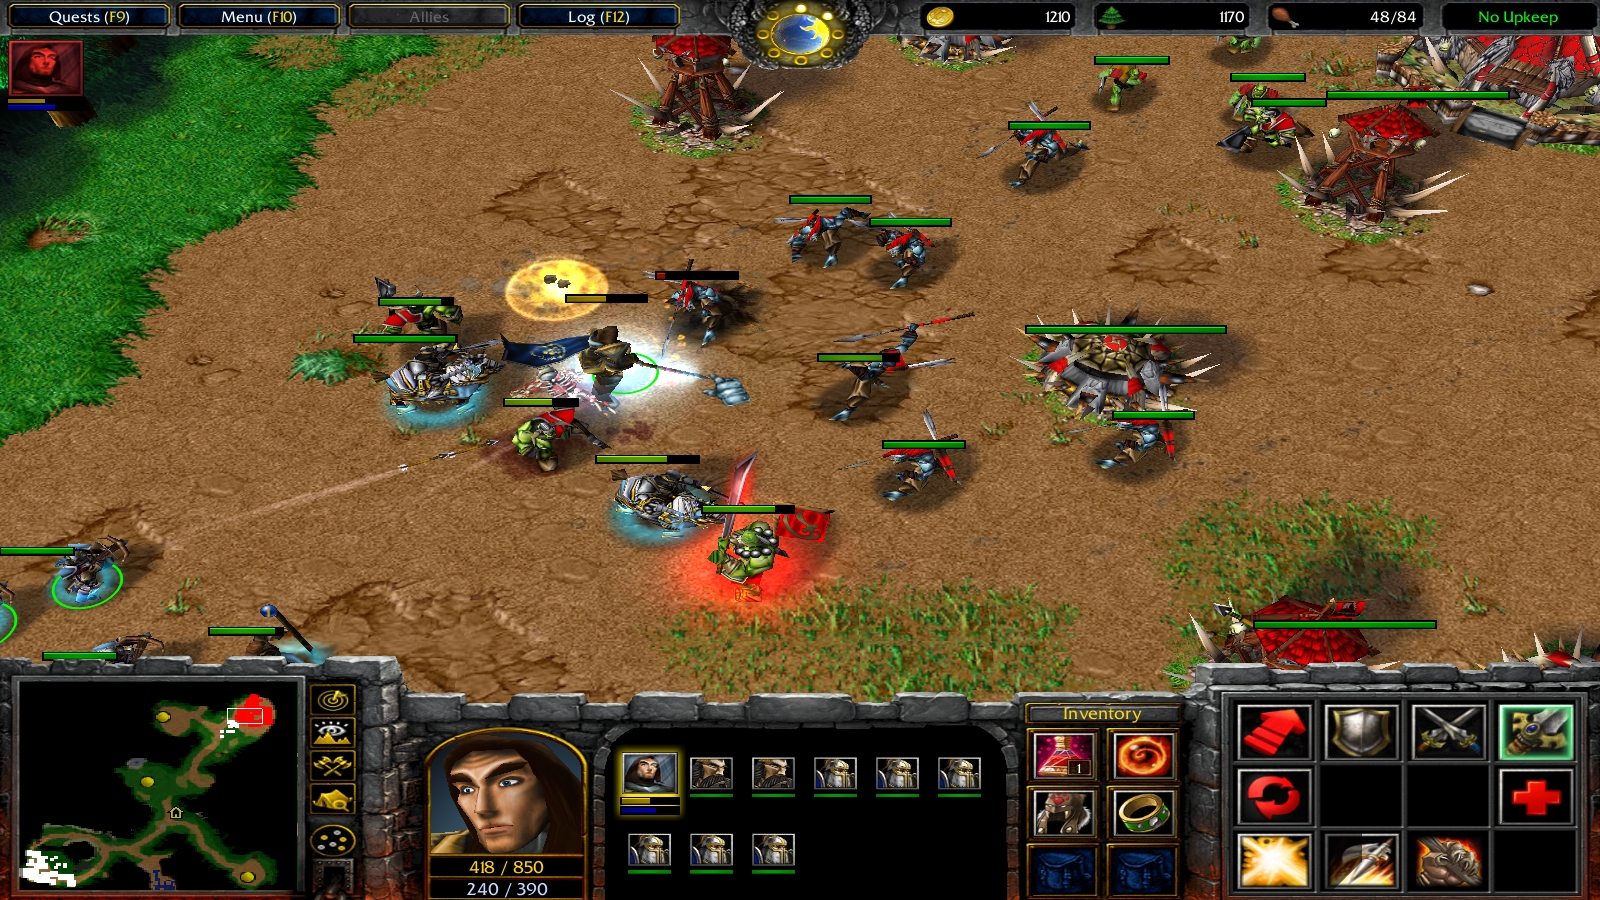
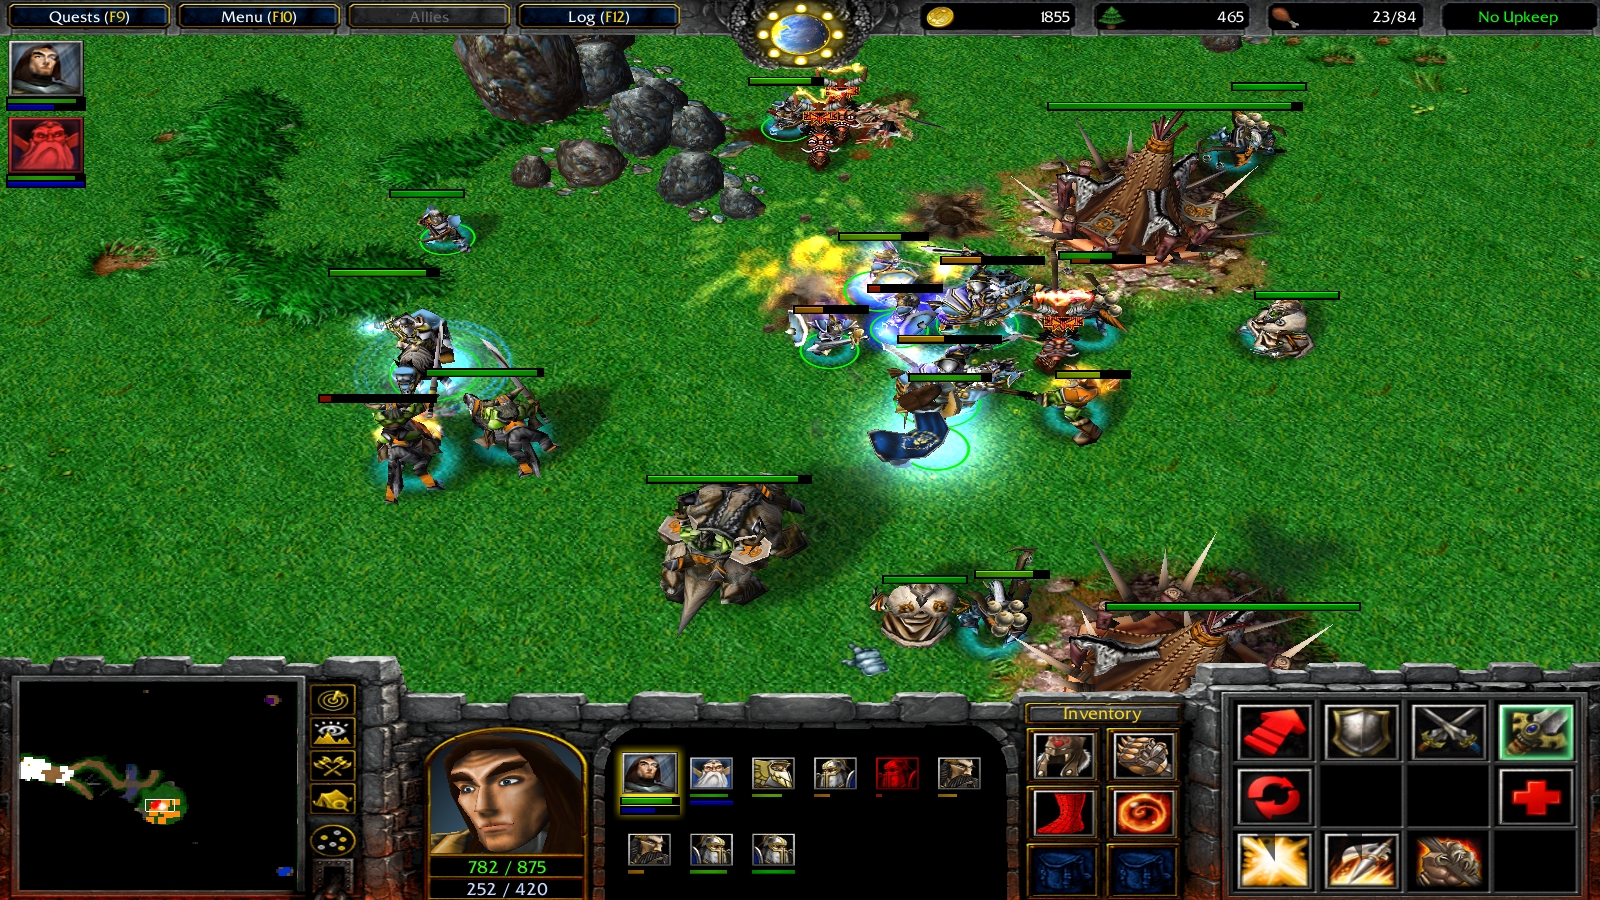
The Humans of the Empire, who fought the Demon invaders for years, after the end of the so called Voidwar, now face a new strong invasion force. New ships have arrived from the other side of the Great Sea and the Humans prepare to defend themselves against the incoming invasion.
Command General Blen Greymoore, one of the best generals of the Empire, and his allies and face the new Demon Invasion. Defend the kingdoms and defeat the ruthless and merciless Legions.
Campaign Series Info
The Legends of Arkain is a campaign series which takes place on the world Arkain.
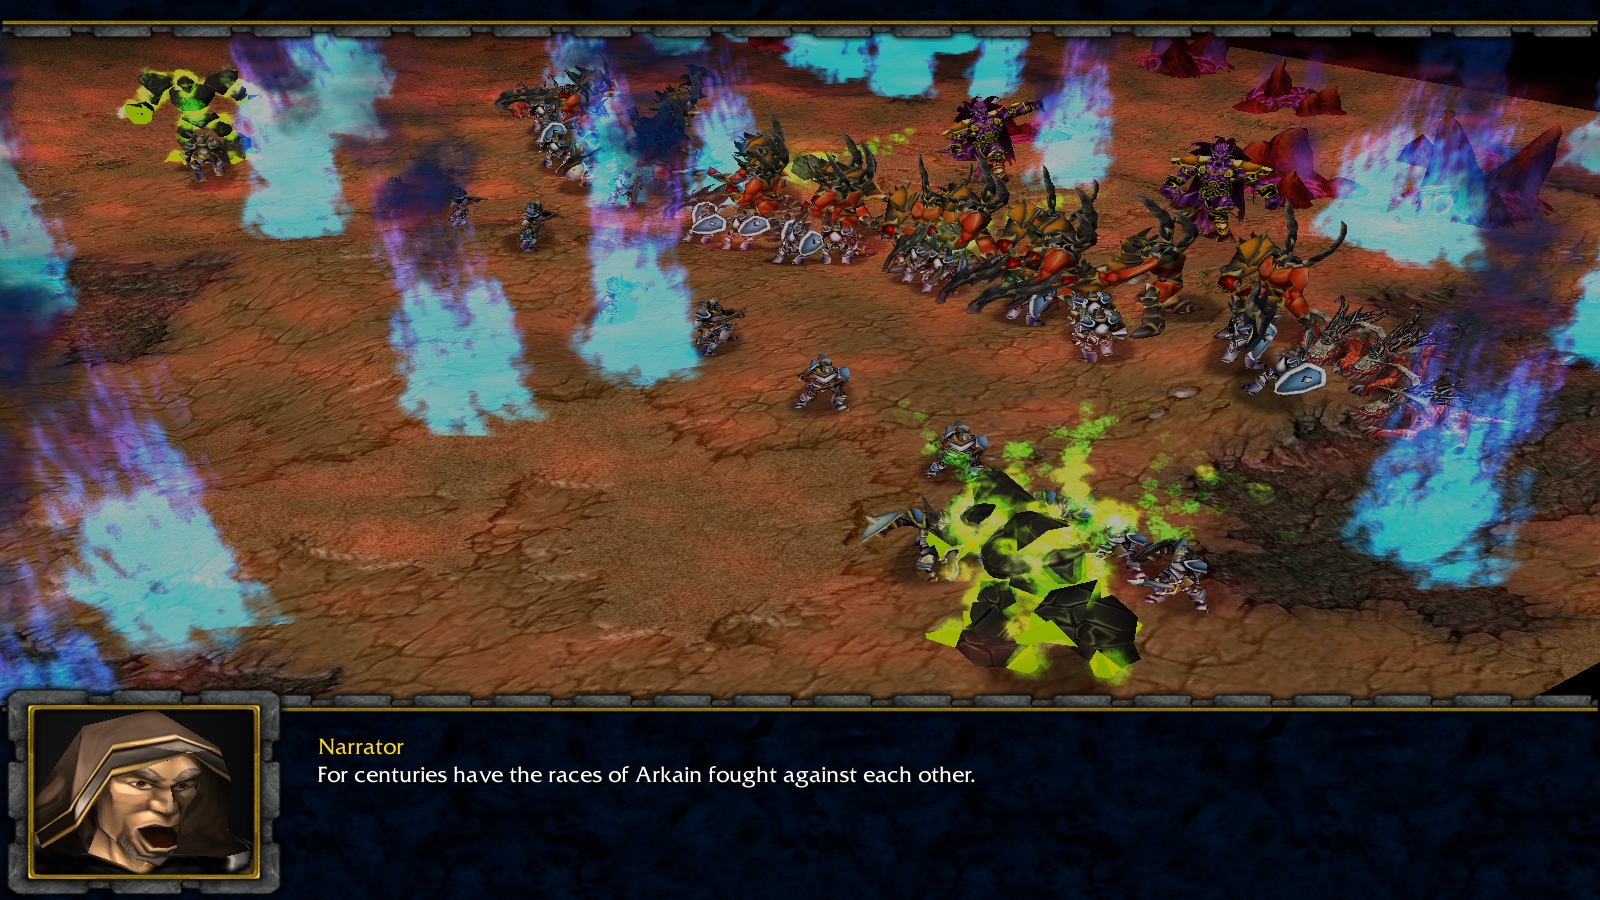
The races of Arkain fight against the demon invaders, who try once again to enslave every being on Arkain. The Humans, the Orcs and the Undead will have to make a stand against them... or face complete annihilation or enslavement by the Demons.
This campaign series will consist of actually three different series. There will be a Human, an Orc and an Undead campaign series. They will all run in the same timeline but will present three different stories and outcomes. When they are all finished, it's completely up to you, who wins this conflict.
Those, who win the war, will write the history.
You like the campaign?
Click here to see the progress of the series!
Click here for the First Orc Book!
Click here for the First Undead Book!
Click here for the Second Human Book!
Click here for the Second Orc Book!
Click here for the Second Undead Book!
Let's Play made by @Jayborino!
Features
- Three different storylines/campaign series
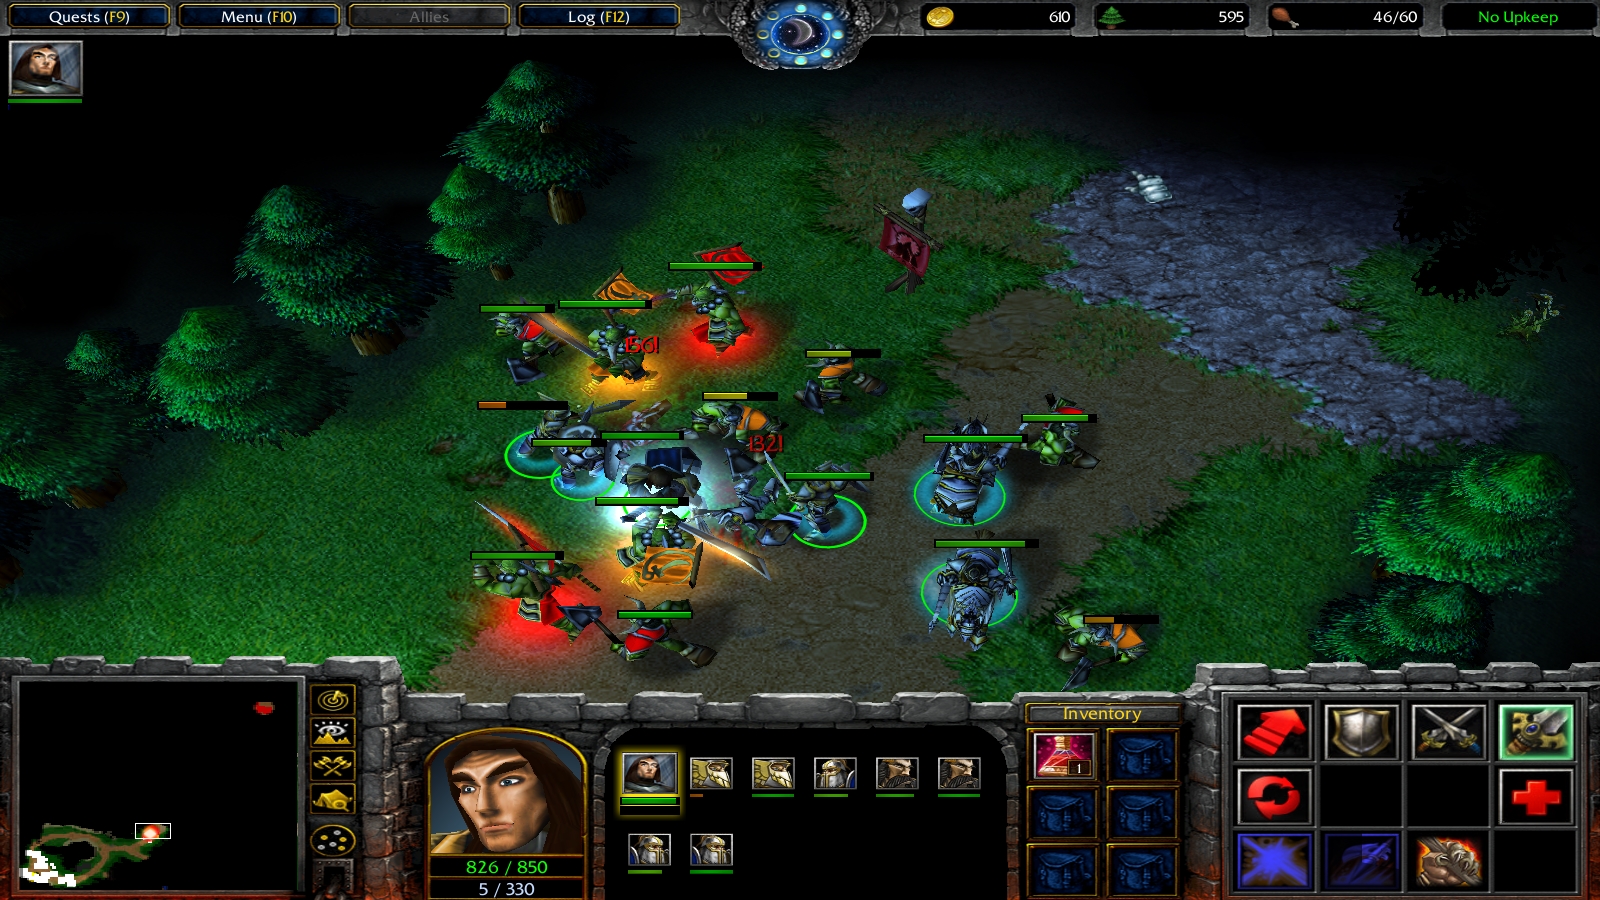
Take control of one of the three factions, the proud Humans of the Empire, the plundering and strong Orc Clans or the mysterious Undead Nexus and their endless army of the dead, and face the demonic invasion as well as other struggles that await you.
- New units
Command units, you already know, as well as completely new units with new upgrades and abilities.
- Decide the fate of Arkain
At some points of the campaigns, you'll have the opportunity to decide things, that affect the storyline, characters and sometimes even the chapters you play or how you have to play them. By doing or, well, not doing certain side quests, you can also affect the campaign.
- Three difficulties
You can play the campaign in either easy, normal oder hard difficulty, just like in the original WC3 campaigns. It will impact on the AI difficulty and scripting as well as other minor changes.
In easy version, for example, the AI won't rebuilt lost buildings.
- Full Jass AI
In this campaign series, every single AI is written in Jass instead of being created with the AI editor. This makes the AI more intelligent.
- Universal Hero hotkeys
All hero abilities use the QWER hotkeys.
Factions
The Human Empire
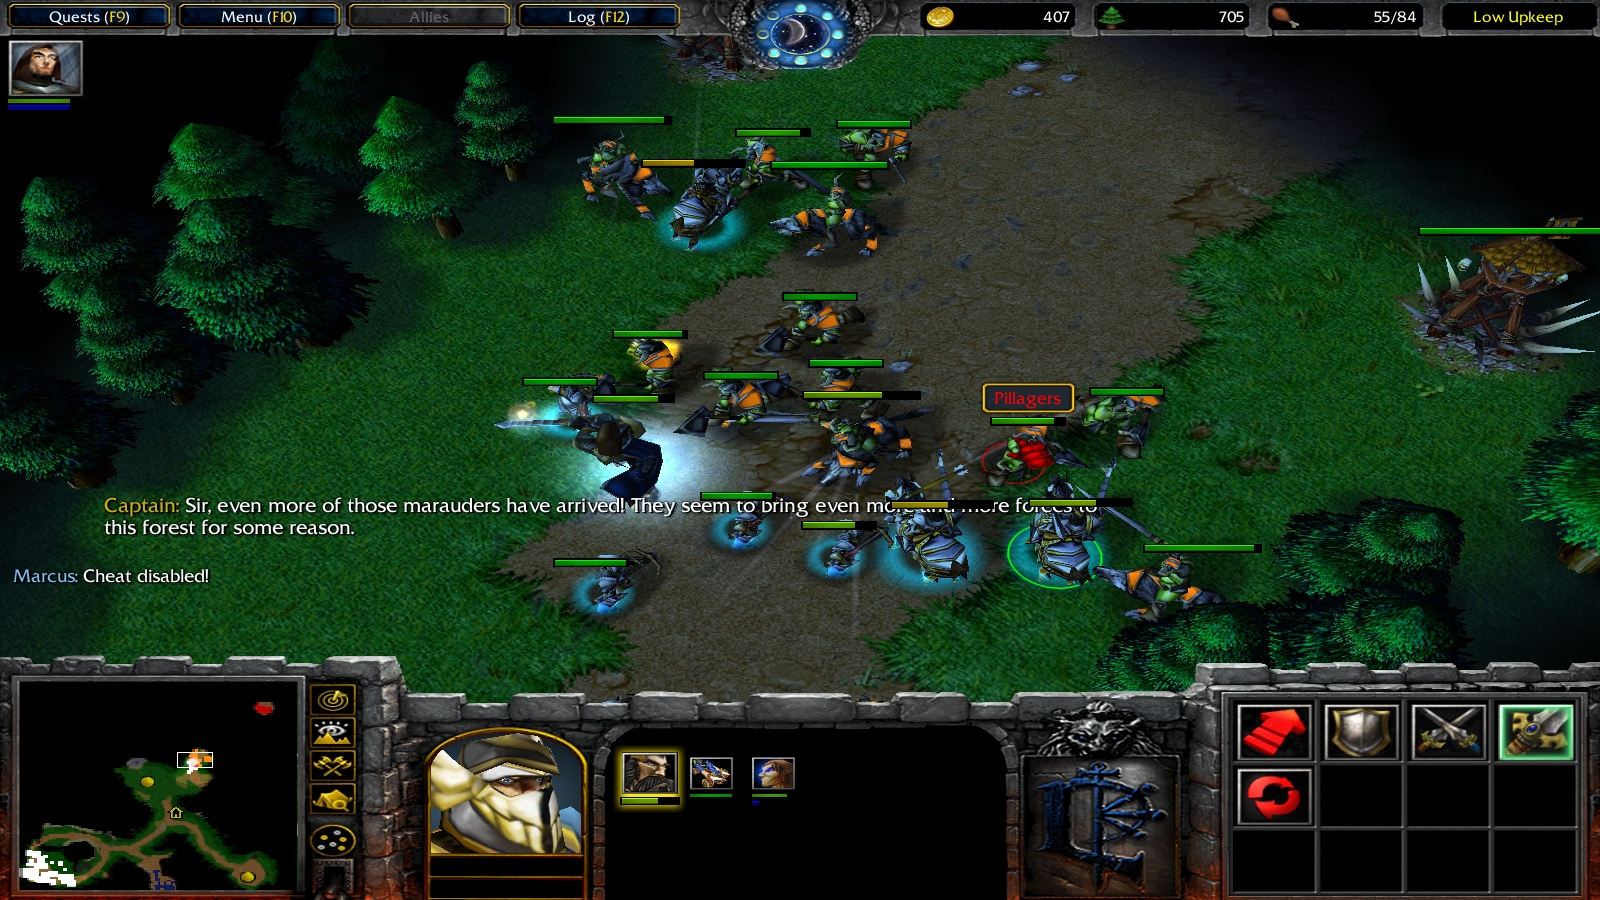
There have always been Humans on Arkain. The Human kingdoms and their allies, the Elves and Dwarves, have fought the Demons for centuries while also being attacked by orc pillagers. They had no chance against the demons and were already close to annihilation, when the Empire showed up.
They came over the Great Sea in the west and saved the kingdoms, who immediately joined the Empire in return. The Humans still fight the Demons and more and more of them join the fight against their old suppressors.
The Humans already tried to get rid of the Demons for good, but they failed. However, they continue fighting and won't stop until there are no humans or enemies of humanity anymore.
The current Emperor is Theodor the Second.
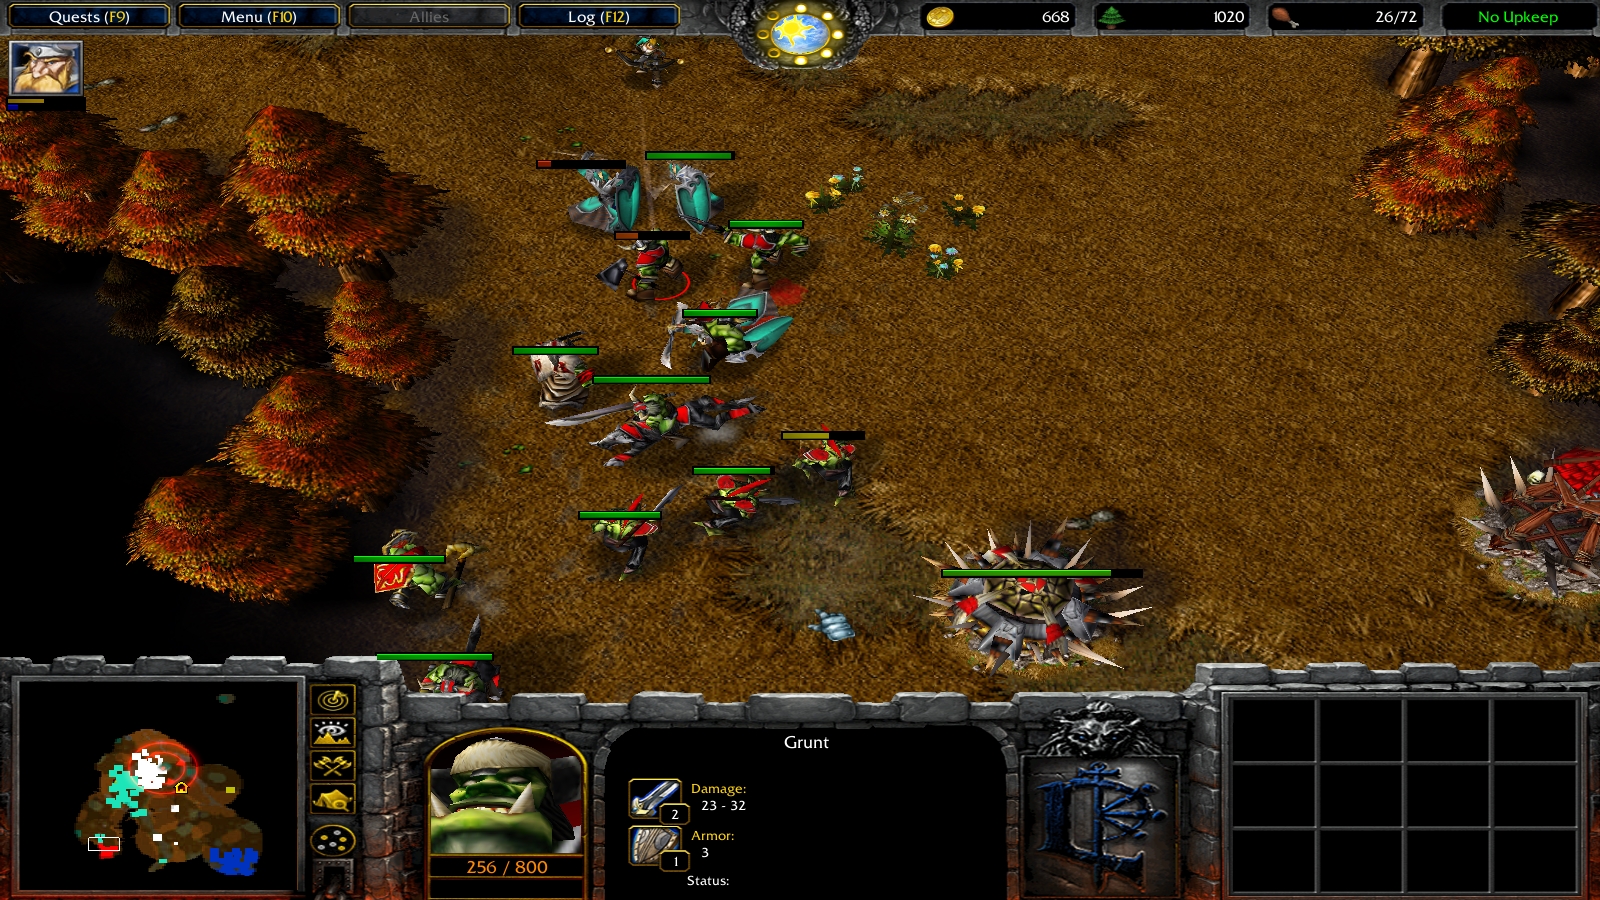
The Orcish Clans
Legends say that the Orcs hail from another continent and then spread all over the kingdoms. But not even the oldest Orcs can tell, if that's the true or the Orcs have been here all the time, just like the other races.
But it is known that the united clans attacking absolutely everything and everyone they met and conquered a large territory. It did work for a while, but not long. The other races, especially the Demons, who were very angry about that insult, brought the fight to them and massacred half of the green skins.
The Orcs had to retreat and lost much of their territory. The only reason, why half of them are still there, is that their enemies fought among each other as well.
The Orc Clans allied with the Trolls, to increase their strengh, but still didn't manage to gather an army, that was comparable to their old numbers. Since they weren't able to begin their another huge conquest, the clans stopped working together and some old rivalries amongst the clans became important again.
Still, they managed to raid the other races and remain an annoyance for the other factions. There are still many Orcs left, which could prove to be a strong force, if they'd be united under a strong leader.
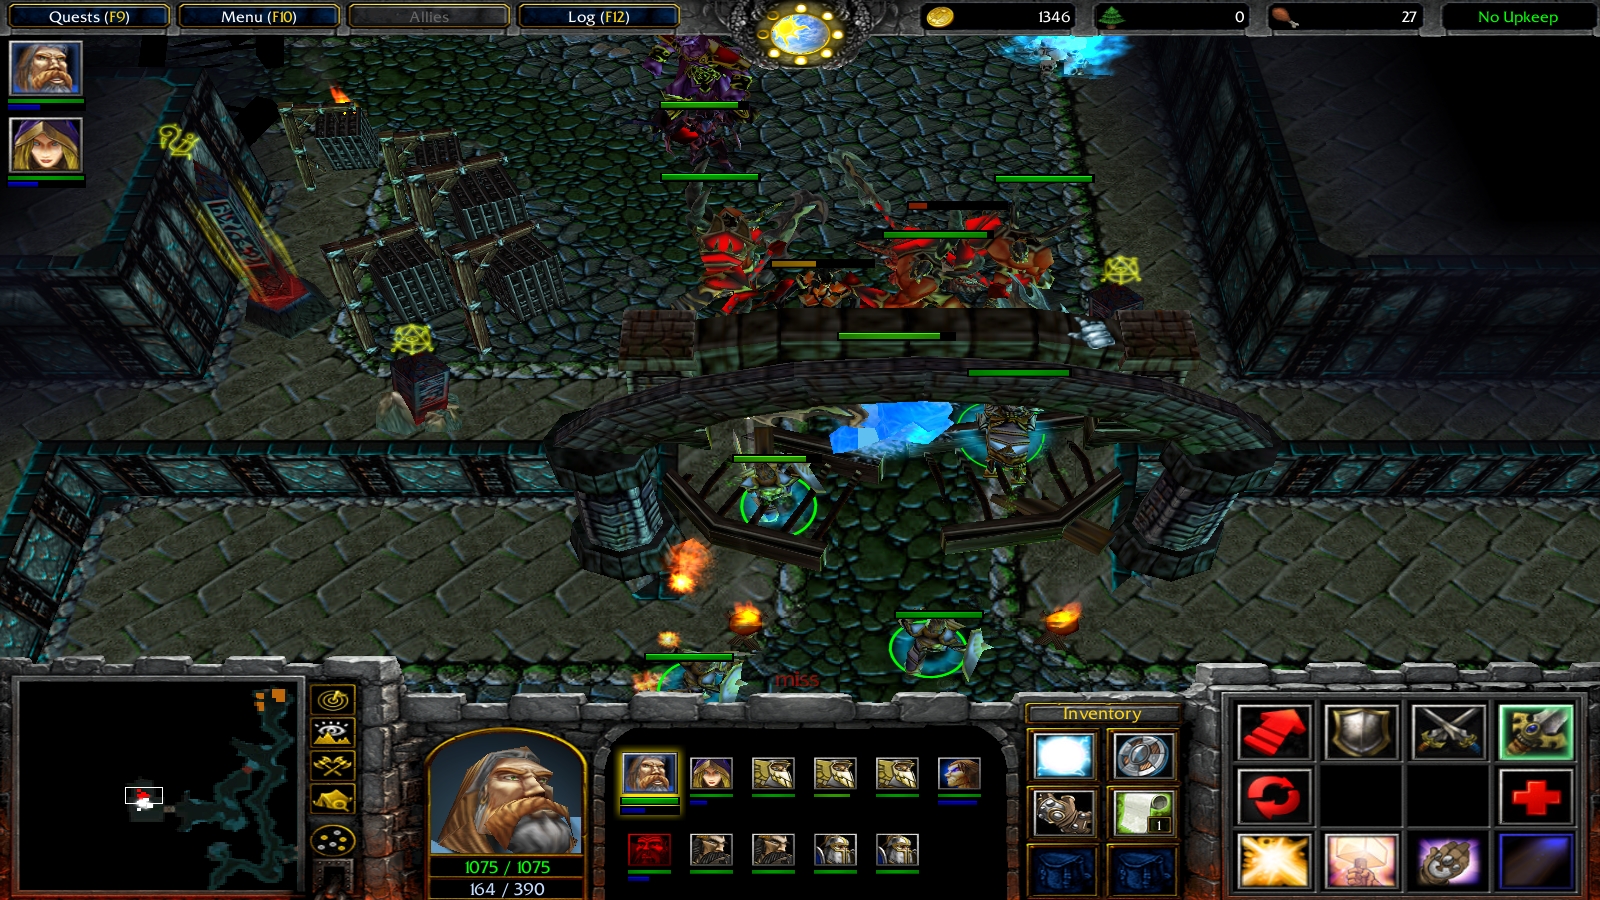
The Undead Nexus
The Undead are the most mysterious race of Arkain. Of course, necromancers and necrolytes are not unknown and have always summoned some undead servants to do their bidding, but the Undead as a complete race are a mystery to all creatures.
Once, a group of mighty necromancers, who became insane because of their immense power, believed they could rule the world with an army of the Living Dead. However, only days after they began attacking the Human kingdoms, they simply vanished. Their armies were gone and only the remains of the corpses were proof, that they ever existed.
What no mortal and no Demon knows, is, that a powerful Archlich, Aridon the Watcher, self-proclaimed guardian of Arkain, took care of them. He has the ability to take control of every Undead, he wants to control. He uses this power only, to make sure, that besides him is no one, who can form a real army of Undead. He always made the Undead kill their masters and reanimated them as his loyal servants.
The only mighty Undead, not currently living on the Dead Mountain, are guarding old temples and ruins, which contain artifacts, not meant to fall in the hands of neither mortals nor Demons. Still, they all call Aridon their master.
Aridon and his Undead live on the so called Dead Mountain, which lies within the Human kingdoms. Every sent expedition on this mountain never returned, so the Humans decided to simply ignore it and built a garrison to watch over the only entrance to the mountain.
Aridon claims to be as old as the world itself and has seen the rise and fall of races and nations. His goal is to maintain the balance of the world - or at least, what he sees as balance. He stayed out of every conflict and only watched for millenia.
But recent events force Aridon to end his idleness and take action himself instead of only manipulating others. He'll have to make the world know about the Undead - and give reason to fear them.
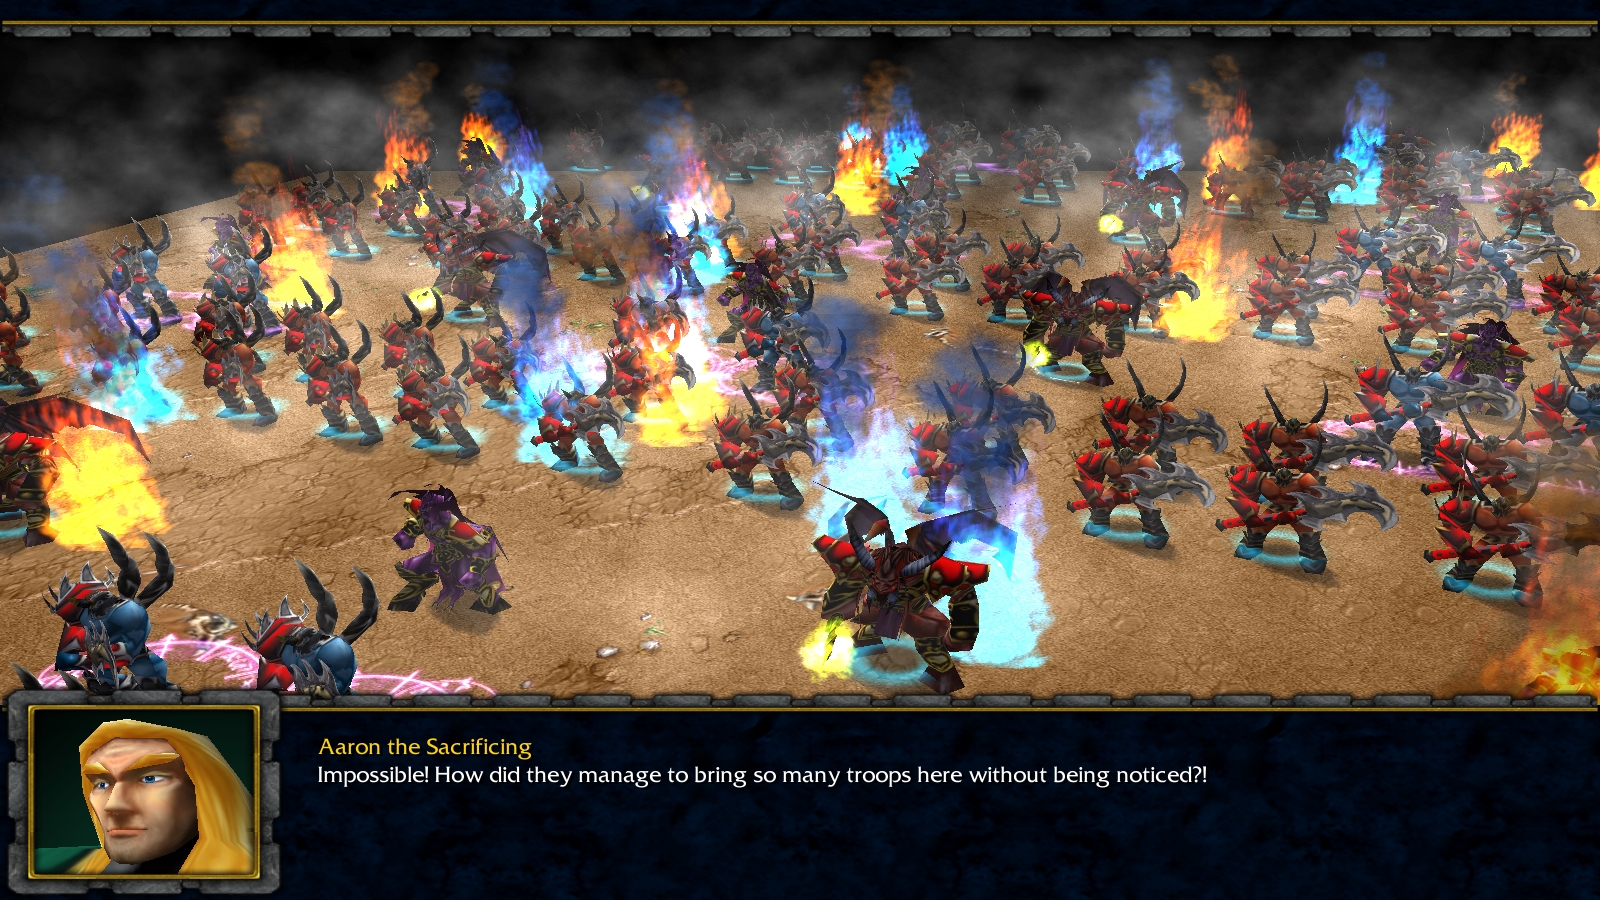
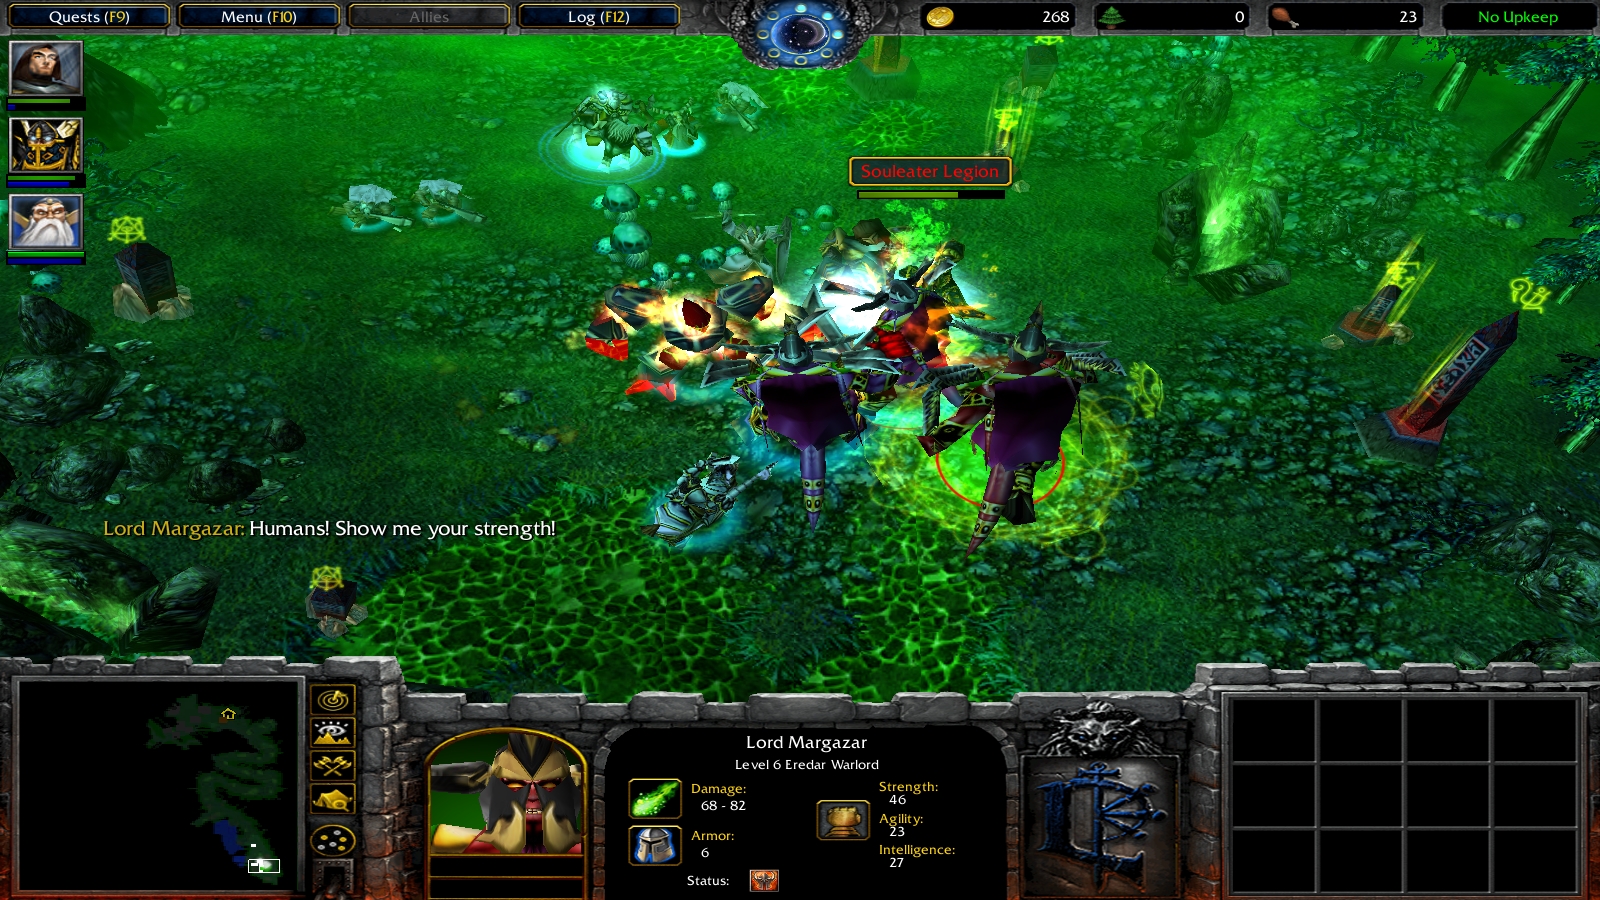
The Demon Legions
If there are any creatures besides the Undead Lord Aridon, who are as old as Arkain itself, than it must be the Demons. These creatures have been the bane of Arkain for a long, long time. If their history contains anything else than attacking and enslaving other races, than only the Demons know about it.
Every Demon Legion is lead by its most powerful Dreadlord. Who is the one, who commands all Legions, is unknown to every non-demon.
The Demons' realm lies in the East of the continent and is seperated by a bottomless rift, the so called Void. No one, except for Demons and their slaves, has ever been on the other side of the Void. The Void is so heavy fortified by the Demons, that they managed to block every attack there. The Void is also the place where the Imperial Army was defeated during their Great Attack.
Now, the Demons seem to begin another great offensive against the other races. And this time, they are determined to be victorious and won't show any mercy.
Characters
Click here to learn more about the other characters!

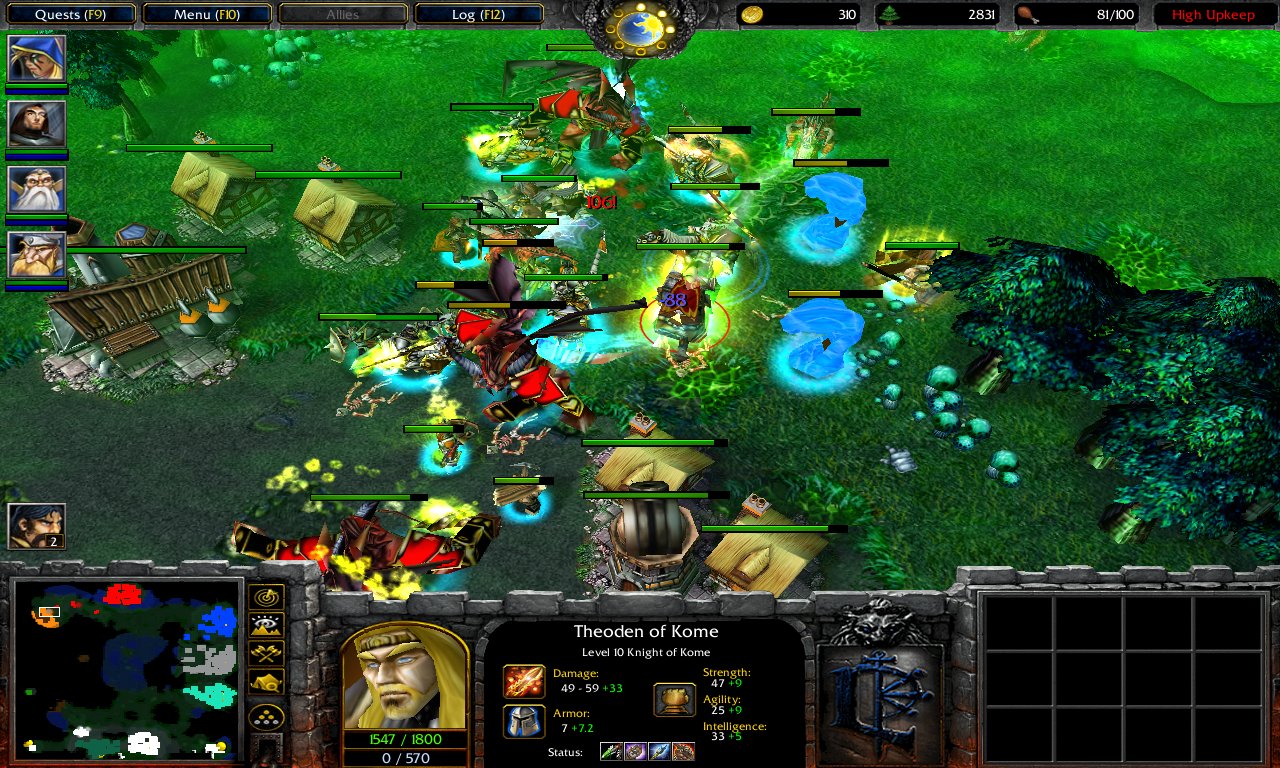
General Blen Greymoore
General Greymoore embodies everything the Empire stands for. He is a honorable warrior who is proud to fight for the Empire and the Emperor. His tactical knowledge and physical strengh made him rise up the ranks very fast and he is eager to fight the Demons.
Lord Harmos, Guardian of the Flame
Lord Harmos has spent half of his life in an academy to study the arcane arts. He is known for a rather fierce and impatient personality. Still, he knows more about fire magic than anyone else and is absolutely loyal towards the Empire and fights the Demons with full caution and uses his knowledge to gain every possible advantage.
Aedale
Aedale is probably the most powerful spellcaster in the Empire. Not because of her current power or experience but because of the potential within herself. Aedale still has much to learn, which makes the fact that she was sent to the front look strange. She takes every opportunity to prove both herself and the veterans what she's capable of.
Salana Woodhunter
Salana is the best ranger of the Elves and has some friends among the Humans and Dwarves. Therefore she often serves as diplomat for her people. Although she serves her queen without question, she had some problems with the politics of her people and begins to think, that the queen should take a more aggressive approach towards the Demons.
General Gardon Bloodclaw
General Gardon is the most ruthless and merciless general in the Empire. He is known for using every available weapon against his enemies without showing any pardon. His background is a huge secret. He simply appeared out of nowhere and became general. He proved very fast, that he got that position out of good reason. He is the commander of the Ironfist, an elite commando of the Empire, which often carries out top secret missions for the Emperor.


 In custom campaing i can see there is 18 mission so why in the campaing menu there is only 11 (including prolog and epilog). It's okey or is somewhere problem on my side ?