- Joined
- Sep 14, 2007
- Messages
- 1,527


Importing Models, Skins and Icons
A Picture book for the new and weary.
A Picture book for the new and weary.
I made this tutorial for a few reasons, I want to create an extremely basic way to do import these resources with detailed information along with visual aides. Numerous times people enter the chat wondering how to import these files, after saying read the tutorials hundreds of times I always get the same reply "It makes no sense" or "I did"
This tutorial will NOT discuss importing tilesets, UI, or any other custom resources that do not fall under the category of the title.
Basic Terminology:
.zip - The most common means of a compressed folder
.rar - A compressed folder, accessed by “7zip” and “Winrar”
.7z - A compressed folder, accessed by the program “7zip”
.mdx - The standard path used by Blizzard for all models within the WC3 engine.
.mdl - A model when it is still in its beta phase, for editing and reworking, prior to a .mdx
.tga - Texture path that can be opened in various art tools, a texture will be this before converting to a .blp
.blp - Blizzard’s texture path used in the WC3 engine.
Texture/skin - a recreated “skin” for a currently existing model, standard or custom.
Helpful Tools:
Magos Model Editor (Modeling)
Warcraft 3 Viewer (Modeling/Skinning)
Button Manager (Icon)
Models
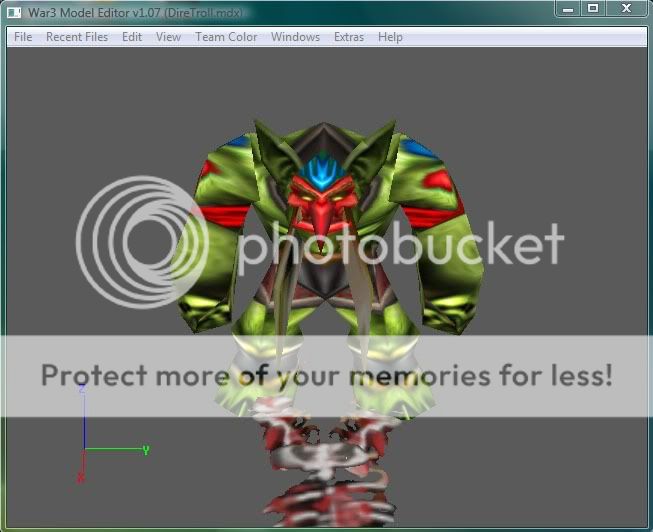
Here is the resource I’m going to use; Cavman and Hawkwing’s Dire Troll
Step by Step Importing
Step 1: Open the Import Manager of your map within World Editor

Step 2: Make sure you unzip, unrar your compressed file before importing.
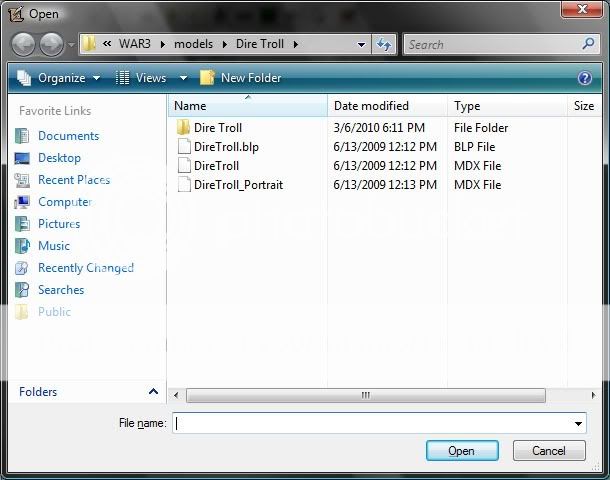
Step 3: use the Import button to locate your custom resource file and click open or double click on the containing files
It should look like this;

Step 4: Now you want to set the correct paths to the model files (.mdx) and the texture files (.blp)

PLEASE NOTE: Always erase the “wc3imported” part of an imported resource, Also if you are unaware of a model’s texture paths, either view the readme.txt file in the model folder or use Magos’ Texture Manager to view its path.
Step 5: Applying the model, Within the units tab of the object editor either make a custom unit, or use an existing one, click on the unit. Find “Art-Model File” and double click. Click the import button and scroll down and apply the .mdx file, not the portrait. (Portraits do not need to be applied only imported)

Step 6: IMPORTANT, in order for the model to show in game, without looking like a big green and black box, you must SAVE your map and close World Editor, then reopen the map in World Editor.
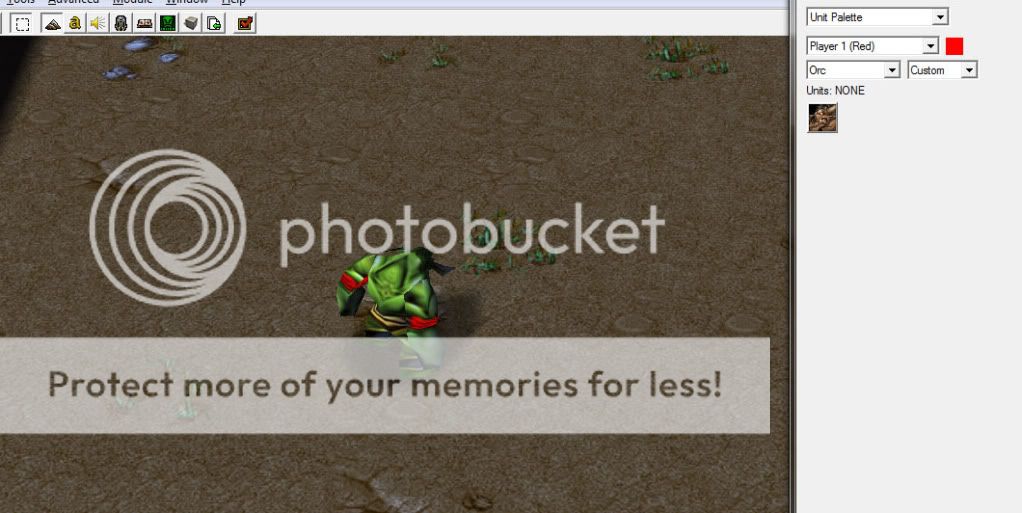
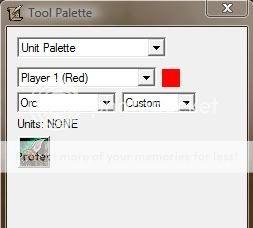
Step 7: Find your unit in the unit palette and place it wherever.
Skins/Textures
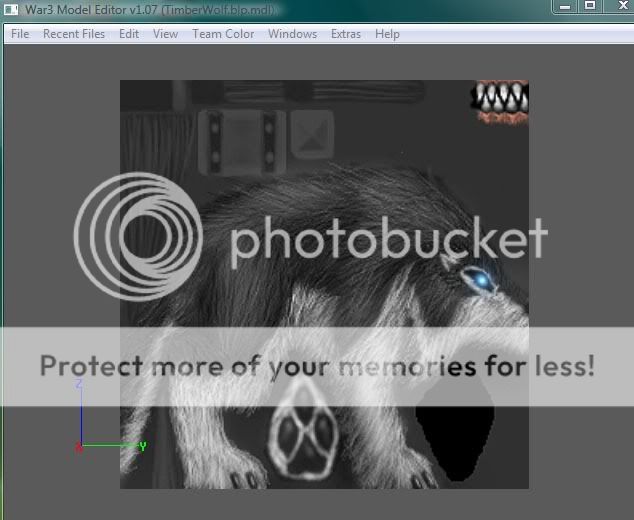
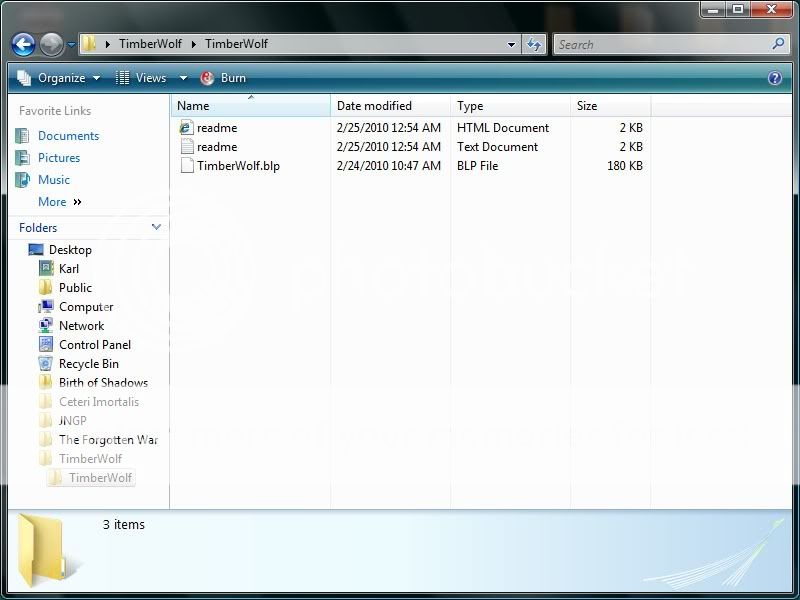
Here is the resource i'm going to use; Red Shift's Timberwolf (Replacing Dire Wolf)
Step by Step Importing
Step 1: Open the Import Manager of your map within World Editor
Step 2: Make sure you unzip, unrar your compressed file before importing.
Step 3: use the Import button to locate your custom resource file and click open or double click on the containing files
It should look like this;

Step 4: Now you want to set the correct paths to the texture files (.blp)
NOTE: Skins/Textures have SET paths and only use ONE certain path when it comes to editing a pre-existing model skin. You can go to the skin section here at the hive and find a skin that is used for the same model to find the path in case you don't know it. Also use Magos Model Editor and open up texture manager within Magos and it will show the paths for all skins used in the resource opened.
Heres an example of a skin path: Units\Creeps\DireWolf\DireWolf.blp

Step 5: Applying the skin/texture, Within the units tab of the object editor either make a custom unit, or use the existing dire wolf model, click on the unit. (When the texture is imported, saved and correctly path'd you do NOT need to change anything regarding the model as long as the model is set to the standard dire wolf.)
Step 6: IMPORTANT, in order for the skin/texture to show in game, you must SAVE your map and close World Editor, then reopen the map in World Editor.
Step 7: Find your unit in the unit palette and place it wherever.
Icons
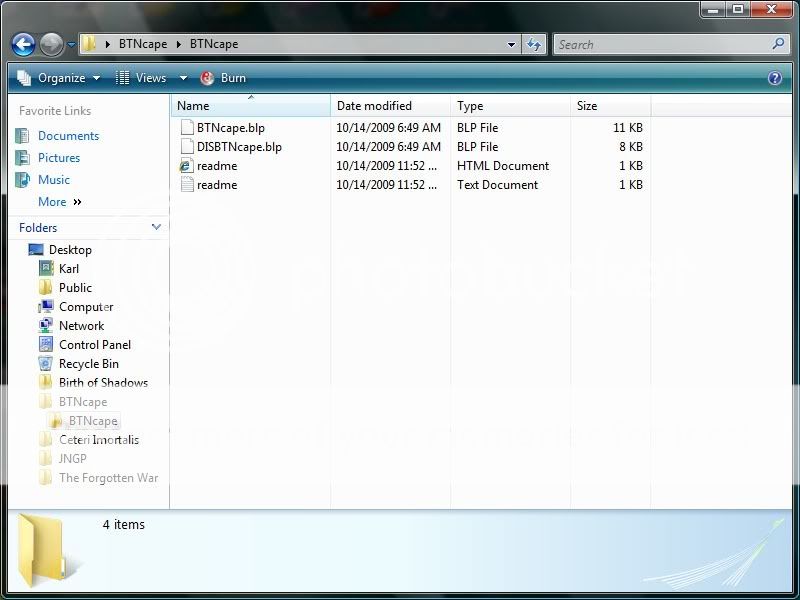
Here is the resource i'm going to use; Mr.Goblin's Cape Icon.
Step by Step Importing
Step 1: Open the Import Manager of your map within World Editor
Step 2: Make sure you unzip, unrar your compressed file before importing.
Step 3: use the Import button to locate your custom resource file and click open or double click on the containing files
It should look like this;

Step 4: Now you want to set the correct paths to the Icon files (.blp)

Icons have set paths, here are the set path variations;
ATC Autocasting - ReplaceableTextures\CommandButtons\
DISATC Disabled Autocasting - ReplaceableTextures\CommandButtonsDisabled\
BTN Regular Icon Button - ReplaceableTextures\CommandButtons\
DISBTN Disabled Regular Icon Button - ReplaceableTextures\CommandButtonsDisabled\
PAS Passive Button - ReplaceableTextures\CommandButtons\
DISPAS Disabled Passive Button - ReplaceableTextures\CommandButtonsDisabled\
Step 5: Applying the Icon, Within the abilities/buffs/Upgrades tab of the object editor either make a custom Ability,Buff or Upgrade, or use an existing one, click on the Ability,Buff,Upgrade. Find “Art-Icon” and double click. Click the import button and scroll down and apply the .blp, this can be for any variation.

Step 6: IMPORTANT, in order for the Icon to show in game, you must SAVE your map and close World Editor, then reopen the map in World Editor.
Step 7: Find your Icon in the correct palette or within the object editor.
Hopefully this helps, its pretty straight-forward and thorough, if you need additional assistance feel free to PM me.
Last edited:


")