Chaosy
Tutorial Reviewer
- Joined
- Jun 9, 2011
- Messages
- 13,226
Custom MPQ tutorial step by step
by Chaosy
Introduction
I have seen this question many times recently so I decided to make a short tutorial on how to do it.
If you don't know anything about using a custom MPQ it basicly allows a multiplayer map to extend the 8 mb limit on battle.net.
We put models and skins in one of the MPQs that Warcraft 3 uses to run the game and save them there instead of in the map.
However everyone who plays your map will need this modified MPQ so it would be smart to tell those
who download the map to backup the MPQ before they download yours.
What is needed?
An MPQ editor I would suggest this one - Ladik's MPQ editor
Warcraft 3 (no shit Sherlock)
Warcraft 3 (no shit Sherlock)
Let us start then
First of you need to locate your WC3 directory. Normally found at "C\Program Files\Warcraft III"
In your WC3 folder you will hopefully find some MPQ files, I have choosen to edit the "War3x.mpq".
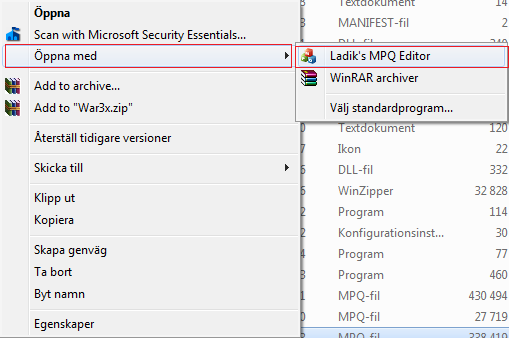
So open it up with your MPQ editor.
Sorry for the Swedish language but I still think the pic is helpful. In English it says "open with"
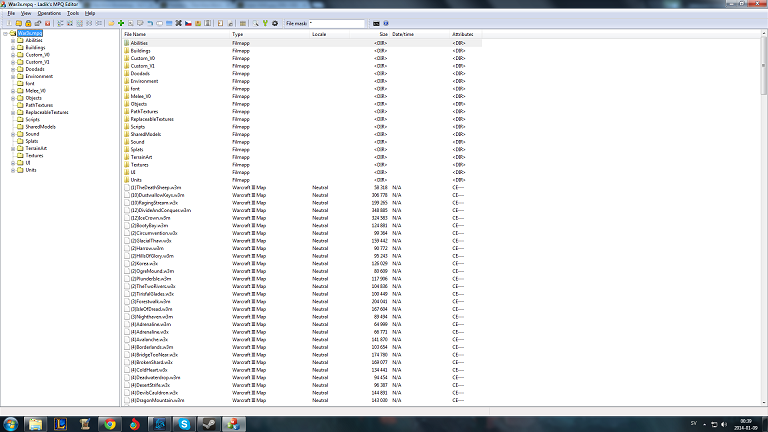
Once the editor is open it should look like this.
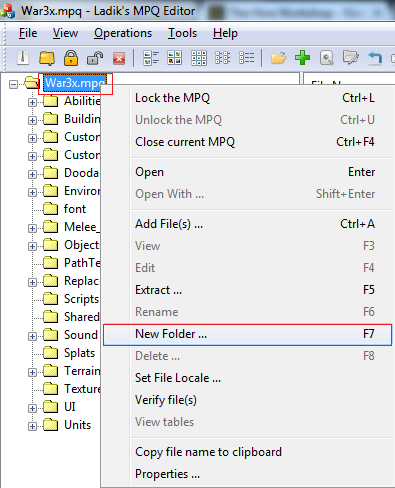
Now, you should create a new folder to put for stuff in. Right click "mpqname.mpq" in the left folder section and then "new folder"
Now that we got our folder we can start adding files. Make sure you select your folder.
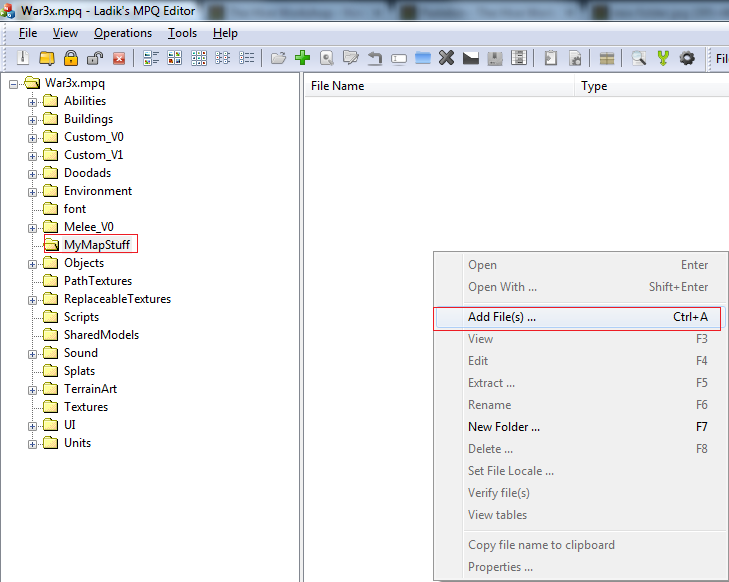
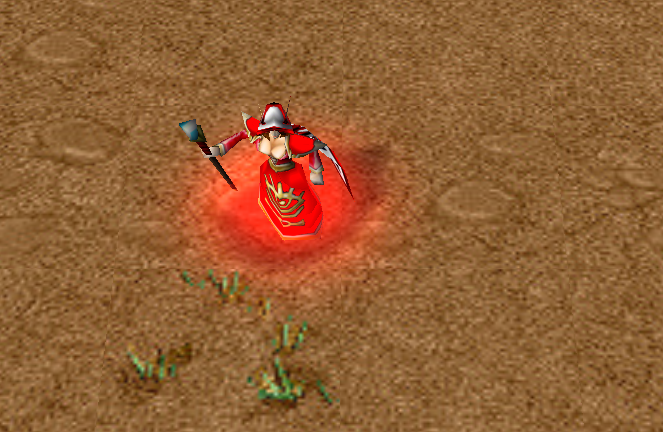
I will add this model
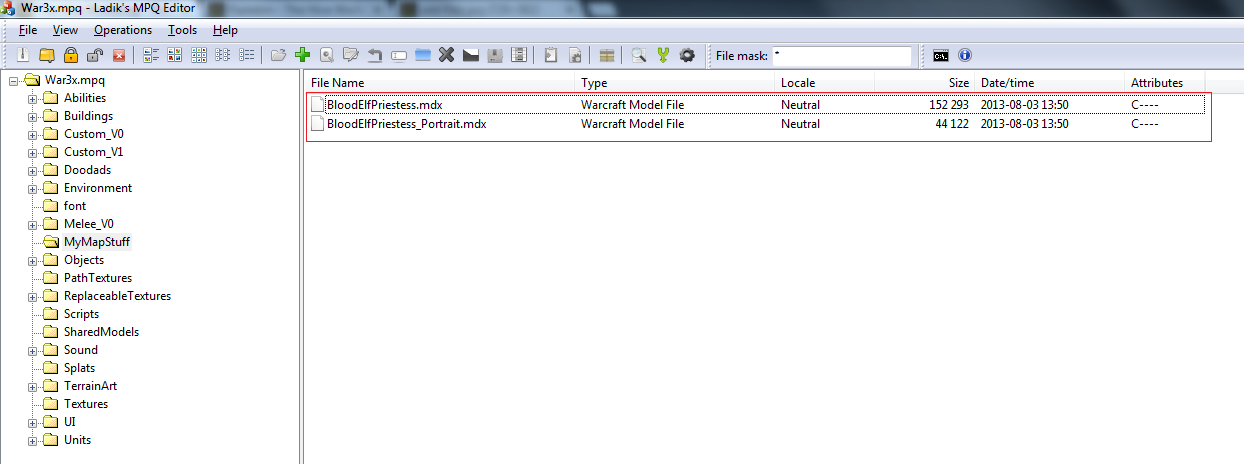
Anyway, once the model is imported it should look like this.
Now open the WE and get into the object editor. Once in the object editor you choose a unit and then go to the model field. Then you put the path for your model. "FolderName\modelname.mdl"
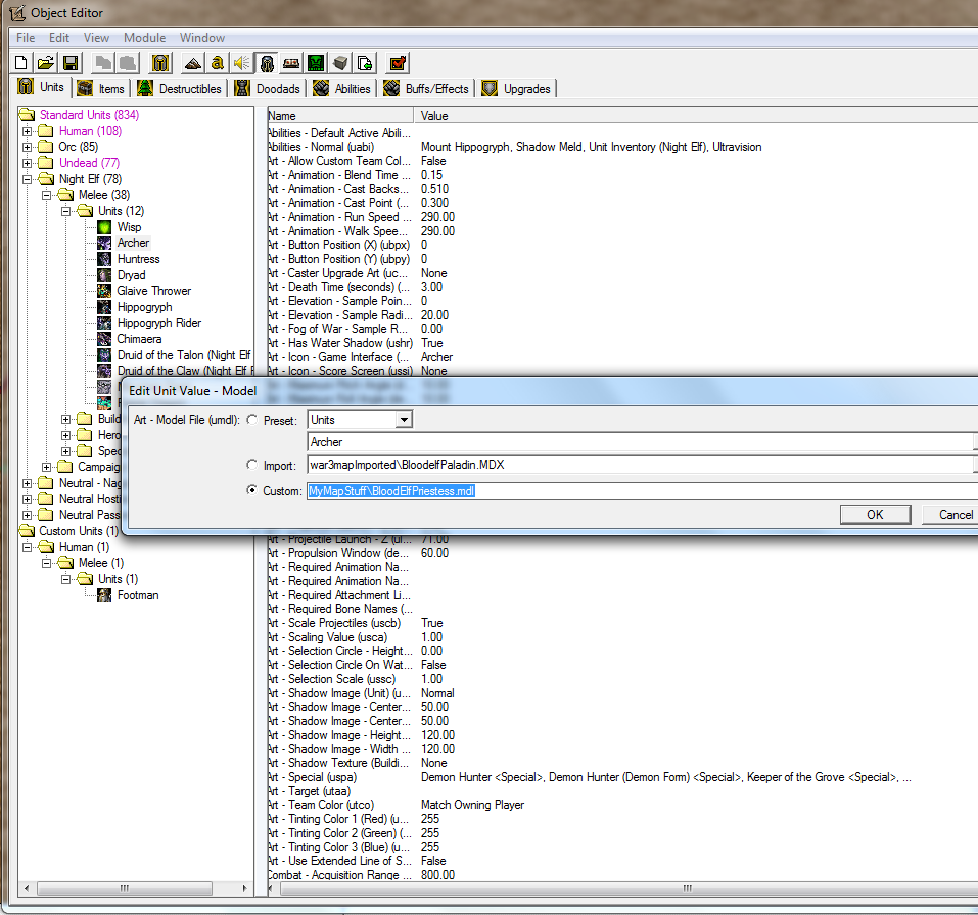
Once you have done that youre done your model should now appear ingame.
In your WC3 folder you will hopefully find some MPQ files, I have choosen to edit the "War3x.mpq".
So open it up with your MPQ editor.
Sorry for the Swedish language but I still think the pic is helpful. In English it says "open with"

Once the editor is open it should look like this.

Now, you should create a new folder to put for stuff in. Right click "mpqname.mpq" in the left folder section and then "new folder"

Now that we got our folder we can start adding files. Make sure you select your folder.

I will add this model
Anyway, once the model is imported it should look like this.

Now open the WE and get into the object editor. Once in the object editor you choose a unit and then go to the model field. Then you put the path for your model. "FolderName\modelname.mdl"

Once you have done that youre done your model should now appear ingame.

Hey! You have not showed how to use skins and textures!
I waited with this because I wanted the basic method to be fully understood.
Icons - Icons are imported exactly the same way as models you just put them into a folder and then use the path. However it's smart to organize your files by having one folder for models and one for icons. For example you can create a new folder inside your first folder. So the paths could be "AwesomeMap\Models\ModelName.mdl" and "AwesomeMap\Icons\IconName.blp"
Skins - A downloaded skin needs to be imported at the path the uploader tells you too.
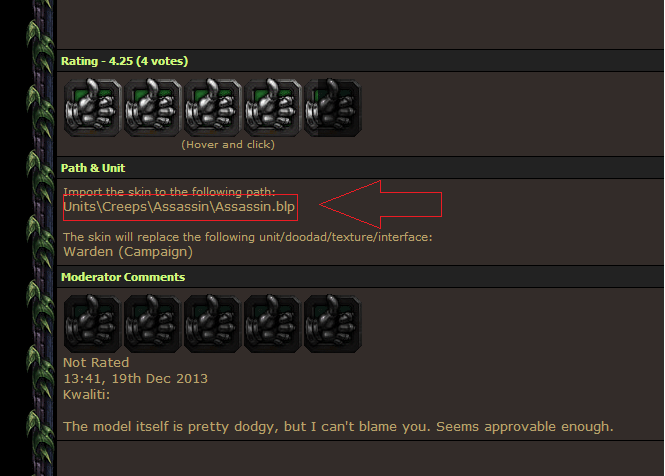
so in this case we click on the unit folder and then the creep folder and so on and then we replace the current texture with the downloaded one. Not harder than importing a model
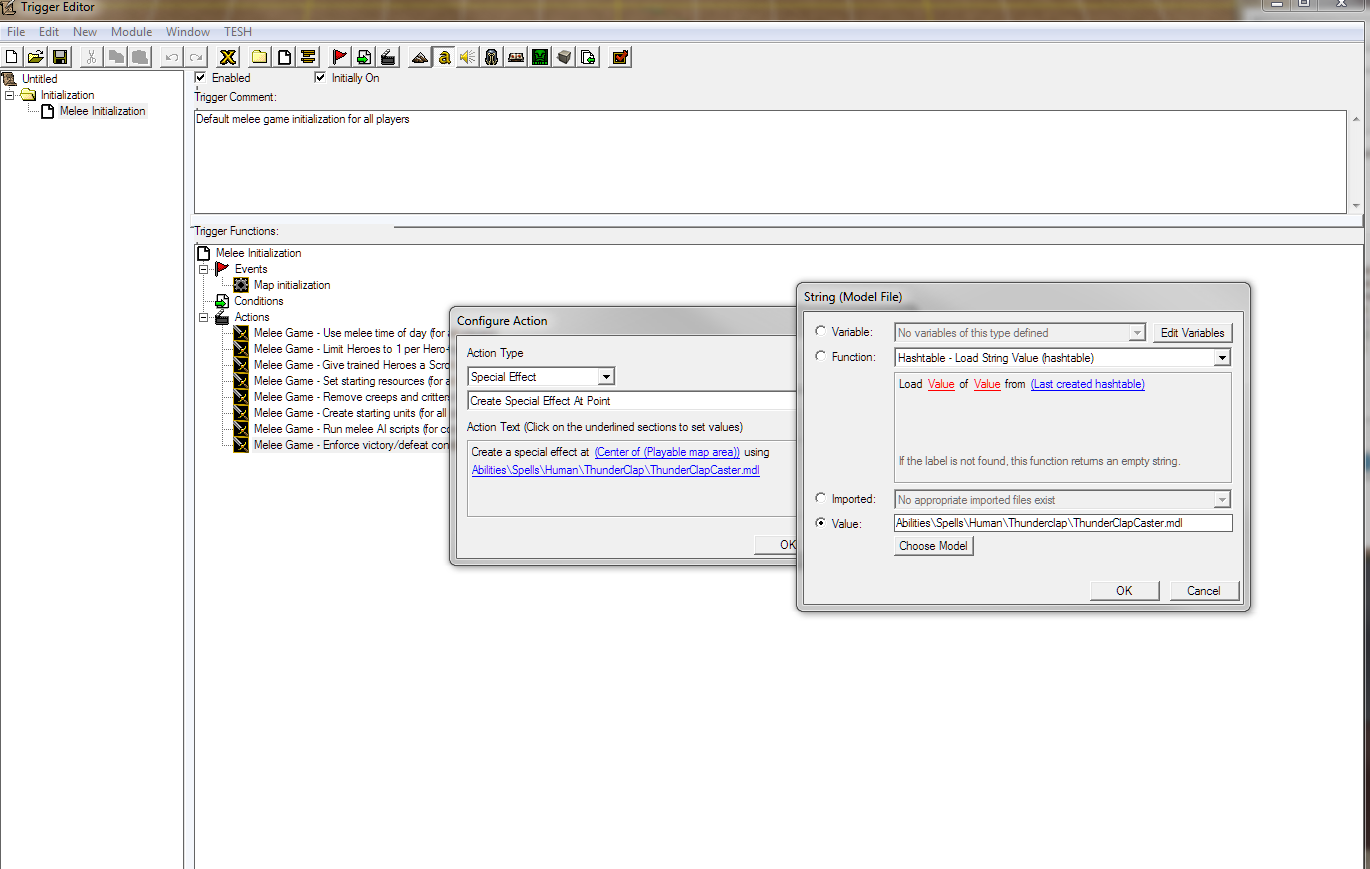
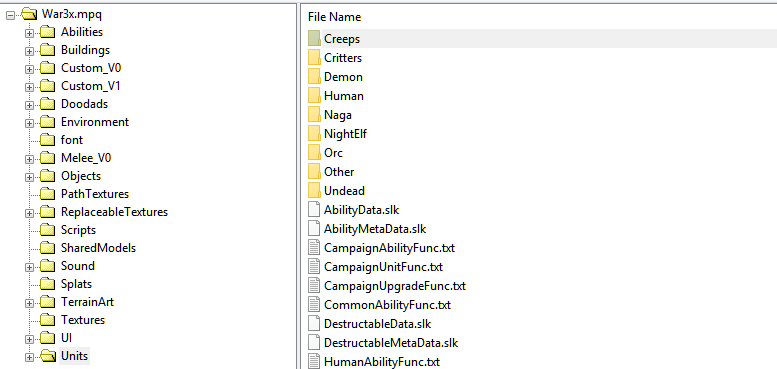
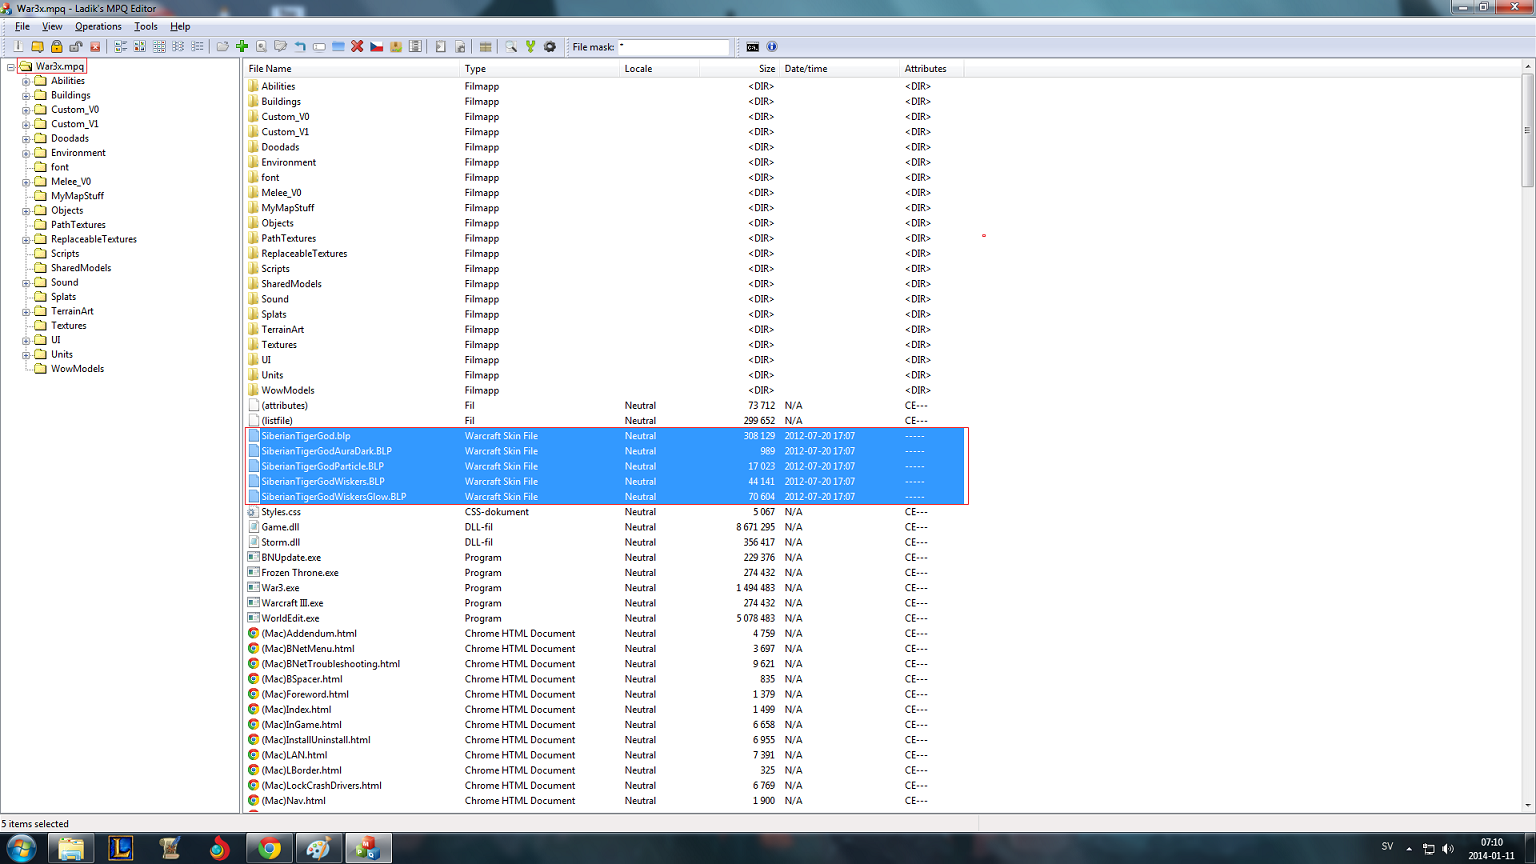
Textures - Those needs to be placed at the base of the MPQ, meaning not inside a folder. Notice when you import a .blp file via the import manager you remove the "war3mapimported\" from the path right? That tells us that the textures we import wont be placed in the "war3mapimported" folder. It should be placed within the red markings
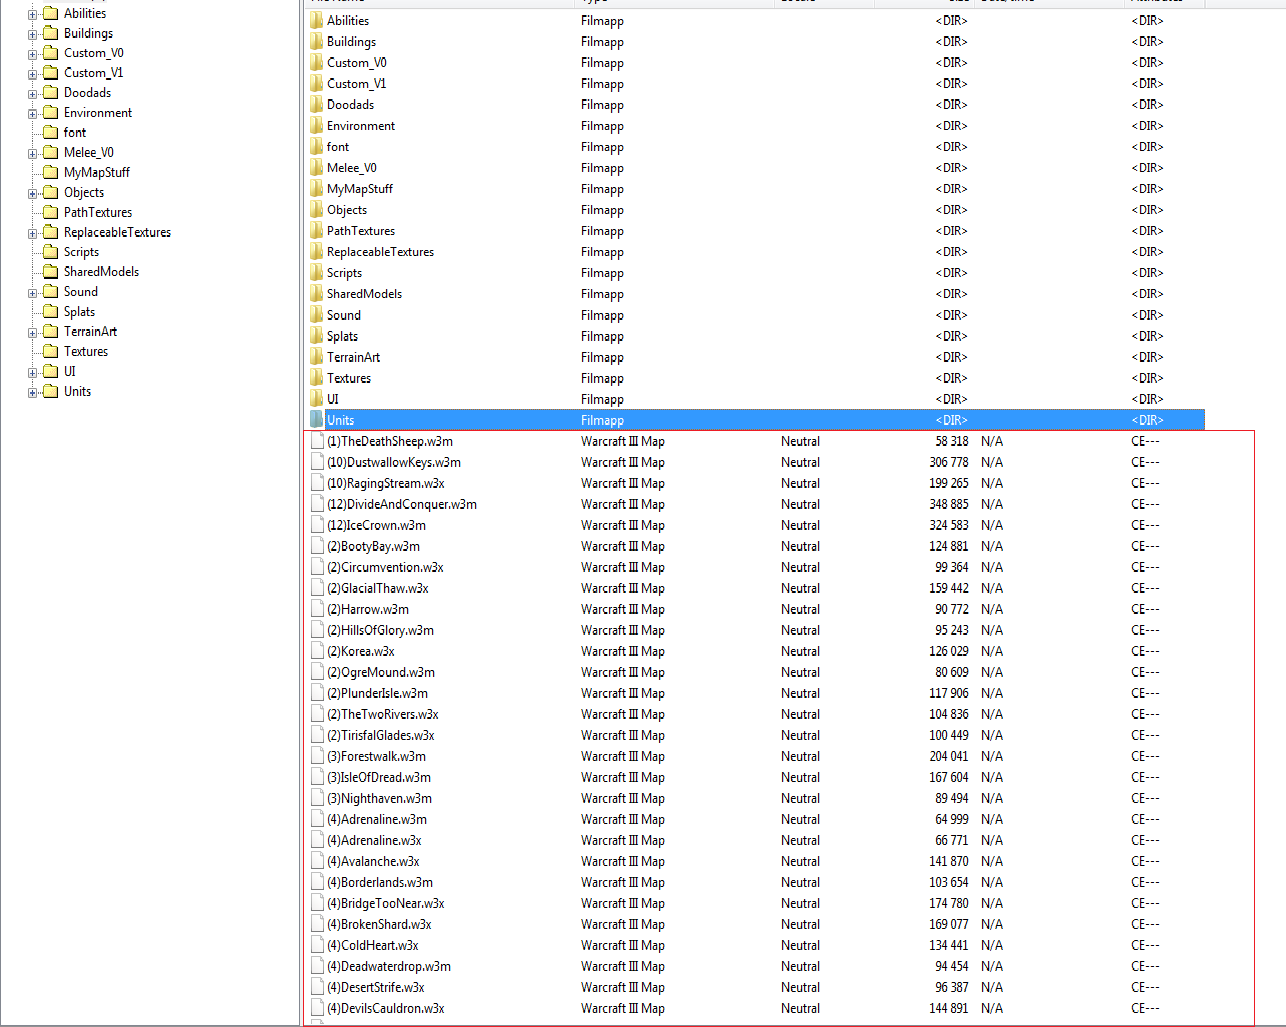
Example:
I got a WoW model (not ripped by me) it has the following files:

and then we place the model into our folder
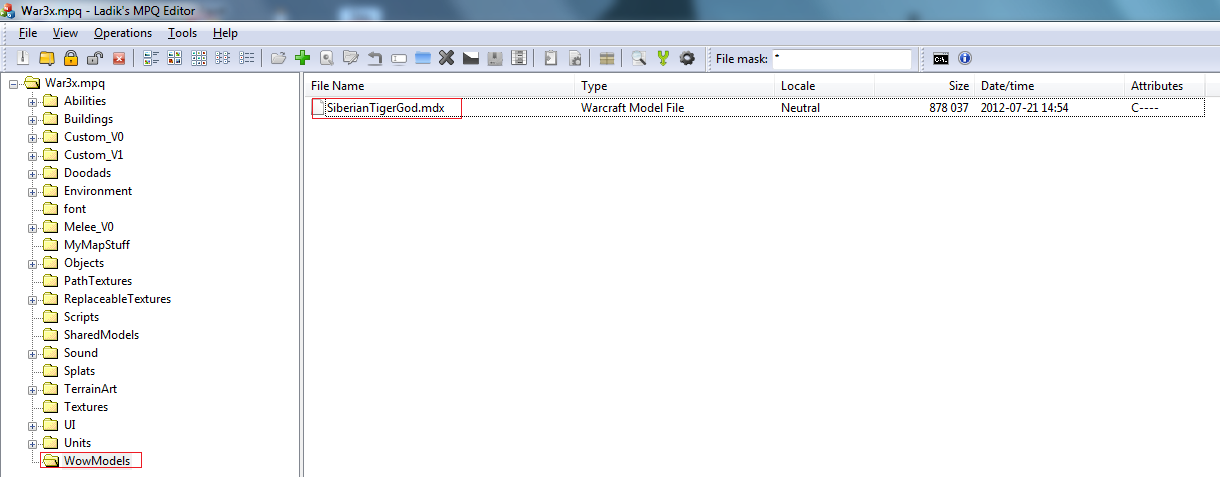
then we place the textures at the base of the mpq
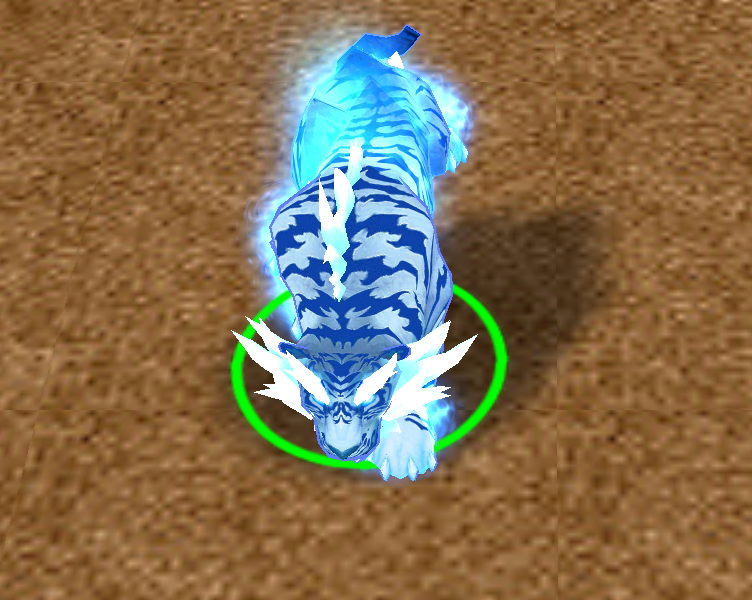
set the path ingame

profit
However this is just for most textures. Some textures uses different paths but then you just import them as they were a skin and put them at the path provided by the model creator.
If you don't like having your texture files at the base of the MPQ you can actually fix that by editing the models the texture(s) are attached too. However I am no model expert so I can't show how to do that part.
However I found this thread that should explain it to you.
Sound and Music - These are rather simple to import but it seems that wc3 doesn't load every music file found in the music folder. You need to replace some original sound / music in order to make it display in the sound editor. In war3x.mpq uo go to Sound\music\mp3\and replace one of the files there
Icons - Icons are imported exactly the same way as models you just put them into a folder and then use the path. However it's smart to organize your files by having one folder for models and one for icons. For example you can create a new folder inside your first folder. So the paths could be "AwesomeMap\Models\ModelName.mdl" and "AwesomeMap\Icons\IconName.blp"
Skins - A downloaded skin needs to be imported at the path the uploader tells you too.

so in this case we click on the unit folder and then the creep folder and so on and then we replace the current texture with the downloaded one. Not harder than importing a model
Textures - Those needs to be placed at the base of the MPQ, meaning not inside a folder. Notice when you import a .blp file via the import manager you remove the "war3mapimported\" from the path right? That tells us that the textures we import wont be placed in the "war3mapimported" folder. It should be placed within the red markings

Example:
I got a WoW model (not ripped by me) it has the following files:

and then we place the model into our folder

then we place the textures at the base of the mpq

set the path ingame

profit

However this is just for most textures. Some textures uses different paths but then you just import them as they were a skin and put them at the path provided by the model creator.
If you don't like having your texture files at the base of the MPQ you can actually fix that by editing the models the texture(s) are attached too. However I am no model expert so I can't show how to do that part.
However I found this thread that should explain it to you.
Sound and Music - These are rather simple to import but it seems that wc3 doesn't load every music file found in the music folder. You need to replace some original sound / music in order to make it display in the sound editor. In war3x.mpq uo go to Sound\music\mp3\and replace one of the files there
Credits
Sindorei300 - Featured model
Last edited:


