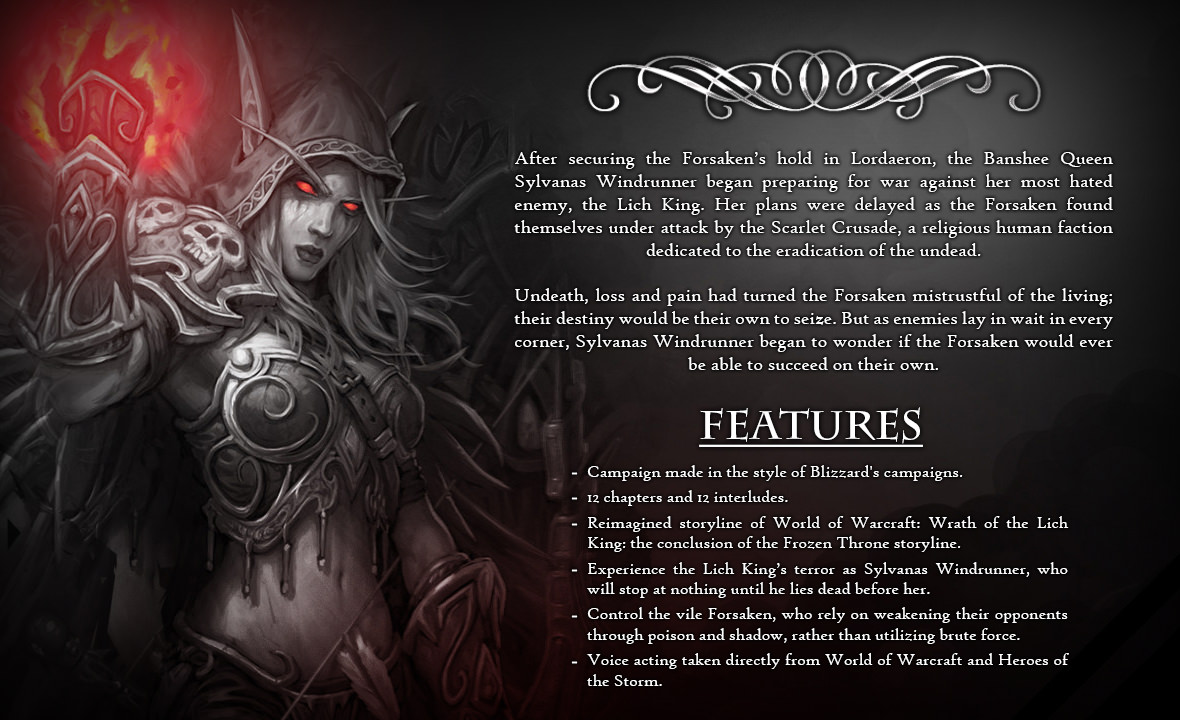
Finished this yesterday and thought I'd leave a review. Have wanted to play this campaign for literal years, but it was never possible for me until the recent patch (1.35). Am happy to report that the entire campaign works perfectly on the Reforged client now, aside from some minor graphical issues. Overall a fantastic experience, fantastic terrain, music and programming all around. The Forsaken felt incredibly varied, but did not seem overpowered. Some of their units weren't my favourite-Dark Rangers seem to drop off in utility very quickly, and I never once used ghouls offensively (but this is more of a vanilla issue) but new additions like the Apothecaries and the Val'kyr were a ton of fun. I'll go through the missions individually with my more detailed thoughts. Note: I played the Campaign on hard, so not all of my criticisms may necessarily apply at lower difficulties.
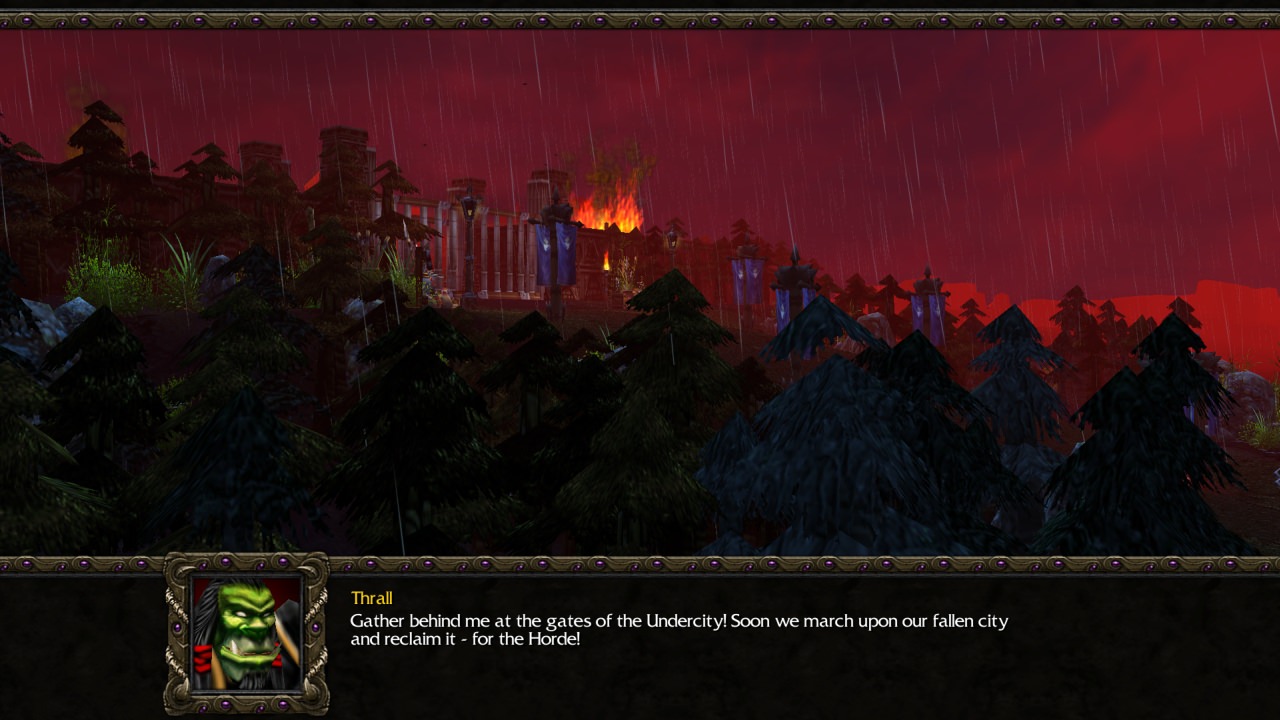
Chapter 1: A solid opening mission. Not easy but not overwhelmingly hard. Not much to say, just a very strong map.
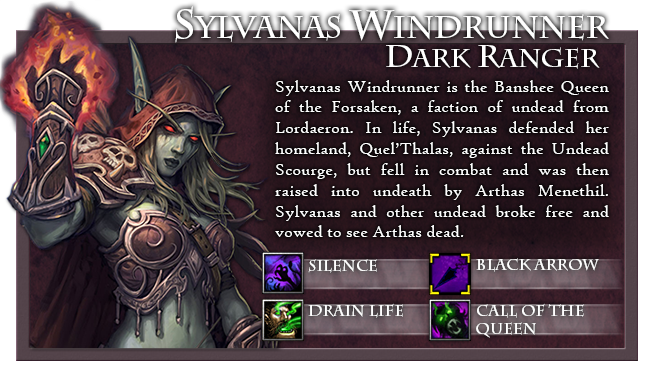
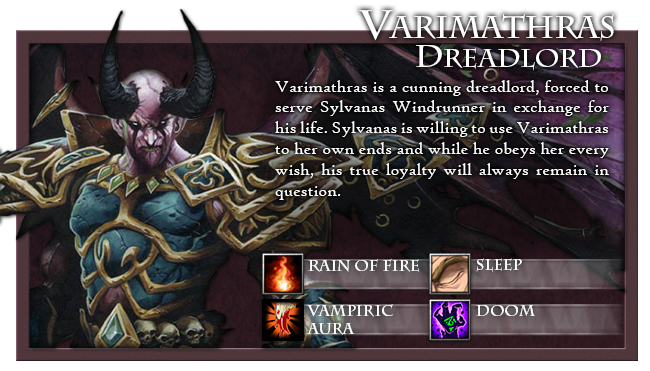
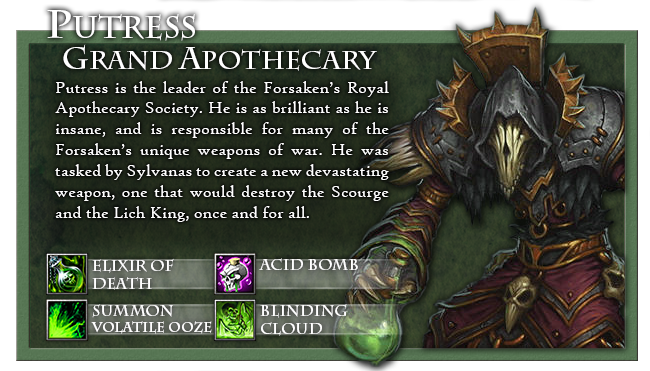
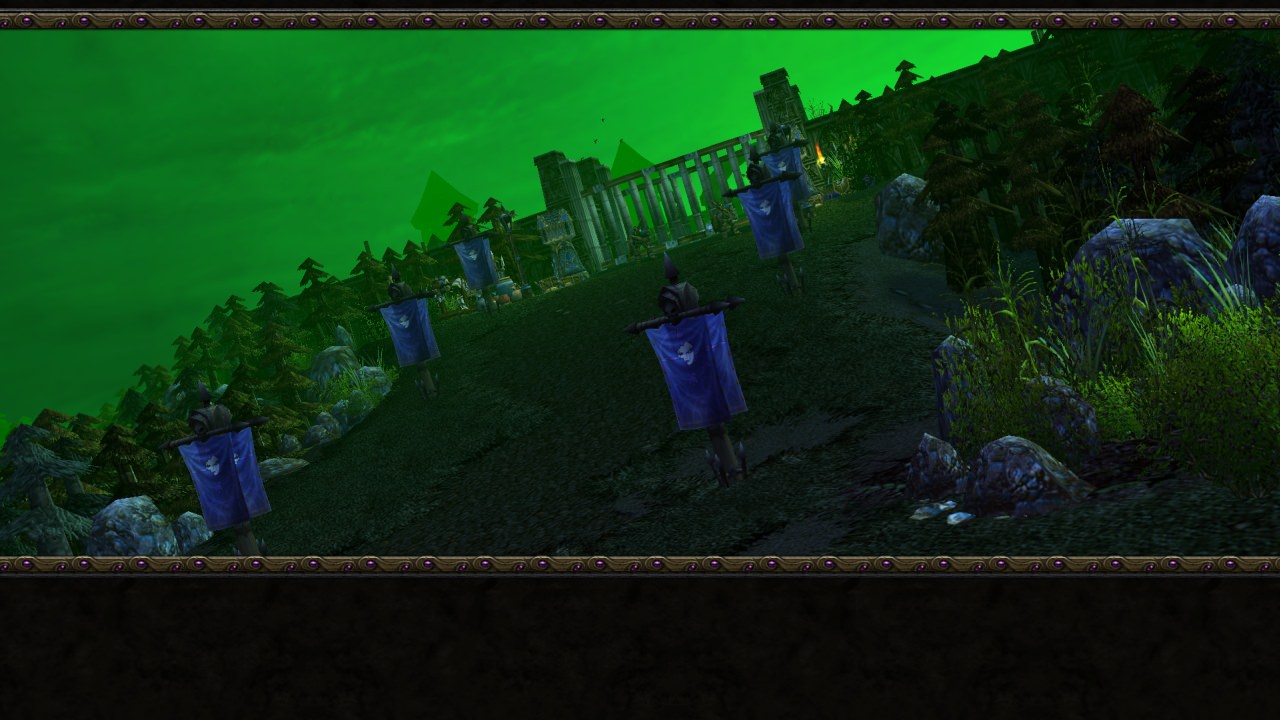
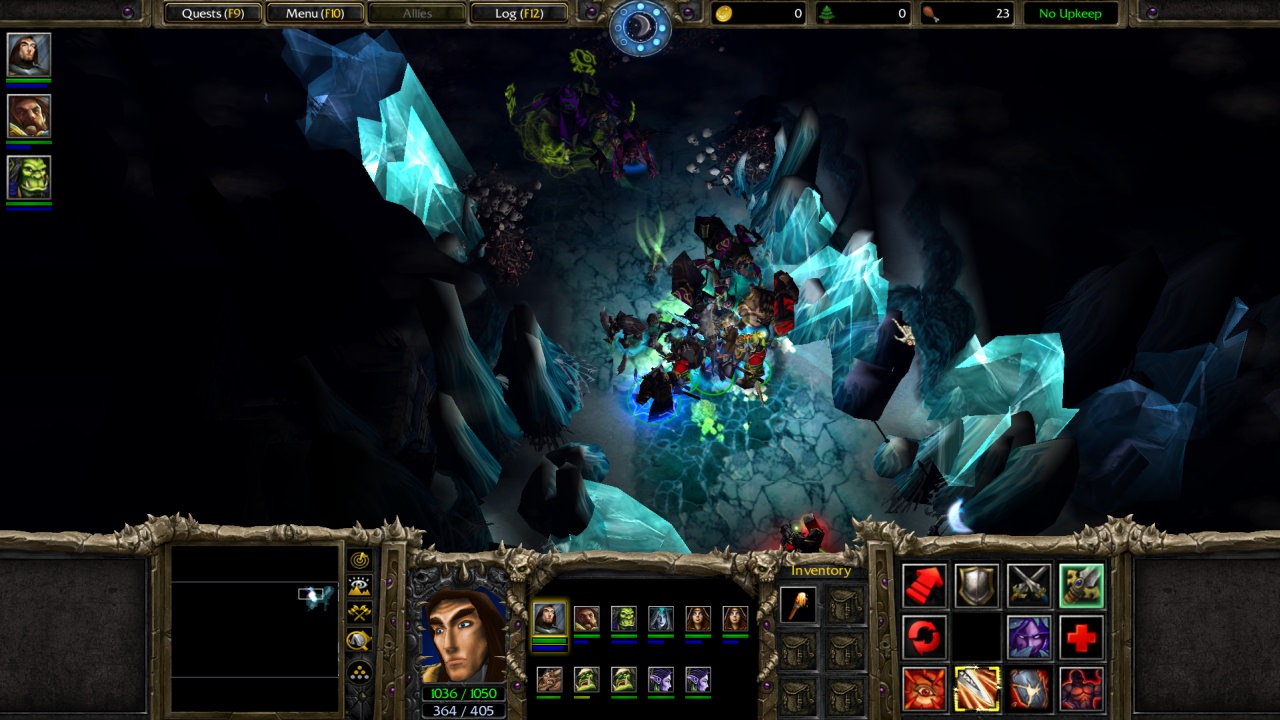
Chapter 2: This map felt like a bit of a slog at times-the dark rangers and guard towers you have access to seem very poorly equipped to deal with the constant heavy melee orc attacks. I found this encouraged turtling at the beginning of the map. Not my favourite playstyle, but once you get access to Putress, it feels much more comfortable to go on the offensive. Elixir of death is an extremely powerful spell, and single-handedly turned the tide of many battles. But then the Orcs start sending Red Dragons at you, and the mission becomes a bit of a pain. Although, by the end I realized I could have possessed a Peon and trained Red Dragons of my own, so this mission could have been made a lot simpler for me. Not a bad mission, but I feel like the frequency and size of the enemy attack waves could be toned down, or maybe Dreadguards could be introduced in this mission instead to counter the Orcs' melee forces? Also-Putress had a strange graphical anomaly associated with him where his hero glow was sort of smeared out below him in a cross shape, not enough to be distracting but noticeable. Probably to do with Reforged.
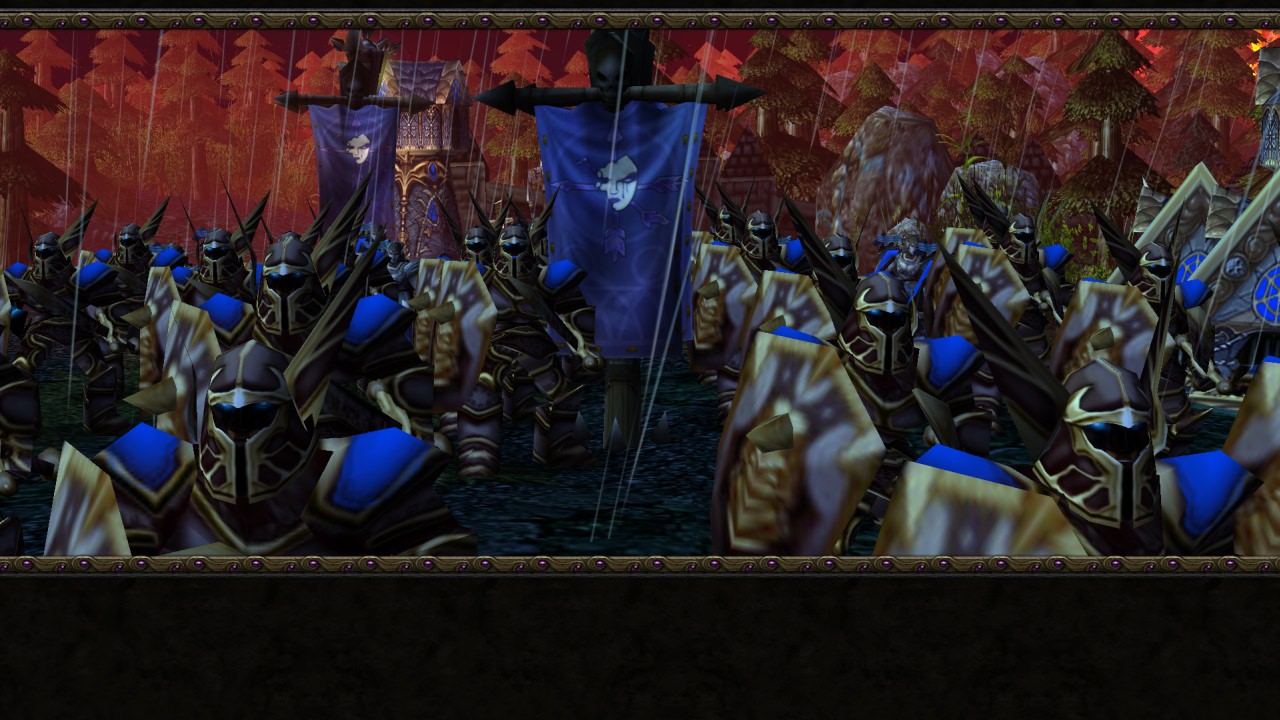
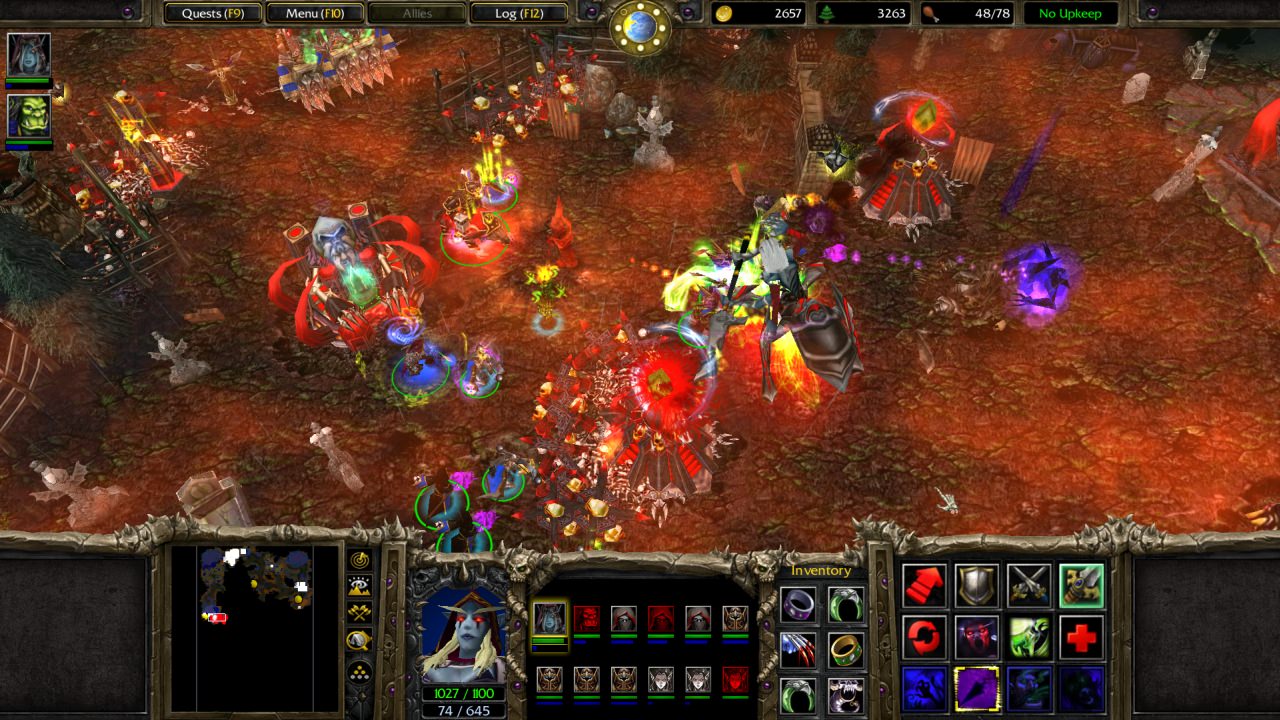
Chapter 3: This mission was quite challenging for me, but I think that's because I played it wrong. The whole time, I was trying to push aggressively with Sylvanas, which was made difficult by the fact that she is attacked very frequently from two different angles. Trying to tech up, defend, and also push was pretty stressful! For some reason I didn't even think of pushing with Varimathras and Putress instead, even though their base is much easier to defend, and you have access to Putters' healing. As I finally did manage to make progress on Sylvanas' side, I found that there really are a ton of different ways to approach this mission. The forces of both bases can swap and interact with each other in certain areas, and there are a lot of places where bases could be built. I kinda wish I'd played smarter instead of brute-forcing it. Anyway, I quite enjoyed this mission. The Murloc side quest is quite helpful to give you base defense fodder, but it can be trivialized by sending in an ethereal banshee. Not sure if this was intentional? I also believe that the tomb of relics equivalent should not sell orbs of darkness-they make Sylvanas' black arrow ability mostly pointless, as you can just get an orb and have the same effect (at earlier levels) for no mana cost. Dreadguards were great units, they were my go-to frontline soldier for a lot of the rest of the campaign. Balnazzar's betrayal and the subsequent goal of destroying what used to be your base was a cool surprise-although it made me glad I didn't really fortify Varimathras' base much!
Chapter 4: This is where being stuck on tier 2 upgrades really starts to hurt. Constant attacks from the Scarlet Crusade and the Demons (awesome custom units and models btw) forced me to play very defensively, which at first was frustrating, but then I realized it was intentional, as at a certain point Balnazzar and the Crusade turn on each other, making the first part of the mission actually a stealth holdout. After this point the mission became trivial for two reasons: One, for some reason, after turning on the humans, Balnazzar never sent another attack at my base, and two, I learned from my mistakes in chapter 2 and possessed a demon worker, giving me access to Doom Guards, Infernals, Infernal Juggernauts, Elder Voidwalkers and Nether Dragons. Needless to say, Balnazzar couldn't really stand up to that. The side quest was interesting-it reminded me of that one mission in Heart of the Swarm where you feed Zurvan. I also really like using the apothecaries. Very versatile unit, a ton of potential. Only problem is the enemy loves focusing them down. I think that was to do with the difficulty, though.
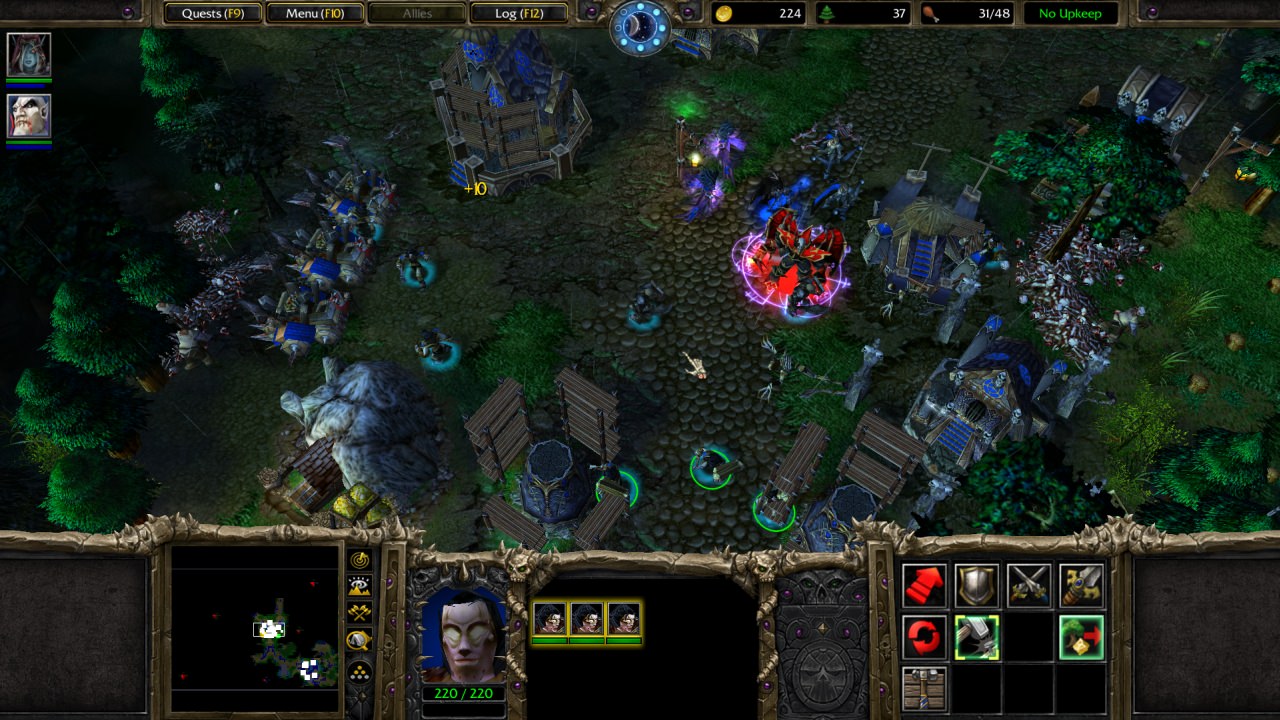
Chapter 5: After 4 fairly difficult macro missions, I was at first relieved to have a nice, relaxing no-build mission as a break. I was INCREDIBLY wrong. This turned out to be BY FAR the most difficult mission in the campaign. Gigantic enemy attacks, poor ally AI, no access to consistent healing besides Thrall's healing totem (but he has low mana and you'll be prioritizing using chain lightning), no time to learn the new hero's abilities... it was a mess. And I loved it. It really felt like a puzzle that was very rewarding to solve when I finally cracked it. In my first couple of tries I could barely get the timer to ten minutes before dying horribly. I actually wondered out loud how this mission could be remotely possible. Here's the strategy that ultimately ended up working: You absolutely, 100% NEED the help from Drek'thar, the Forsaken/Blood Elves and Garrosh to beat the mission. But there just isn't enough time to get to them all before the Undead arrive. And if your heroes aren't there to help defend when they do, you're left playing catch up and get overwhelmed. So I sent Jaina to reach the Blood Elves/Forsaken while simultaneously sending Thrall and Sylvanas to clear out the creeps at the portal near Garrosh's base. I ran by all the other sleeping creeps-no time to fight them. As soon as the Blood Elves/Forsaken were secured, I sent Jaina to join my other two heroes. With luck, I was able to focus the creeps down and get back to base with two of my allies ready to help out just as the first Undead waves arrived. Then I held on as best I could until there was a brief lull in the enemy attacks, and when night had fallen again, and sent my heroes on a mad dash through the portal, past the creeps and to the other way gate at Drek'thar's base. After securing their help, I could head back to base and try my absolute hardest to hold on. The most annoying part was the level 10 enemy Lich-he had an ability that seemed to be able to take away half of Jaina or Thrall's health in one hit, and he would often have anti-magic shield up, making it really hard to kill him. But near the end of the mission his AI doped out and he would just seem to run through Orgrimmar alone, not doing anything as I focused him down. I wasn't complaining, though. Eventually, even though most of the city was destroyed, the timer finally hit zero and I breathed a sigh of relief as the Night Elves and Tauren arrived... Or at least, I would have, because I had to take that time to run around getting all the creep loot I missed before the enemy bases went down! What a crazy mission. It was great.
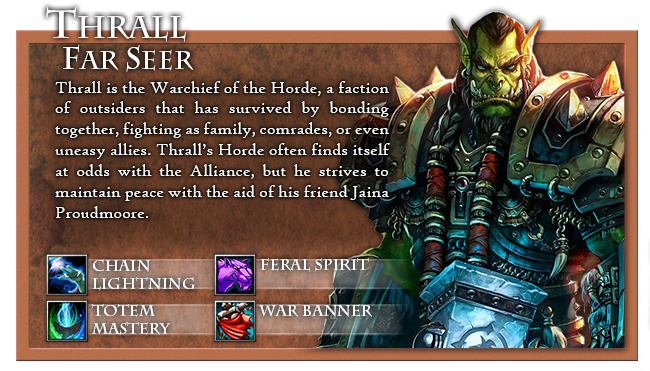
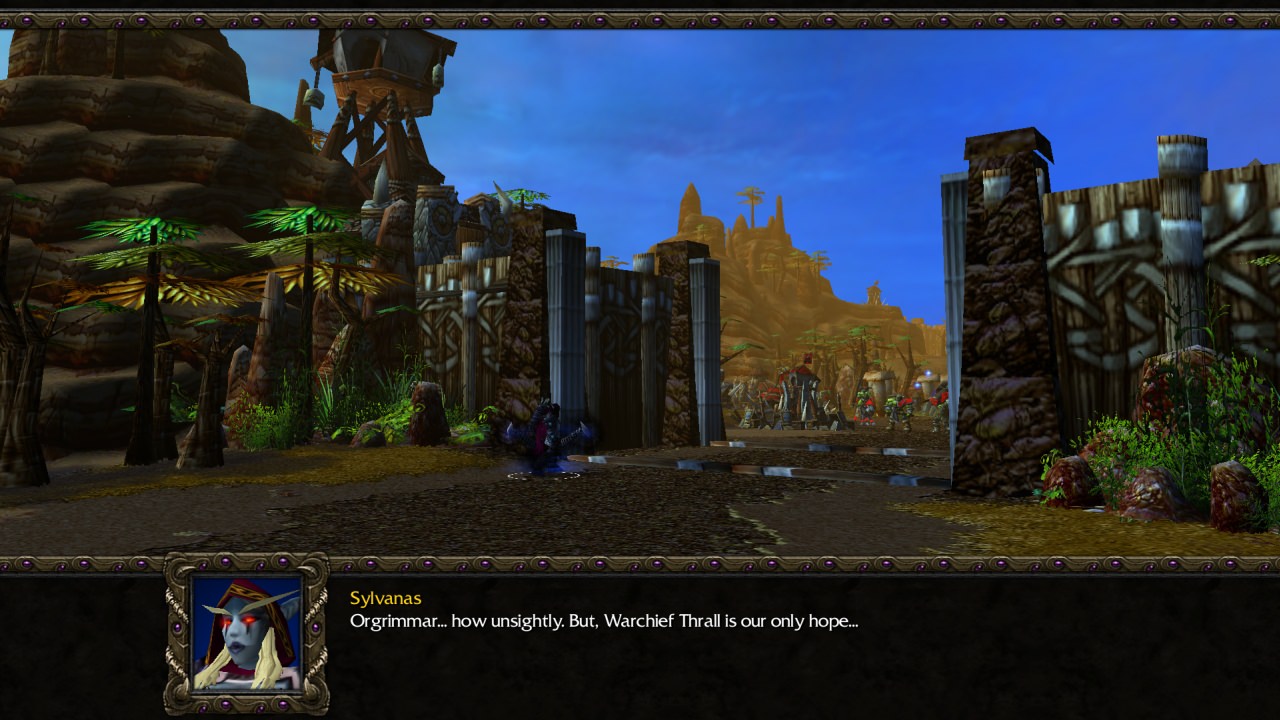
Chapter 6: After the last mission, I didn't feel too bad sorta cheesing this one. Instead of liberating any of the forsaken bases, I just ran around with Thrall and Sylvanas, slowly clearing the demon bases. Then, when I felt ready, I freed the central base, then immediately ran over and killed the commander of the eastern base. This left me only one base left, which I cleared easily. The next part of the mission was a lot of fun! Felt very epic and not too difficult, just enjoyable, and helped tell the story well. I feel like there could have perhaps been a hint of Putress maybe not working with Varimathras, but starting to be like, "huh, maybe he would have been a better leader" or something, to make it more similar to canon and to justify his use of the plague later on. Also I didn't mention it earlier, but Thrall's new abilities are very interesting. The totems make him extremely versatile, and the war banner had great potential. However, I found he ran out of mana quite a bit. Maybe a sobi mask drop would alleviate this?
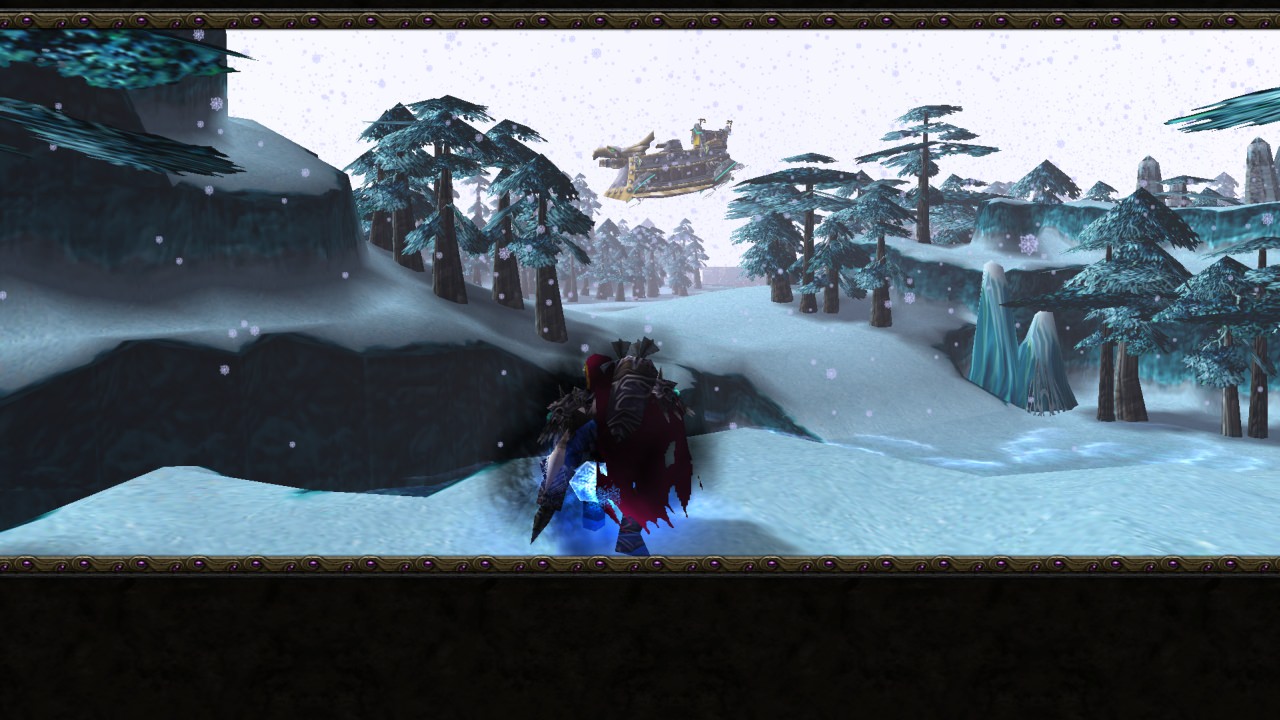
Chapter 7: This mission was a ton of fun. Great to play as the Blood Elves again. It really felt like we were pushing our way into Northrend, fighting hard for every inch of ground. Nothing frustrating or cheesy here, just fair, well-balanced play.
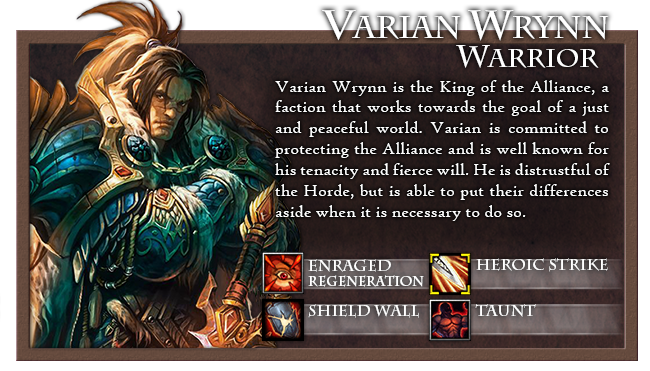
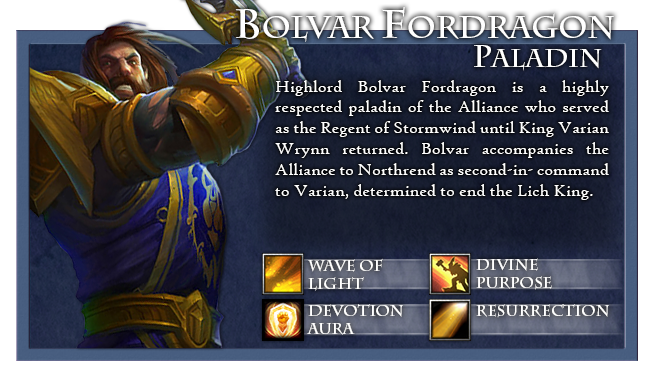
Chapter 8: Finally, a proper no-build mission! This one is impressive in terms of design. The lighting and use of the torch is really cool. I feel that Varian could perhaps be replaced with Tirion Fordring in this mission and in a later one (I'll get to that). It would make a lot more canonical sense, and you could just give him the same abilities as Varian has. Varian could still be an important character in the campaign, but not a playable hero. I feel this could also give Bolvar more characterization, having another paladin to bounce ideals and banter off of? At the moment he comes off as rather flat in this campaign. Other than that, I liked the alliance of units here-the Draenei units were especially nice. Varian is a great hero-the definition of a tank. Overall, a nice break.
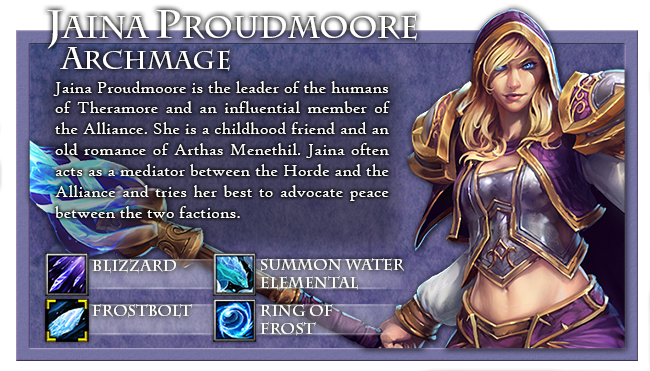
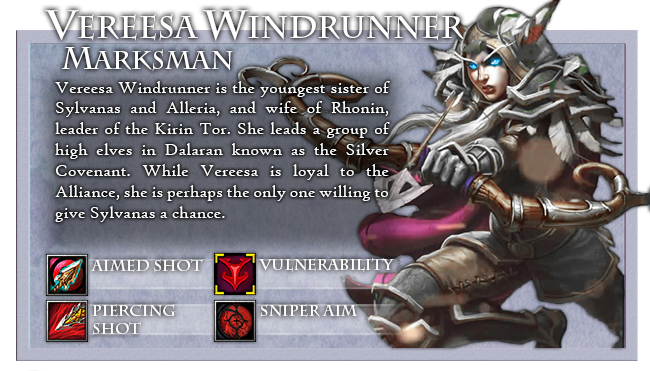
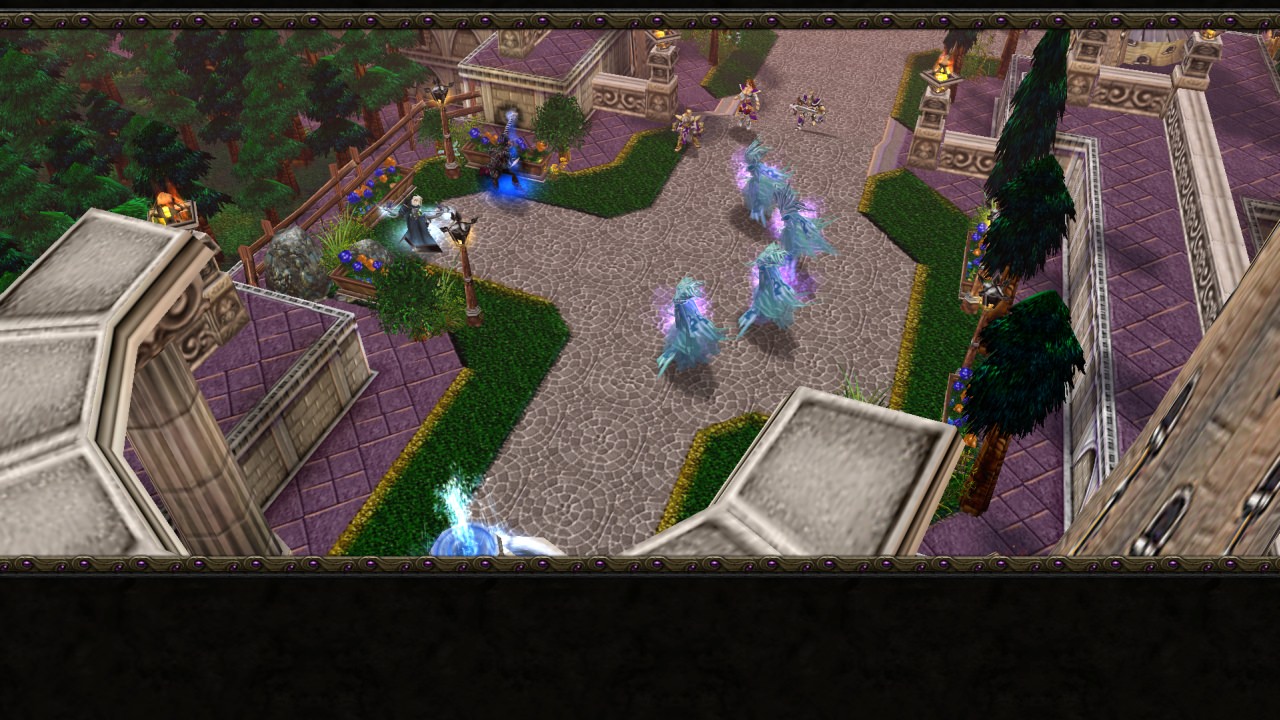
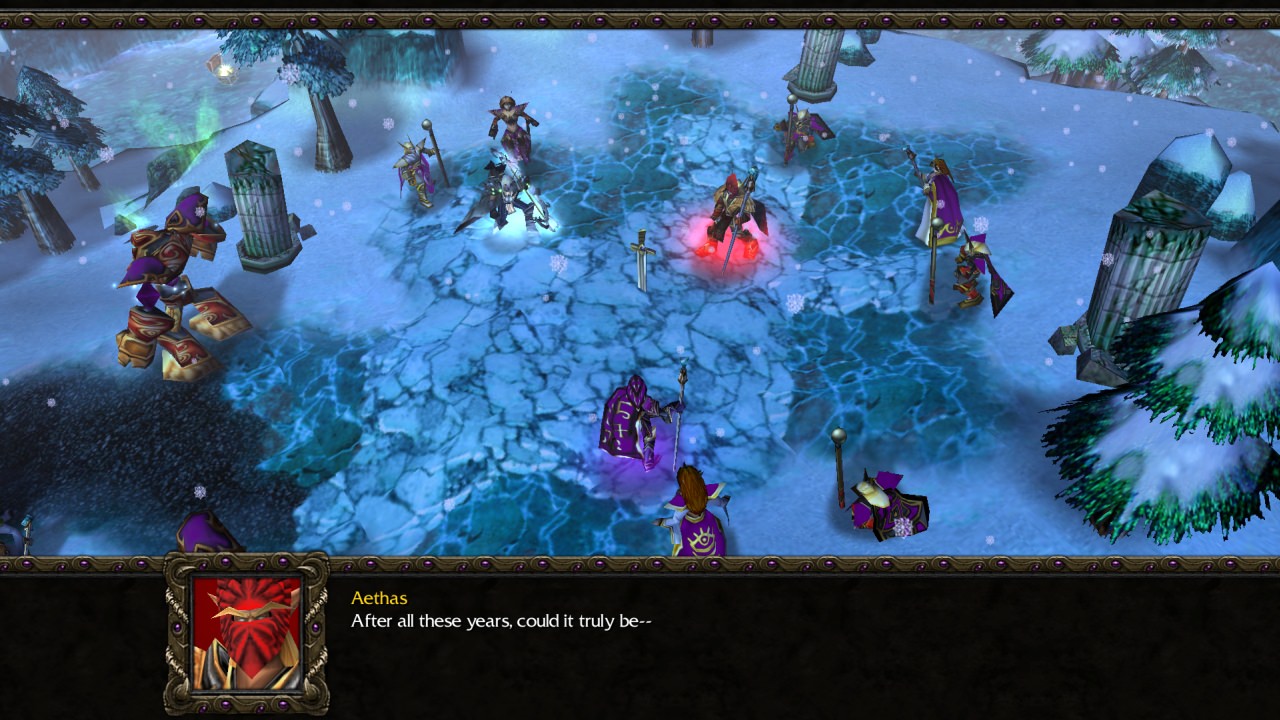
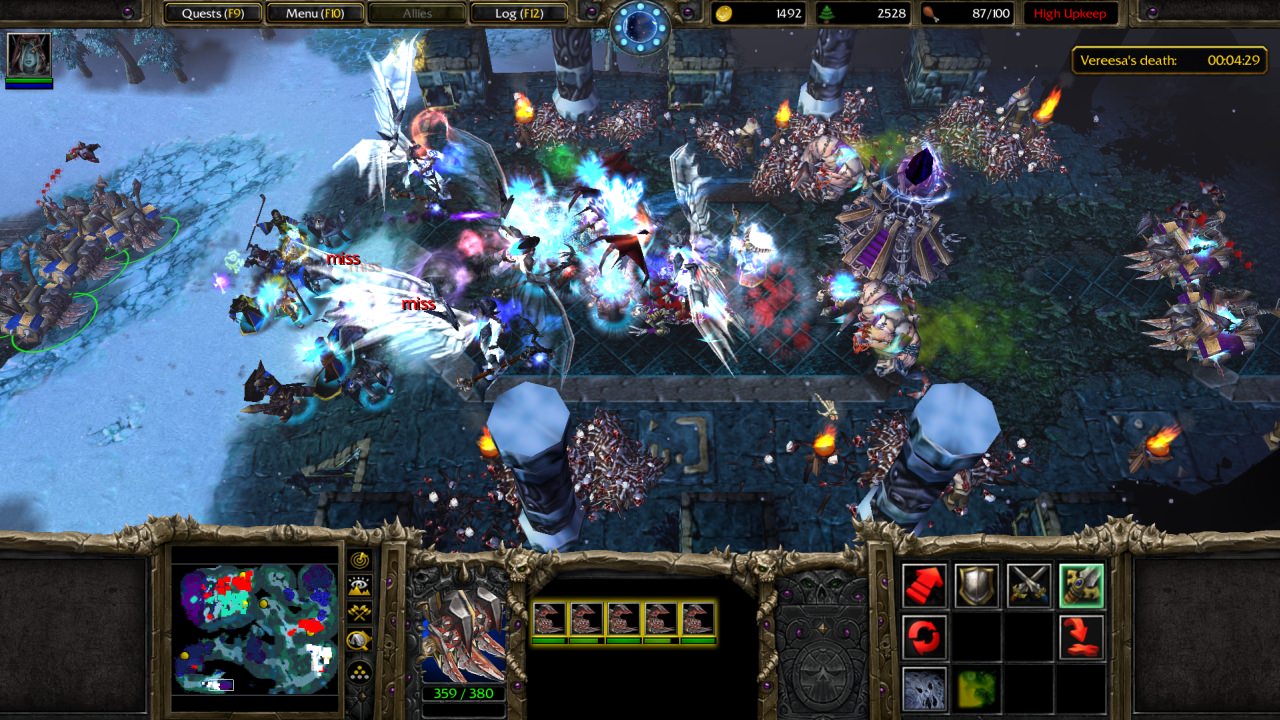
Chapter 9: I really liked this mission. It felt very experimental, acting as more of a laid-back, RPG-esque map prioritizing story and world building over gameplay mechanics. The cutscenes were impressive, and the optional quest to get Quel'dalar was a lot of fun. Also again a nice breather for what's to come! Jaina's ring of frost is very cool looking, but I think it does friendly fire (could be wrong) so it was bit difficult to use. Vereesa's abilities were very solid, but I didn't really understand her ultimate. Is it sort of like bloodlust but with the added reduction in movement speed?
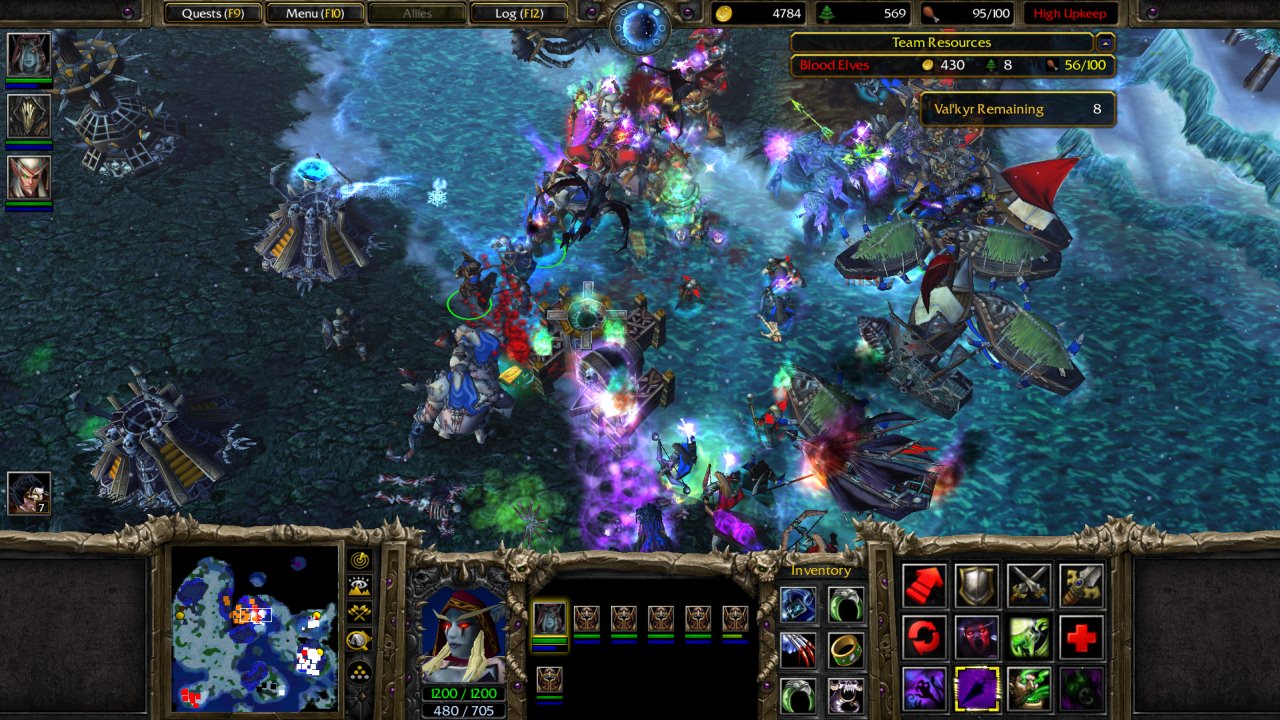
Chapter 10: This mission starts off surprisingly easy. I actually was able to dive one of the Vrykul bases immediately and destroy it with pretty much just Putress and Sylvanas. And with the Blood Elves' help, everything else fell into place pretty easily. The second part of the mission, however, was hell. Thankfully you get the very powerful Val'kyr to work with. I spent way too much time trying to destroy KT's base entirely before realizing you had to actually go to a separate area to free Vereesa. I ended up having to just dive this area and focus down her cage. I really, really liked the titanic battle going on between the alliance, horde and scourge in the upper left. Really gave a sense of scale to the mission.
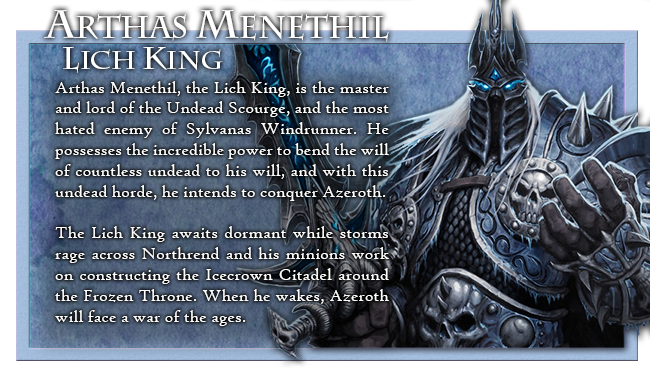
Chapter 11: A close second to chapter 5 in terms of difficulty. The first part with Putress wasn't too bad- but taking over the obelisks was a nightmare. Due to the incompetence of my AI allies, I had to pretty much drop everything and go help them whenever Arthas attacked, because they didn't know how to focus him down. This made it very difficult to make any progress. I was relying on mass Val'kyr at this point-their healing ability was more reliable than the Apothecary's healing flasks, and their unparalleled versatility (being able to switch between air and ground) made any other unit pretty unviable here. It was a long back-and-forth, but I finally broke the enemy lines and took the obelisks. It really felt like a long and difficult siege. Perfect!
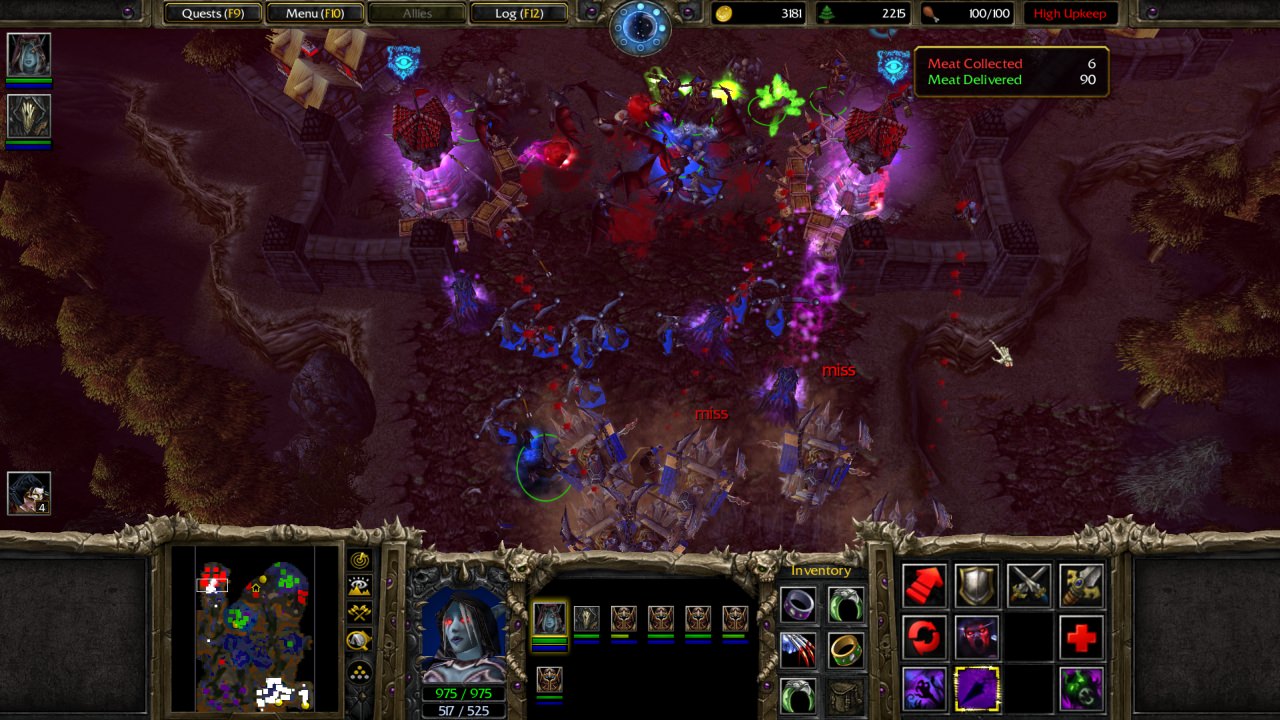
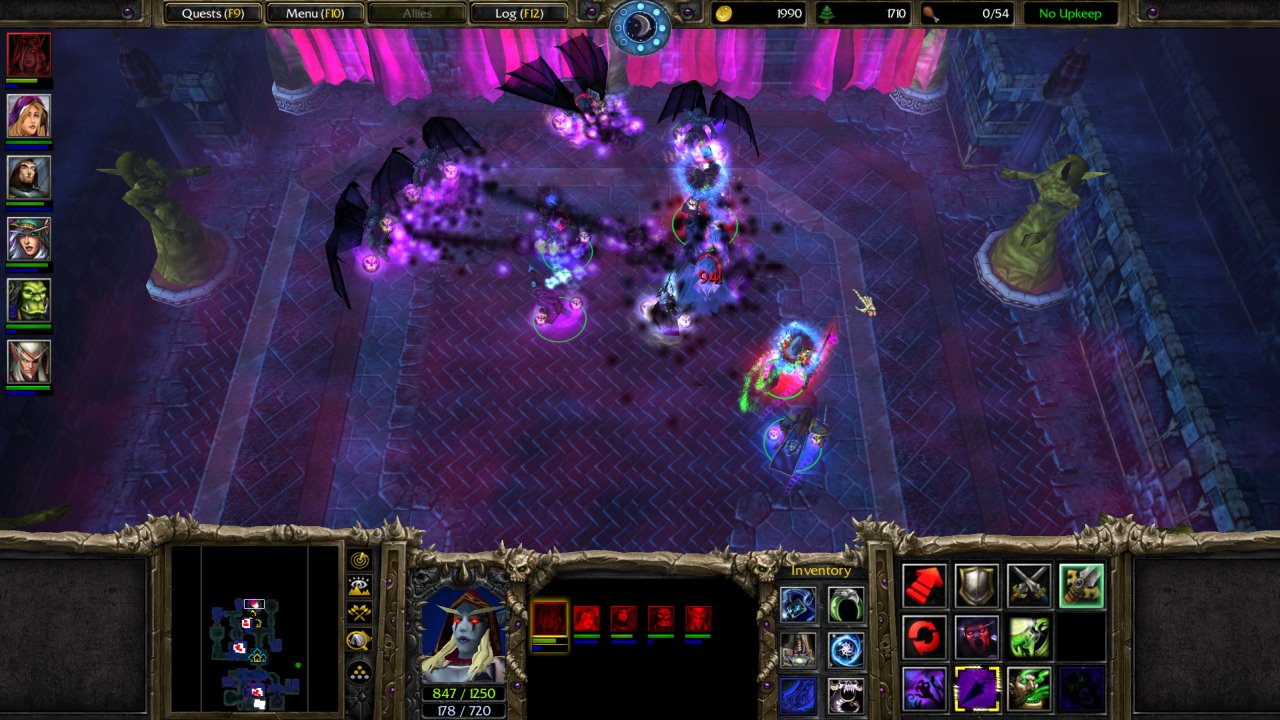
Chapter 12: A great finale. Really felt like the raid, even with the technical limitations of WC3. The bosses were all challenging, but none were unbeatable-though Lady Deathwhisper had a bug that made it so units would continually spawn in her room if you didn't kill her, making it impossible to kill her. I felt that there could have been more coin pickups and less lumber bundles- I found that I barely had enough to revive my heroes, much less make an army. My lack of hero-based healing hurt here. If I hadn't completed the Quel'dalar side quest, I wouldn't have had access to any kind of healing at all, and I feel like this would have made the mission VERY difficult, at least on hard. Again, I feel like Varian could easily be replaced with Tirion here to make it lore-accurate. Varian could still be at the entrance, like Aethas, but not playable. Might also be nice to add some other familiar faces at the start of the dungeon to encourage you before you head in, like Rommath, Liadrin, Aewynne, Garrosh, Rhonin, etc. The Arthas fight was very challenging and very well-executed. You basically HAVE to keep Alexstrasza alive, so her AoE heal can keep you alive. This is easier said than done, however, due to, once again, poor ally AI. Sometimes she'll just run to a corner and sit there doing nothing, or she'll get dogpiled by Val'kyr. You really have to use everything at your disposal to have a chance here. I am ashamed to admit that I only beat it so quickly because AI issues go both ways-during one reload, Arthas and most of the adds just went and sat at the center of the screen doing nothing, allowing me to clear the remaining enemies around me, giving me precious time to heal up and restore some mana with Thrall's totems before going for Arthas again. Ending cinematics, like all cinematics in this campaign, were great.
Overall, this campaign was superbly rendered. My biggest issues were either lore-related or because of bad AI programming, which isn't the creator's fault. I'd rate this 4.5/5, and with a little tweaking to improve the minor balance issues and potentially make it more lore-friendly, it would easily be a perfect 5. Playing this was well worth the wait.
 Approved


 Maybe I'll first do a compatibility update for CotF then consider doing something more for RotBE. The idea I had was to revamp I think two or three maps and make the overall story better, like I did for CotF. Now, the problem is, I actually need to replay CotF first, but a few days ago I tried to play it on normal and I SUCKED. Now either I forgot how to play the game or the campaign is a bit too hard, or likely it's both...
 I remember when you would get trolls involved in reclaiming Quel'thalas at the hands of the Undead Scourge. I think the trolls you are referring to are Zul'jin and Amani trolls.
 ?
?


