Chaosy
Tutorial Reviewer
- Joined
- Jun 9, 2011
- Messages
- 13,239


IntroductionI learned this trick in school yesterday and I thought I would share how to apply this to your map presentation or whatever. It requires 0 art skill, you only need to use the right tools. It's worth mentioning that you can achieve this effect through other means, such as: Fake HDR Lighting in Warcraft 3 Requirements-Image Editing program, I use Photoshop but the same tools exist in free programs such as Gimp. -A few minutes of your time, once you've done this once or twice it takes 2 minutes per picture max. LevelsTo begin with, you need a screenshot. Follow this (How to Add a Screenshot to your Map Description) tutorial if you do not know how to create a screenshot. 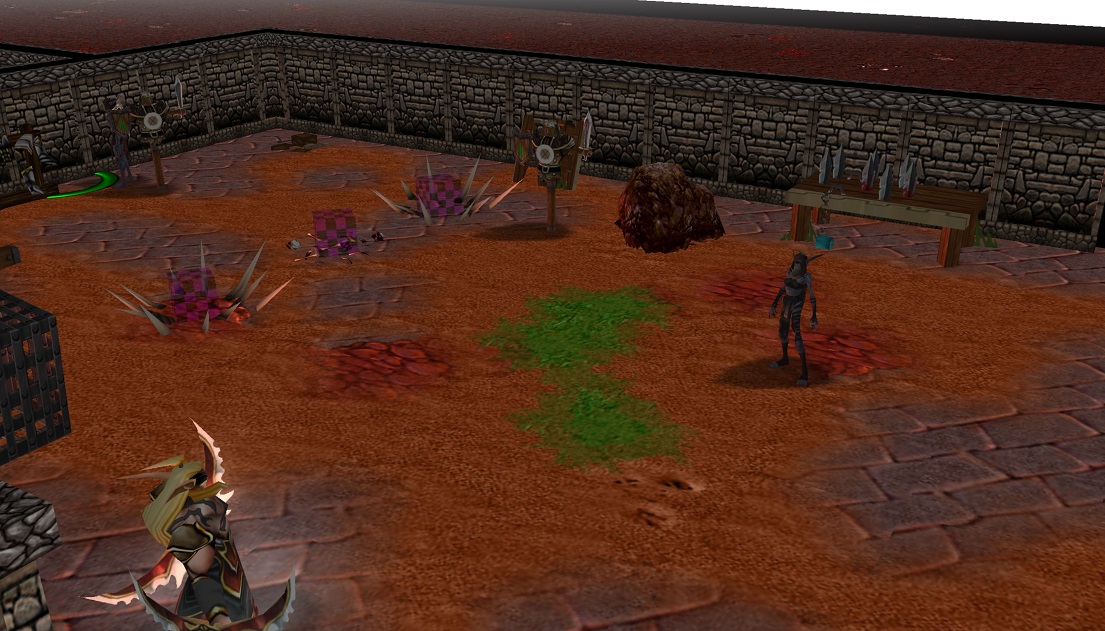
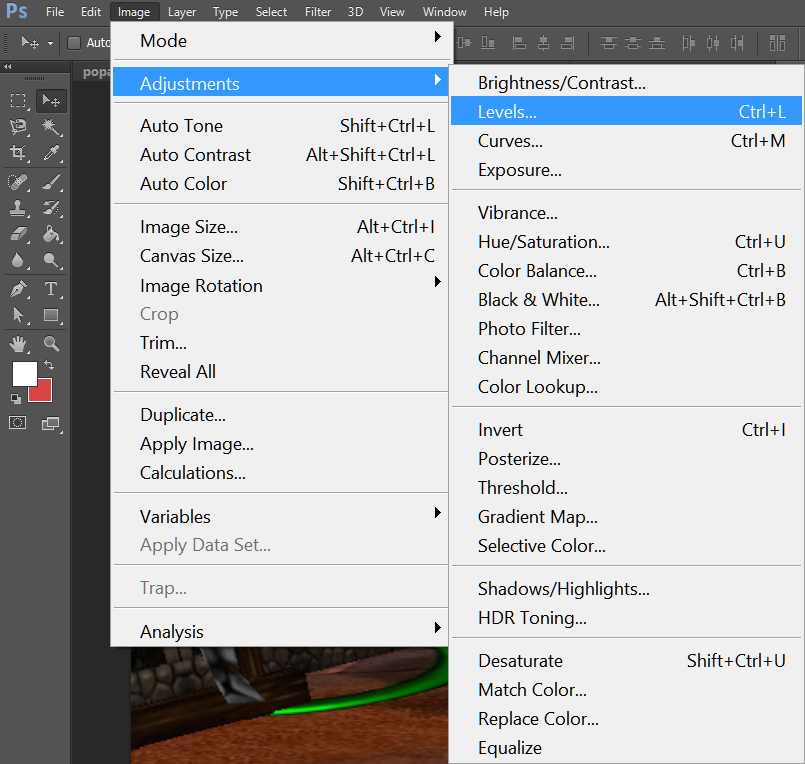
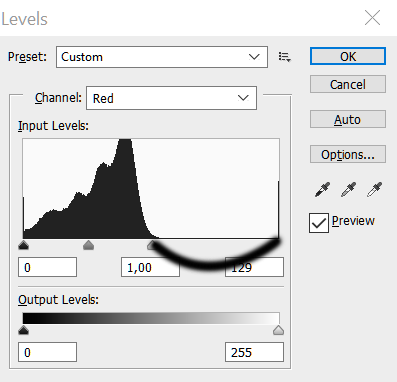
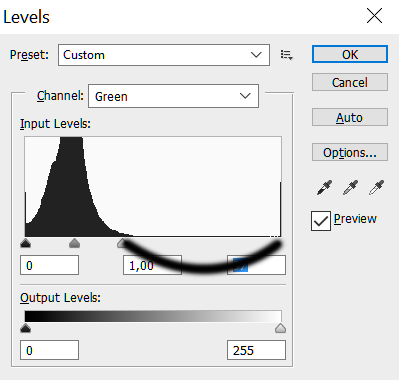
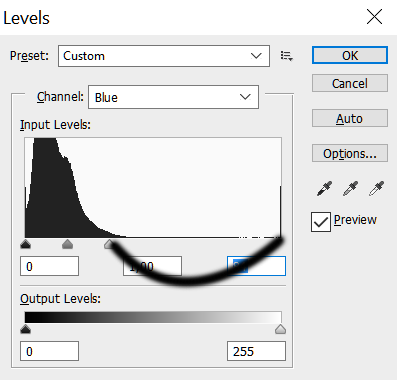
Once you're done, open your fancy editing program and find the Levels tool.
We're then going to change "Channel" and edit "Red", "Green" and "Blue" one by one. You will see a graph with three triangles under them as shown in the image below. We're going to move the two outer ones so that they are positioned at each side of the 'hill'.p 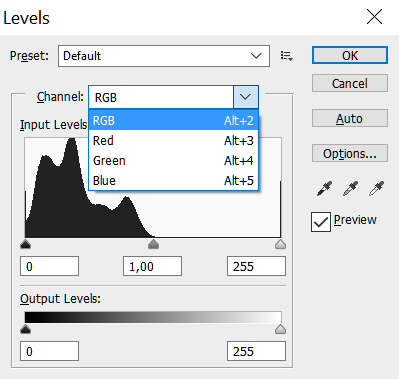
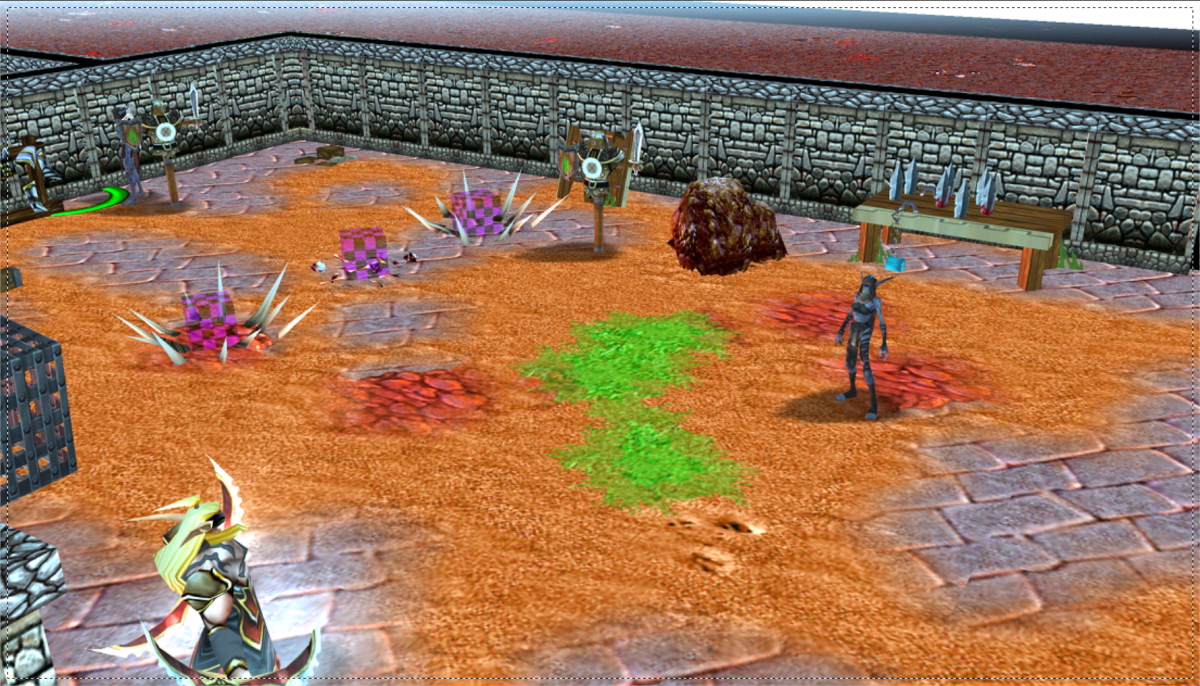
Result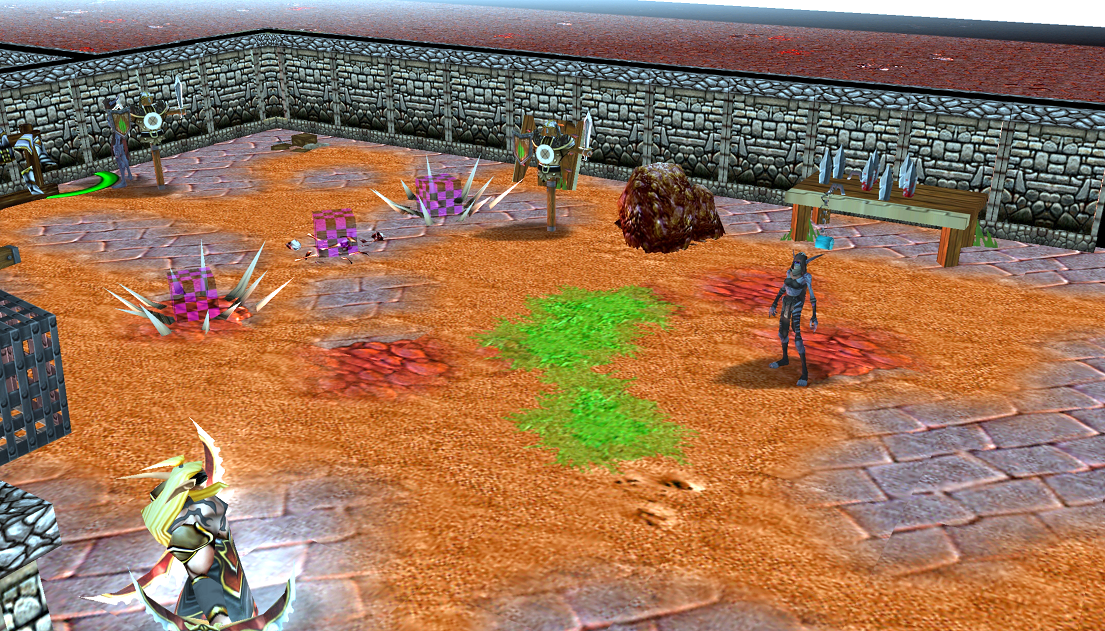
Comparison
Feather (optional effect)While the screenshot itself has been improved it still looks pretty boring shape wise. With the use of a tool called feather we can change that.
Press Ctrl + A, and then use Free Selection tool to reduce the size of the selection so that it almost reaches the edge of the image. 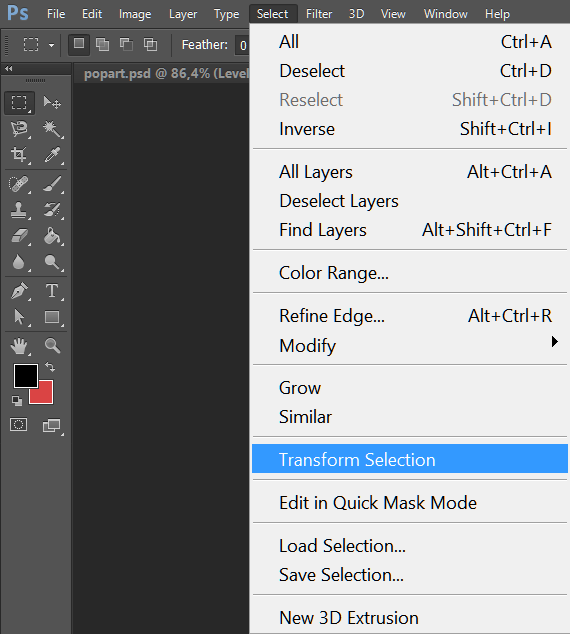
Once your selection is done, double click to confirm its placement. 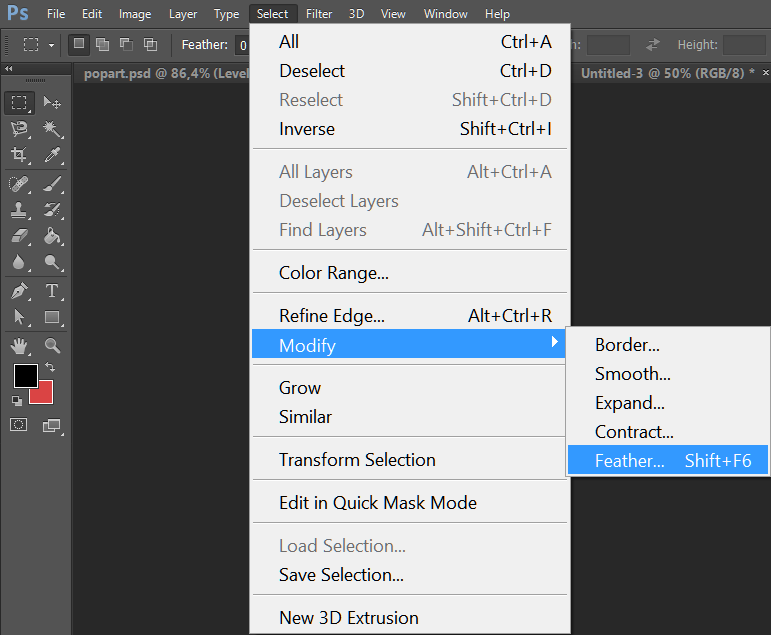
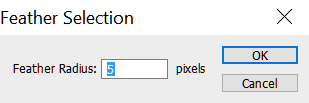
Once selected, the tool will ask for a number of pixels. I would recommend using anywhere between 5-10 pixels, though it depends on the size of the image. Large image = more pixels.
If you've done everything so far correctly, the corners of your selection will be round-ish.
Right click your selection and find Select Inverse. 
Then press delete and you're done! Result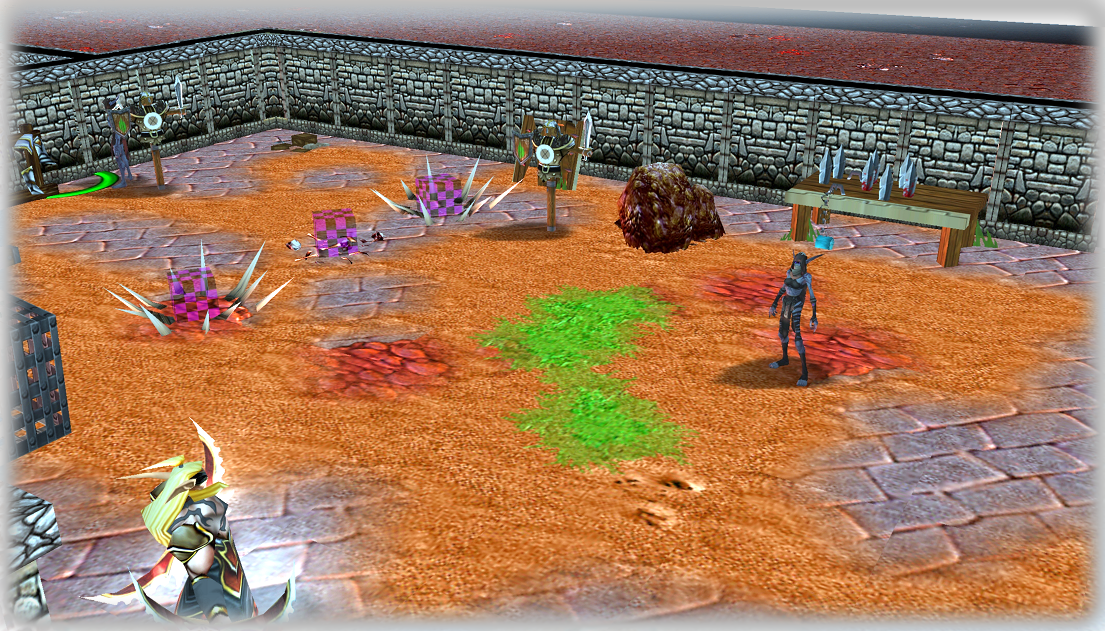
|
Last edited:


