- Joined
- Jan 1, 2009
- Messages
- 1,618
Hi, I made a photoshop template for creating Loadingscreen quick & easy.
1. Download the .psd file from the attachments and open it in Photoshop
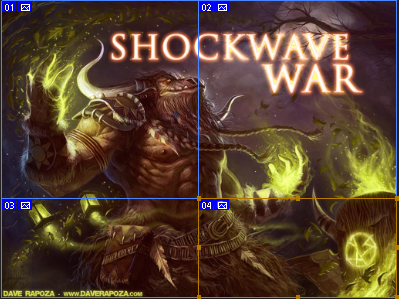
2. Insert your loadingscreen like so:
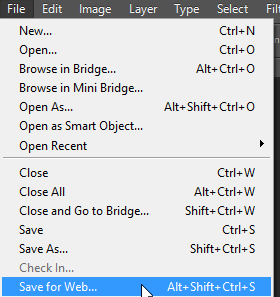
3. Use photoshop's "Save for Web" function:
Drag-Select all slices so there are no grey areas left:
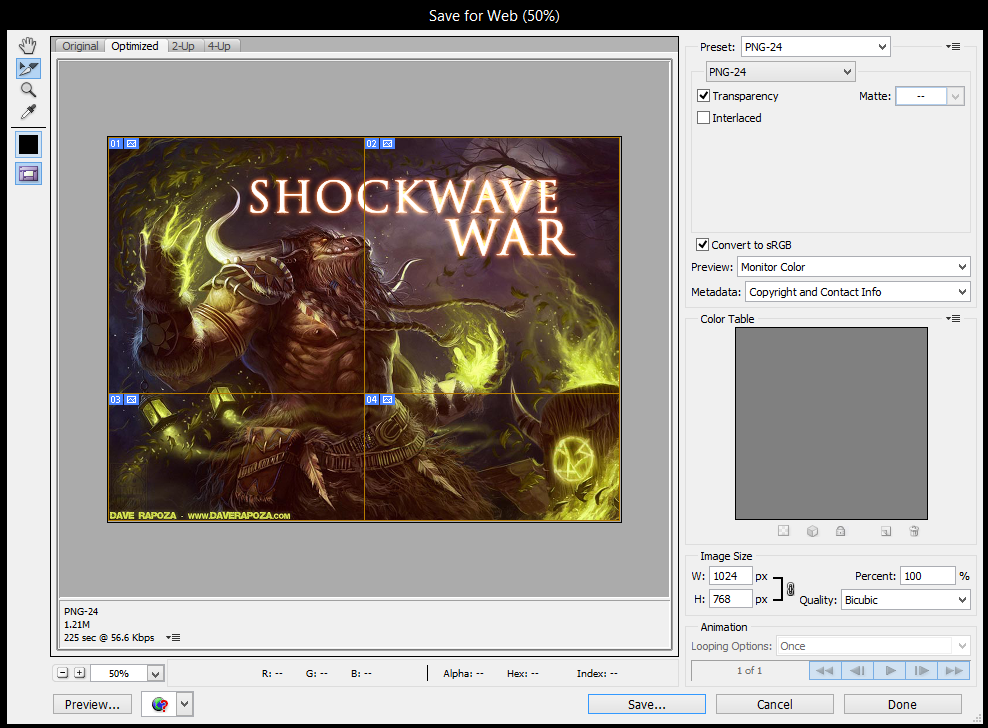
Press Save... and save with these settings to a folder of your choice:
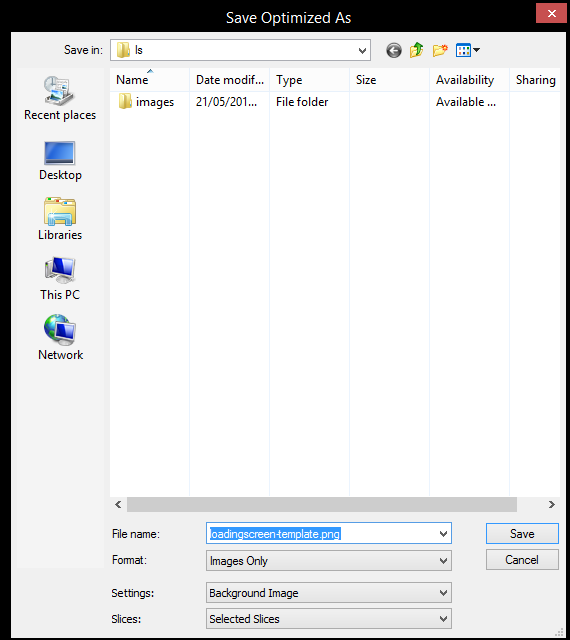
Your files will be inside an "images" folder inside of your chosen folder:

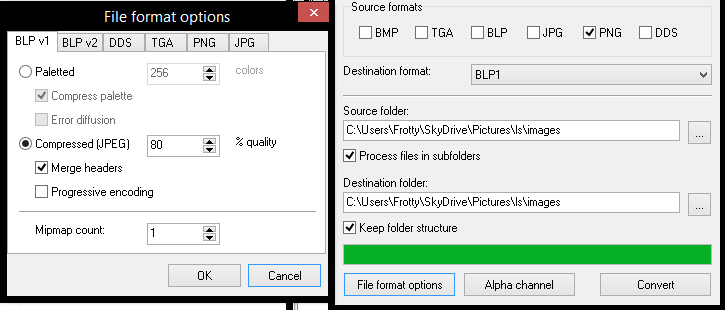
4. Convert the .png files to .blp by using your favourite converter (I used blplab-batch converter with these settings):
5. Import the files into your map using the import-editor. Replace war3mapImported\ with UI\Glues\Loading\Load-Generic\

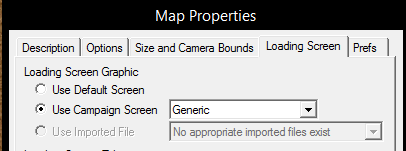
6. Set Loading Screen to Generic
And you're done!
Pros over the model-version:
1. Download the .psd file from the attachments and open it in Photoshop
2. Insert your loadingscreen like so:
3. Use photoshop's "Save for Web" function:
Drag-Select all slices so there are no grey areas left:
Press Save... and save with these settings to a folder of your choice:
Your files will be inside an "images" folder inside of your chosen folder:
4. Convert the .png files to .blp by using your favourite converter (I used blplab-batch converter with these settings):
5. Import the files into your map using the import-editor. Replace war3mapImported\ with UI\Glues\Loading\Load-Generic\
6. Set Loading Screen to Generic
And you're done!
Pros over the model-version:
- No model file needed
- Smaller filesize
- Players don't need to press a key
Attachments
Last edited by a moderator:


