fladdermasken
Off-Topic Moderator
- Joined
- Dec 27, 2006
- Messages
- 3,690
[Terraining]: Enhancing the skies
A simple interactive guide for average terrainers hoping to reach the next level
- By fladdermasken
List of ContentChapter 1: Introduction & Required ToolsChapter 2: Main
Chapter 3: Aftermath
Chapter 1: Introduction & Required Tools
1.1 Preamble
Firstly, this doesn't by a long shot cover the whole aspect, it just briefly introduces you to the fundamentals. I don't really consider learning this by an interactive tutorial to be ideal, seeing as it's the kind of experimential procedure where you learn by doing, to cut an otherwise (more) lenghtly paragraph short. But since this was requested, I decided to give it a shot.
Secondly, to make matters easier for yours truly, I'm going to assume that you know your terraining fundamentals already. If you don't, you have some catching up to do before you have a go at this. This would for instance include:
- Terrain palette familiarity
- Basic camera knowledge
- Object editor familiarity
1.2 The Ultimate Terraining Map 3.0
We will be using The Ultimate Terraining Map 3.0 (commonly refered to as UTM) for this procedure, simply because it conveniently enough features all the custom models we will need. If you want to import the models manually to your own map, I couldn't care less.
Anyhow, the ultimate terraining map is, as described by the author:
The Ultimate Terraining Map (UTM) was developed long ago to make terraining easier for terrainers everywhere. Some of the features of the map include...
- Over 949 imported files and yet still under 4MB!
- Pathing set to none for most doodads.
- Doodads reorganzied so that none are missed or forgotten.
Chapter 2: Main
2.1 Terrain Fog
Terrain fog is a dandy little tool. It will [highlight]dramatically[/code] affect the final outcome of your sky, so pay attention. To enable terrain fog, tick the box under Scenario » Map Options. Style and density are somewhat irrelevant, so this chapter will focus on the other three options, while still briefly mentioning the others below.
- Style: This determines the propagation rate. Linear is the smoothest, and exponential, as the term suggests, is more aggressive. Linear is recommended.
- Z Start: This will determine where your fog starts. I recommend values ranging from 0-1000, higher values tend to output less pleasing results.
- Z End: In contrast to Z Start, this value determines where your fog ends. I tend to use numbers like 8000-25000 all depending on how big the map is.
- Density: Adjusts the fog density, as the name suggests. Literally fills the exact same function as the Z difference does, so I quite frankly find it irrelevant.
- Color: The color of your fog. Pretty much self explanatory.
Follow these steps:
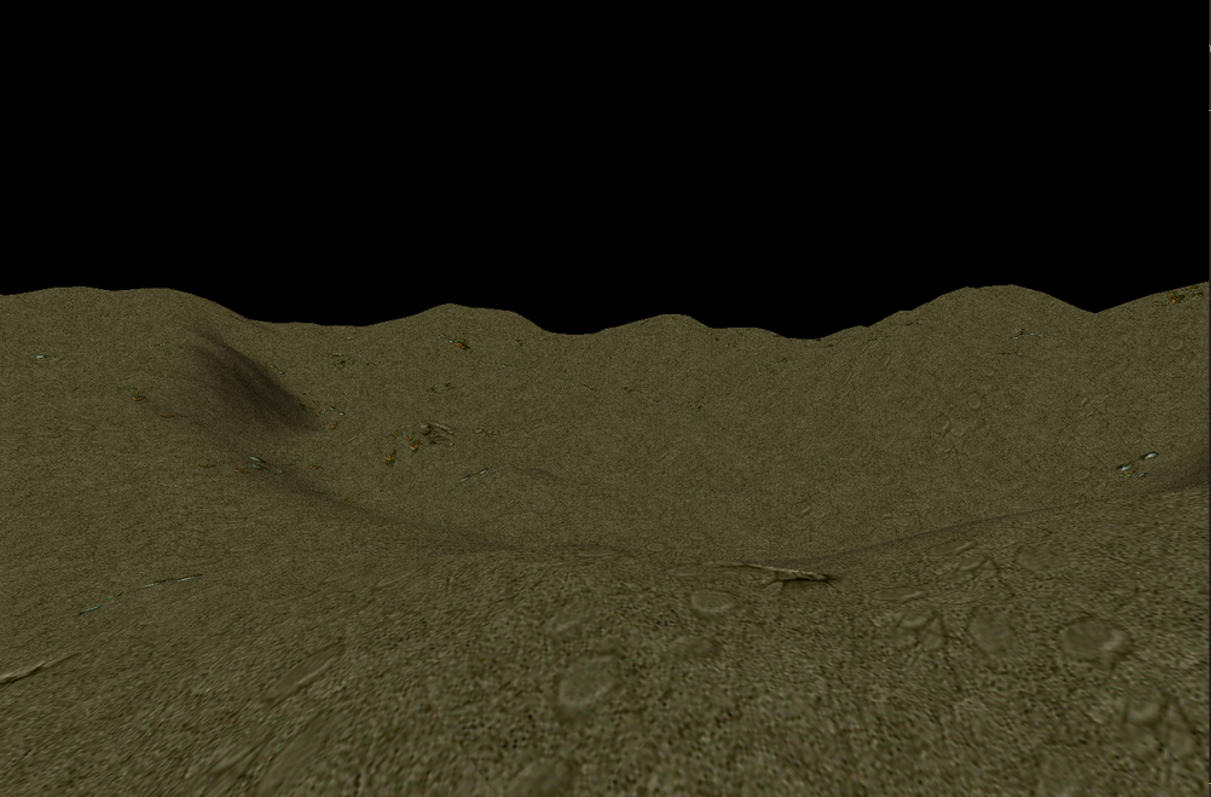
- Use the raise tool to create some mountains, hills and mounds. Since this is an experiment, there's no real emphasis on the scenery as long as your map isn't completely flat.
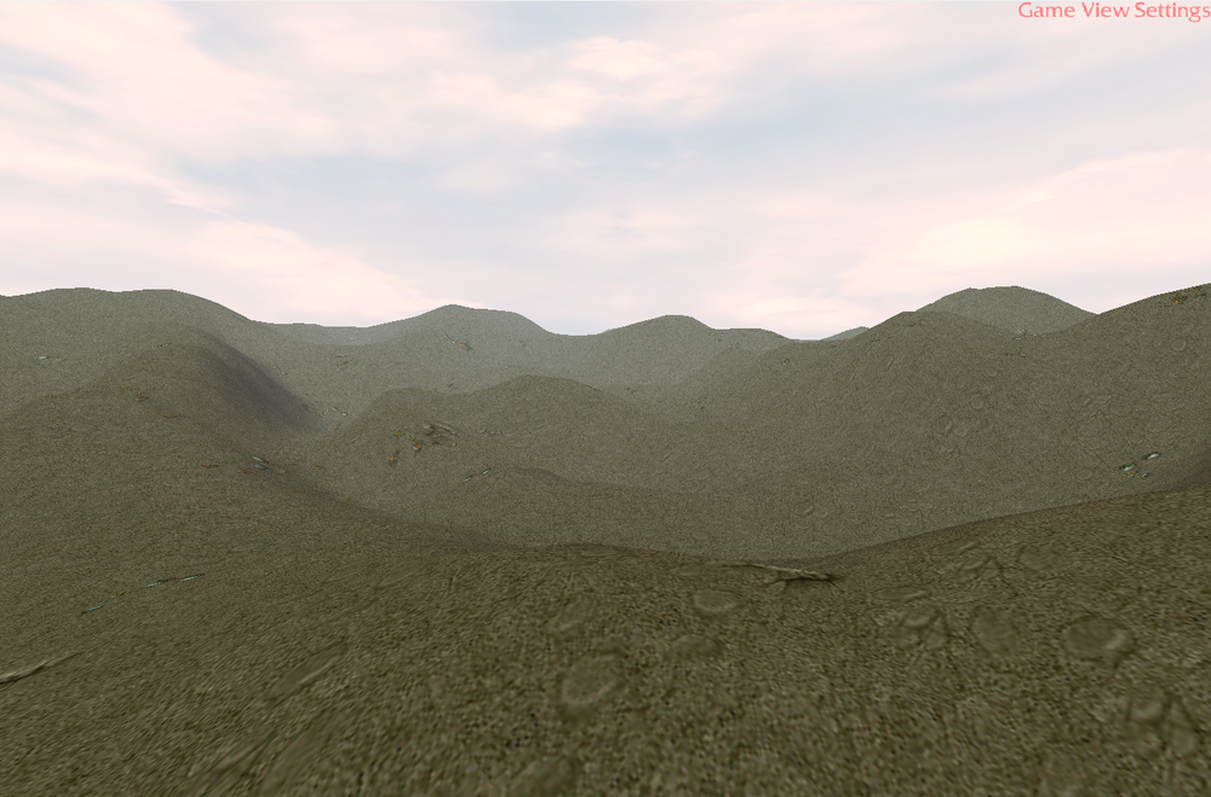
I will be working with the example displayed below.
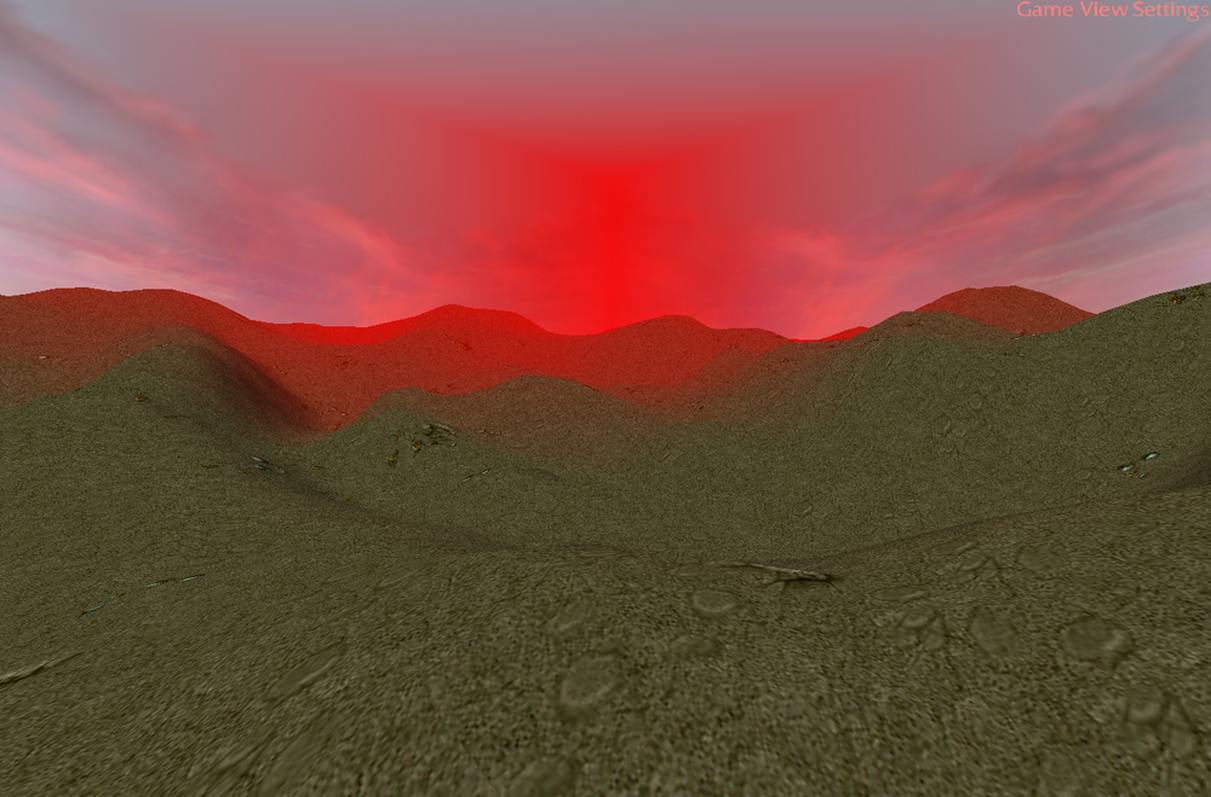
- Go to Scenario » Map Preferences and set sky display to fogged sky and time of day to fixed - noon. Experiment with the fog settings we discussed. I'd recommend a pale and gentle gradient, it shouldn't push too much for attention. The transition should be smooth and natural. Avoid abrupt shifts in general, colors should transition naturally. A clear blue sky should never clash with a blood red fog gradient and vice versa.
-
Bad: The red fog in this example clashes with the blue sky. It just doesn't look natural. Z Start is set to 6000, Z End is set to 8000. As you can see, the scenery looks plain awful.
Make it a general rule of thumb that the background should be fairly anonymous.
-
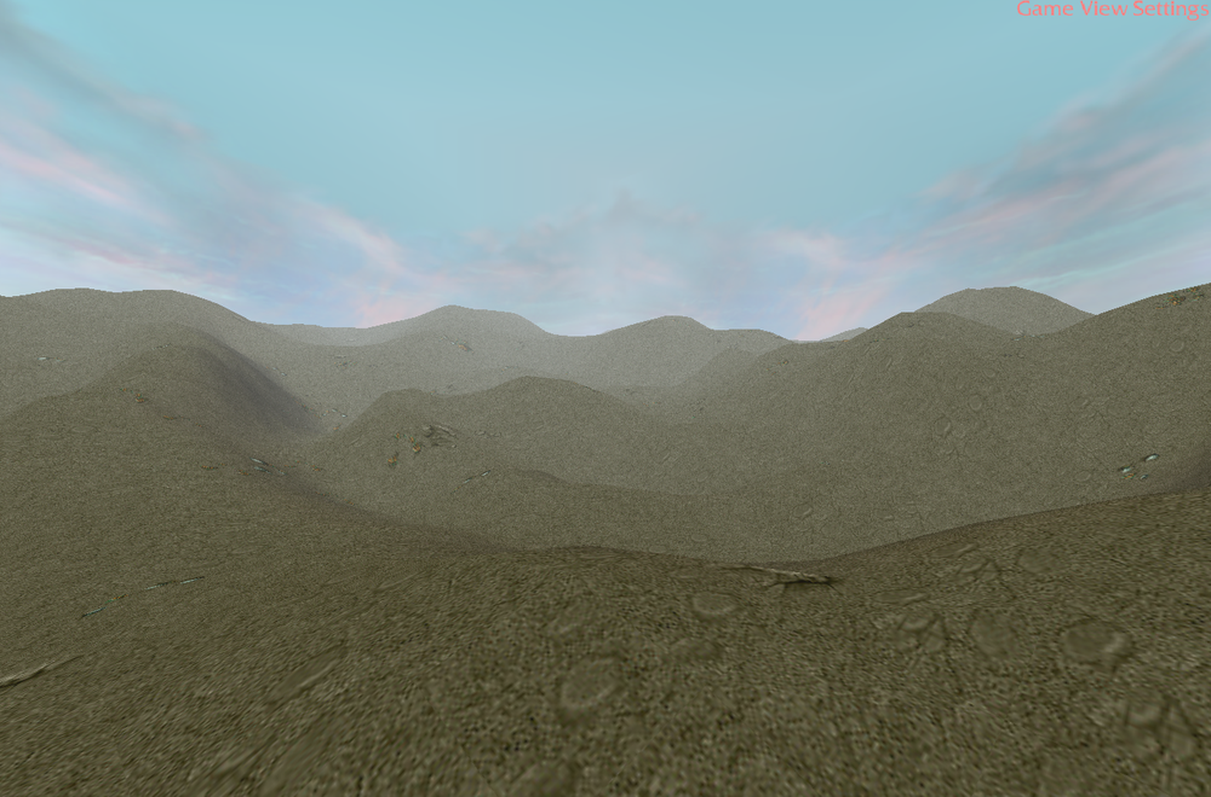
Good: This, in contrast to prior examples, looks seemingly well. The transition is alot smoother, the color gradient isn't as aggressive, and the sky merges just fine with the background.
Z Start is set to 0, Z End is set to 12000. The color gradient is pale light blue (205/215/225).
-
2.2 Clouds
We should now be ready to bring out the big guns, the models that will make your sky look authentic and not like the inside of a horse's mouth: Clouds. As previously mentioned, the models we need are conveniently organized and available in the ultimate terraining map, you will find them under the cinematic category in the doodad palette. Before starting, you should scale the models in accordance to the size of the scenery. Below you will find an approximate example for how I adjust my scaling value in correspondence to the z end value. Follow the steps below:
|
Z End Value
|
Scaling Value
|
|
5000 - 8000
|
5.0 - 8.0
|
|
8000-12000
|
8.0 - 12.0
|
|
12000 +
|
12.0
|
- Open the object editor, find the cloud models [Doodads » Custom Doodads » Cinematic » Sky: Clouds (1-3)], and adjust the following:
- Art - Default Scale Value: The default scaling value the model will have when placed (if the random scale function is disabled)
- Editor - Maximum Value: The maximum scaling value of the model. Pretty self explanatory.
- Editor - Minimum Value: The polar opposite of the maximum scaling value.
- Ascertain that you set Editor - Ignore Model Clicks to true. This implies that the clouds won't be selectable in the editor.
This is convenient for several reasons:
- Clouds are excessively large and it would thus be impossible to select anything else.
- Overly stretched models have a tendency of crashing the editor when selected.
- Adjust the color values of the clouds (Art - Tinting Color). The lesser the values, the more saturated the clouds.
In this brief example I've used the following values:
Sky: Clouds (1)- Art - Default Scale Value: 4.0
- Art - Tinting Color (RGB): 75/25/5
- Editor - Maximum Value: 4.0
- Editor - Minimum Value: 4.0
- Art - Default Scale Value: 8.0
- Art - Tinting Color (RGB): 75/25/5
- Editor - Maximum Value: 8.0
- Editor - Minimum Value: 8.0
- Art - Default Scale Value: 8.0
- Art - Tinting Color (RGB): 75/25/5
- Editor - Maximum Value: 8.0
- Editor - Minimum Value: 8.0
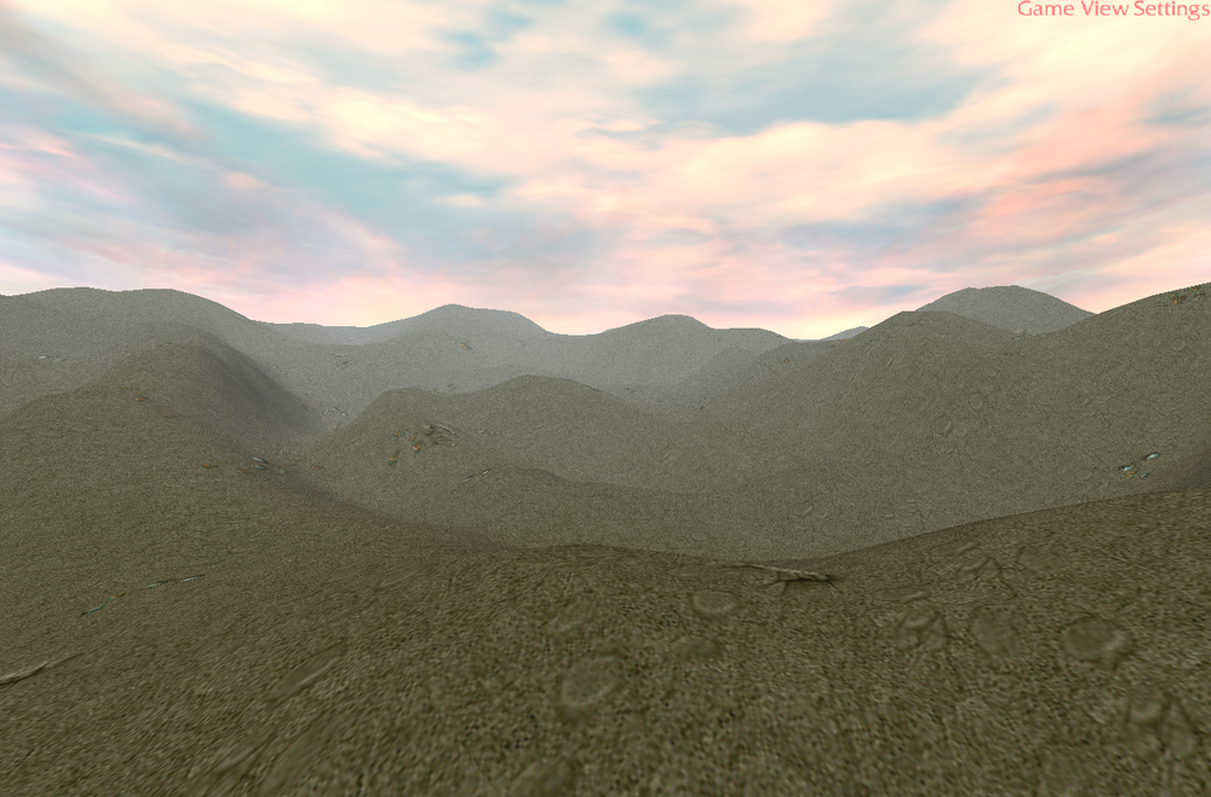
- That's a basic foundation. This procedure takes practice to master, so just keep experimenting and you'll get the hang of it before you can say retinal detachment. There are several models under the cinematic category which can be used to emphasise and enhance the sky.
2.3 Stormsphere
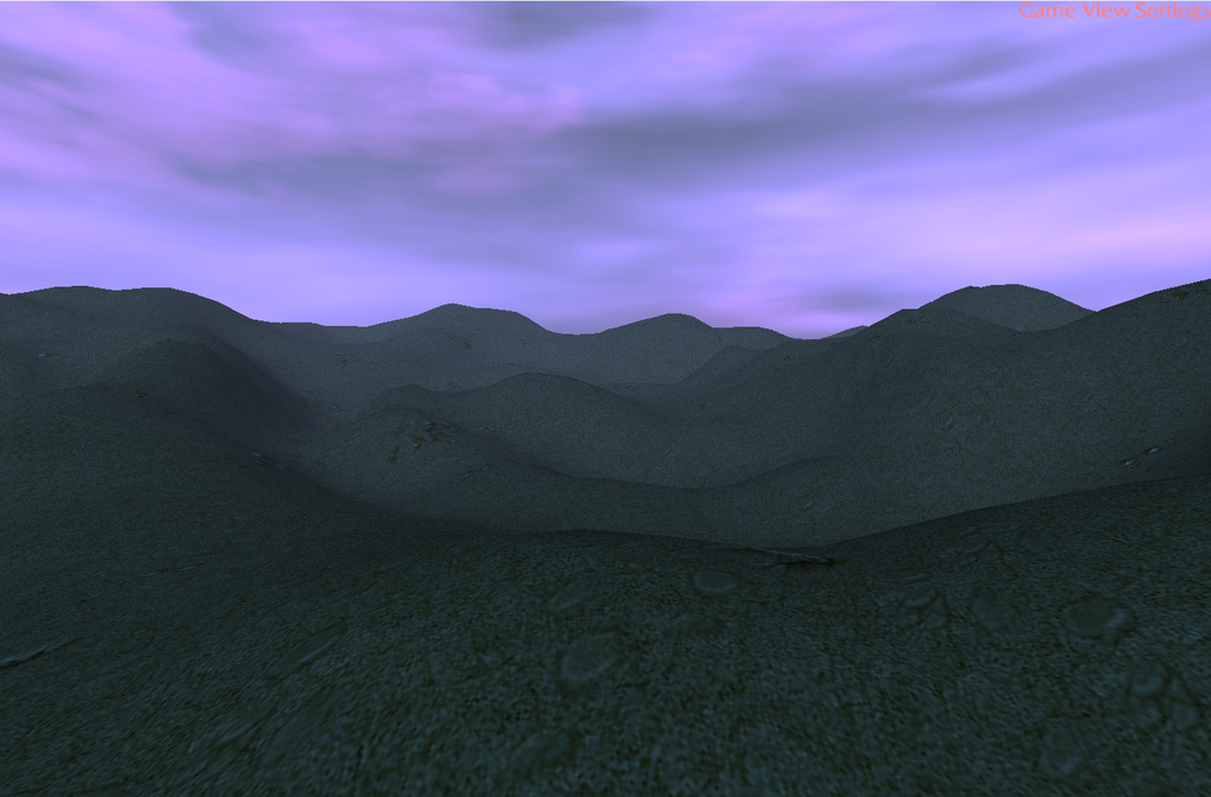
Before I leave you, I have to mention one other aspect. The stormsphere-curtain. The only difference between this and the previously mentioned aspect is the base sky. Where as in the previous example we started with a preset sky and enhanced it, we will in this scenario work from scratch with a completely monochromatic curtain.
- Go to Object Editor » Doodads » Custom Doodads » Cinematic and locate Sky: Stormsphere. The stormsphere is an animated dome (or sphere) which portrays a lightning storm in full effect. It's a rather nice effect in moderation, but by default it will not interact well with other light sources and is thus seldom used. We can, however, obviously circumvent that particular drawback.
- Set the listed settings as such:
Completely blank color values (0/0/0) will output a completely monochromatic wall, while low values will add a glimmer of sorts to the sky base.Sky: Stormsphere- Art - Default Scale Value: 10.0
- Art - Tinting Color (RGB): (0-15)/(0-15)/(0-15)
- Editor - Maximum Value: 10.0
- Editor - Minimum Value: 10.0
Individual preferences, no particular weight on either of the options. Just go with the flow.
- Place the stormsphere. You shouldn't be able to see it at first because of its immense scale, but just press and hold ctrl and scroll towards yourself and it'll show eventually. You'll notice that instead of a preset sky, the sky will be painted in the same color gradient as your terrain fog. This is quite convenient since this dramatically decreases any risk of fog and sky clashing.
- Add clouds as you did earlier. In this example I'm using these settings:
Sky: Clouds (1)- Art - Default Scale Value: 4.0
- Art - Tinting Color (RGB): 35/15/5
- Editor - Maximum Value: 4.0
- Editor - Minimum Value: 4.0
- Art - Default Scale Value: 8.0
- Art - Tinting Color (RGB): 35/15/5
- Editor - Maximum Value: 8.0
- Editor - Minimum Value: 8.0
- Art - Default Scale Value: 8.0
- Art - Tinting Color (RGB): 55/20/5
- Editor - Maximum Value: 8.0
- Editor - Minimum Value: 8.0
- Art - Default Scale Value: 10.0
- Art - Tinting Color (RGB): 10/5/2
- Editor - Maximum Value: 10.0
- Editor - Minimum Value: 10.0
Chapter 3: Aftermath
3.1 Epilogue
This concludes my guide, the rest is just creativity, perspective and individual preferences. Combine techniques, compliment with other cinematic effects, try out odd color gradients and in general think outside the box (or pyramid, or sphere, or bag, or whatever the hell you want). Sure hope you don't consider this a complete waste of time. As mentioned in the preamble, this aspect is impossible to cover in an interactive guide, but at least this should give you a brief idea on how to think and which components to work with.
To wrap this whole bag of sweets up, here are a select few terraining pieces which demonstrate the technique we've experienced and experimented with today ~[/hippie teacher].
Credits
- ~Void~ - Tower of Dawn
- raid1000 - Waterfall Castle
- ~Void~ - Arthas
- thedeathhunterxx - Mount Aragal
- CoBrA b - Post Cataclysm
Last edited by a moderator:


