- Joined
- Jun 15, 2008
- Messages
- 677
Accurate Terrain Tutorial
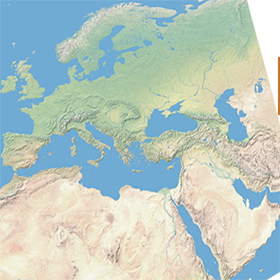
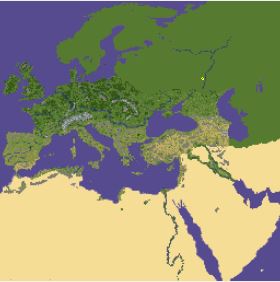
This is a tutorial to help you making an accurate terrain from an existing map (of Europe, Azeroth, Middle-Earth, whatever). It is simply explaining a technique I have been using for my own maps.
1/ Crop the picture you want to use as a pattern for your map. You should use the most detailed and clear picture you can find or you may have troubles later.
2/ Open Warcraft Editor and try to make the minimap as big as possible, and then measure its size in pixels. I was able to make it 280*280 pixels, but it may be different with your screen. Then rescale your picture IN PIXEL to make it fit exactly the minimap.

3/ Open the picture and place it exactly above the editor’s minimap. This can be annoying but is absolutely crucial. You can also check if it fits pixel wise. It is easier if your picture is a square.
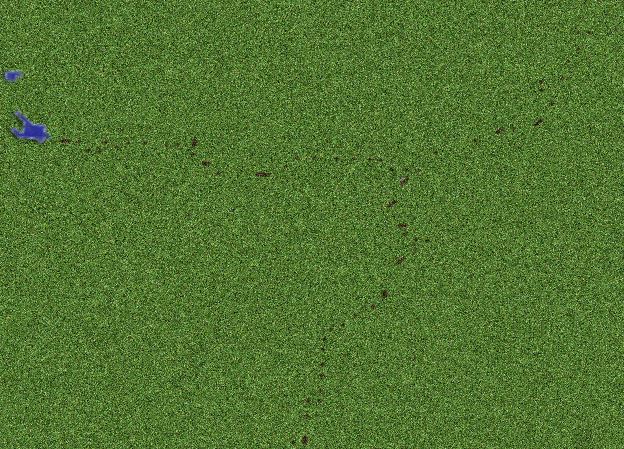
4/ Now is the time to draw the sketch of your map, simply putting tiles in particular places so you can locate precisely the important "borders" of your map.
Mouse over a specific part of the map like a point on the coast, a point of a river, the limit of a mountain, of a lake … This part should be pixel-accurate, so you should use the windows zoom to help you. It will be extremely hard to point at the right pixel if the picture you used is crappy.
Once your mouse is at the right spot, press alt+tab which will switch to the editor (without moving your mouse AT ALL). Click on the minimap which will direct your camera to the right location. Then just put a tile at this spot. To be sure to apply the tile at the very exact spot, you should zoom in at the maximum in your editor.
Alt+tab again to go back to your picture.
5/ Repeat this as many times as needed to draw a usable sketch thanks to the tiles you put. Don’t feel obliged to point at every single pixel of a coast to draw it

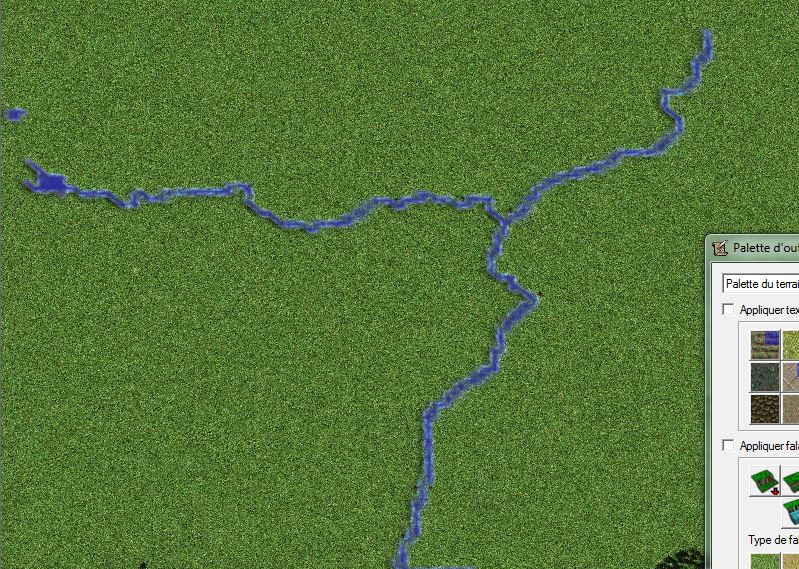
6/ Once it is done, a good thing can be to draw continuous borders by linking the tiles. You can then see if it fits the original and arrange it if not.
7/ Dig up the oceans, the rivers and build up the mountains!


Tips :
-First make sure that when you have water under your terrain at the beginning so you only have to dig to form the oceans/rivers. Also make sure that the height difference (z) between the ground and the water levels (the level 0) is not too high, which gives troubles when digging.
-Prepare your eyes before starting, it can be really painful to go in the pixel world
Alternative :
I believe it is possible to turn your editor’s minimap into the picture itself (no more alt+tab required), but you couldn’t see your progress in the actual minimap (an easy way to check if your work seems appropriate).
Last edited:


