- Joined
- Aug 1, 2007
- Messages
- 201
[Tutorial] Making A Orb In Photoshop (beginner)

Chapters
Hey here's an easy guide that will teach you how to make a orb in Photoshop, I made this guide for new Photoshop users, I’m going to start by telling you about the Tools that we are going to use in This tutorial.
If you are already know to Photoshop you can skip the first step.
Step 1: The Tools and useful tips
Tools
Eraser tool:

Works like a Rubber, and it removes the area that you paint and leaves the area Transparent

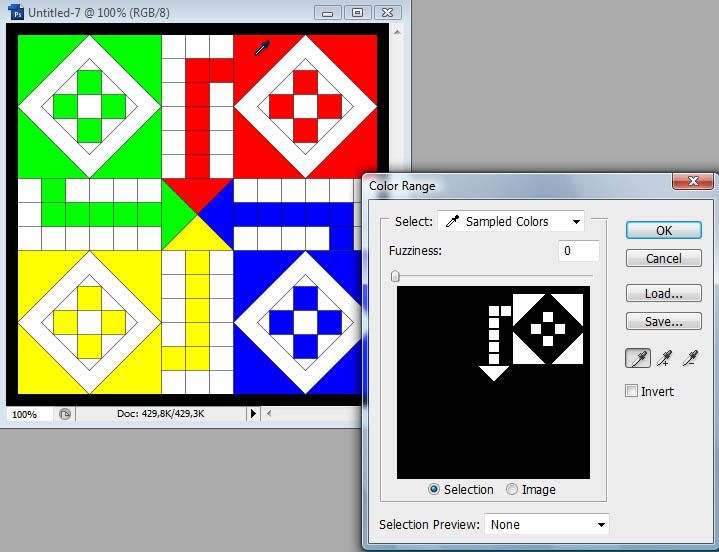
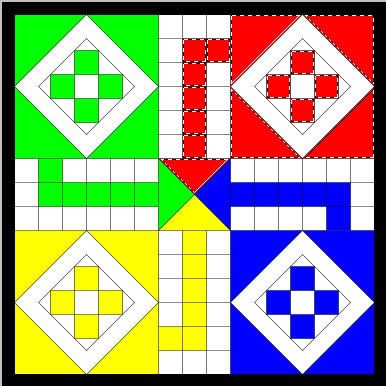
Color range: found in Select->Color range... used to pick a color and then the tool will automatically select everything in that color.
Yah! Ludo
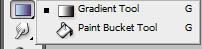
Gradient Tool:
This example is with Black in the end and white in the other end.

And I draw a line from the top right corner diagonally to the middle.

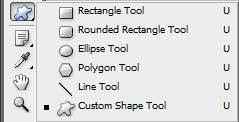
Shape Tool: With that you can draw Rectangle, squares, and other stuff you simple need to stretch it out.
Tricks
Copy = Ctrl + C
Paste = Ctrl + V
Undo= Ctrl+Z
These 3 commands can also be found in Edit
Keeping the Scale while dragging/stretching= Hold Shift down while you drag/stretch
Keeping your object on the middle while Dragging/Stretching= Hold alt down to keep the middle of the center locked on the middle of the picture
Step 2: Making the Orb
Make a new image (File->New...) we want the image to be 200px Width 200px high, now hit the Shape Tool and make a circle, Hold Shift down while you drag it to make it quadratic, Right click and press Free Transform Path to move and drag it where you want it to be.
Example
 When it haves this shape hold down Alt +Shift Key and drag the corner to the center so we got some space around the circle.
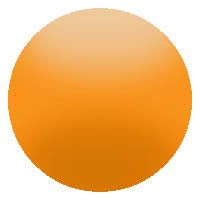
Now get the paint tool
and give the circle the base color of what your orbs should be.
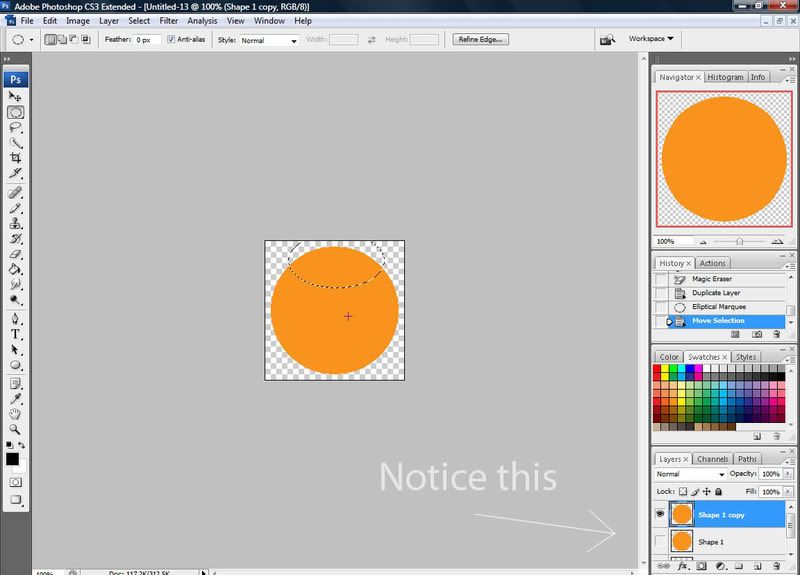
Now we got a plain colored orb, now it starts to get tricky for some of you but stay close and read carefully. Make a copy of your colored circle were going to need it in the end, do that by dragging the layer down to the Create New Layer button

Like I said the new cloned layer is for later click on the eye right to the layer, which will make it invisible.

Now pick the Elliptical selection tool (circle selection tool) and drag a circle at the top of your orb
 Now we should get the Color Range tool it’s under Select->Color range... and pick your base color (I need to pick orange, press ok and now it’s only the orange that is selected not the things outside.
Now you have this Circle in the top right click on the selection and pick feather, which will make the selection area softer, I’m going to set it to 20. Now we need to paint it with the Gradient tool use the style foreground to invisible (number 2 styles in the editor) change the foreground color to a little lighter color.

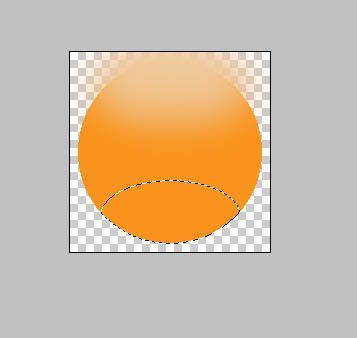
And drag a line vertical until you get it to look right, now we need to do it one more time at the bottom of the orb, but this time the foreground should be Darker, and also a larger area.
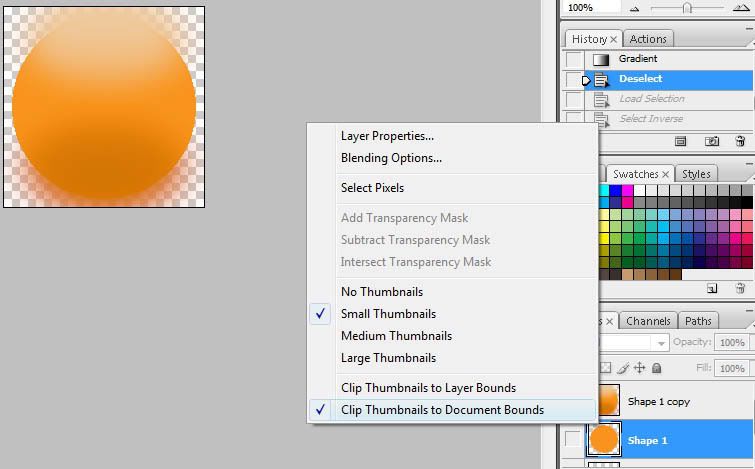
Now we have an orb with a lighter color in the top, and a darker color in the bottom, but it looks kinda messy around the orb we are going to change that, Right click on the Preview next to the invisible/second layer, and pick Select Pixels, now there is a selection around the circle like it was in the beginning. Right click inside the selection and hit Select inverse that selects the opposed area, change to the orb layer, now grab you rubber tool and brush/paint around in the selection.
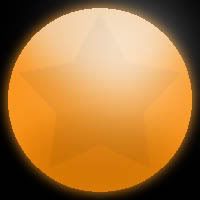
Now this is an orb continue to give it the finishing details
Step 3: Finishing details
First you should make a new layer and paint an area in the top white.
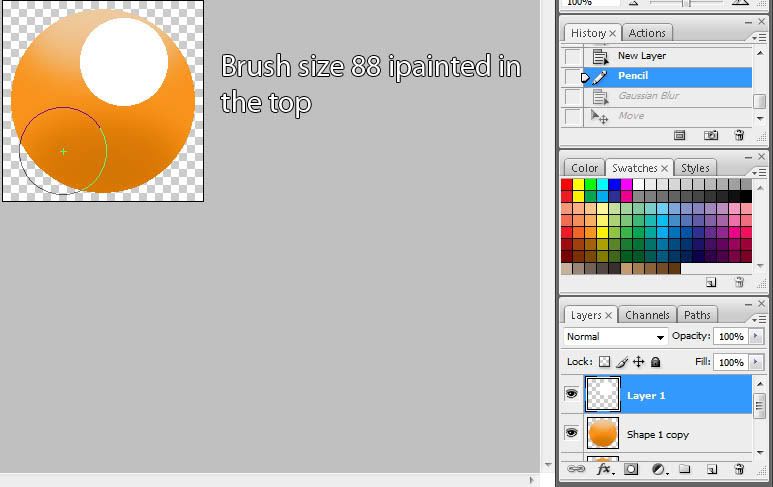
I used Brush tool with Brush size 88, and painted it in the corner of the orb.
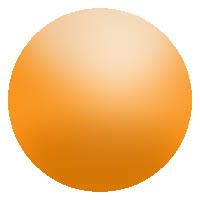
Now go to Filter-> Blur->Gaussian Blur and set it to 34,5 that makes it look like there are light that is coming from above.
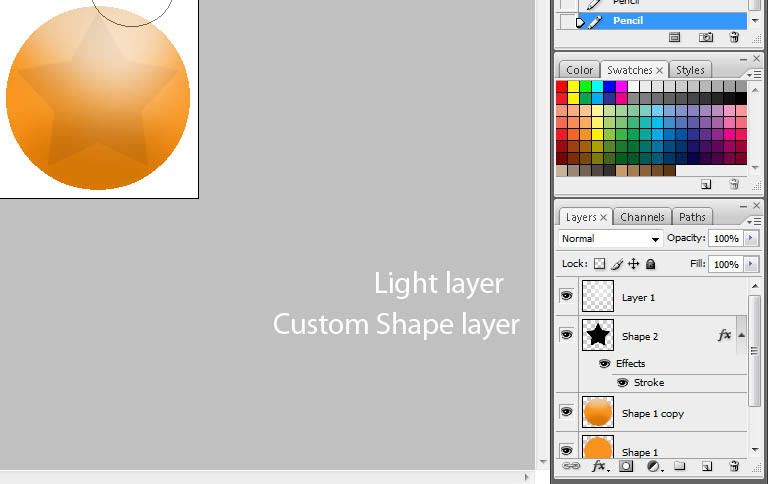
Now we could add a render to the orb, like a flame, leaf or even something else. Photoshop have a lot of different renders/shapes in Custom Shape Tool just right click and there comes a selection bar. When you have dragged a bar give it the same color as the base color but darker, or sometimes you can also just paint it black. When you have done that play with the Capacity panel until you get it to fit nicely. The layer should be at the top, just below The Light layer.
Now it time to make a glow around the orb. Enable the circle layer by clicking on the eye again so it’s visible. You might want to paint the Background color black so you can see how much it spreads.
Now go to Filter-> Blur->Gaussian Blur and play around with it and find a width you like.
Now we’re done
C & C is welcome and feel free to post if you experience any problems
Chapters
- Step 1: The Tools and useful tips
- Step 2: Making the Orb
- Step 3: Finishing details
Hey here's an easy guide that will teach you how to make a orb in Photoshop, I made this guide for new Photoshop users, I’m going to start by telling you about the Tools that we are going to use in This tutorial.
If you are already know to Photoshop you can skip the first step.
Step 1: The Tools and useful tips
Tools
Selection Tool: used for selecting things preventing from editing some thing you don't want to edit.
Eraser tool:
Works like a Rubber, and it removes the area that you paint and leaves the area Transparent
Color range: found in Select->Color range... used to pick a color and then the tool will automatically select everything in that color.
Yah! Ludo
Gradient Tool:
This example is with Black in the end and white in the other end.
And I draw a line from the top right corner diagonally to the middle.
Shape Tool: With that you can draw Rectangle, squares, and other stuff you simple need to stretch it out.
Tricks
Copy = Ctrl + C
Paste = Ctrl + V
Undo= Ctrl+Z
These 3 commands can also be found in Edit
Keeping the Scale while dragging/stretching= Hold Shift down while you drag/stretch
Keeping your object on the middle while Dragging/Stretching= Hold alt down to keep the middle of the center locked on the middle of the picture
Step 2: Making the Orb
Make a new image (File->New...) we want the image to be 200px Width 200px high, now hit the Shape Tool and make a circle, Hold Shift down while you drag it to make it quadratic, Right click and press Free Transform Path to move and drag it where you want it to be.
Example
Now get the paint tool
and give the circle the base color of what your orbs should be.
Now we got a plain colored orb, now it starts to get tricky for some of you but stay close and read carefully. Make a copy of your colored circle were going to need it in the end, do that by dragging the layer down to the Create New Layer button
Like I said the new cloned layer is for later click on the eye right to the layer, which will make it invisible.
Now pick the Elliptical selection tool (circle selection tool) and drag a circle at the top of your orb
Now you have this Circle in the top right click on the selection and pick feather, which will make the selection area softer, I’m going to set it to 20. Now we need to paint it with the Gradient tool use the style foreground to invisible (number 2 styles in the editor) change the foreground color to a little lighter color.
And drag a line vertical until you get it to look right, now we need to do it one more time at the bottom of the orb, but this time the foreground should be Darker, and also a larger area.
Now we have an orb with a lighter color in the top, and a darker color in the bottom, but it looks kinda messy around the orb we are going to change that, Right click on the Preview next to the invisible/second layer, and pick Select Pixels, now there is a selection around the circle like it was in the beginning. Right click inside the selection and hit Select inverse that selects the opposed area, change to the orb layer, now grab you rubber tool and brush/paint around in the selection.
Now this is an orb continue to give it the finishing details
Step 3: Finishing details
First you should make a new layer and paint an area in the top white.
I used Brush tool with Brush size 88, and painted it in the corner of the orb.
Now go to Filter-> Blur->Gaussian Blur and set it to 34,5 that makes it look like there are light that is coming from above.
Now we could add a render to the orb, like a flame, leaf or even something else. Photoshop have a lot of different renders/shapes in Custom Shape Tool just right click and there comes a selection bar. When you have dragged a bar give it the same color as the base color but darker, or sometimes you can also just paint it black. When you have done that play with the Capacity panel until you get it to fit nicely. The layer should be at the top, just below The Light layer.
Now it time to make a glow around the orb. Enable the circle layer by clicking on the eye again so it’s visible. You might want to paint the Background color black so you can see how much it spreads.
Now go to Filter-> Blur->Gaussian Blur and play around with it and find a width you like.
Now we’re done
C & C is welcome and feel free to post if you experience any problems


")


