Hmm maybe i can help you guys to understand how to make a custom tile. I'm no tileset expert but seeing you kinda strugling with it i think i can clarify one thing or two for beginners passing by, who are getting confused with so many errors. I'll be very didatic for beginners and despite i'll be talking a little too much, this is the basics, the very essential you need to know and use to make a custom tile. I'm not giving you anything that you don't need to know or use in order to succeed. If you're a beginner and skip too much steps you may lose something needed and stay confused, but feel free to skip some steps if you're more experienced in this, and please be patient.
----------------------------------- FIRST PART SD TILES (CLASSIC GRAPHICS) --------------------------------------------------------------
First follow this tutorial to properly prepare your new custom tile image. Jump to layout of a tile.
Warcraft III World Editor, Warcraft III Map Making Tutorials, Warcraft III Scripting, Warcraft III Maps - World-Editor-Tutorials.thehelper.net. Dedicated to Warcraft III and the Warcraft III World Editor. Has tutorials and FAQ. Covers map making, maps, trigger codes, JASS, GUI, models, skins...
world-editor-tutorials.thehelper.net
You can create your custom tile image with GIMP, Paint.net or Photoshop or whatever but i recommend GIMP. Why? I'll tell you here, finish reading. The tile layout of that tutorial still works even nowadays so paint your tile accordingly to that layout. After you've done your tile image, you then need to understand the formats and the paths in wich you need to import them into the world editor. The file formats are: .blp to SD tiles (classic graphics tile) and .dds to HD tiles (reforged graphics tile), to create HD tiles you need 3 tile images to form 1 HD tile, diffuse, orm and normal images. I'll show them, be patient, i know you want to skip all this to get a simple answer but keep reading, you'll soon understand what to do. Let me show you with a custom tile i made starting with just a simple image i took from a bundle i think from a user called NanO here in HIVE a looong time ago, this is the image:
Using this single image i created this tile layout below. I exported the image as .tga using GIMP, no compression.
If you want to know more about how to make tile layouts, check this tutorial (
Effortless Terrain Tile Making Tutorial)
Now to import the SD custom tile to the game you need first convert it to .blp. Theres a program here in HIVE to help with that, it is (
BLP <-> TGA Converter) You just need to drag and drop your .tga tile image upon the BLPconv.exe file and it will convert the .tga into .blp and land it inside the same folder the BLPconv.exe file is. Rename the .BLP part to .blp. Now you have your SD custom tile. Notice that, to not get any errors using BLP to TGA converter the image width and height must be divisible by 16. This guy here, Kantarion, explain more about tilesets resolution to you at part
IV.Warcraft 3 engine : How it read tile samples resolution, be patient and read, you need to understand that if you're a beginner (
Warcraft 3 Tileset Tutorial - By Kantarion).
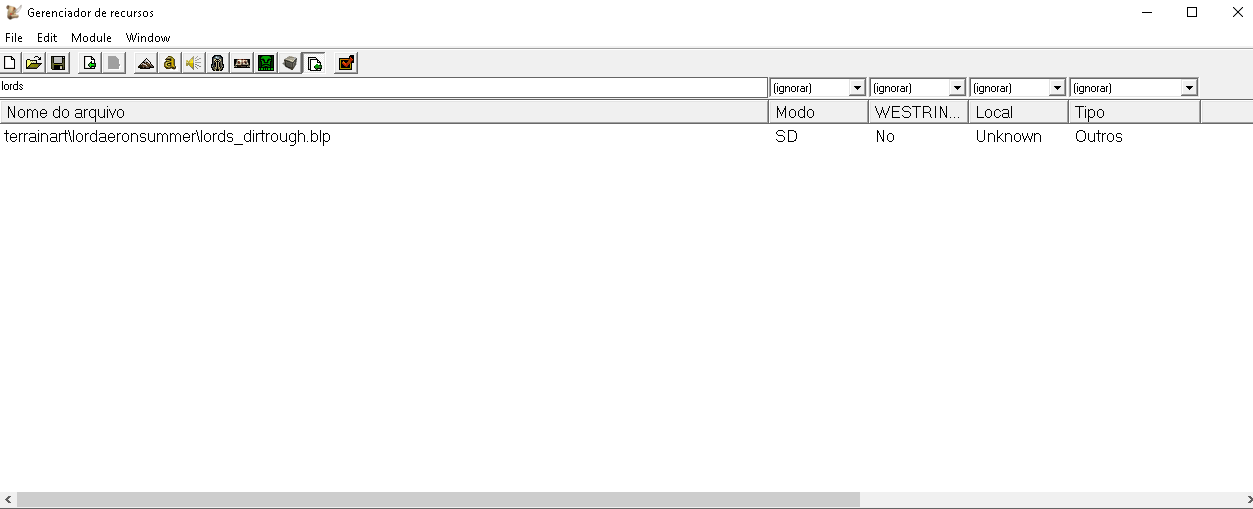
Ok so let's import into world editor. Open the editor, open your map, then open the import manager(shortcut F12). Click on file, import file, find the .blp image of your SD custom tile. Now you must understand the path issue. When you import a file, it will be putted into a default path in the editor, if my file is called barrens_dirtcracked.blp, it will become something like war3mapImported\barrens_dirtcracked.blp. This is the default path it will give to your imports. To make the game understand you'll use this image as a tile you must change the path to match some of the default paths of the normal tiles the game has. That's it, that's how you create a custom tile, you prepare an image, import it and change it's file path.
When you create a map, you set it with a default tileset, it may be Dalaran, Lordaeron Fall, Lordaeron Summer, whatever, the map is created with a tileset, the tiles in these tilesets can be replaced, switched or even added into another tilesets. You must then choose your aproach, you can use your new custom tile image to replace a tile of the tileset your map has or you can replace a tile of another tileset not being used by your map and then bring this replaced tile to your current tileset, adding your custom tile to the current tileset your map has, all this by just changing the paths. I'm talking too much but it's too simple.
Let me show you with an example. Let's say your map has Lordaeron Summer tileset. If you chose the first aproach, you can choose a tile from Lordaeron Summer to be replaced with your custom tile. Let's say you want to replace Rough dirt with your custom tile. To discover the path you must set to your custom tile image to replace that tile, you can use a program called CascView (
Casc Storages - Main page), this program explores warcraft 3 files. Or you can just consult this list here (
--All Warcraft 3 Tile Paths--). I prefer CASCview cause it doesn't make you dependant on others. Here's how CASCview works:
If you skipped the CASCview explanation, continue here:
Back into world editor. At import manager, double click your custom tile import to rename it. Put the path you just found for Rough Dirt tile. Done. All set for your SD custom tile. You replaced Rough dirt tile with your custom tile. Now save you map. (always save your map in SD mode of the world editor, saving your map in HD mode will wash your models and imports with HD paths and will occur visualization errors when you're in SD mode. Use HD mode only to visualize or to check your map, always save in SD mode cause it saves your map for both modes properly). You must restart the editor to see the changes. That's it for the first aproach, when you just replace a tile of your current tileset.
If you chose the second aproach, you must choose a tile of another tileset not being used by your map, rename your imported image with that path like you did in the first aproach and always remember to change the .dds for .blp when you're dealing with imported stuff on SD graphics. Then save your map (in SD mode), restart the editor. Now open your map again and follow these instructions to add your custom tile to your current tileset:
----------------------------------- HD TILES (REFORGED GRAPHICS) --------------------------------------------------------------
Ok for HD tiles we'll need 3 textures to form 1 HD tile, diffuse, normal and ORM. If you don't know anything about 3d object materials just know that Diffuse texture is a color image, normal texture will contain the bumps and surface details of our tile and ORM is an alias for Occlusion, Roughness and Metallic maps of this texture, yes ORM is made of 3 maps into 1 texture, each map coded in a color, red for occlusion, green for metallic and blue for roughness. If that sounded too complicated, there's a program that will simplify all that to us. (
Bounding Box Software - Materialize) Download and install it. This program will create all these textures automatically but know that you can create each of these textures manually, you just need to search the method to create by hand these textures using some image editors or 3d softwares. Here's how materialize works:
I just need to make a correction at the last image of this tutorial, this is the correct image and explanation:
ok textures prepared, let's move to make the tile layout:
Tile layouts ready it's time to import them into world editor. This is the same process i showed you in SD part. Despite you're dealing with HD textures, do everything in SD mode of the world editor. Use HD mode of the world editor only to check if everything is looking ok. To change the editor mode, click File -> Preferences -> Asset mode - change it to SD/HD
The end. Thanks for reading and learning all this.


")