- Joined
- Dec 21, 2006
- Messages
- 438
Making the scales on a dragon may at first seem like a daunting task. To keep you from looking like this  when you want to make your fist scales try to remember these things to have in mind while making their scales Are:
-Dont forget that dragons are creatures too, making not perfectly symmetrical.
-Dragons lay on giant mounds of gold, jewels, and family fortunes (and thats a poor one). So their scales are ofter very shiny.
-Lastly remember that the shape of a dragons scales may determine the it's personality. A dragon with sharp scales is usually mean, while one with rounded scales is a kind dragon.
Enuf Chit Chat ON WITH THE TUTORIAL
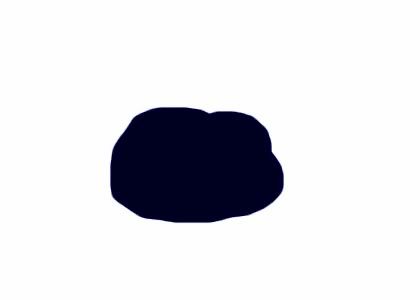
1) First make a blob the size of the area you want to scale (darker than the color you want your scales). In this tutorial we will be making cream blue scales, but the techniques can be applied to any scale color. Tool: Brush, 100% Opacity
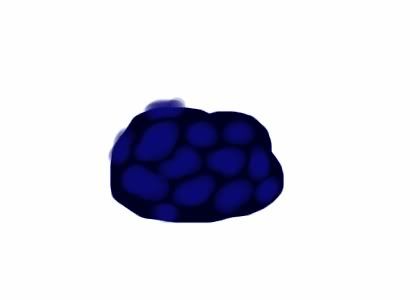
2) Next make smaller blobs, that are lighter than the previous blob that you made, but still darker than the color you want. (These will be your scales . Tool: Brush, 25% Opacity, Dont make a solid color.
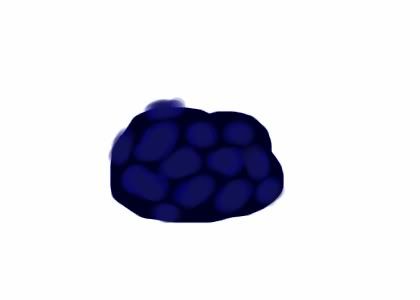
3) After you complete the second step, find another color that is a grayer shade of the color you want, but still a bit darker. Paint it on the tips of the scales you made. Tool: Brush, 15% Opacity, Dont make a solid color.
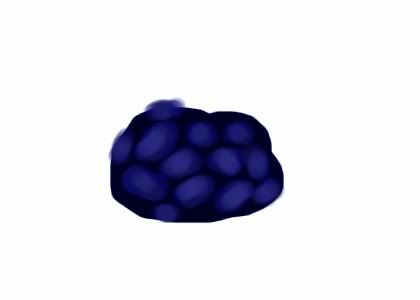
4) Find another color that is lighter than the previous gray and paint over the lines that you made, this should me a gray form of the color you want. Tool: Brush, 20% Opacity, Dont make a solid color.
5) Once you have put down a gray base, use the dodge tool to lighten their tops of the scales. Tool: Dodge,low exposure/opacity, i mean LOW
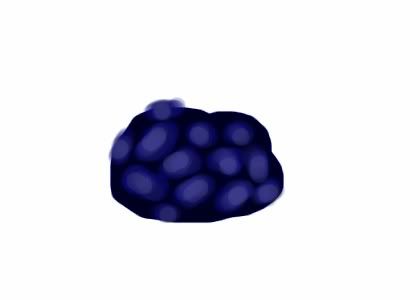
6) Next use the burn tool to darken the original blob (cracks between smaller blobs) and to darken the edges of the scales Tool: Burn, low exposure/opacity, not as low as step 5.
Also in this step use the doge tool again to brighten the tip tops of the smaller blobs (from now on we will call them scales).
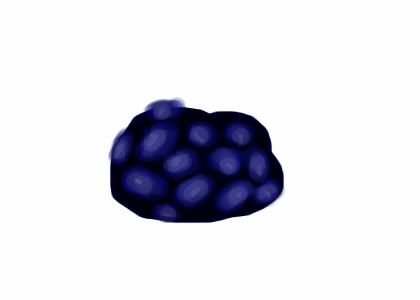
7) Once you have done this you can move on to texturing the scales. Take you burn tool with a small brush and speckle the edges of the scales. Tool: Burn, Small Brush, Medium Opacity/exposure
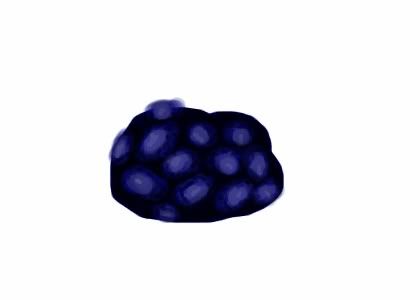
8) Next find the color that you want and with a low opacity go over the entire section. Tool: Brush, 10% Opacity
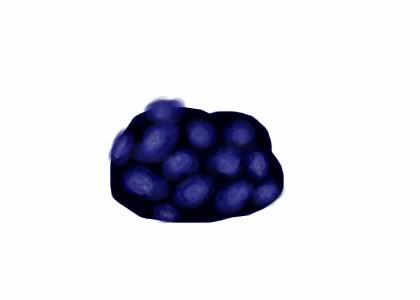
9) Once you do that. Outline the scales with a small brush and make little scales in the cracks between the large scales. Tool: Black Paint Brush, 100% Opacity
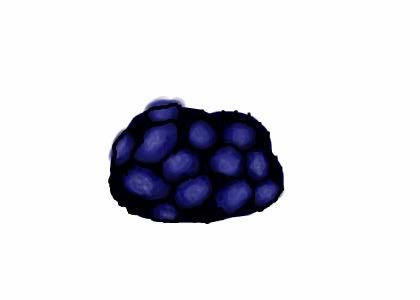
10) Use the dodge tool to highlight the tip of each individual small scale. This is more texturing, and is vital to the overall appearance. Tool: Dodge,low exposure/opacity
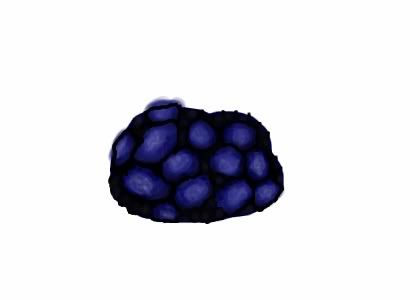
11) Clean up the scales and give yourself a pat on the back
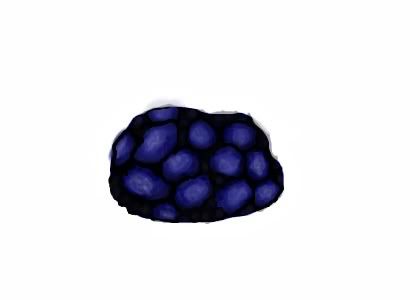
The Above Tutorial can be done with either GIMP or Photoshop, though it is easier to do in Photoshop
Now You question is... what does it look like wrapped ?? Well here it is !
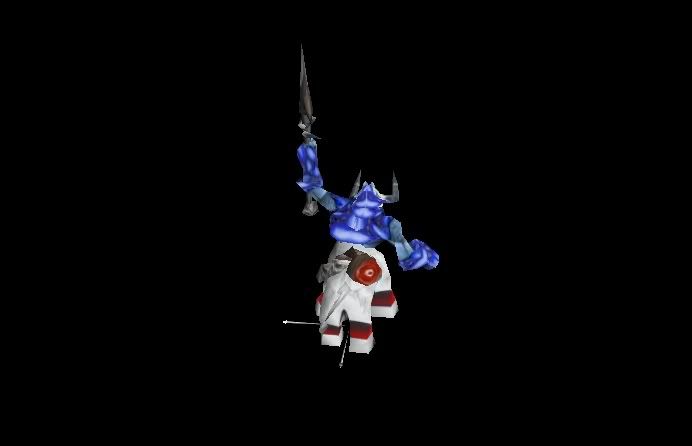
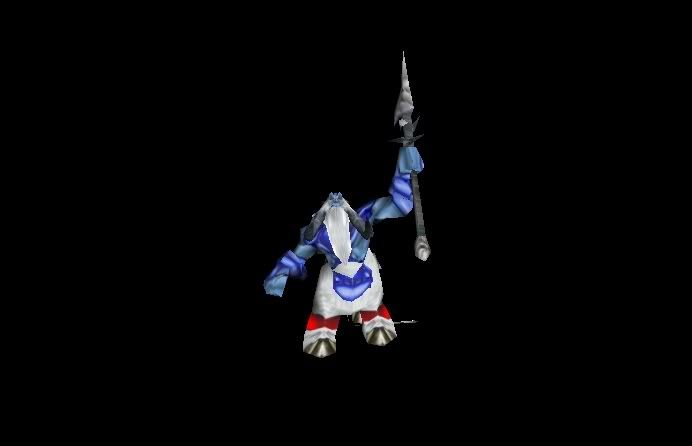
And in-game ?
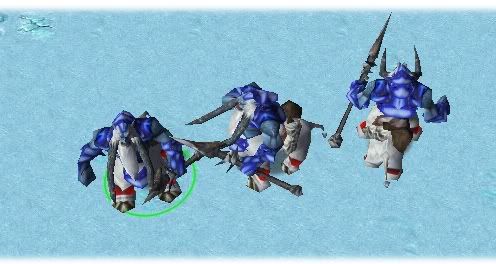
And the skin?
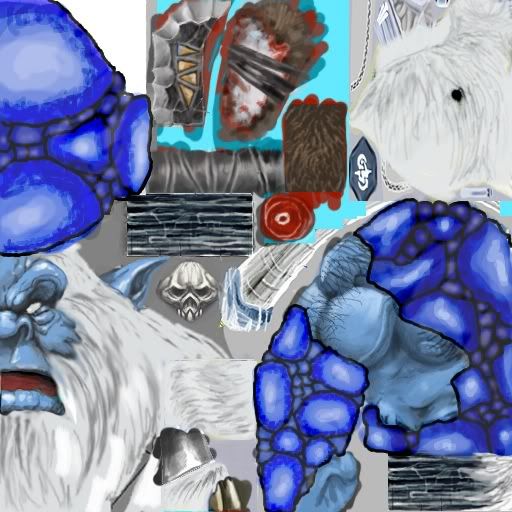
(this is my skinning contest 9 pet, hes not done tho)
 when you want to make your fist scales try to remember these things to have in mind while making their scales Are:
-Dont forget that dragons are creatures too, making not perfectly symmetrical.
-Dragons lay on giant mounds of gold, jewels, and family fortunes (and thats a poor one). So their scales are ofter very shiny.
-Lastly remember that the shape of a dragons scales may determine the it's personality. A dragon with sharp scales is usually mean, while one with rounded scales is a kind dragon.
Enuf Chit Chat ON WITH THE TUTORIAL
1) First make a blob the size of the area you want to scale (darker than the color you want your scales). In this tutorial we will be making cream blue scales, but the techniques can be applied to any scale color. Tool: Brush, 100% Opacity

2) Next make smaller blobs, that are lighter than the previous blob that you made, but still darker than the color you want. (These will be your scales

3) After you complete the second step, find another color that is a grayer shade of the color you want, but still a bit darker. Paint it on the tips of the scales you made. Tool: Brush, 15% Opacity, Dont make a solid color.

4) Find another color that is lighter than the previous gray and paint over the lines that you made, this should me a gray form of the color you want. Tool: Brush, 20% Opacity, Dont make a solid color.

5) Once you have put down a gray base, use the dodge tool to lighten their tops of the scales. Tool: Dodge,low exposure/opacity, i mean LOW

6) Next use the burn tool to darken the original blob (cracks between smaller blobs) and to darken the edges of the scales Tool: Burn, low exposure/opacity, not as low as step 5.
Also in this step use the doge tool again to brighten the tip tops of the smaller blobs (from now on we will call them scales).

7) Once you have done this you can move on to texturing the scales. Take you burn tool with a small brush and speckle the edges of the scales. Tool: Burn, Small Brush, Medium Opacity/exposure

8) Next find the color that you want and with a low opacity go over the entire section. Tool: Brush, 10% Opacity

9) Once you do that. Outline the scales with a small brush and make little scales in the cracks between the large scales. Tool: Black Paint Brush, 100% Opacity

10) Use the dodge tool to highlight the tip of each individual small scale. This is more texturing, and is vital to the overall appearance. Tool: Dodge,low exposure/opacity

11) Clean up the scales and give yourself a pat on the back

The Above Tutorial can be done with either GIMP or Photoshop, though it is easier to do in Photoshop
Now You question is... what does it look like wrapped ?? Well here it is !


And in-game ?

And the skin?

(this is my skinning contest 9 pet, hes not done tho)
Last edited:


