• 🏆 Texturing Contest #33 is OPEN! Contestants must re-texture a SD unit model found in-game (Warcraft 3 Classic), recreating the unit into a peaceful NPC version. 🔗Click here to enter!
  • It's time for the first HD Modeling Contest of 2024. Join the theme discussion for Hive's HD Modeling Contest #6! Click here to post your idea!

Add Multiple Skins for a Single Model

Level 11
Joined
Dec 14, 2014
Messages
550
How to add multiple skins for a single model.


For this tutorial, you'll need of a single tool: War3 Model Editor, by Magos.


For this tutorial, I'll be using the Scarlet Crusader, by CloudWolf.


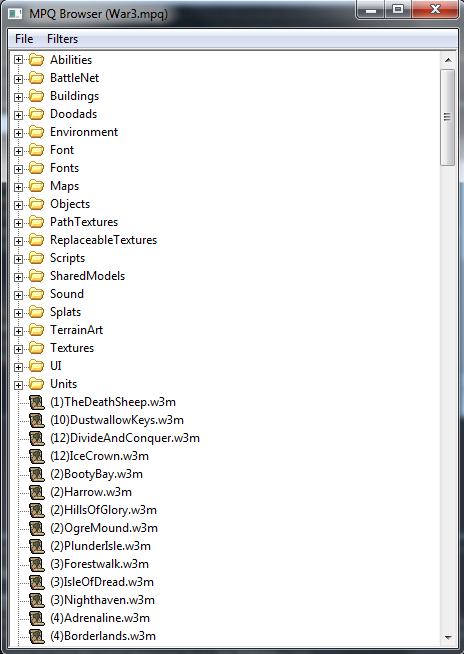
First of all, open the WME, and open its MPQ Browser [Windows > MPQ Browser]. Select War3.mpq (for Reign of Chaos units) or the War3x.mpq (for The Frozen Throne units) [MPQ Browser > File > War3.mpq or War3x.mpq].
242466-albums7977-picture94842.png

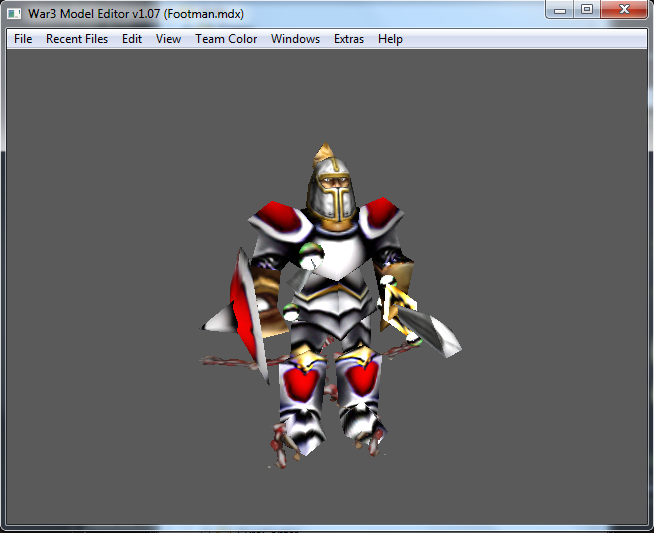
The next step is to find the model that you wish to have the skin replaced. For me, the Footman is that unit.
242466-albums7977-picture94843.png

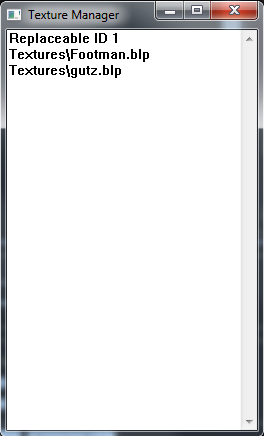
When the model is opened, you should open the Texture Manager [Windows > Texture Manager]
242466-albums7977-picture94844.png

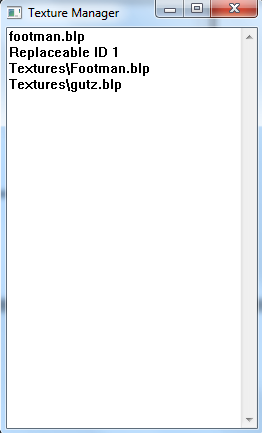
The next step is to import your custom skin into the TM. In my case, it's the Scarlet Crusader. [To import the skin, right-click inside the TM window, and click "Import"]
242466-albums7977-picture94845.png

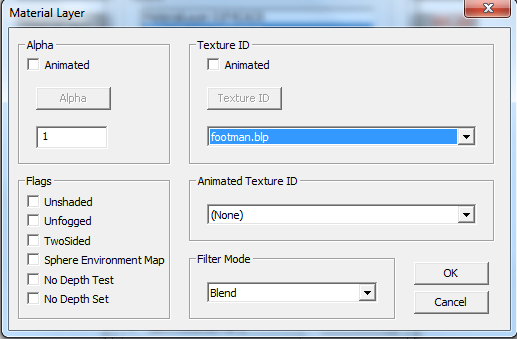
The path for the Scarlet Crusader is "footman.blp".

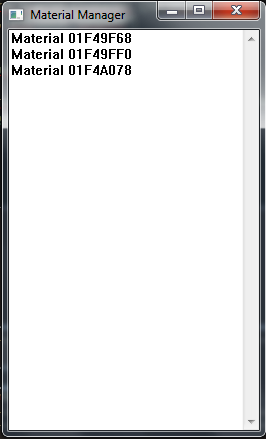
After importing your custom skin, you should open the Material Manager [Windows > Material Manager].
242466-albums7977-picture94846.png

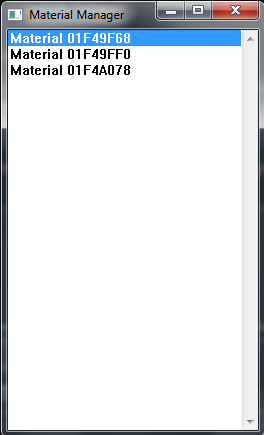
Now, open all the Materials, and then open the Material Layer.
242466-albums7977-picture94847.png

242466-albums7977-picture94848.png

242466-albums7977-picture94849.png

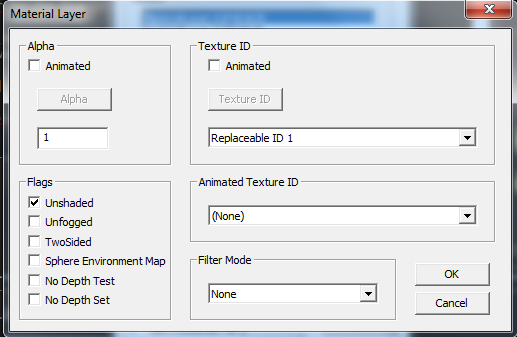
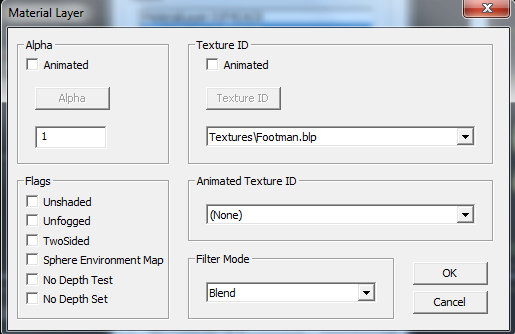
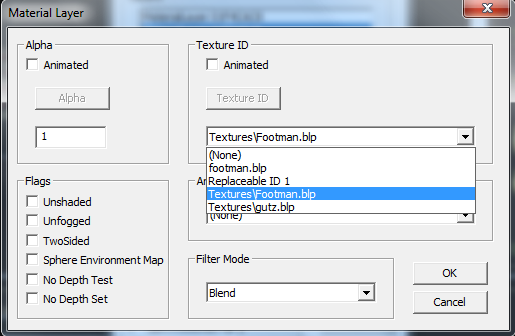
Now, you should replace the Texture ID. In the screenshot above, you should see the "Replaceable ID 1"; you should not do anything there (neither in the 0 or 2). So just press cancel and move to another Material Layer.
And you also shouldn't change the "Textures\gutz.blp" aswell.
Once you find the models's standard skin, you should change it to use your custom skin.

242466-albums7977-picture94850.png

242466-albums7977-picture94851.png

242466-albums7977-picture94852.png

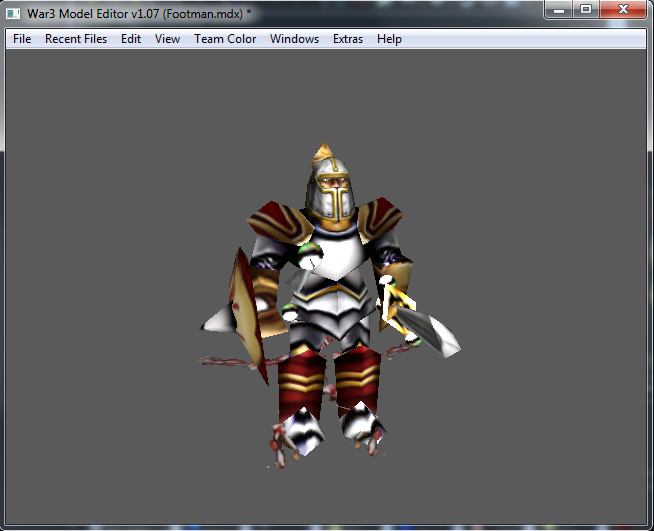
Once you make it, you'll note the changes in your model:

242466-albums7977-picture94853.png

This isn't done yet, that's why you should check all of the Material Layers in all of the Materials.
Once you're done, the model will be using your custom skin.

242466-albums7977-picture94854.png

You're done! Now just save the model with the name you want! (be sure to add .mdx at the end of the name, e.g. ScarletFootman.mdx)

242466-albums7977-picture94855.png

Remember:
  • You should also do this in the "_Portrait", otherwise, the ingame portrait won't show up, or it will be bugged, and save the portrait with the same name of your model, with the "_Portrait" in addition.
  • You can also remove the standard texture, to reduce the filesize. That's optional.
  • You should import the custom models and the custom skin that you used for the model, otherwise, the green box will show up.
 
Last edited:
Level 21
Joined
Jul 6, 2014
Messages
6,791
This is a very usefull tutorial.I didn't know about this.It solved my sea giant skin problem.Good going and thank you.
 
Level 22
Joined
Sep 24, 2005
Messages
4,821
Nice tutorial, easy to grasp. Thanks for sharing.

The footman model really looks shitty even with better texture lol.
 
I generally find MDX Pather to be quicker than changing the actual materials (as demonstrated in this tutorial), but I feel like having another one of these tutorials isn't detrimental. This method is reasonably quick, and allows for some interesting modularity in cases where you want to keep some geosets textured as one thing and others as another. I'm sure people will appreciate knowing how to edit materials. :)

I'm going to make a few quick edits to fix some spelling. Approved!

EDIT: I made some minor clarifications and fixed a bit of grammar, and I moved it to our 3D Modeling Tutorial repository. Good job with the tutorial!
 
Level 7
Joined
Oct 2, 2014
Messages
27
Great Tutorial it worked for the units, I tried for heroes particular the dreadlord it doesn't show the character at all he is the invisible dreadlord lol.. Do these steps apply to heroes as well? Thanks

It should work on any types. Maybe you did something wrong.
This tutorial does the same but a LOT easier in my opinion (requires extra tool). if you are still struggling, have a look at it.

Great thanks that did work and very shorter and easier. On a side note i achieved a victory mwhahaha i figured out my mistake with this tutorial its a fine point so they both work lol and now both are really easy thanks Flux, and Sylvie!!
 
Last edited:
Level 22
Joined
Feb 6, 2014
Messages
2,466
Great Tutorial it worked for the units, I tried for heroes particular the dreadlord it doesn't show the character at all he is the invisible dreadlord lol.. Do these steps apply to heroes as well? Thanks

It should work on any types. Maybe you did something wrong.
This tutorial does the same but a LOT easier in my opinion (requires extra tool). if you are still struggling, have a look at it.
 
Level 7
Joined
Jun 9, 2015
Messages
237
i dont get it
changed both material layers that had textures/footman to the custom texture, left gutz be, then saved as .mdx
imported into editor, along with the original model, editor says -could not load file-
the model of unit in wme looks like it should, but editor wont load and use it
am i understanding it right that you, after saving the model, import it along with original model, and then select the model you created in the -art model file- as a custom one for the footman?
 
Level 1
Joined
Feb 11, 2019
Messages
2
How to add multiple skins for a single model.


For this tutorial, you'll need of a single tool: War3 Model Editor, by Magos.


For this tutorial, I'll be using the Scarlet Crusader, by CloudWolf.


First of all, open the WME, and open its MPQ Browser [Windows > MPQ Browser]. Select War3.mpq (for Reign of Chaos units) or the War3x.mpq (for The Frozen Throne units) [MPQ Browser > File > War3.mpq or War3x.mpq].

242466-albums7977-picture94842.png

The next step is to find the model that you wish to have the skin replaced. For me, the Footman is that unit.

242466-albums7977-picture94843.png

When the model is opened, you should open the Texture Manager [Windows > Texture Manager]

242466-albums7977-picture94844.png

The next step is to import your custom skin into the TM. In my case, it's the Scarlet Crusader. [To import the skin, right-click inside the TM window, and click "Import"]

242466-albums7977-picture94845.png

The path for the Scarlet Crusader is "footman.blp".

After importing your custom skin, you should open the Material Manager [Windows > Material Manager].

242466-albums7977-picture94846.png

Now, open all the Materials, and then open the Material Layer.
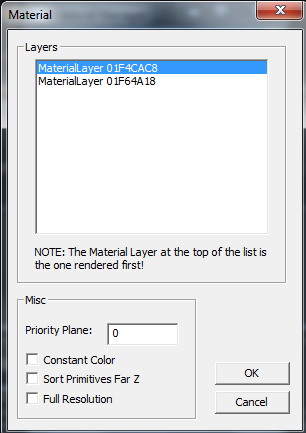
242466-albums7977-picture94847.png

242466-albums7977-picture94848.png

242466-albums7977-picture94849.png

Now, you should replace the Texture ID. In the screenshot above, you should see the "Replaceable ID 1"; you should not do anything there (neither in the 0 or 2). So just press cancel and move to another Material Layer.
And you also shouldn't change the "Textures\gutz.blp" aswell.
Once you find the models's standard skin, you should change it to use your custom skin.
242466-albums7977-picture94850.png

242466-albums7977-picture94851.png

242466-albums7977-picture94852.png

Once you make it, you'll note the changes in your model:
242466-albums7977-picture94853.png

This isn't done yet, that's why you should check all of the Material Layers in all of the Materials.
Once you're done, the model will be using your custom skin.
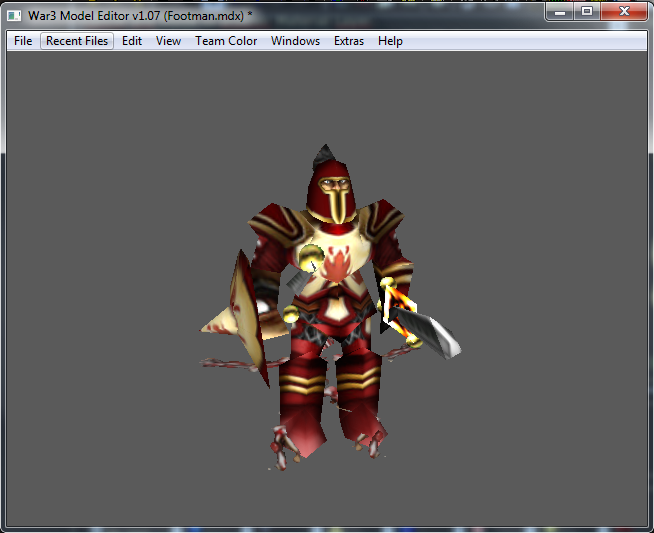
242466-albums7977-picture94854.png

You're done! Now just save the model with the name you want! (be sure to add .mdx at the end of the name, e.g. ScarletFootman.mdx)
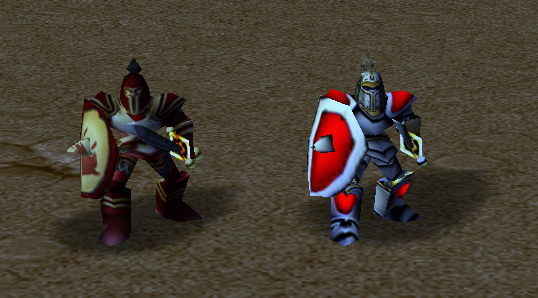
242466-albums7977-picture94855.png

Remember:
  • You should also do this in the "_Portrait", otherwise, the ingame portrait won't show up, or it will be bugged, and save the portrait with the same name of your model, with the "_Portrait" in addition.
  • You can also remove the standard texture, to reduce the filesize. That's optional.
  • You should import the custom models and the custom skin that you used for the model, otherwise, the green box will show up.
I have a problem : I did exactly what you told us to do in this tuto, however, when I import my custom model in the Map Editor, the custom skin is not showing up. It replaced by a white stuff.What can I do to solve this problem ? Do you know if it's because of the Reforged or not ?
 
Top