- Joined
- Mar 29, 2011
- Messages
- 3,762
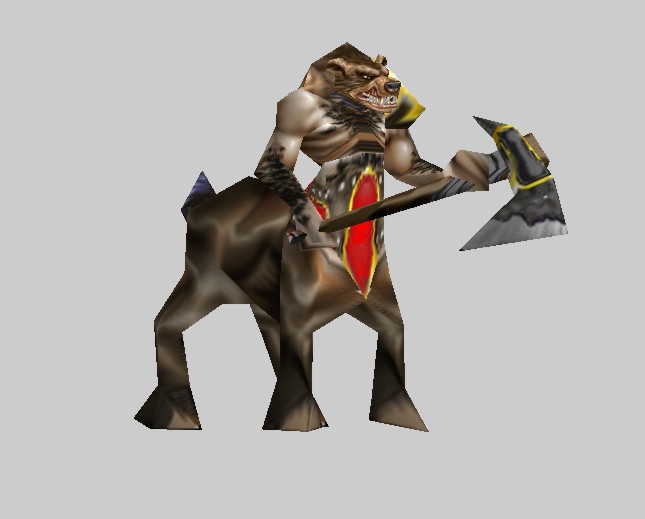
modeling by geomergingI would like to share to everyone, specially the new modelers, this technique in editing warcraft 3 models. This is basically just merging geosets from one model to the other. Simple yet needs patience and hard work to achieve the best result specially on editing the model using MDLVis. I hope many of those who read this will gain more knowledge about simple model editing.Geomerging
eubz
1. MDLVisTools Needed
2. Magos Model Editor
After knowing the tools, let's get started.
1. Open War3 Model Editor. Go to Windows > MPQ Browser. Click file, then click war3.mpq. In the folder named "Units", click on Creeps and look for Centaur. Open that folder and double click "Centaur.mdx". The Centaur model will appear. Right click on the "Centaur.mdx" file, then click export and save the model to your specified folder.Extracting a Model, Exporting and Importing a Geoset
2. At this point we will be exporting a geoset. We will be using the portrait model of a Furbolg. Open the MPQ Browser, go to Units > Creeps > Furbolg. Double click the Furbolg_Portrait.mdx. There appears the model. Use the mouse roller to move closer to the model.
3. Click windows > Geoset Manager. The Geoset Manager Window will appear. Move it so you can see the model better. Hold Ctrl then click the geoset that correspond to the head of the Furblog. Look at the Geoset manager. The highlighted geoset there is the heads geoset; Right-clik it then click "export". You can rename the geoset to "FurbolgHead.geo". Please don't forget to type the extension .geo if you will rename the geoset (It is also recommended to rename the geoset for easy finding). Now, save the geoset to a your folder. The folder should also be easy to find.
4. Now that we have our geoset saved, we will now open the Centaur model so we can merge the Furbolg's head there. Open your exported Centaur model.
5. Click Window > Geoset Manager. Click the last geoset (Just to make sure that the import will be placed below it and you will not be selecting all the geosets just to find the newly exported one. This works fine on me.) Right-click it, then click import. Now, look for the geoset that you have just saved lately. Once found, click on it and click open. A Window will appear asking you which node you will attach the new geoset. Look for the bone named "Head" and click it, a new geoset has been imported. Now, it seems like nothing has been imported as nothing appears in the Editor. This is because the new geoset doesn't have any material. Before we assign any material to our new geoset, we will first use an image/texture. In this case we will be using the image/texture of a Furbolg since it is that unit's geoset that we have exported.
6. Use the MPQ Browser. Windows > MPQ Browser > File > War3.mpq > Units > Creeps > Furbolg > then, right-click on Furbolg.blp and click "Use as Texture". NOTE: If War3.mpq is already open, you will just need to find the Furbolg folder in Units > Creeps.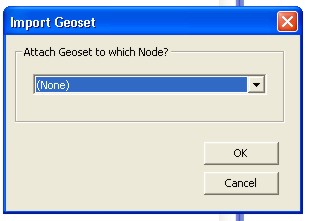
7. Now that we have used the Furbolg's texture, close the MPQ Browser. Go to Windows > Material Manager. We will now create a new material for our geoset.
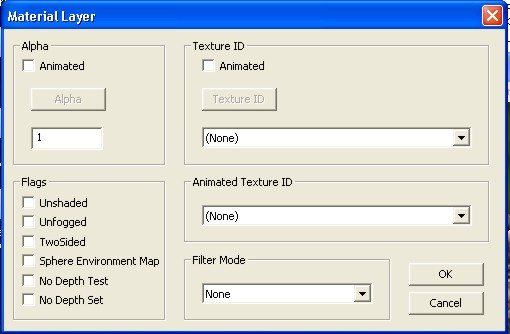
8. Click on the last Material. Right-click and click "Create New". A Material window will appear. Right-click inside that window then click "Create New", a Material Layer Window will appear. On the Texture ID panel, click on the button to select the Furbolg Texture. If done click OK. A new Material Layer will appear in the Material window. Click OK. Now, we have the material to be assigned to our new geoset. We are pretty sure that the new material is located just below the highlighted material in the Material Manager. To be sure, open all those Materials by double-clicking them and see if the used texture is the Furbolg's texture.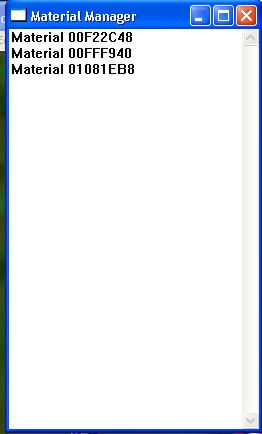
9. For the new geoset to appear, we need to assign a material into it. Go to windows > Geoset Manager and click the last geoset therein. Its Material ID should be (None), if not, that is not the new geoset. Click all the geosets and find the one that has no Material ID. If found, Click on the Material ID and select the last Material. If that Material is not the one that has the Furbolg texture, you will have to use all the materials to find the right one. If done, click OK, then close the Geoset Manager. The Furbolg portrait should appear if done correctly. See the image below. (NOTE: Save the model as an mdl file for easy renaming in note pad.)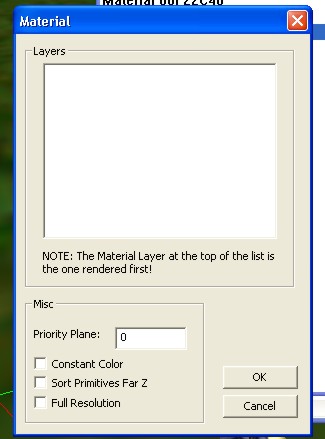
10. As you can see, the new geoset is not aligned with the main model, it is far. The biggest part is the geoset editing in MDLVis.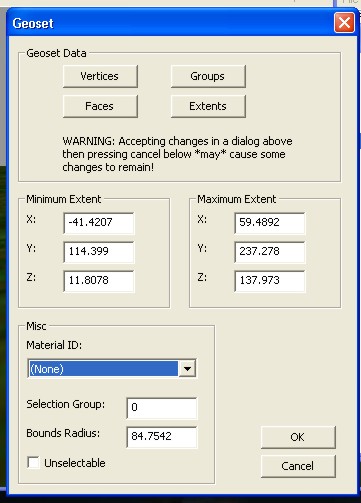
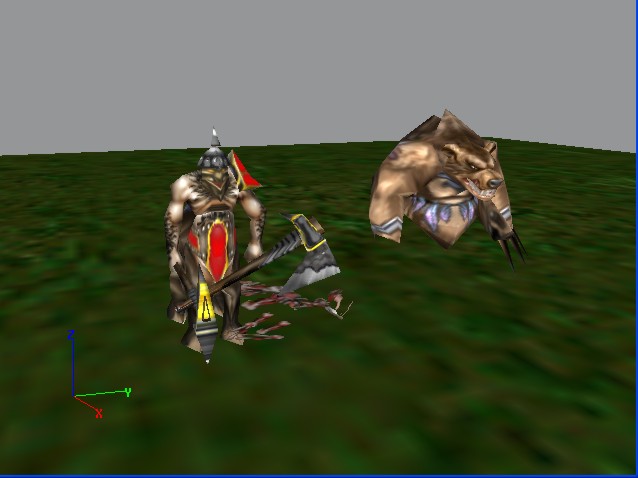
1. Open MDLVis, Open the model of the centaur with the new geoset.Editing the Model in MDLVis
2. Take note that our new geoset is bigger than the main model and that it is situated at the right side. The new geoset is the sixth one in the list of geosets found at the bottom-right of MDLVis. click it. Click anywhere inside the MDLVis window, hit the space bar then hit "F". You are now in the Fron view port. Box-select all the vertices of the Furbolg. Make sure that the Workplane is checked and the XY coordinates in the workplane is marked. hit "M" on your keyboard, drag/move the furbolg geoset to the Centaur model.
3. We still need to scale the new geoset to fit with the main model. Hit "Z" the re-size it.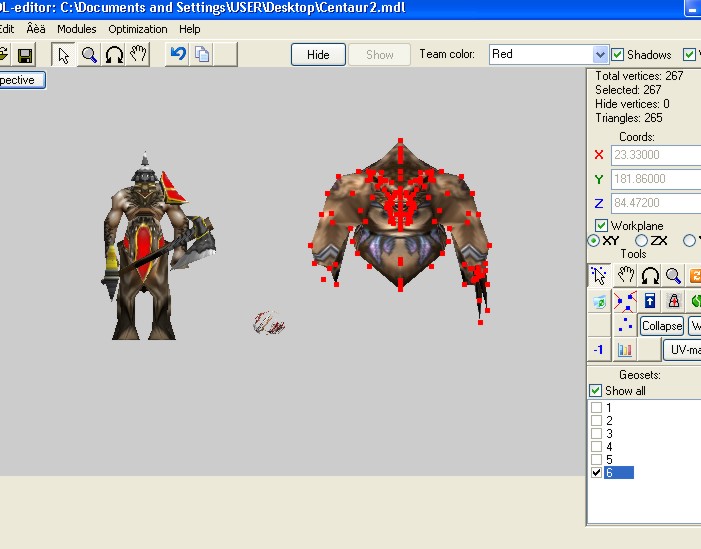
4. Next thing to do is to delete the geosets which are not needed. Delete some by selecting vertices that you think not needed and pressing delete in your keyboard. Also, you have to delete the head of the Centaur. If you are satisfied with the result, save the model.
5. There is also a need for you to align some geosets and vertices. Always look at all angles in working with this.
6. Lastly, go to Modules > Sequence Editor > Bones. In Objects, look for "Bone_Head". Select it if found. In the Geosets panel, click check-mark geoset 6. Zoom into the head. All vertices of the head should all be black, if not select those vertices. Note that when selected, a vertex turns red. All head's vertices should be selected. In the Tools panel, click Reattach Vertices.
1. Save the model as mdl file.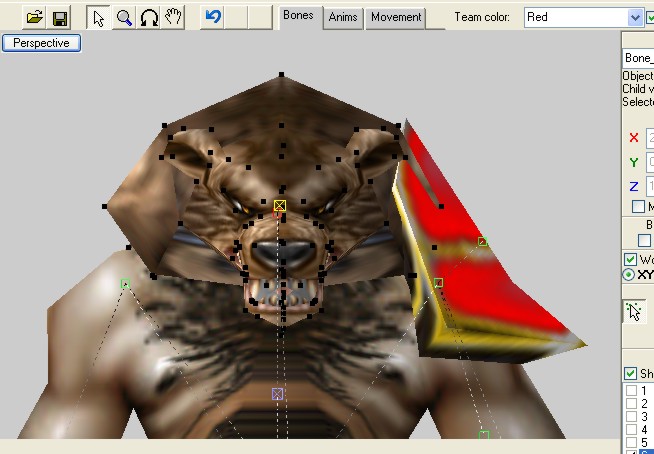
Saving and Testing
2. Open it in note pad.
3. Rename it into what ever name you like.
4. Save the file.
5. Open it in Magos model editor to check for the animation if the head is correctly attached to the Head's bone.
6. Save it and use .mdx extension in saving.
7. Always test your model in game for finalization.
Attachments
-
 Import Geoset Window.jpg14.9 KB · Views: 3,592
 -
 material manager.jpg17.3 KB · Views: 3,493
 -
 Material Window.jpg28.8 KB · Views: 3,392
 -
 final model.jpg33.4 KB · Views: 3,661
 -
 material layer window.jpg37.1 KB · Views: 3,464
 -
 expoted geoset with material.jpg41.4 KB · Views: 3,614
 -
 Material Layer.jpg42.6 KB · Views: 546
 -
 geoset data.jpg45.3 KB · Views: 3,427
 -
 attached to the bone.jpg62 KB · Views: 3,433
 -
 MDLVis new geoset selected.jpg69.4 KB · Views: 4,889
 -
Centaur_Edited.mdx161.6 KB · Views: 508
Last edited:


