- Joined
- Jul 14, 2014
- Messages
- 115
Getting started
First off you're going to need the models. Choose any pack you want from these. They are created by the same authors.House system kit (the kit I'm using in the tutorial)
House system roof addon (the roofs in house kit aren't included so here they are)
Stone house kit (pretty much the same except the walls and doors and windows etc are out of stone)
Log house kit (same but out of wood logs like a cabin, I also use the tiles from this kit)
Also if the links are broken then in google search wc3c [name of pack here]
PLEASE NOTE : this tutorial is ment for more experienced users of WE
onto the tutorial
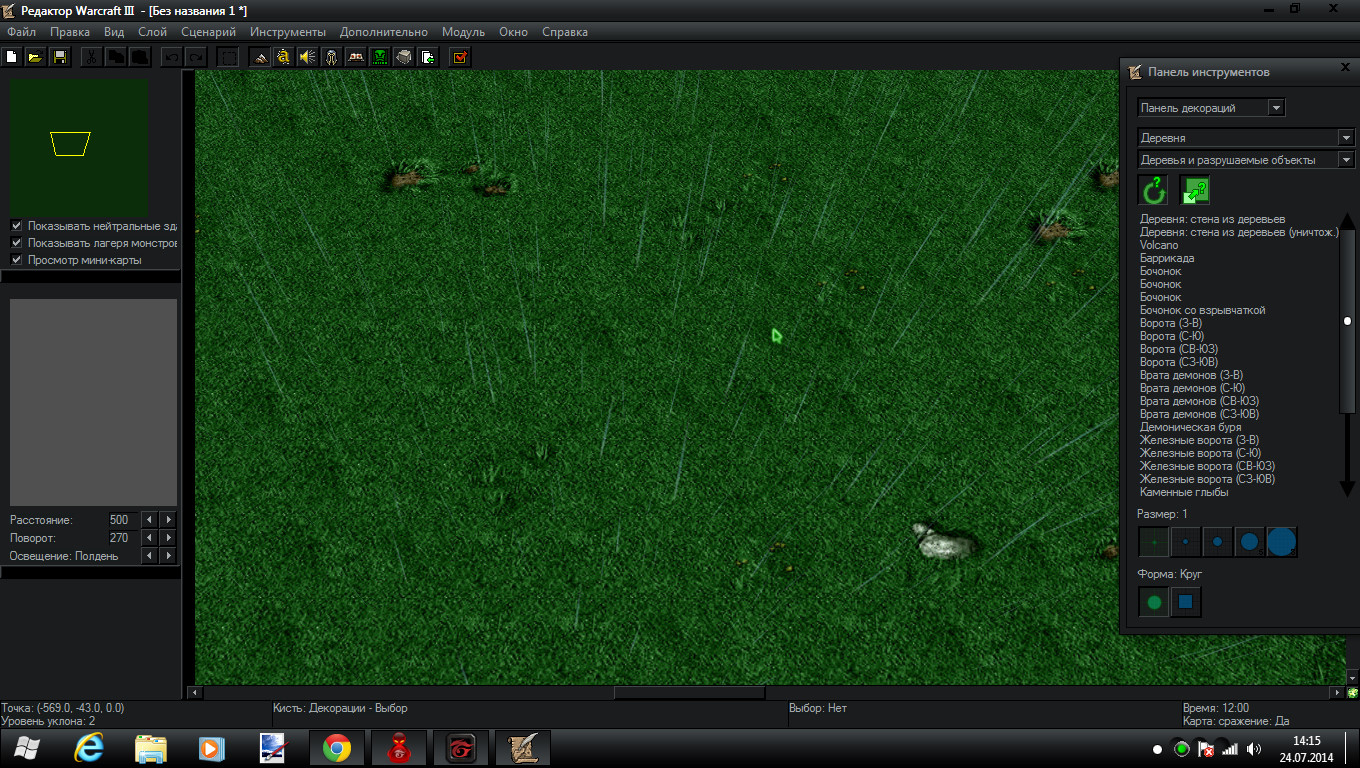
Quick note : If your model is a green box probably you should restart WEOk, so create a new world.
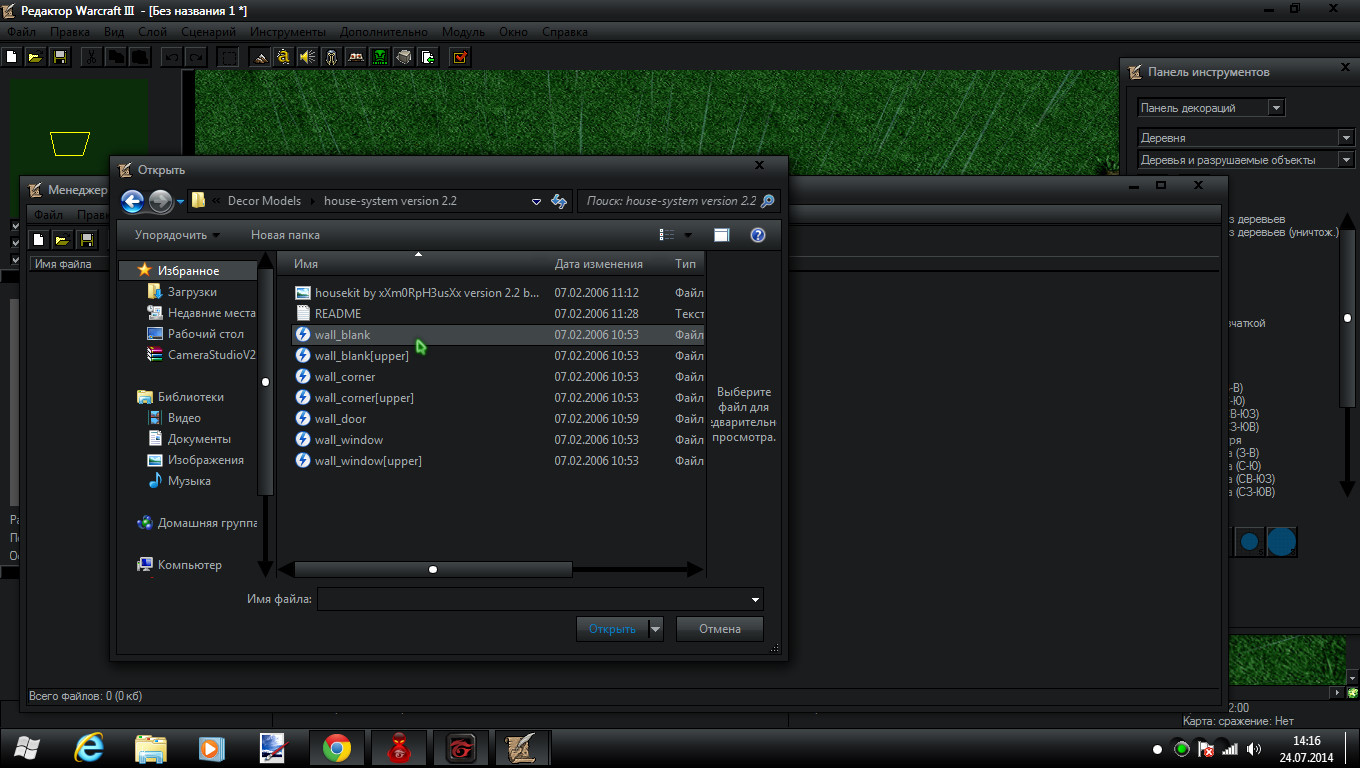
Now open the import manager
Open the import files window
Now navigate to the downloaded folder and find an .mdx file named something like wall_blank.mdx or [bricks]wall_blank or [logs]wall_blank depending on which pack you chose
Now create a new destructible and name it anything you want. I named mine [house]wall (I'm sorry that my WE isn't in english)
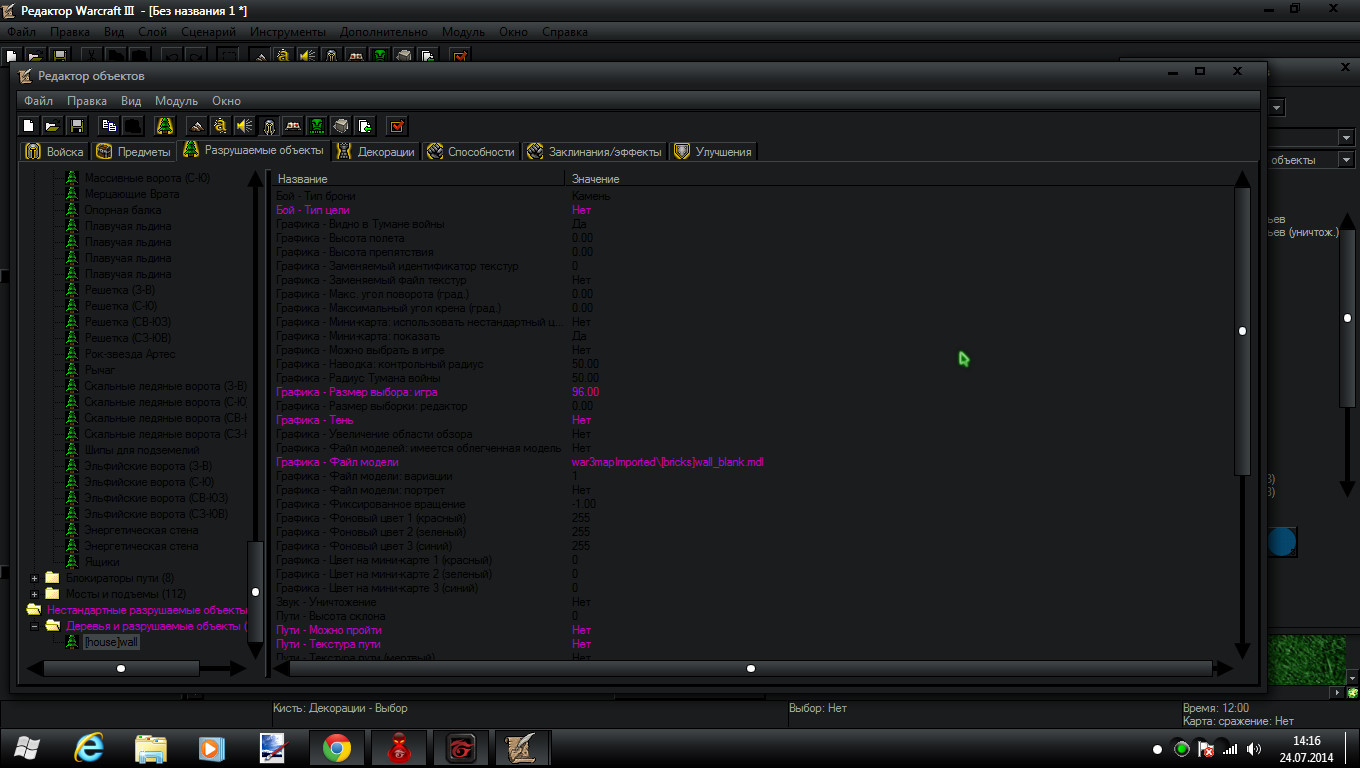
Ok. Now put these attributes in your destructible :
target type (or something) - no
size of selection - 96.00
shadow - no
can walk - no
texture path - no
max size - 2.00
min size - 2.00
random size - no
size of selection - 96.00
shadow - no
can walk - no
texture path - no
max size - 2.00
min size - 2.00
random size - no
Now find the art-texture and change it to the wall_blank(or whatever) that is in your downloaded folder(kit)
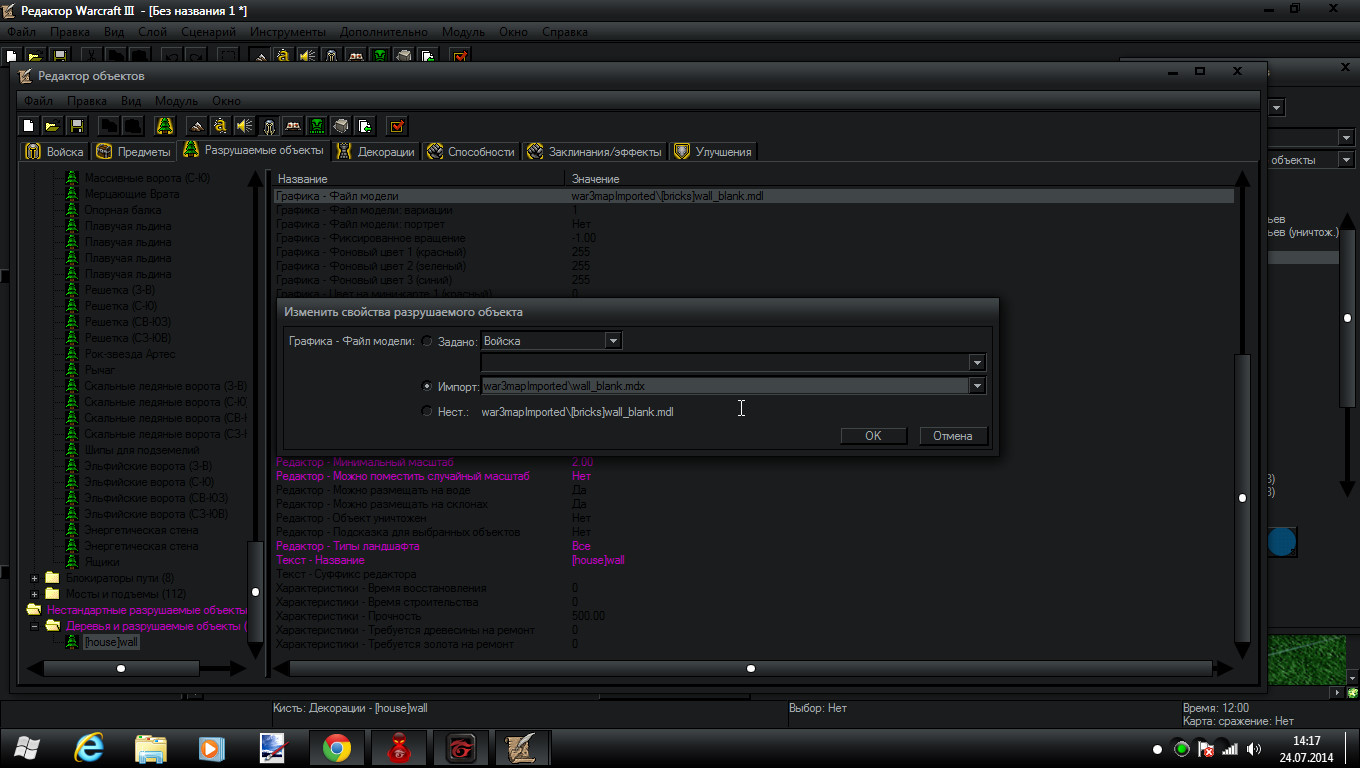
You should restart WE otherwise your model will have a green and black box.
Now it should look something like this :
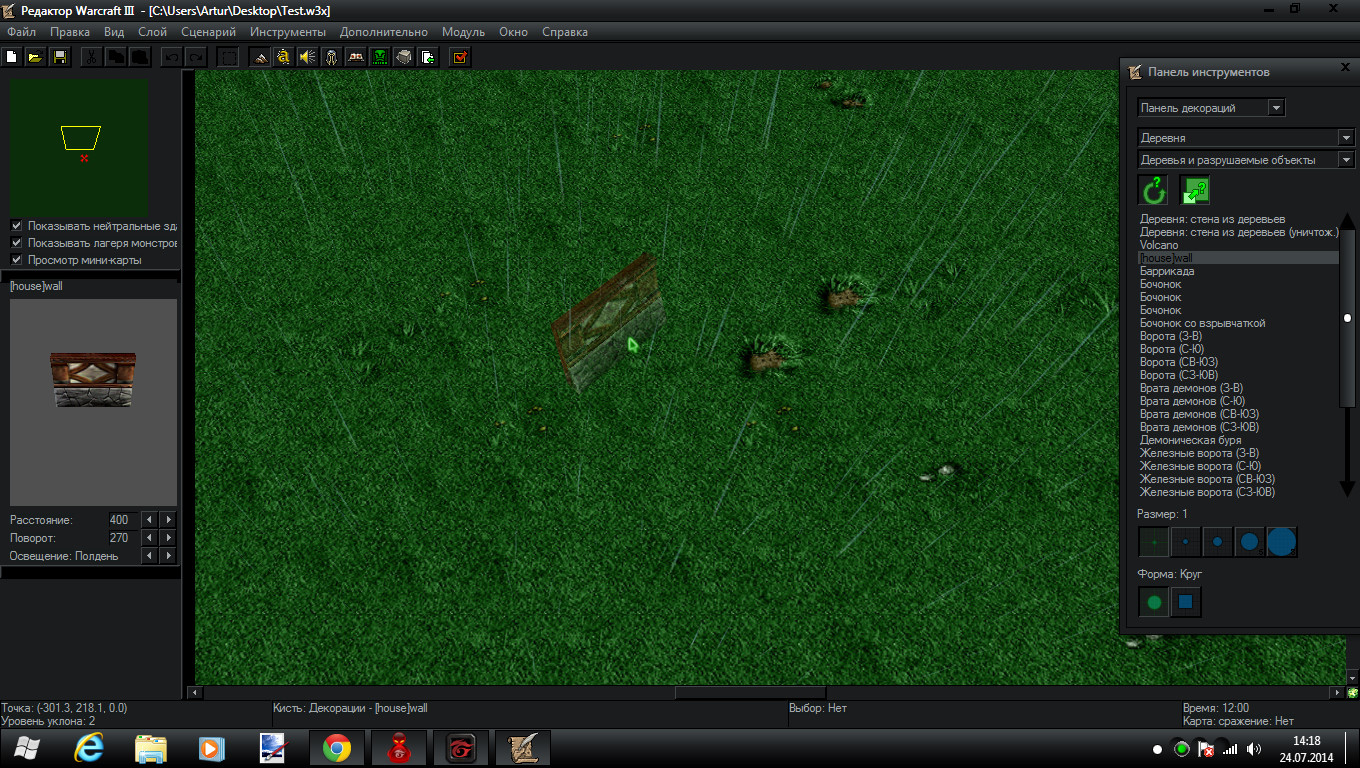
But once you place the wall will be randomly rotated
To fix that select the model and hit enter. This window will come up
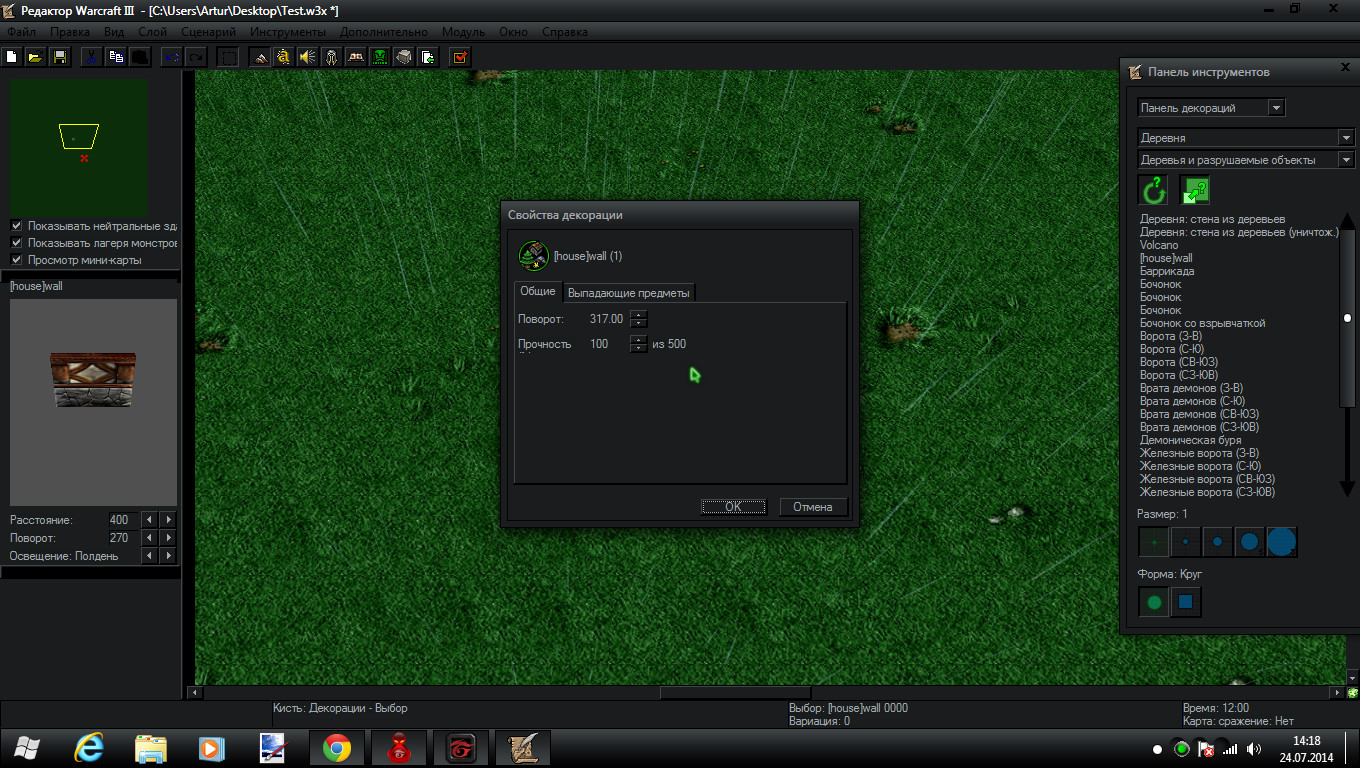
Adjust it to your liking
The wall is now straight
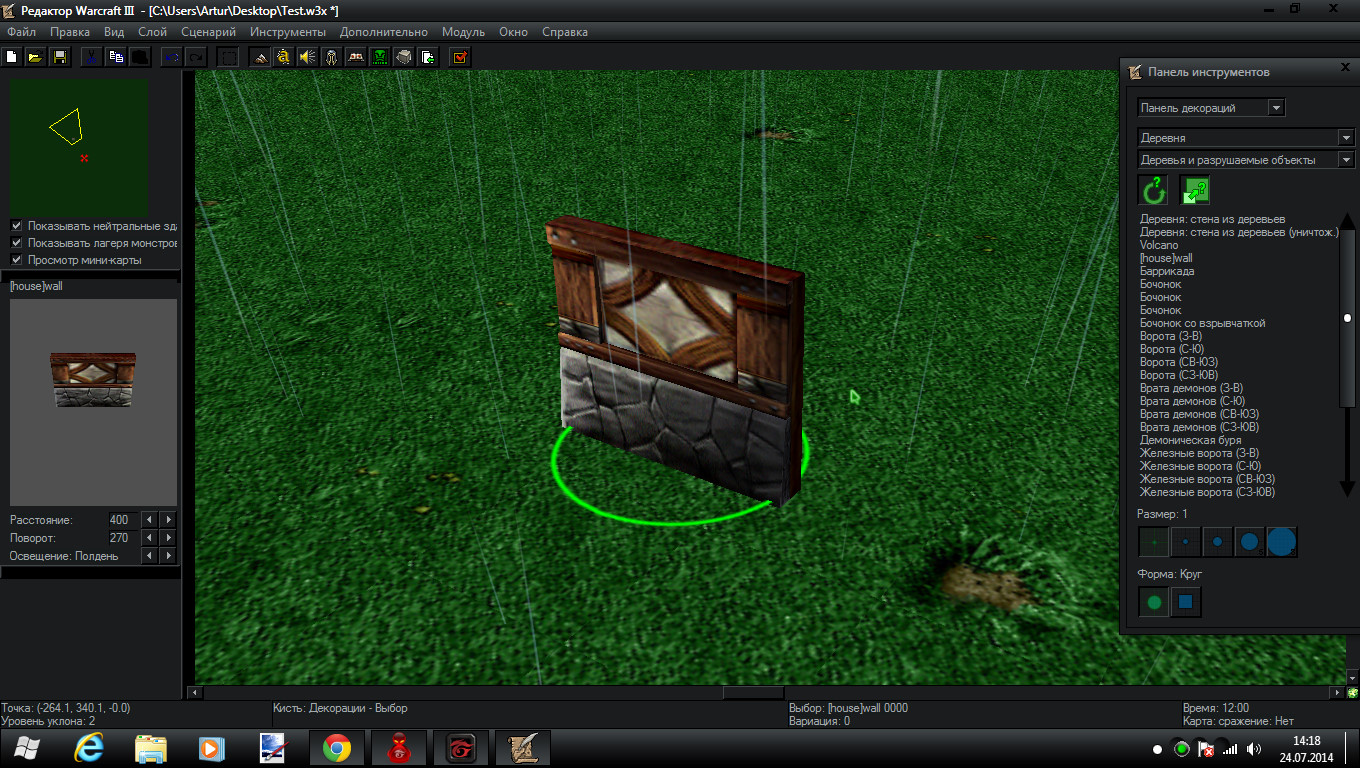
place a bunch of them rotating them how I taught you
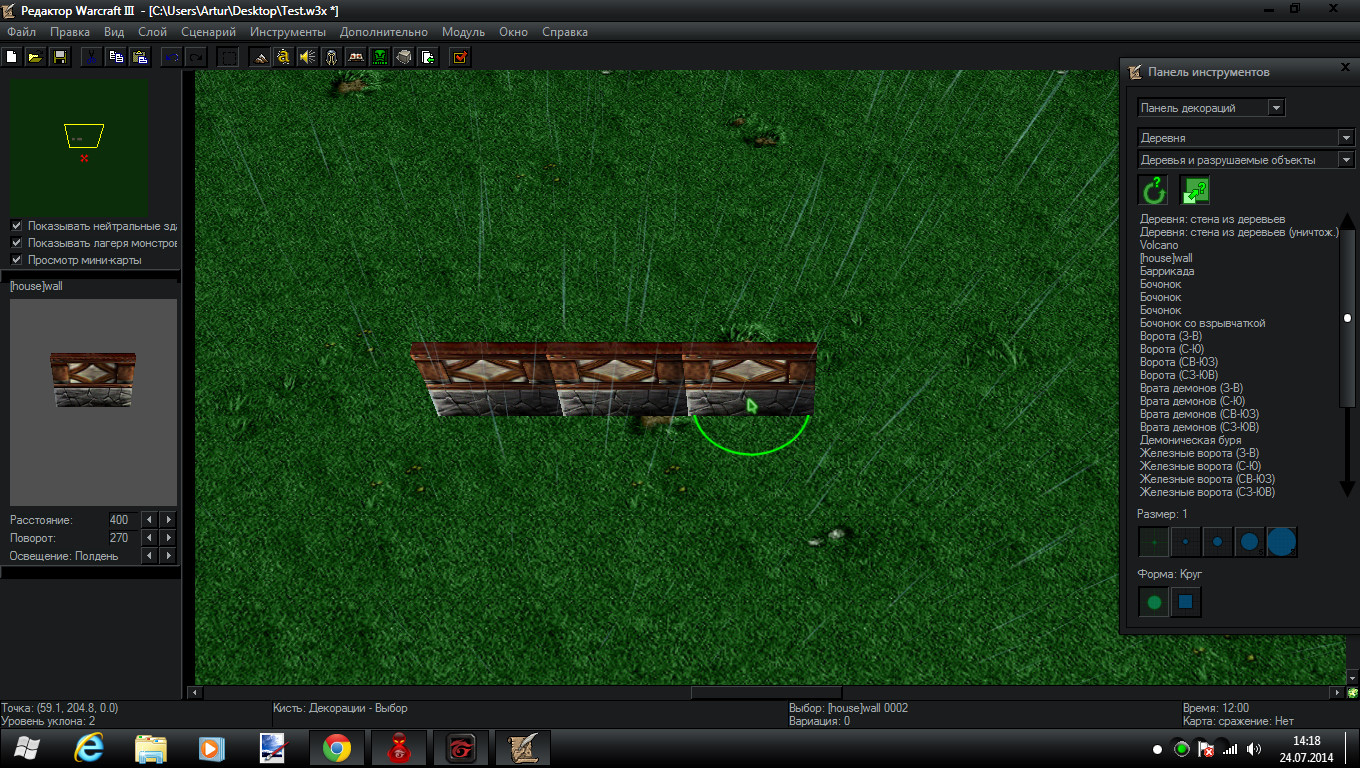
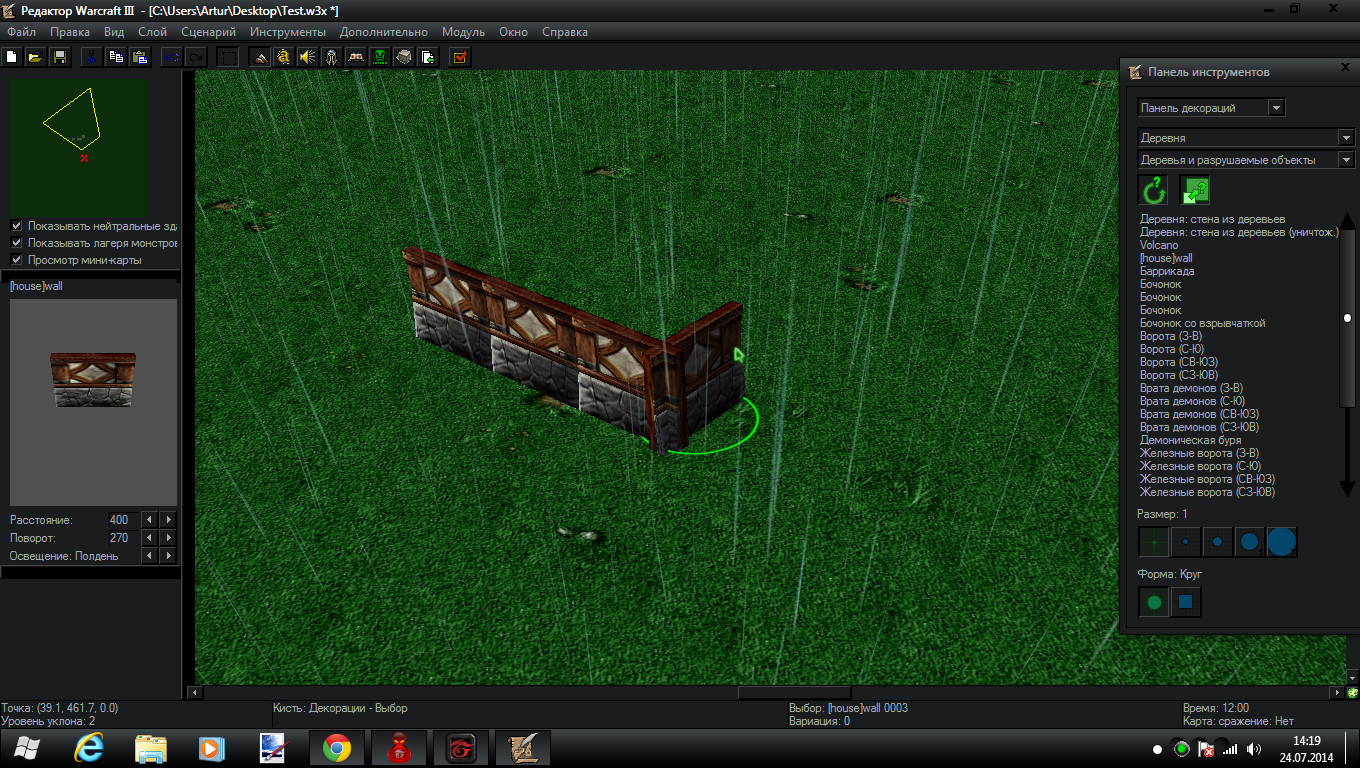
When you're done leave one space for the door
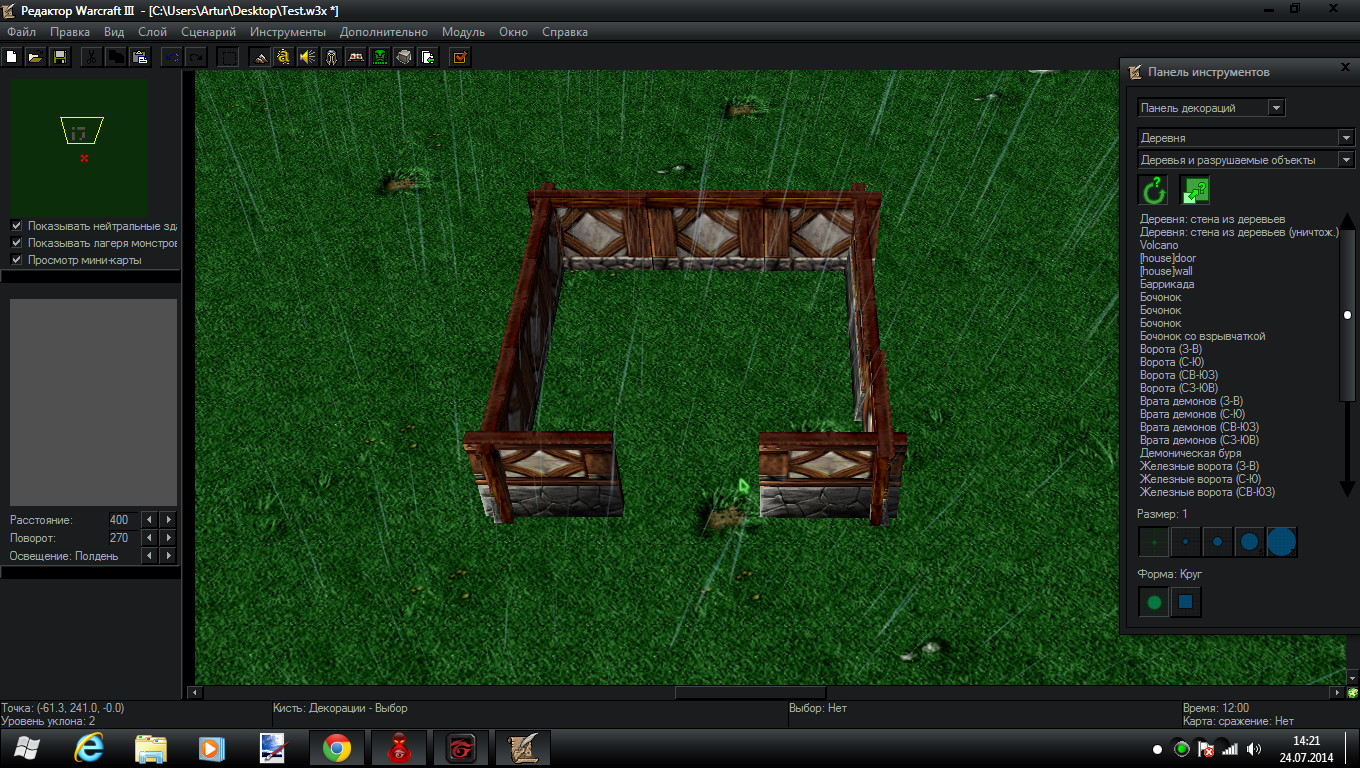
Go to import manager again and now import the wall_door.mdx (or [bricks]wall_door or whatever)
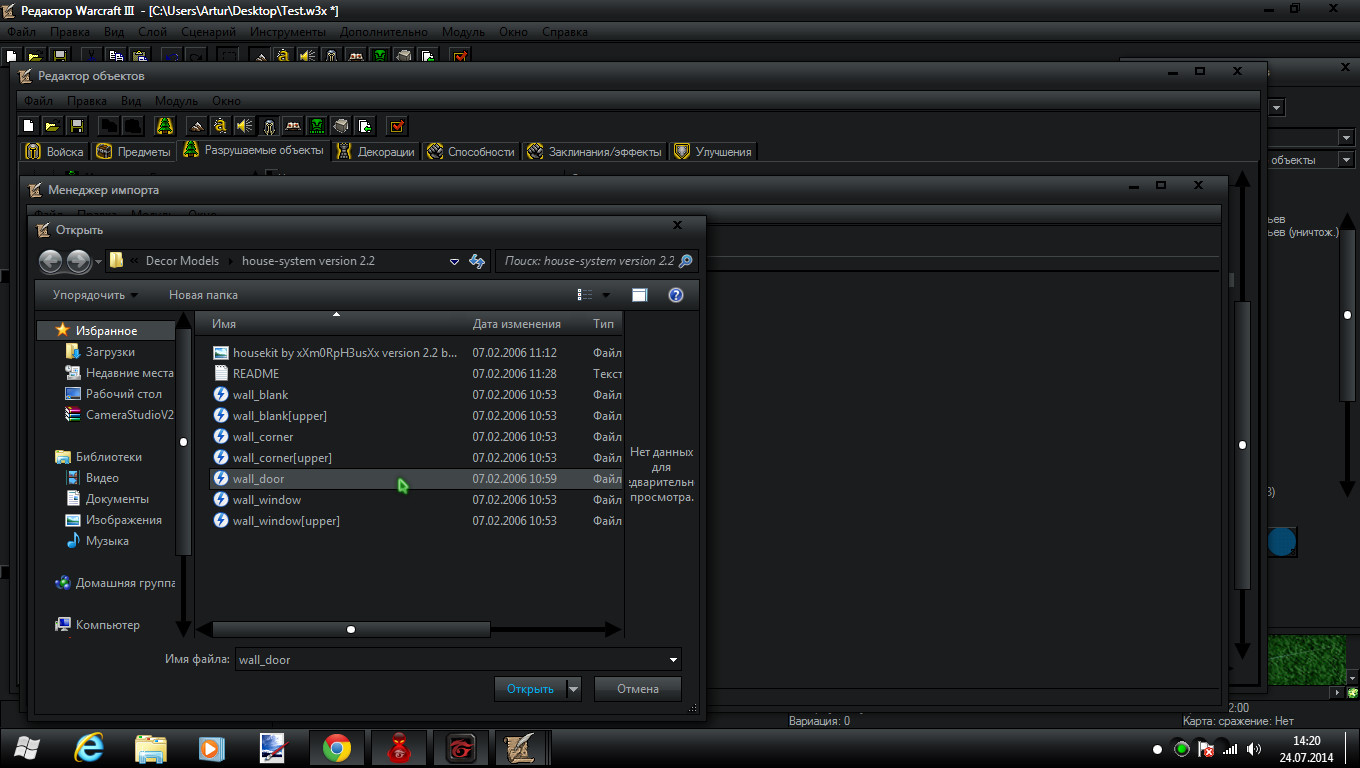
Then go to object editor and just copy the wall_blank and rename it to wall_door
Then just change the texture from wall_blank.mdx ro wall_door(or wahtever).mdx
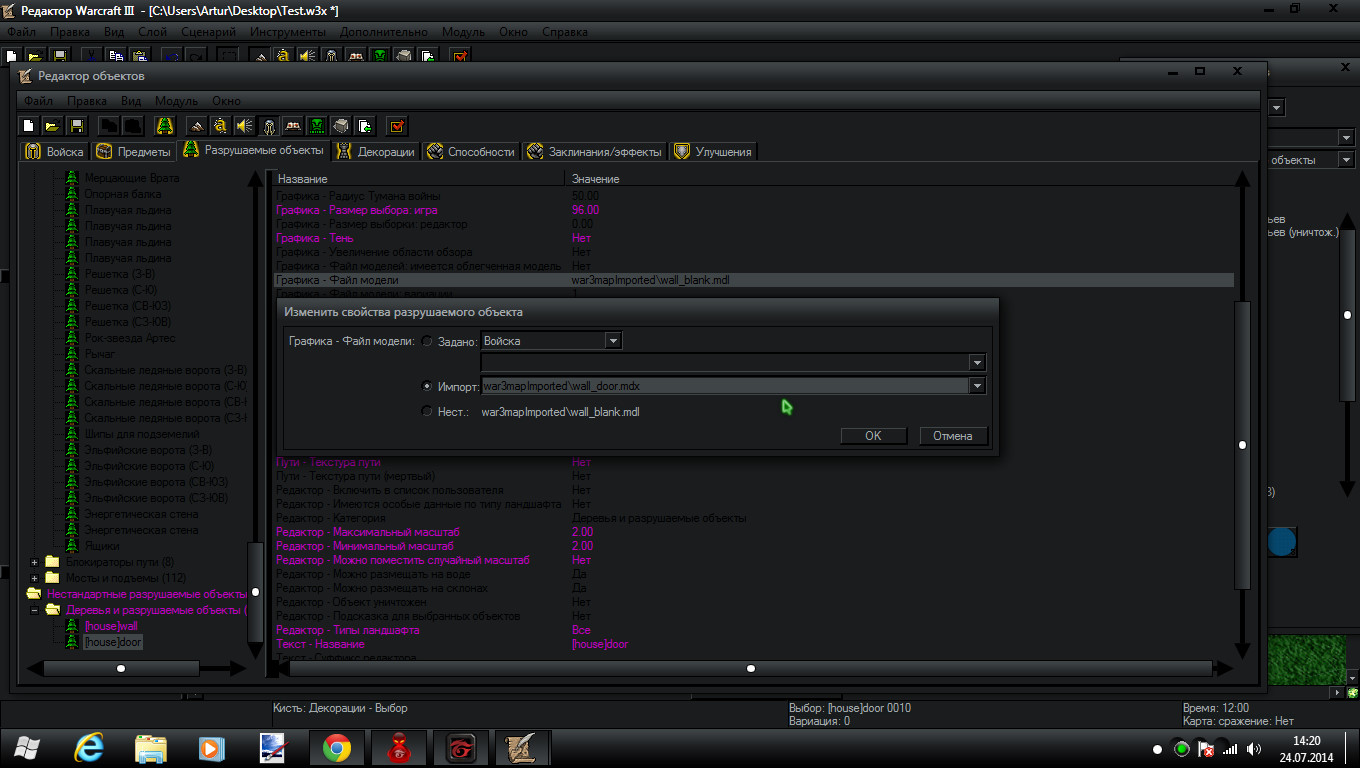
Again restart WE
Now place the door and rotate it how you want
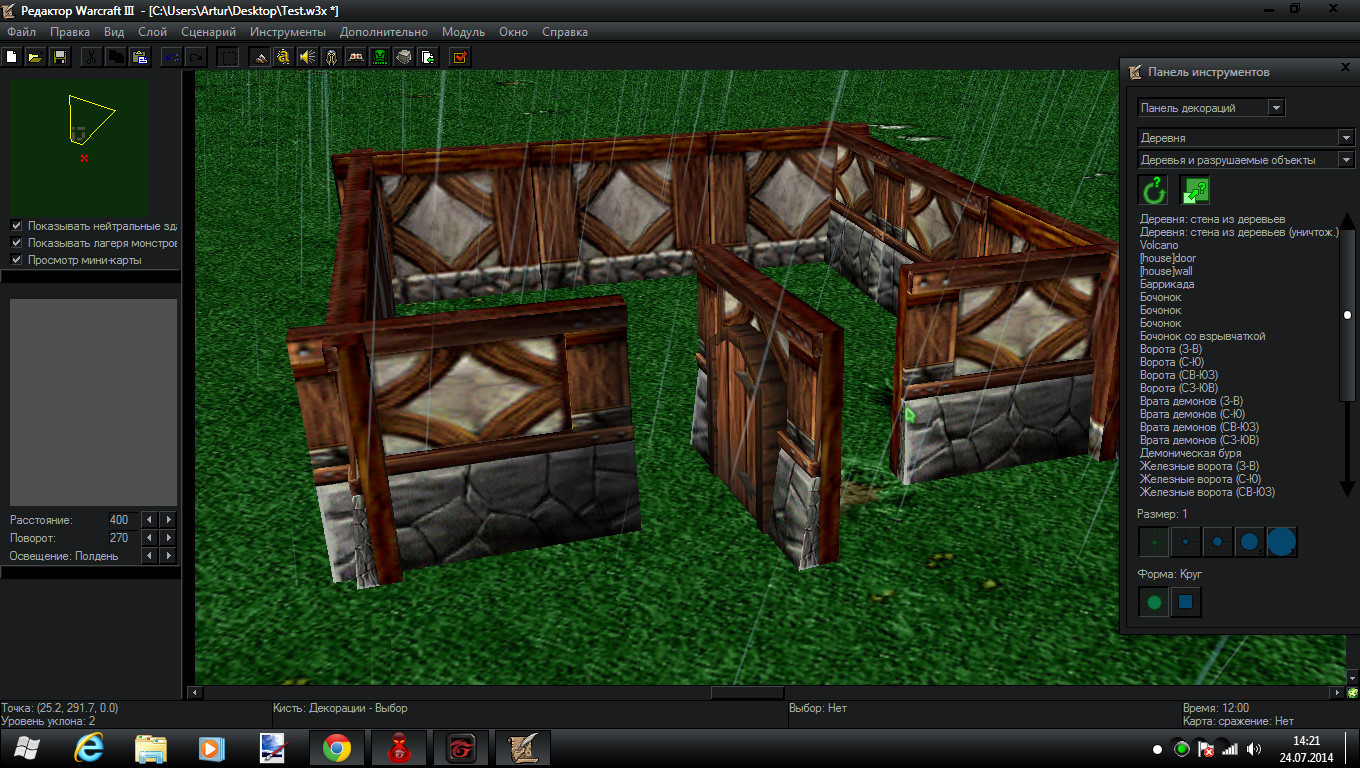
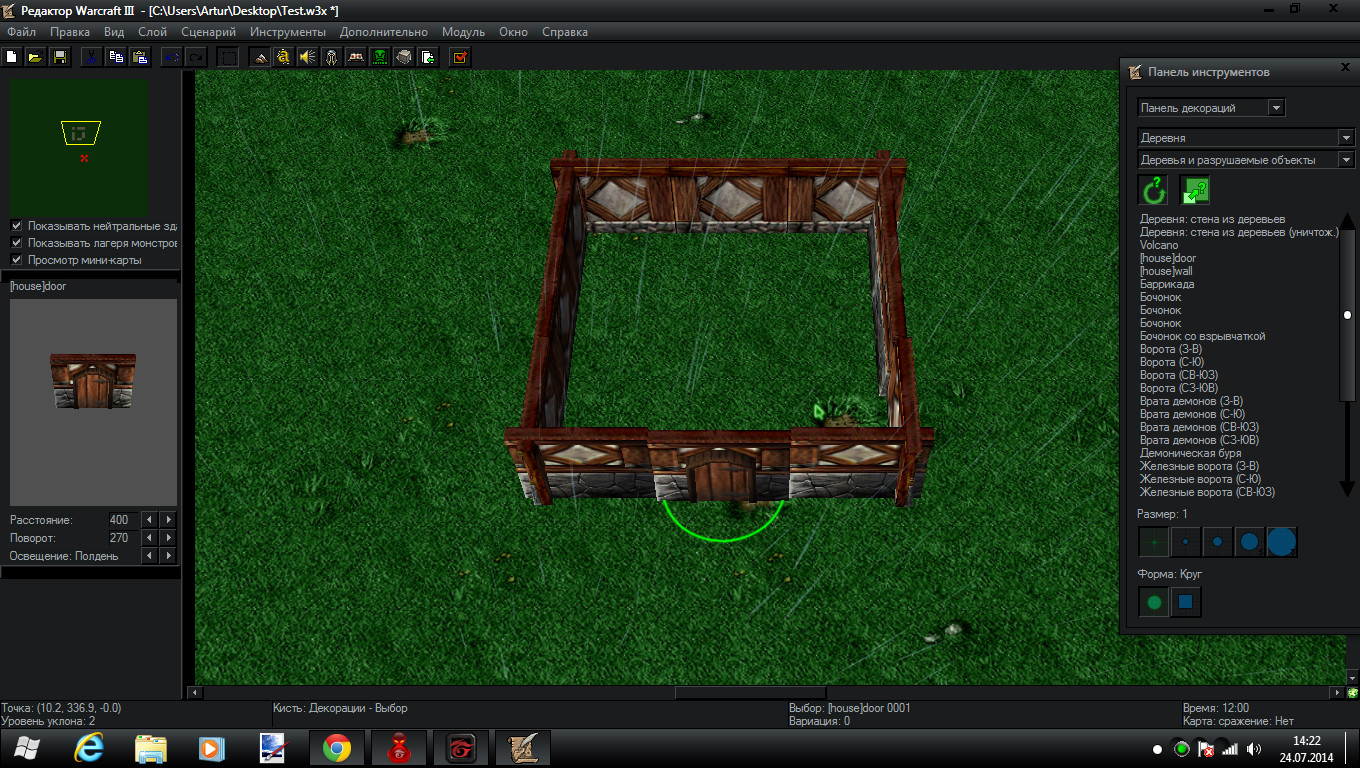
If you don't want extra detail you can skip the next step
Now add corners. Open import manager and and find a file in your folder like wall_corner.mdx or whatever you have.
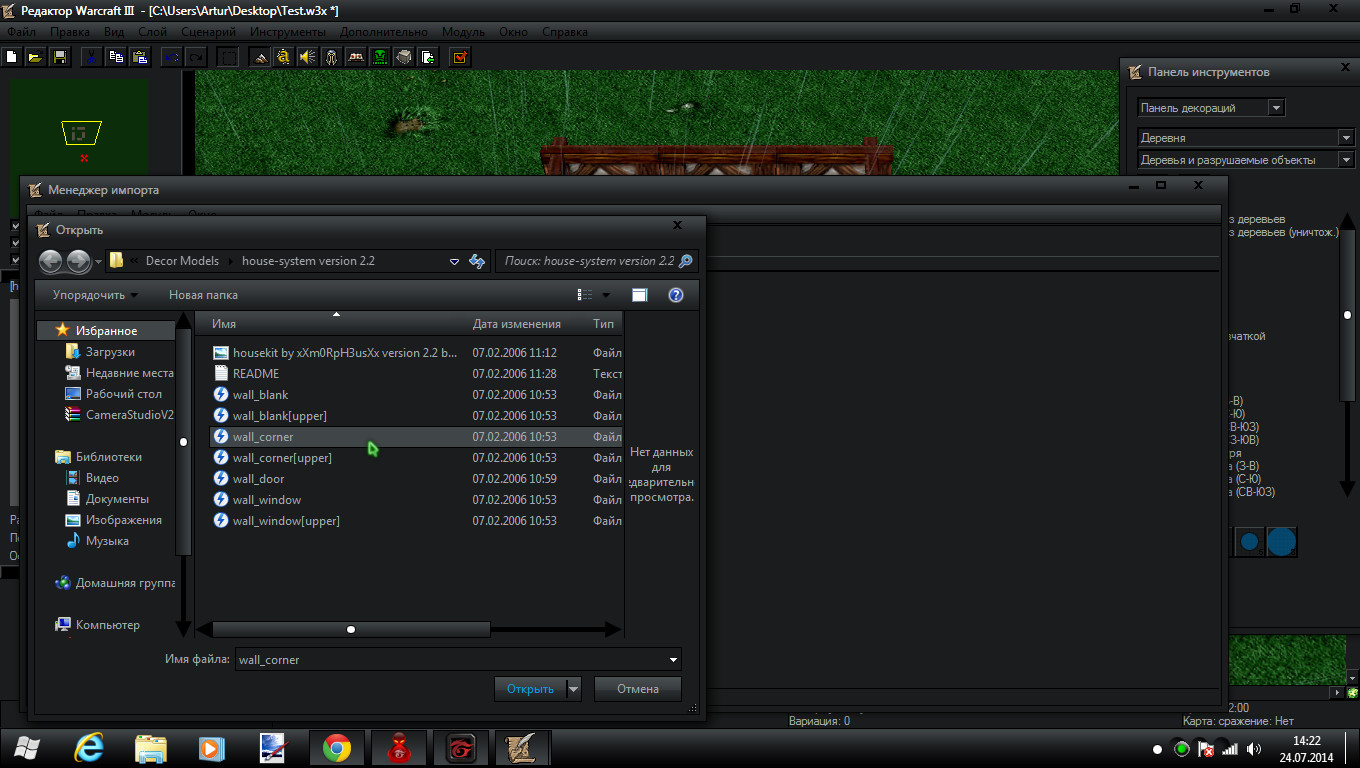
Now create a new doodad in the water section with the name wall_corner and give it these attributes :
texture path - no
max size - 2.00
min size - 2.00
random size - no
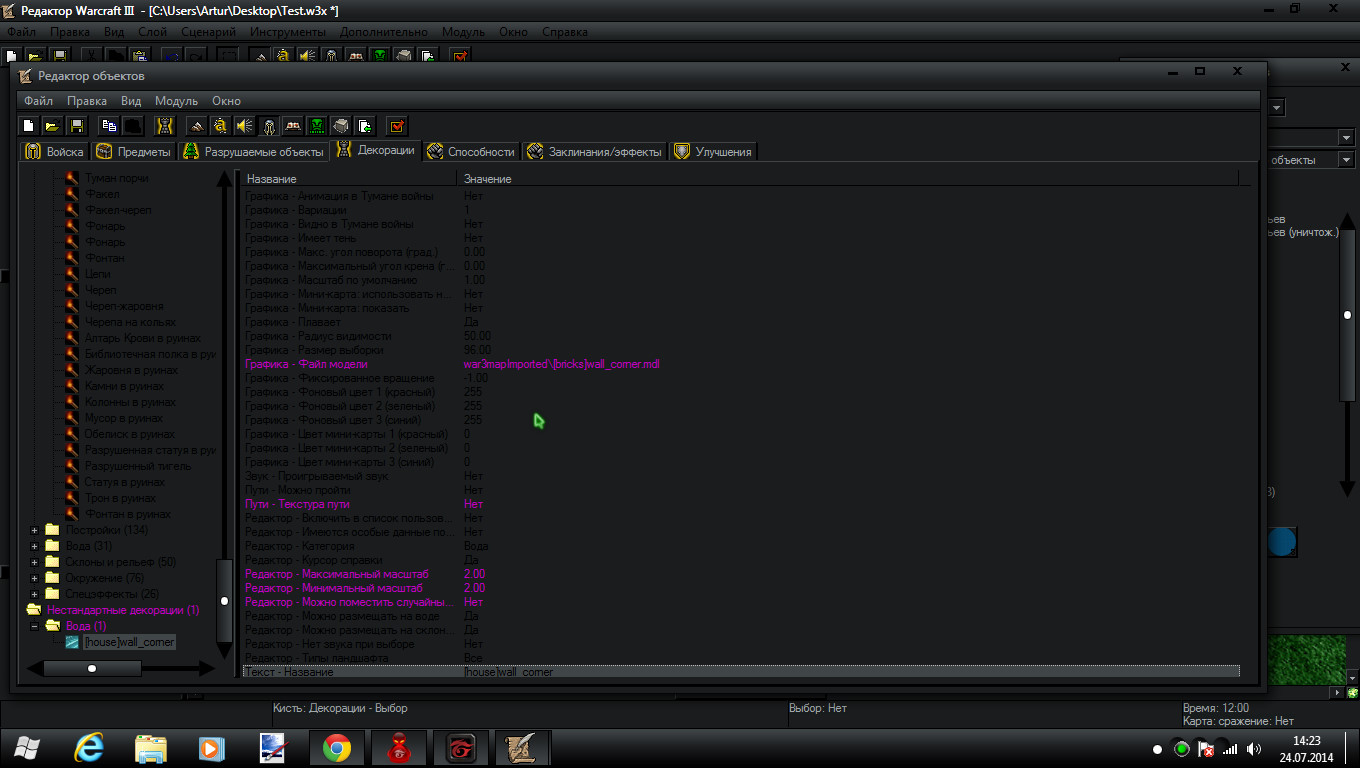
Give your wall_corner the model path that you imported
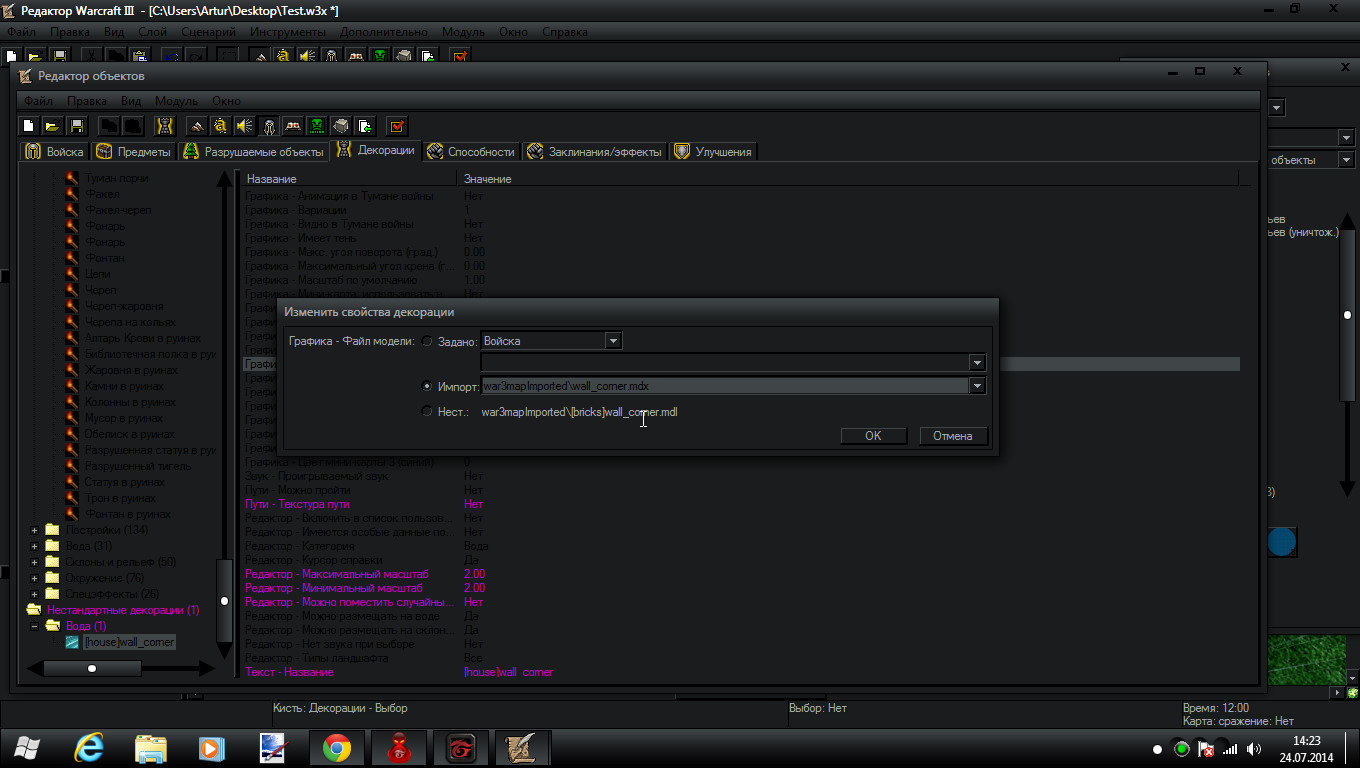
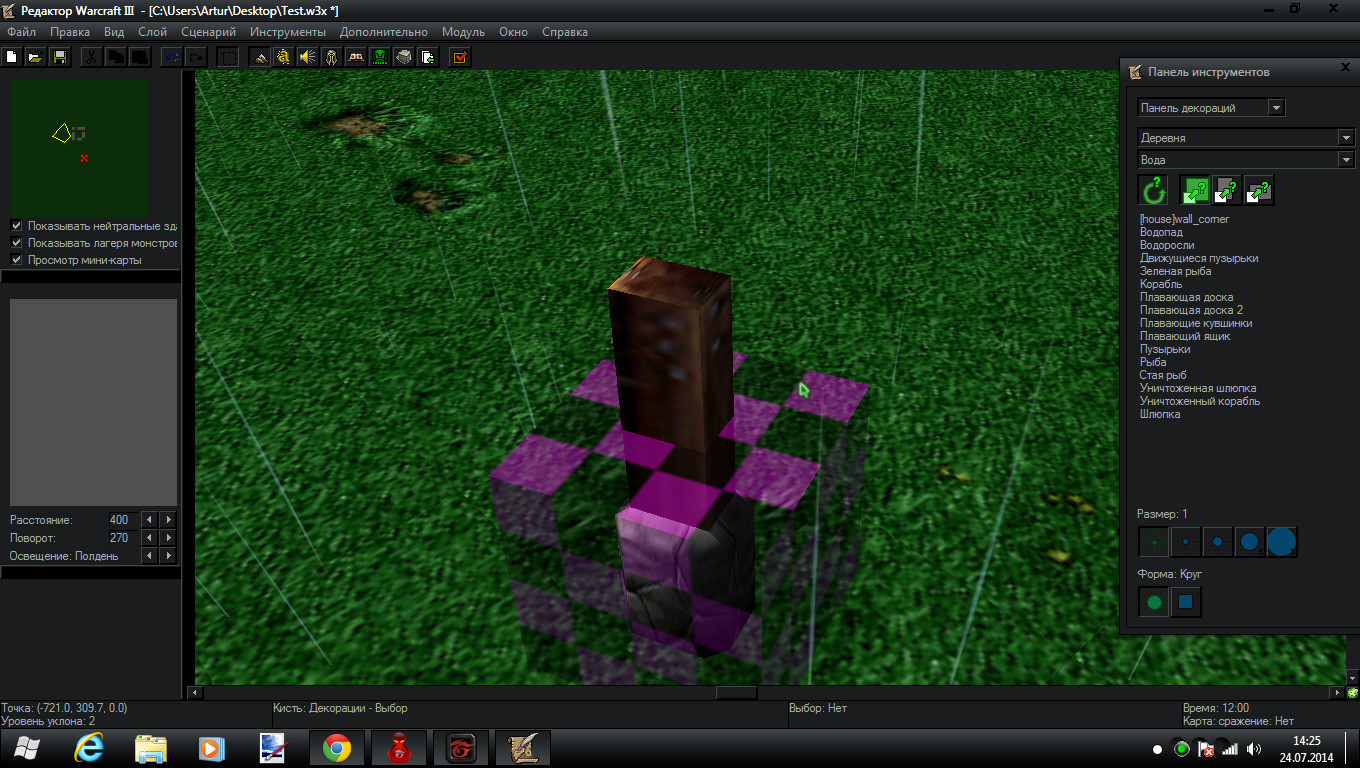
This is how the corner from the house system kit looks like
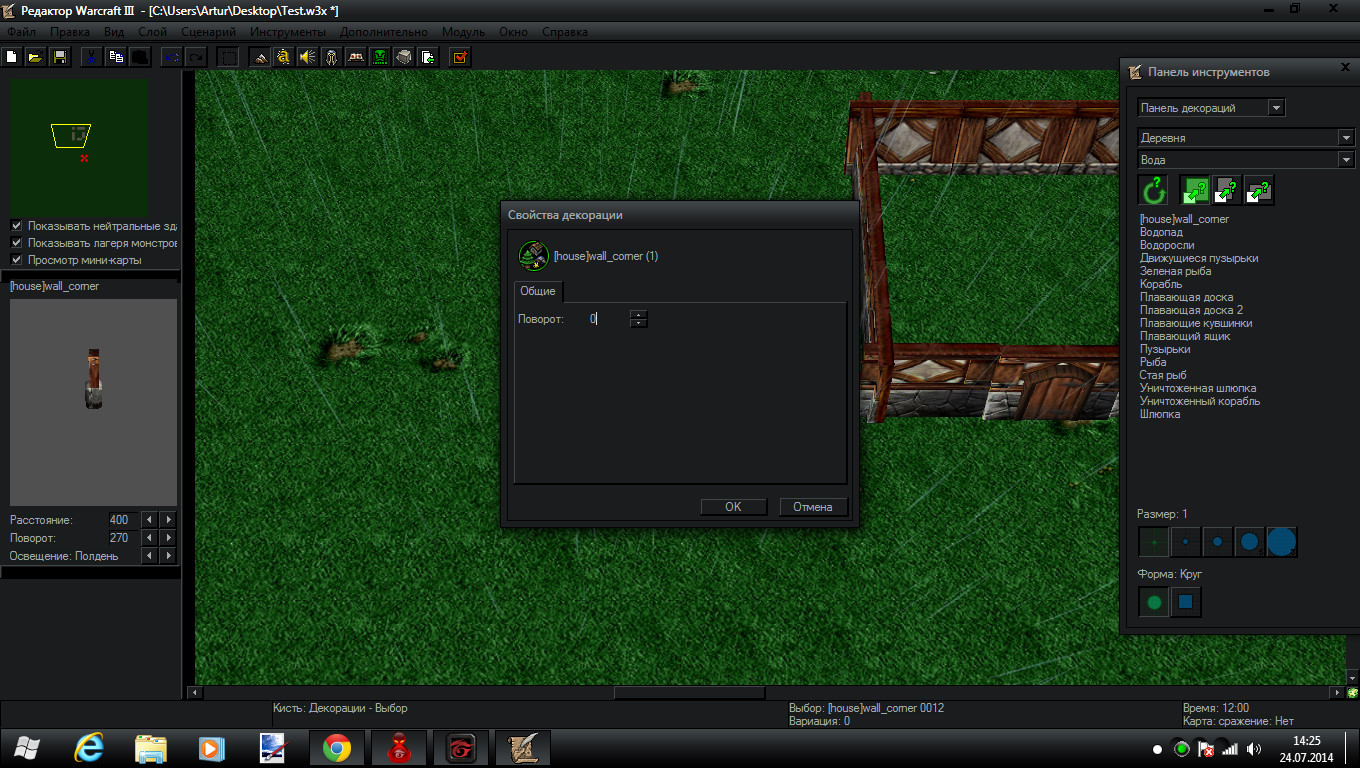
As always rotate it. I recommend giving it 0 rotation always!
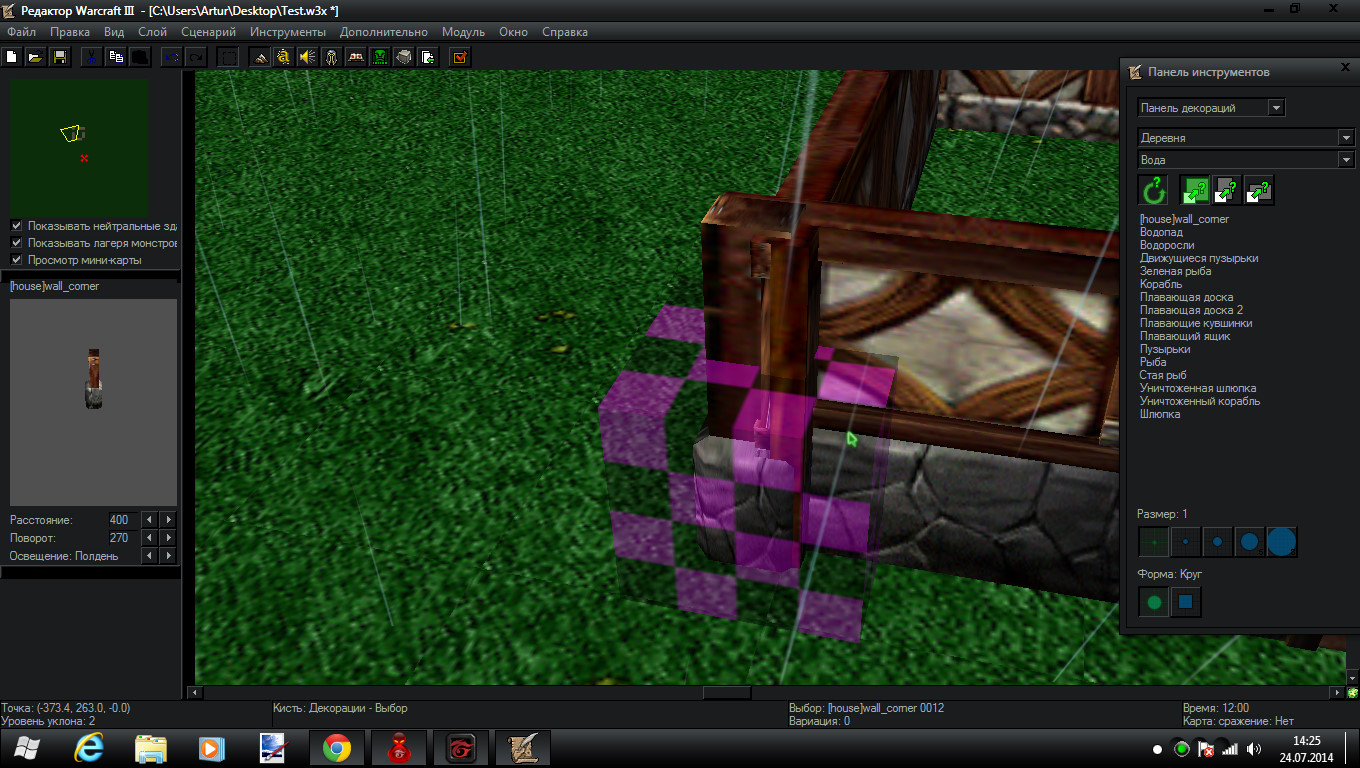
Place the corners pretty much anywhere you like (I'll place mine around the corners and around the door because it sticks out a bit
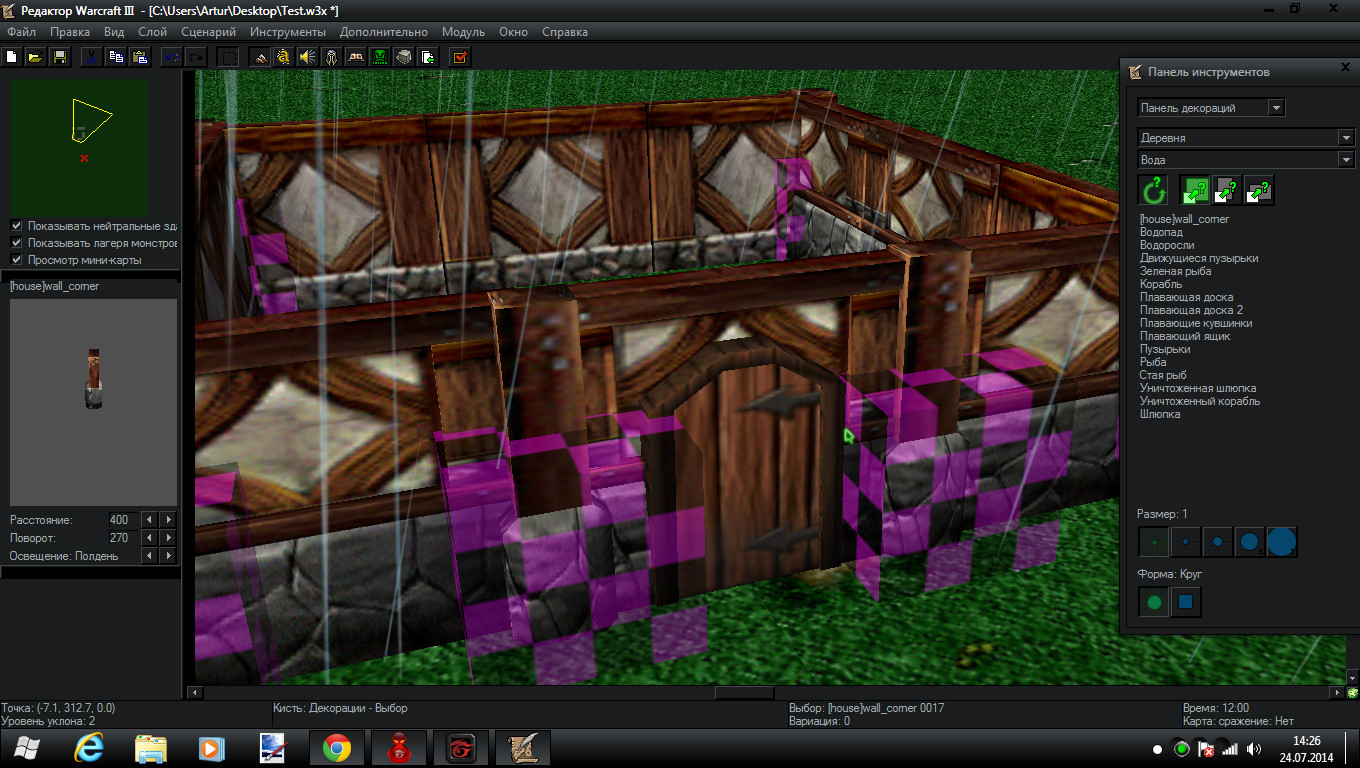
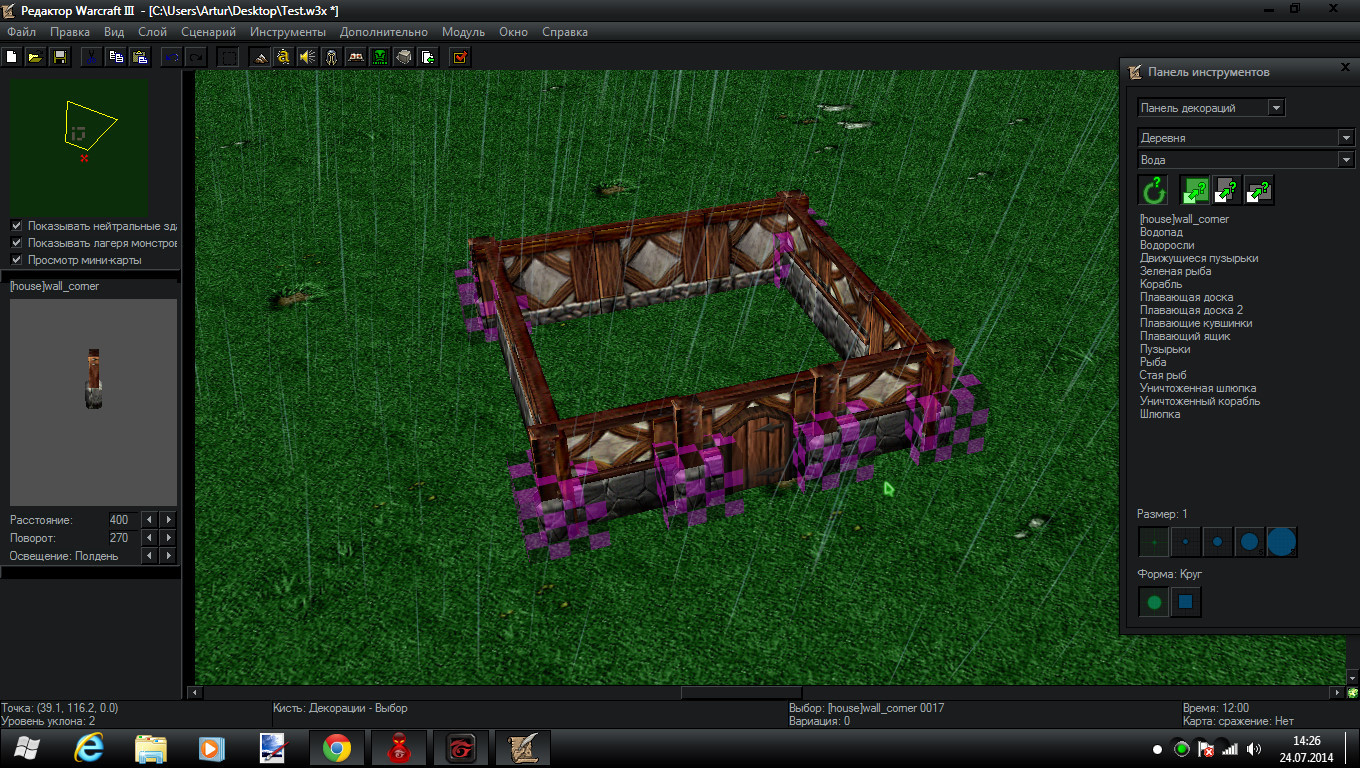
Now let's make the flooring!
Open import manager and navigate to log house kit (you may also go to stone house kit, it also has some nice floor tiles. But I prefer the log house kit tile)
and go to misc and find misc_tile and import it.
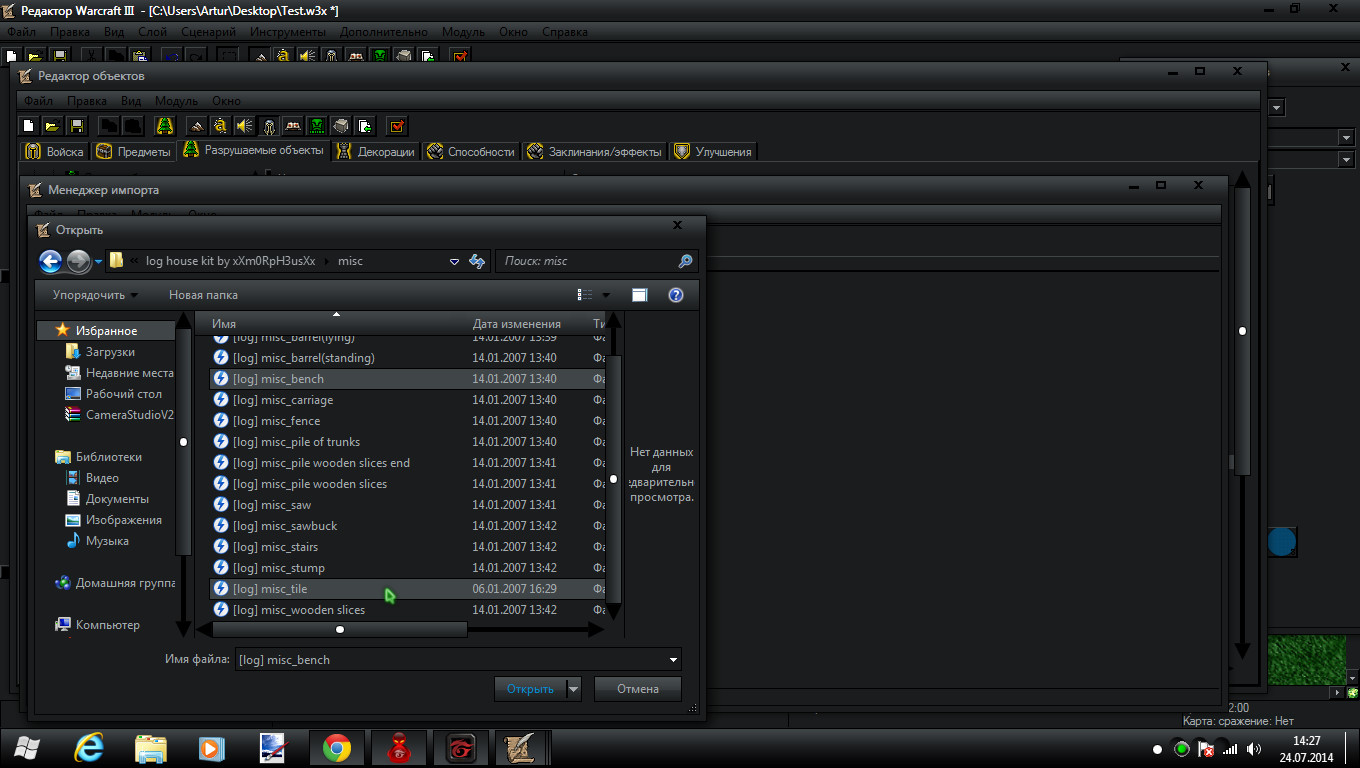
Now pretty much just copy your wall destructible and give it a name something like tile[wood] or something.
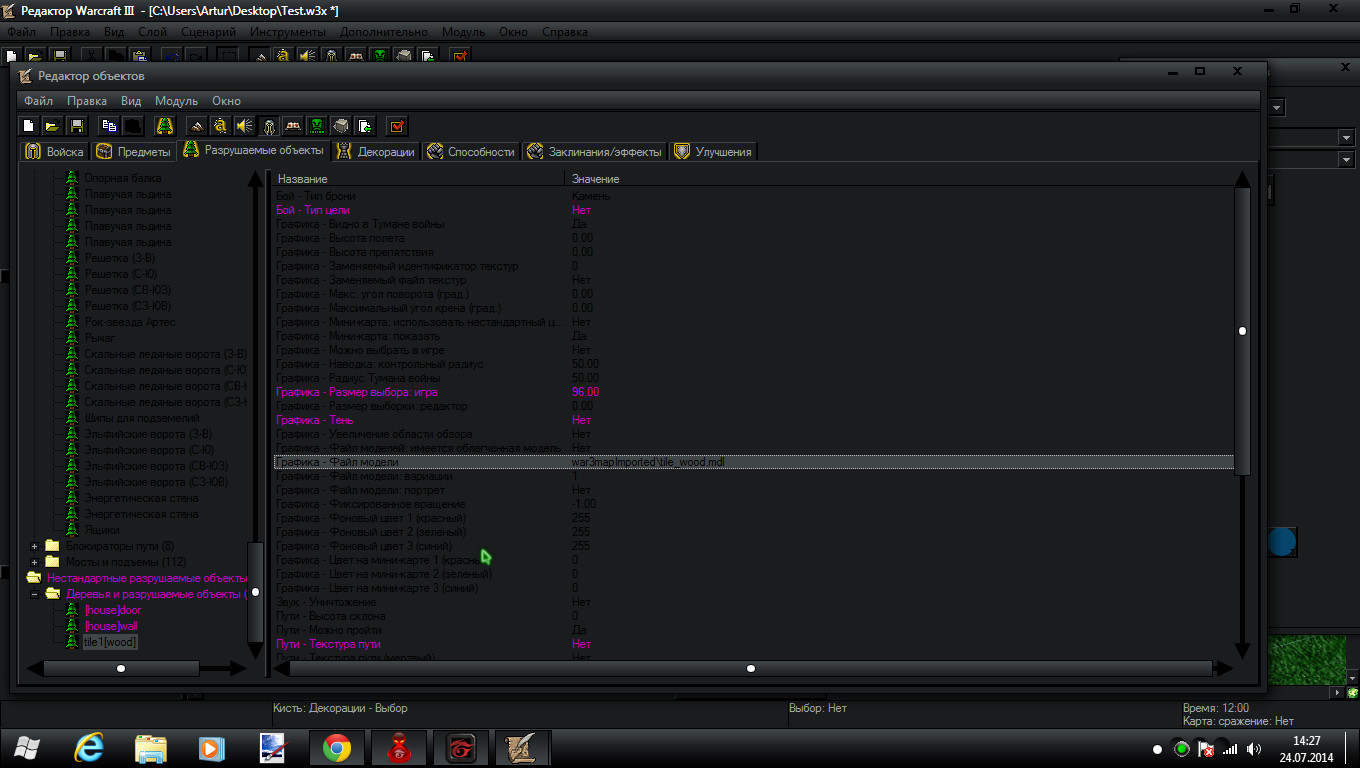
Now give it your imported model file
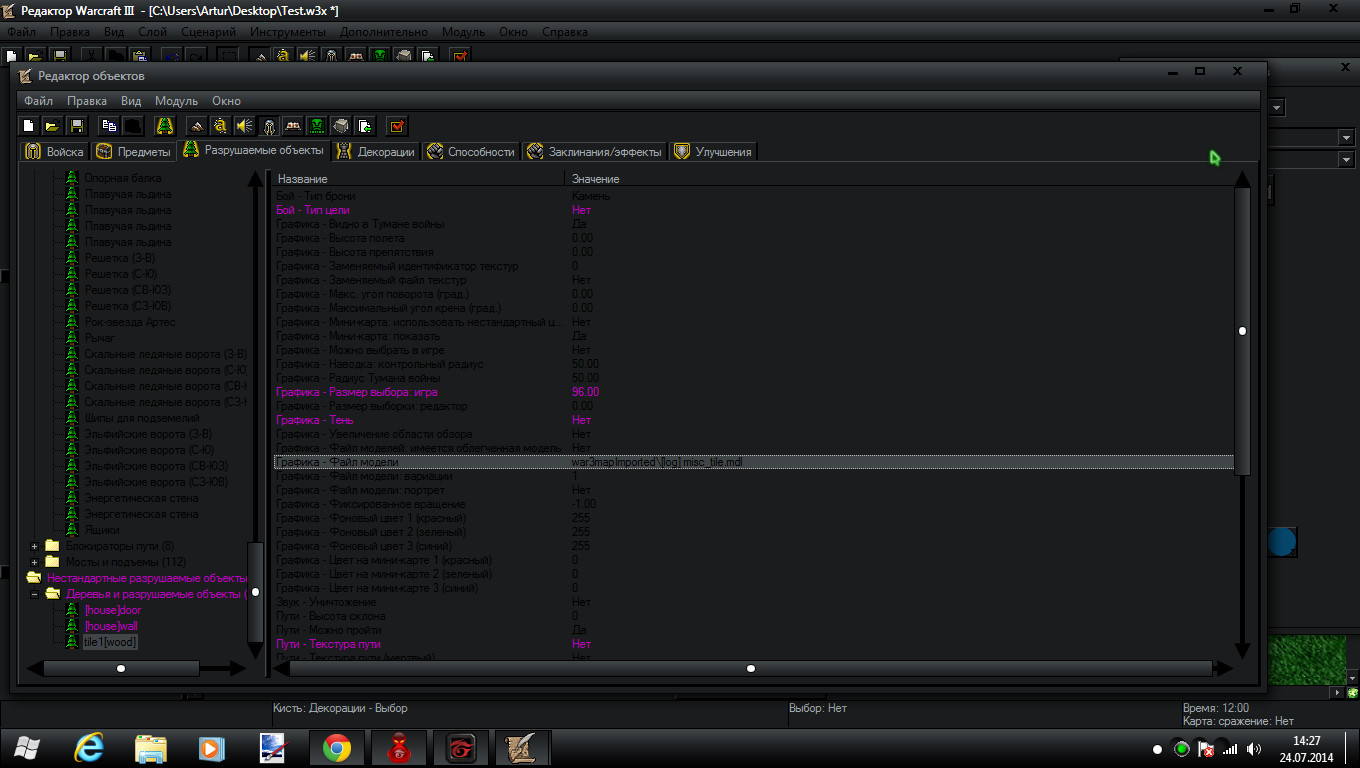
I recommend giving it these attributes especialy if you're using house system kit :
max size - 6.50
min size - 6.50
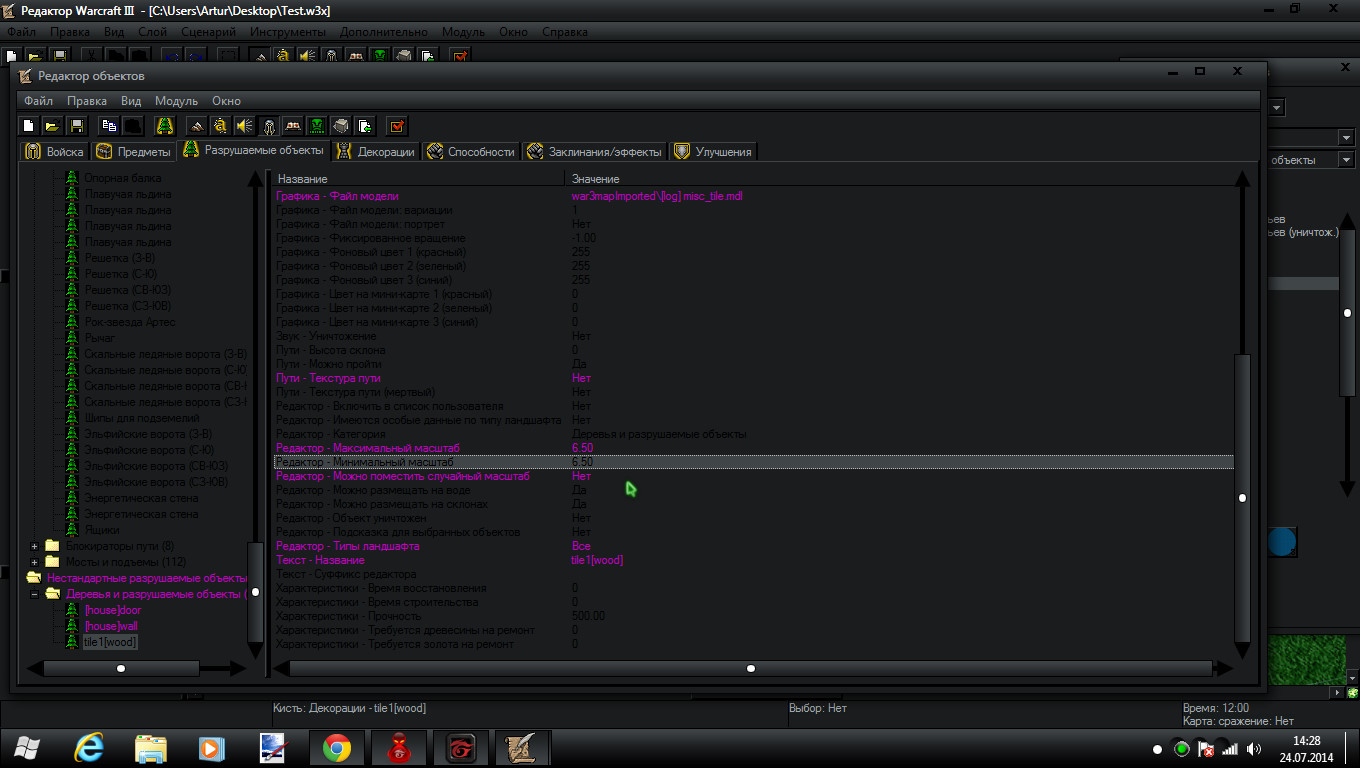
and :
fixed rotation - 0
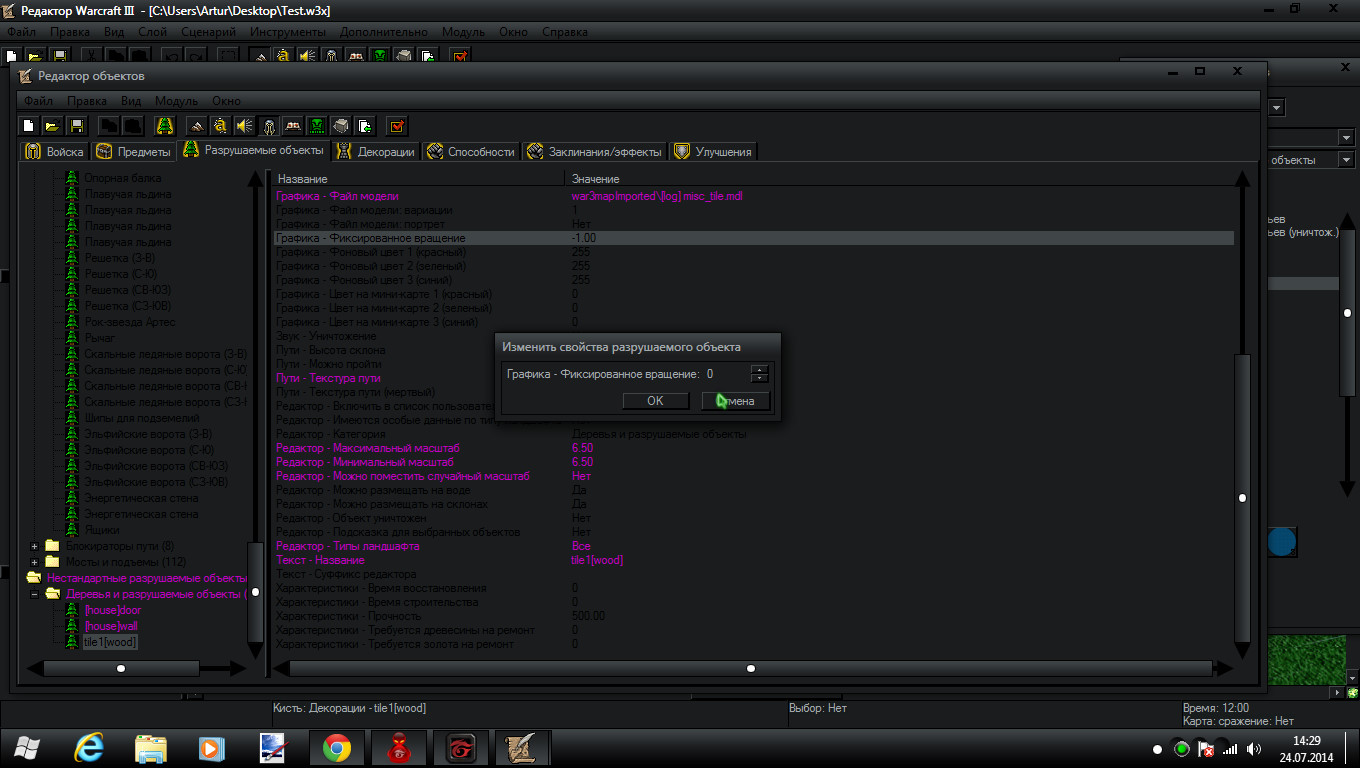
As always restart WE to see changes
Fill in the house floor with these:
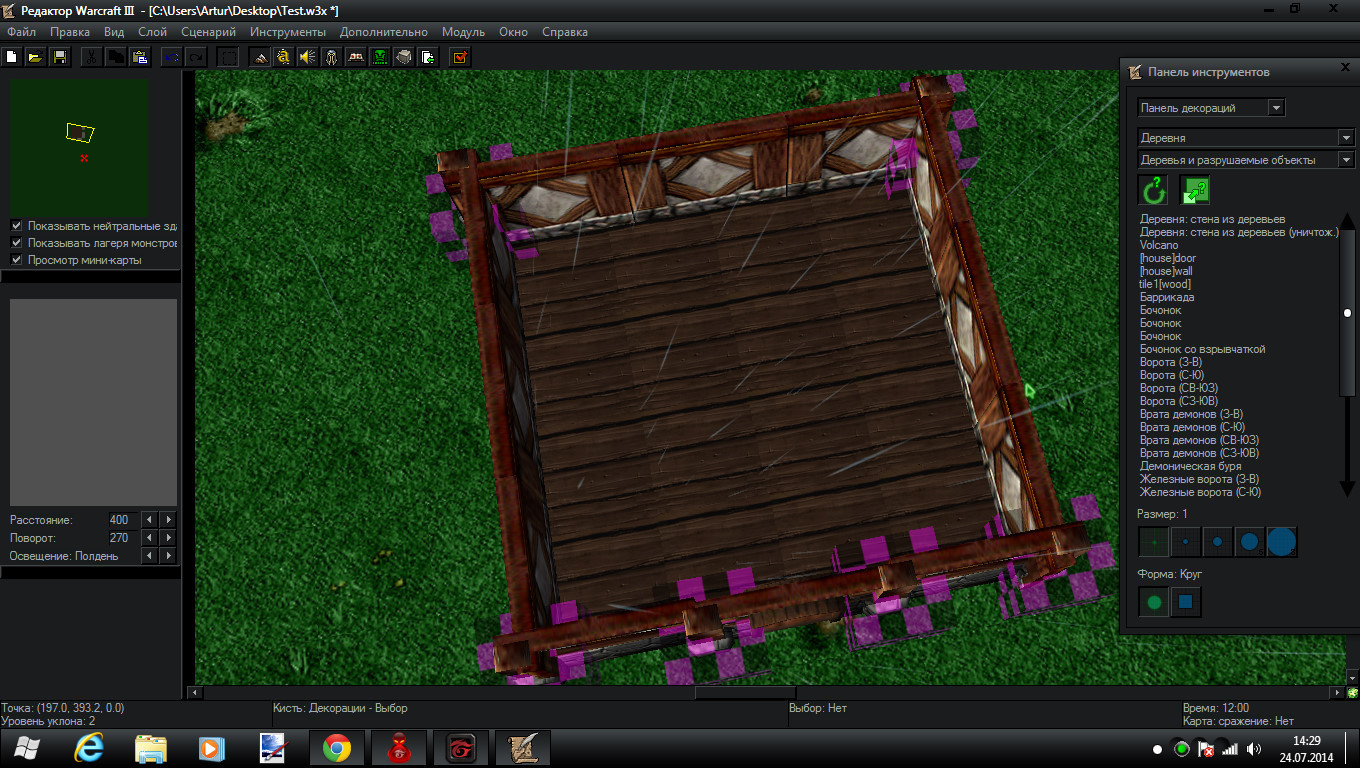
Now create a new doodad named roof in the buildings section with these attributes:
texture path - no
max size - 10.00
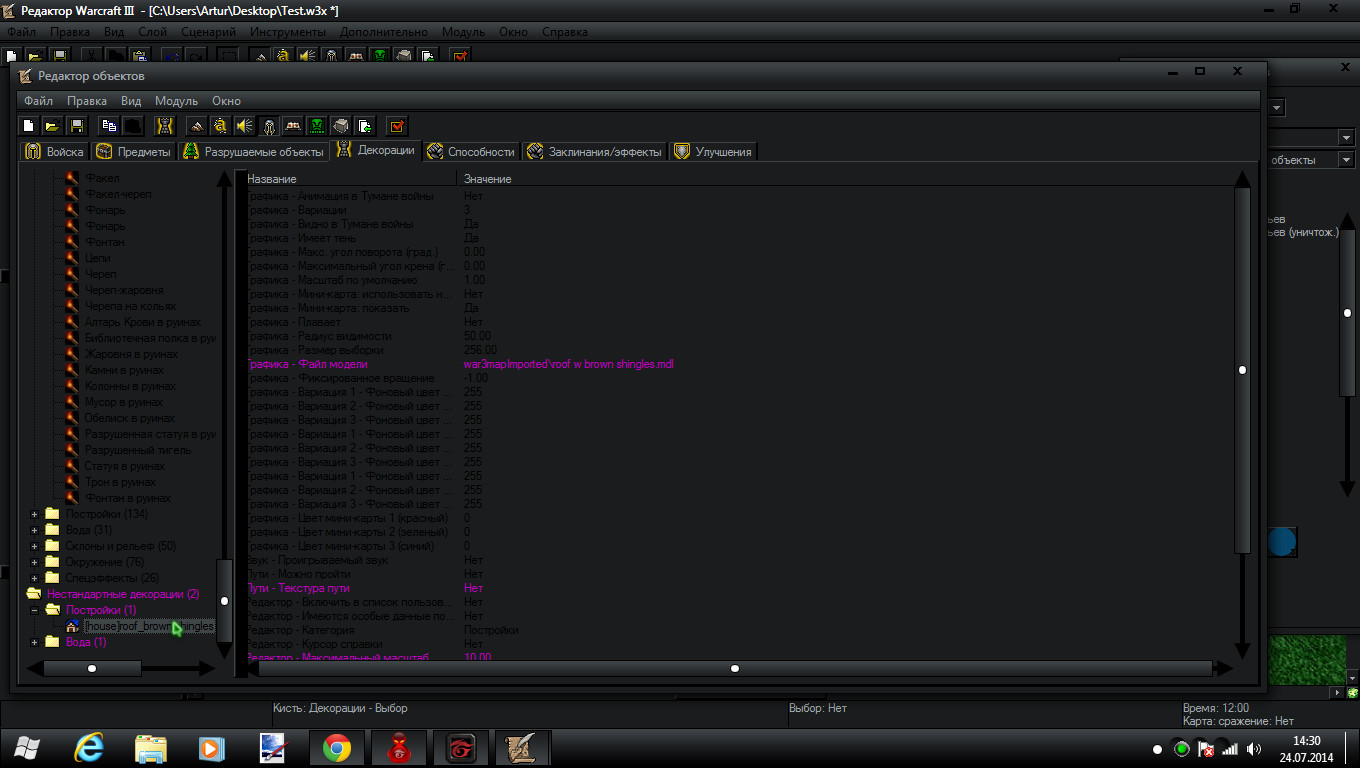
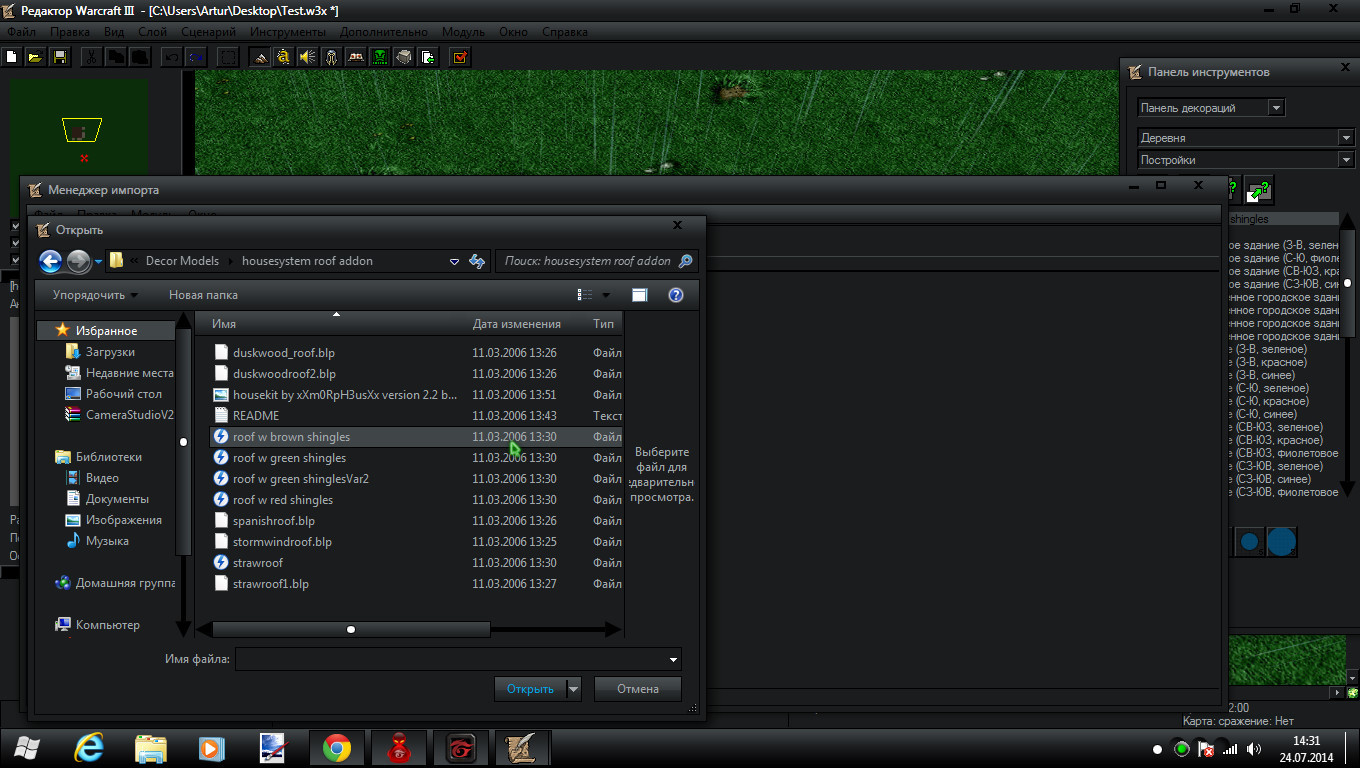
Now go to import manager and navigate to your roofs folder from the pack you got and import the roof you want. I'm using house kit roof addon brown shingles
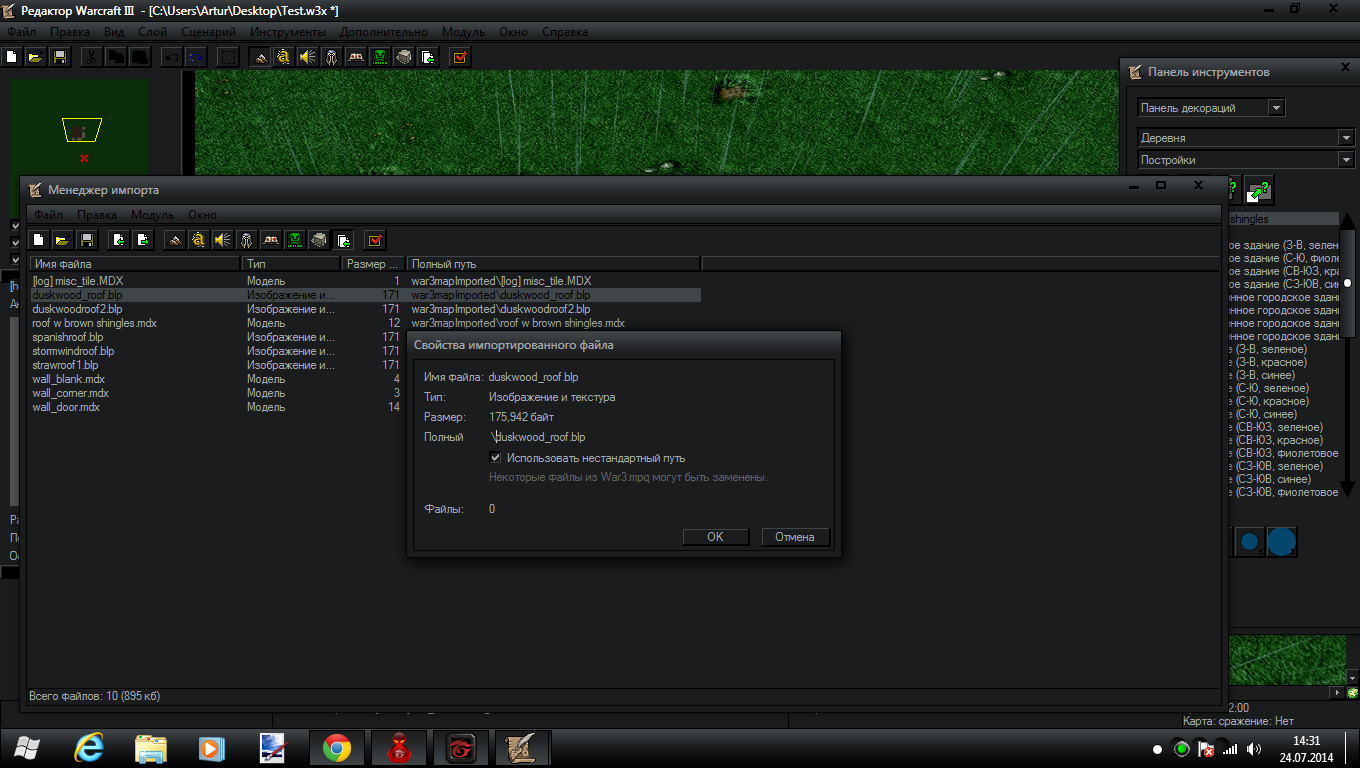
also each of these pack include BLP files. Import all BLP files from the pack you're using and remove the War3Imported/ thing from their paths. This is very important otherwise the WE will crash when you try to place a roof.
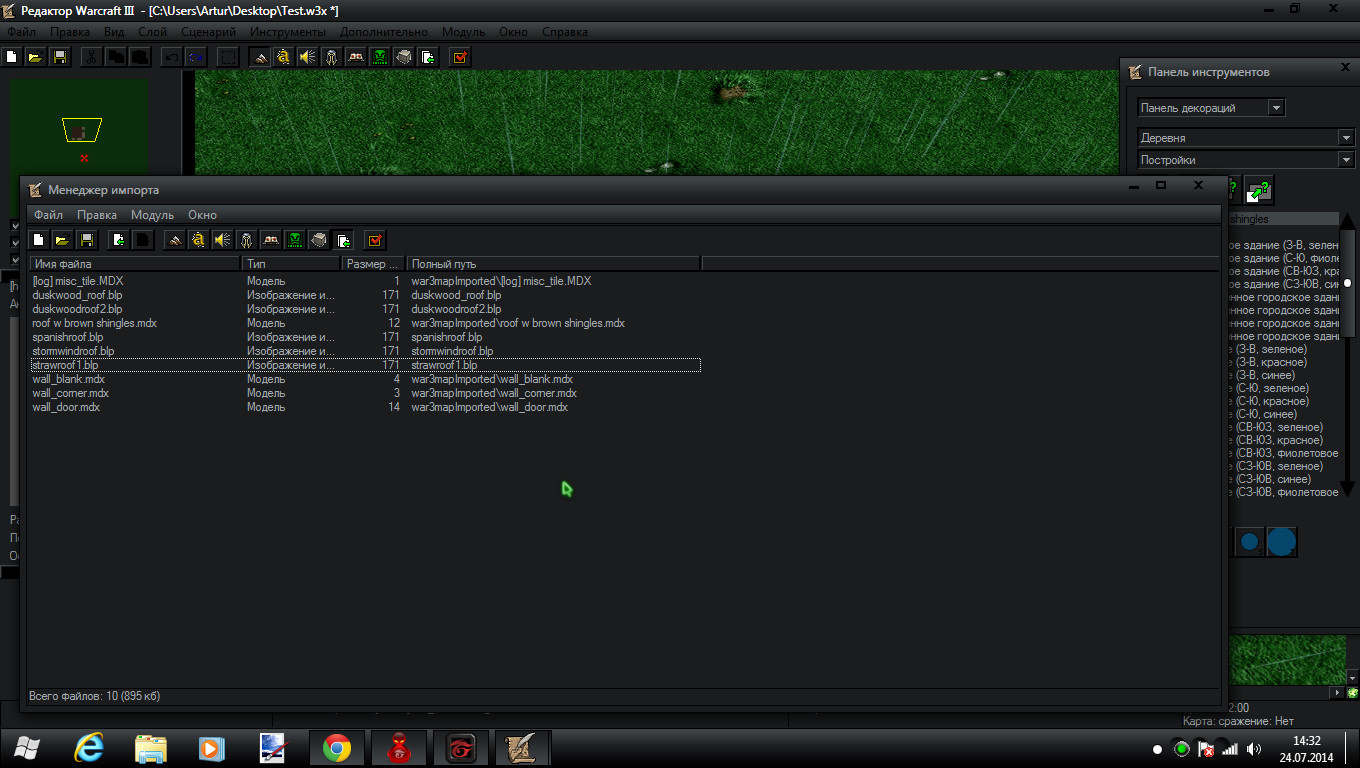
Restart WE
When you place a roof it will kind of look like this:
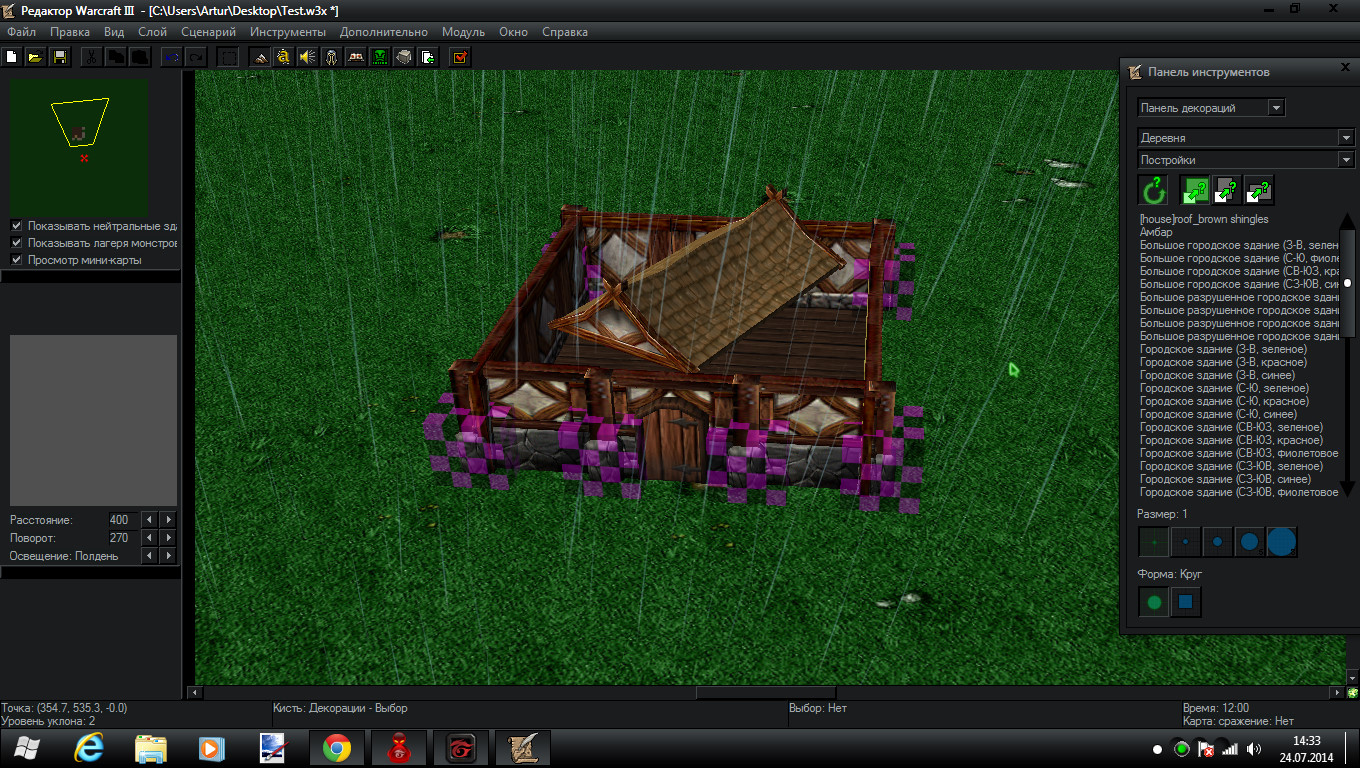
You're going to have to hit enter and set it's rotation and x, y, z size to the size of the house you created
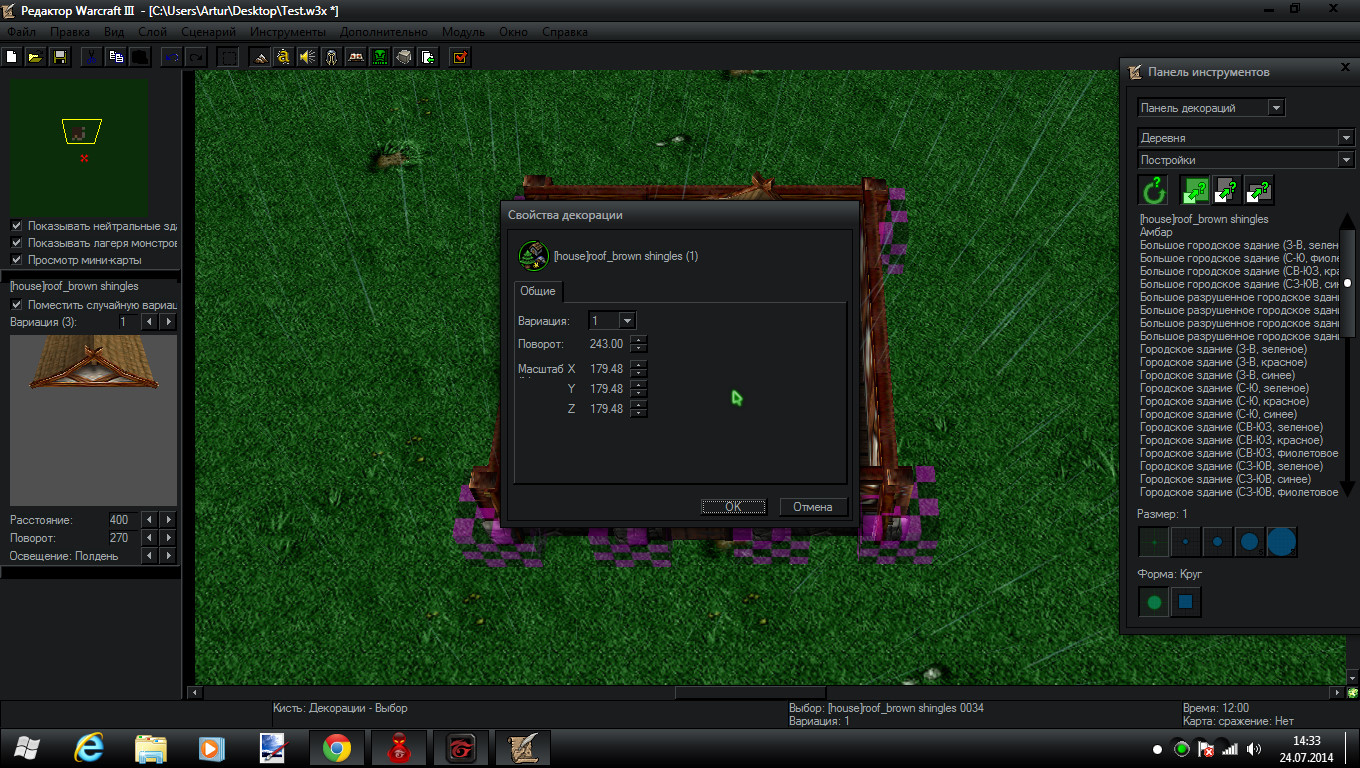
Just mess around with the numbers and you'll get it
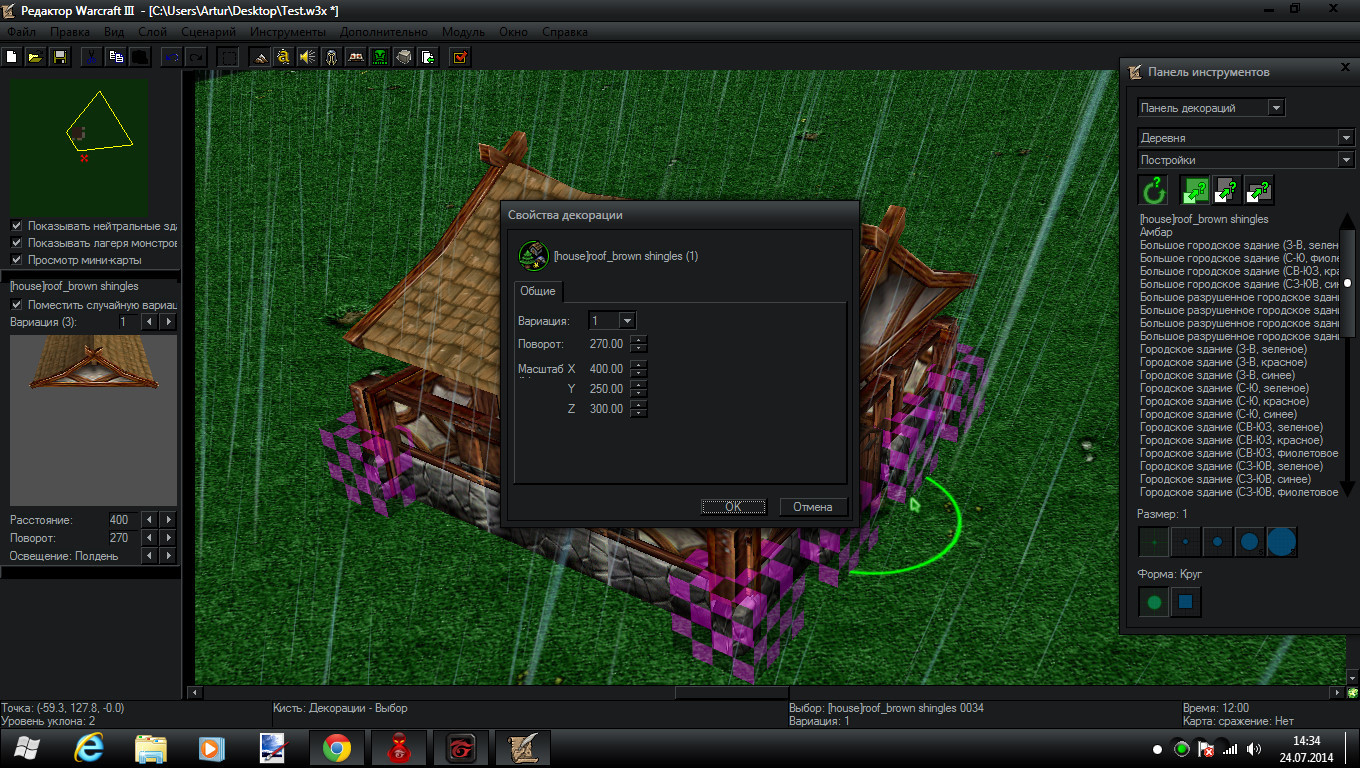
If the roof is too high or too low then select the roof and hold CTRL and at the same time press page up (for raising) and page down (for lowering).
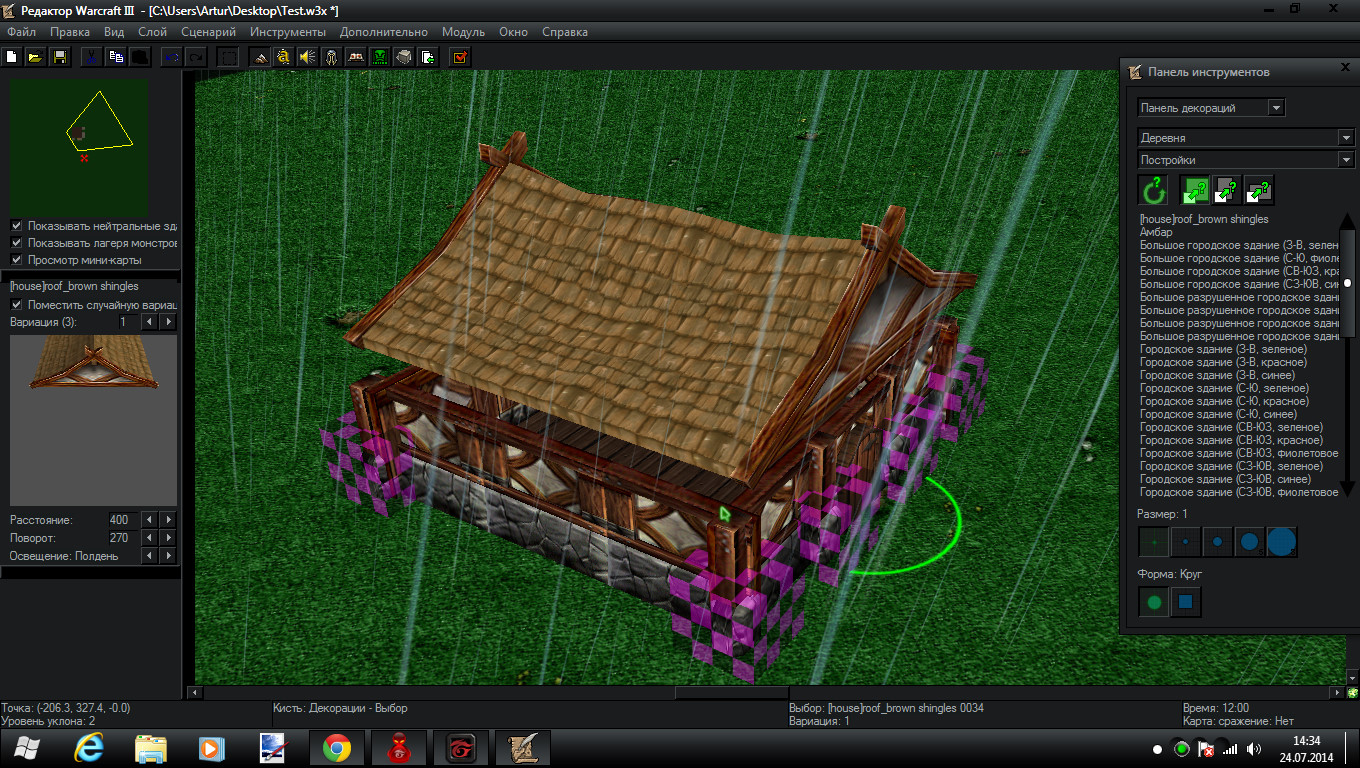
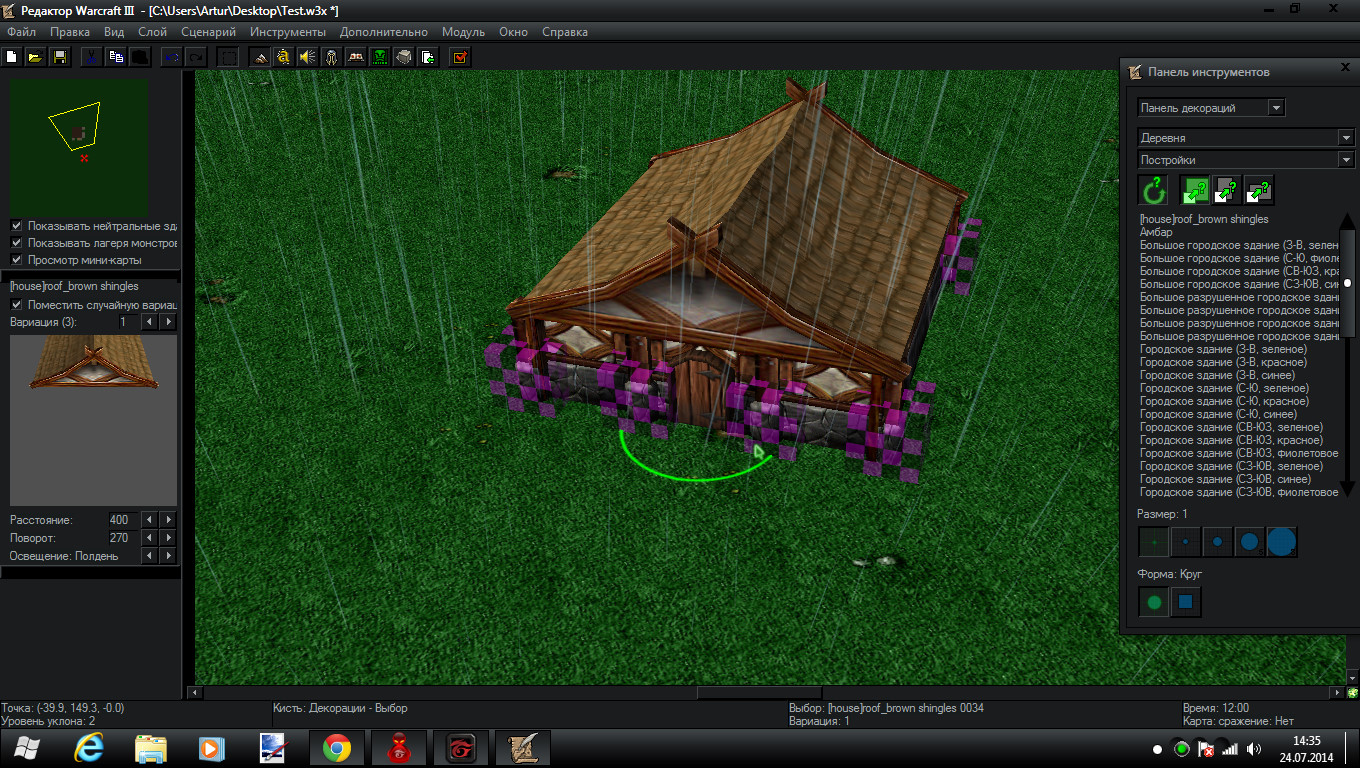
But there is a problem : You can walk through the walls!
There's an easy solution. Use pathing blockers
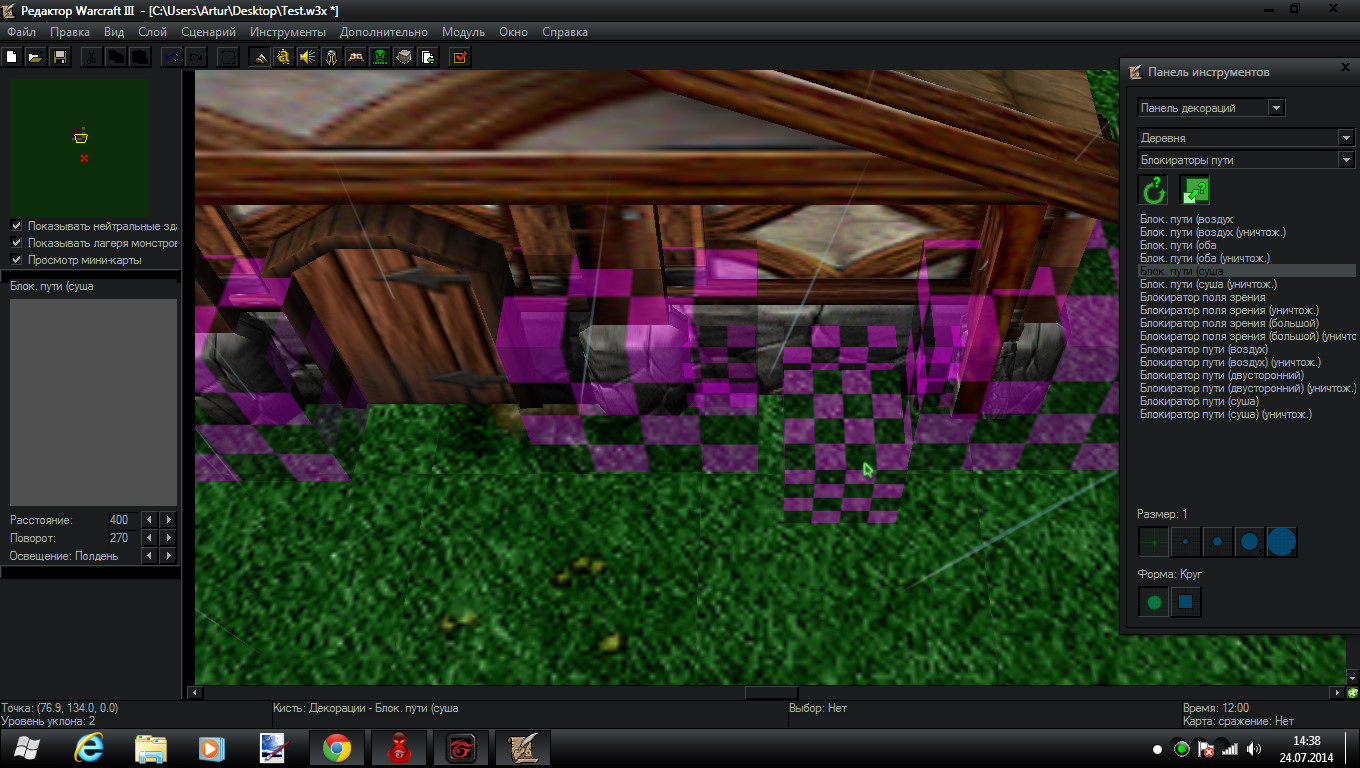
Here I surrounded the hole building with pathing blockers but I left the door clean without the blockers so you could walk through it. To place them inside the wall hold SHIFT while placing
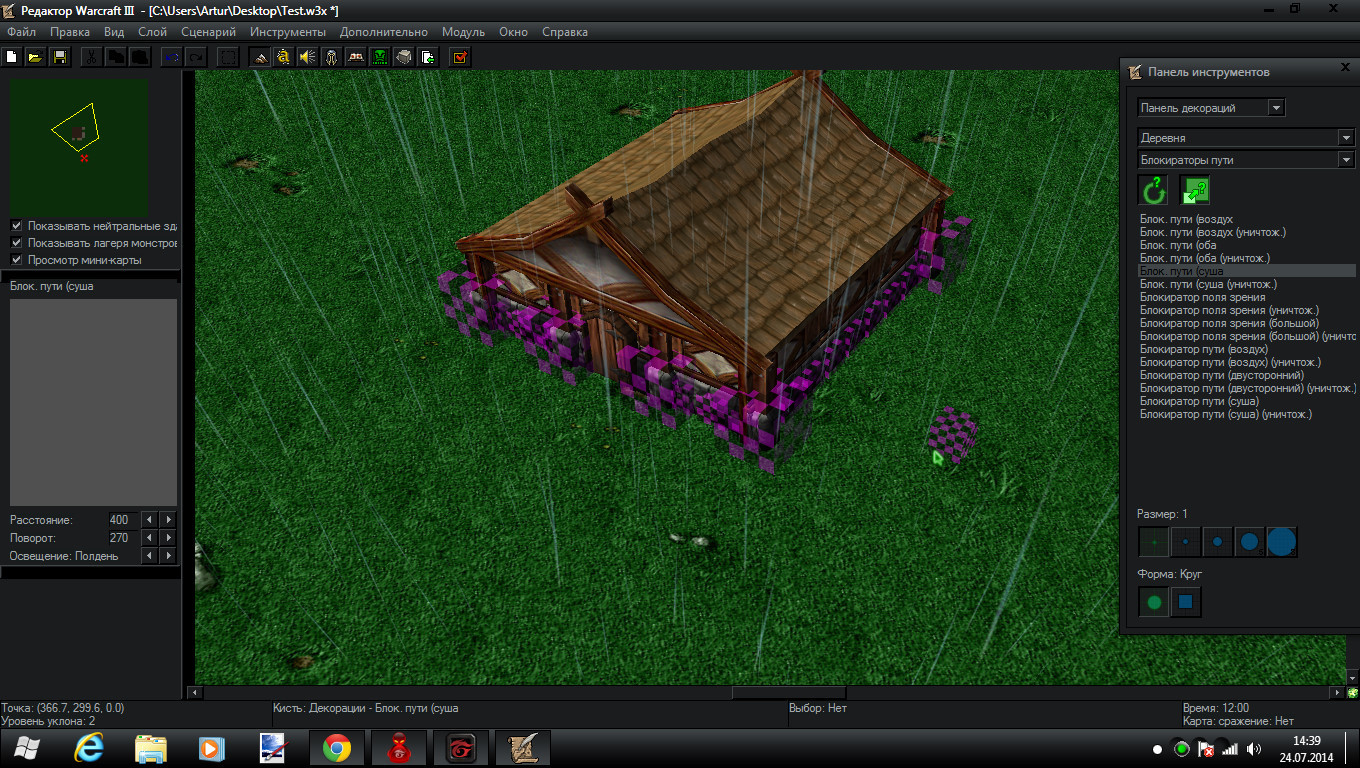
Now we need the roof to disapear when a unit enters the building
We're going to create 3 regions
One called Enter1
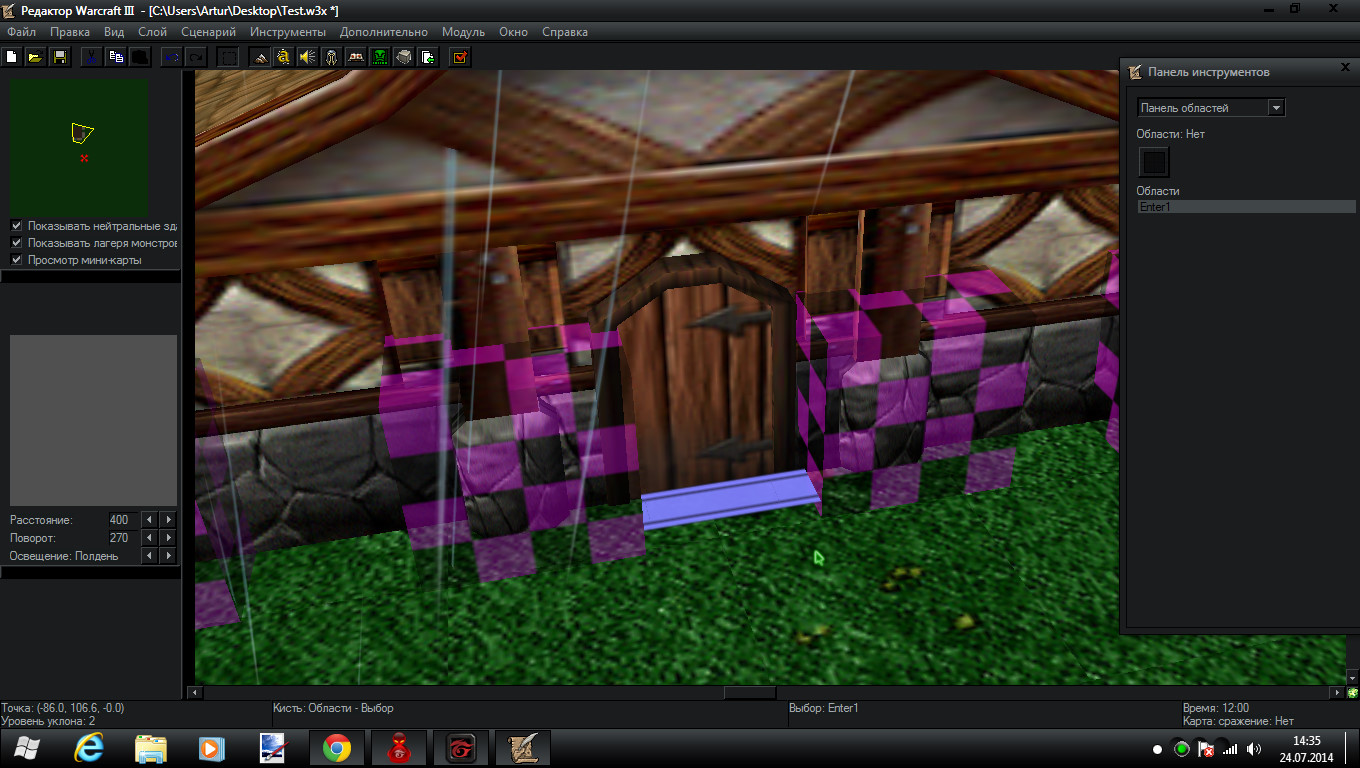
Another one Enter1a
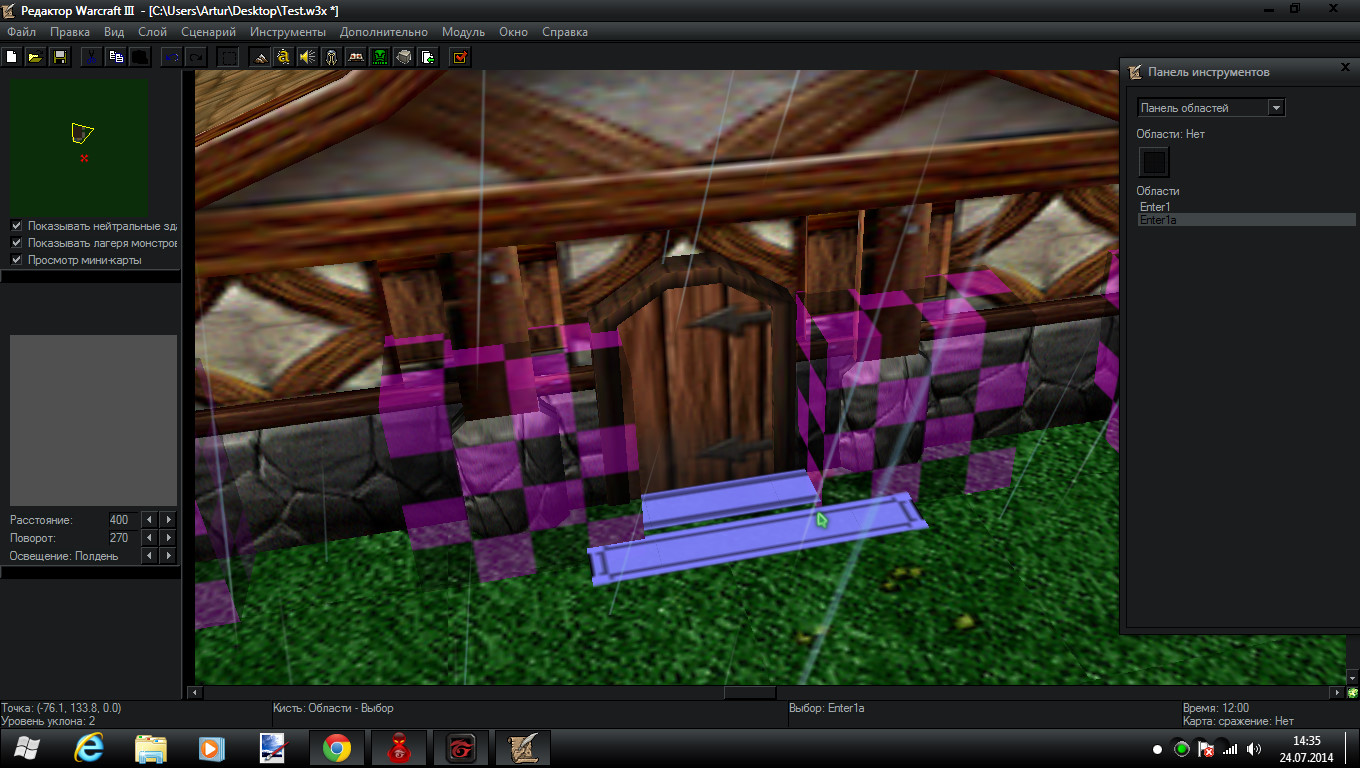
And Enter1b on the hole building
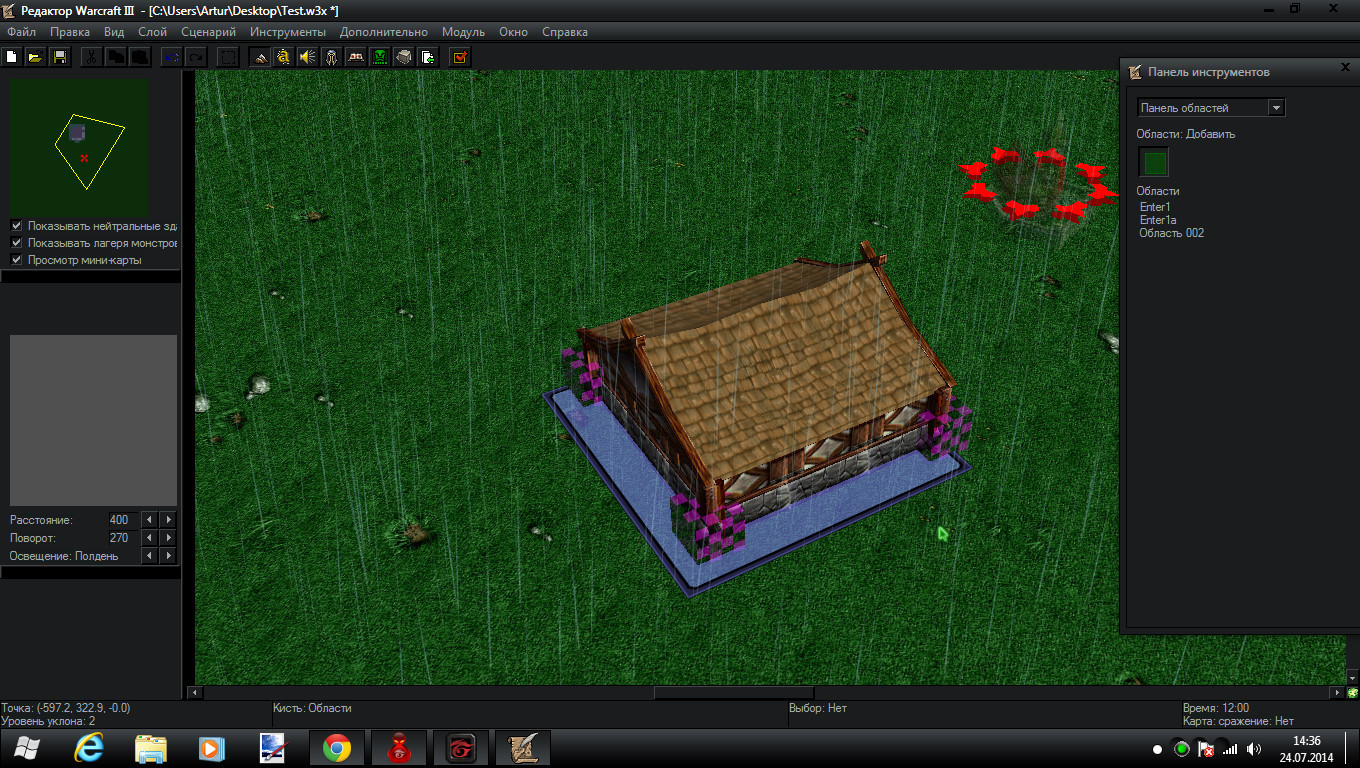
Now open trigger editor
Create 2 triggers
R1
R1a
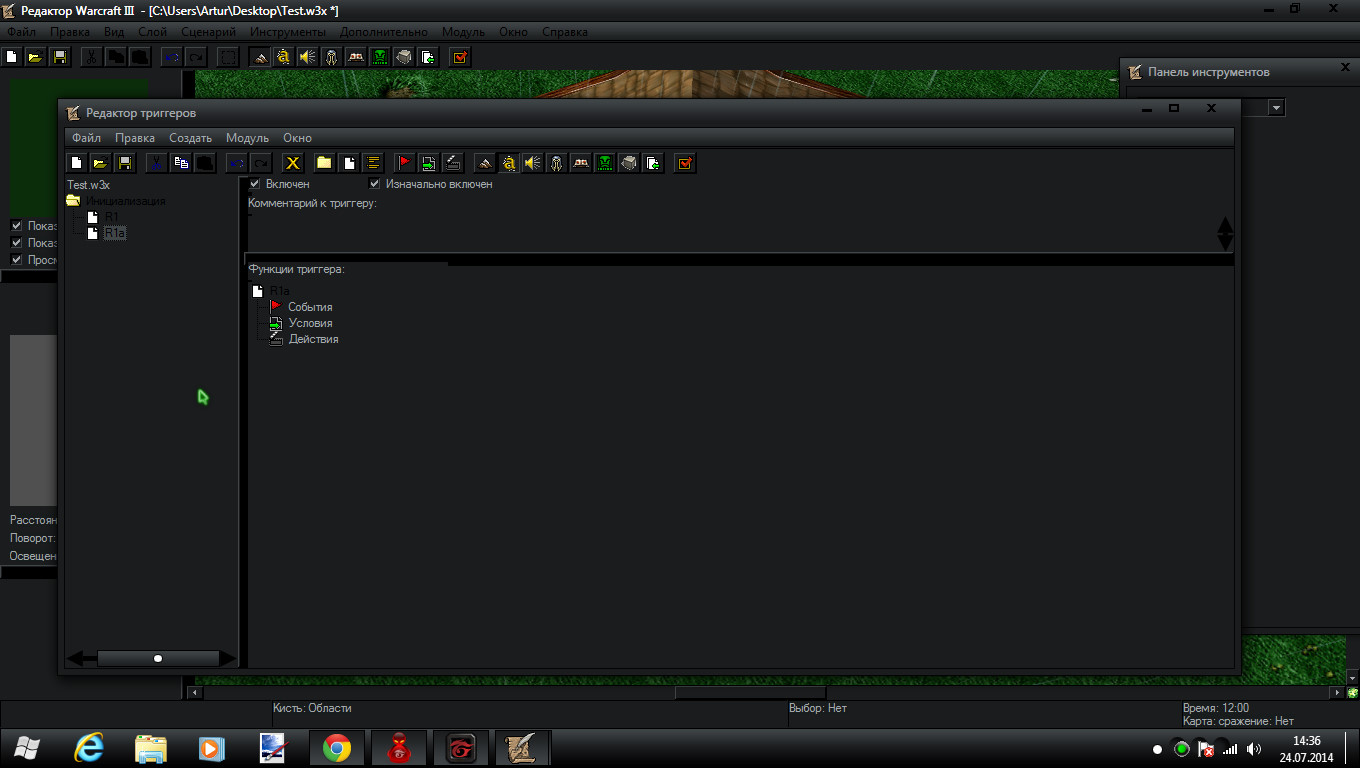
So for R1 do this :
-
 R1
R1
-

 Events
-


 Unit - A unit enters Enter1 <gen>
-


 Conditions
-


 Actions
-


 Animation - Play the hide animation for all doodads of type [house]roof_brown shingles within Enter1b <gen>
-
-
-
Do this for R1a
-
 R1a
R1a
-

 Events
-


 Unit - A unit enters Enter1a <gen>
-
-

 Conditions
-

 Actions
-


 Animation - Play the show animation for all doodads of type [house]roof_brown shingles within Enter1b <gen>
-
-
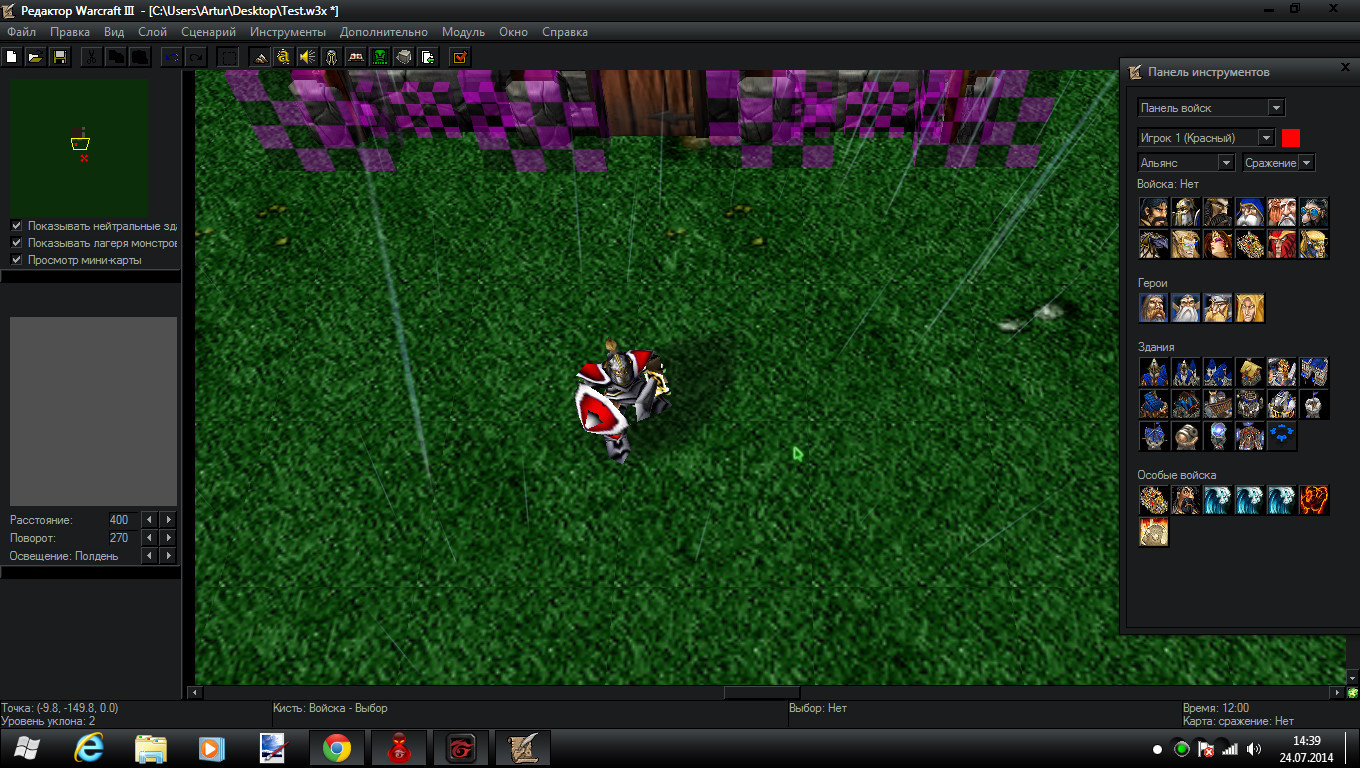
This is when you're outside
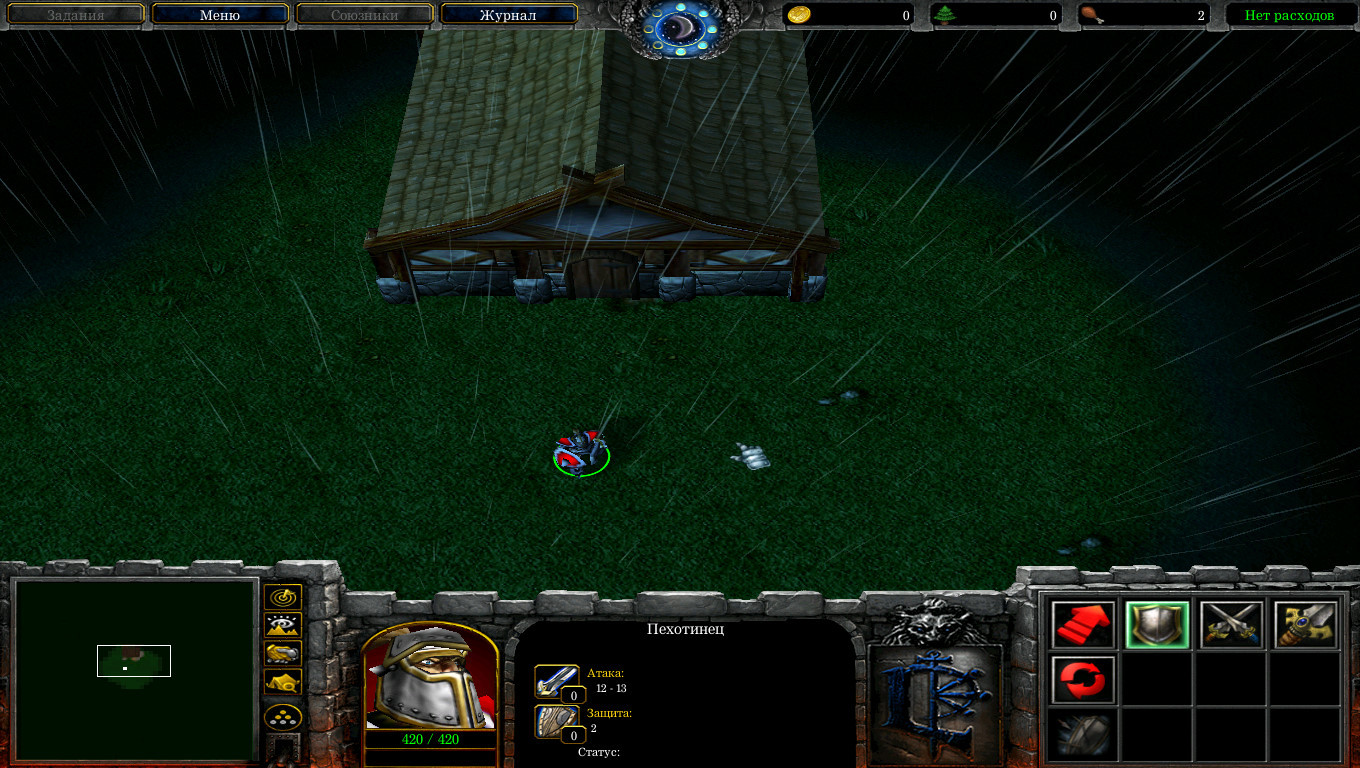
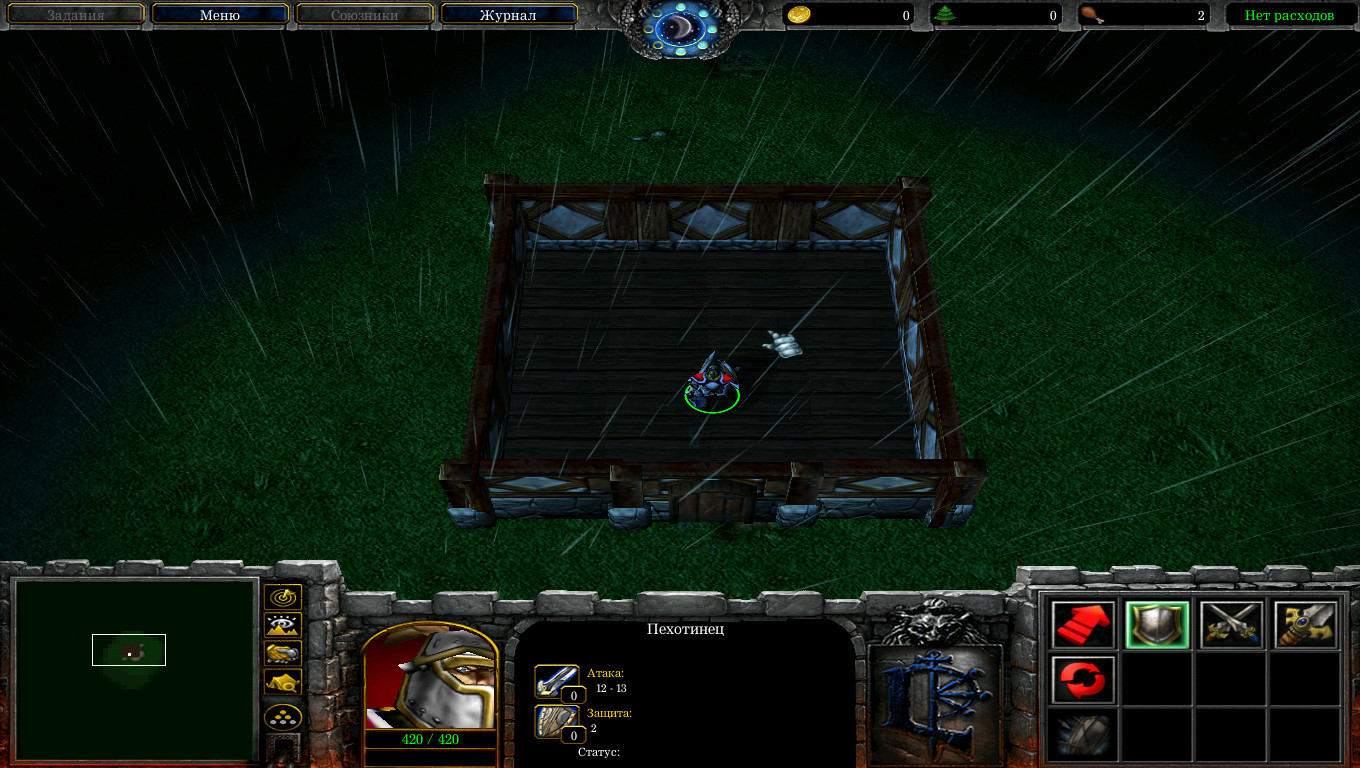
This is when you're inside
Finishing off
This is an example of what you can create: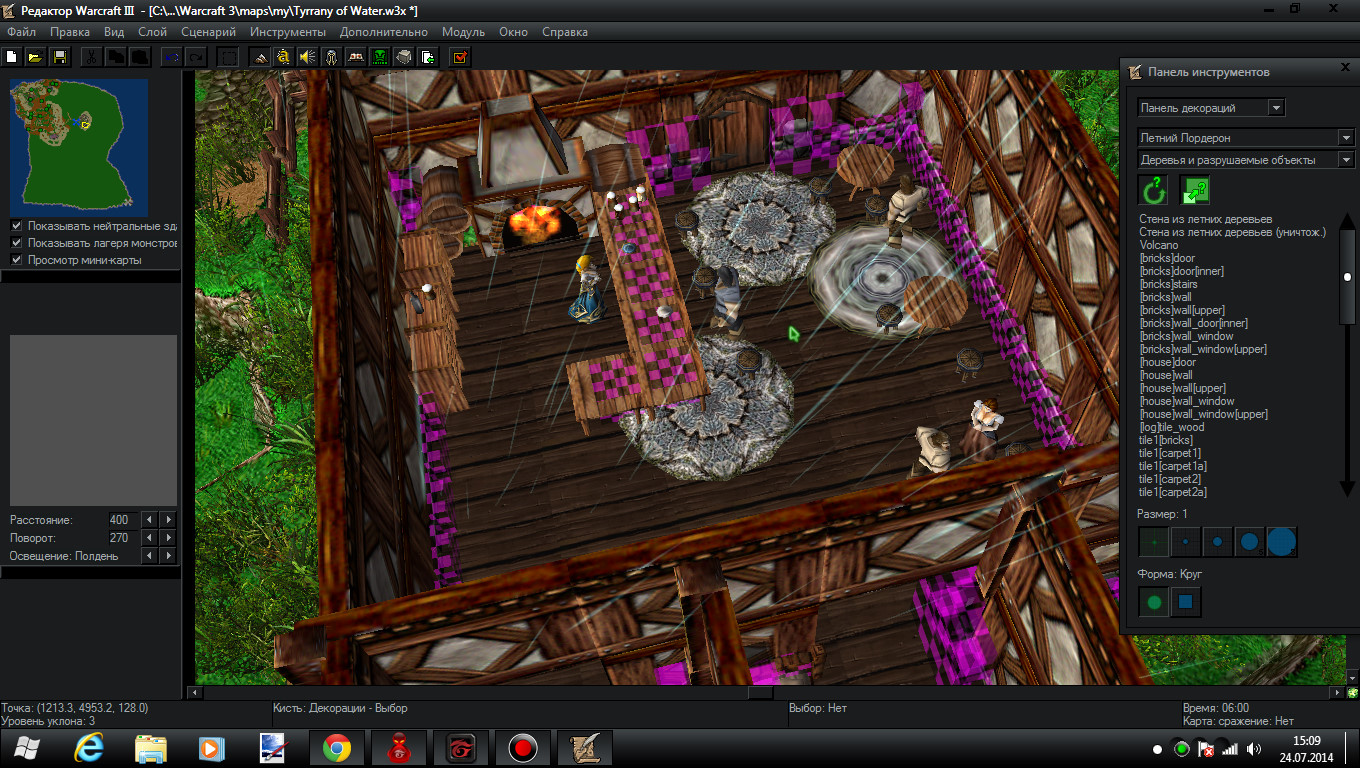
BTW That's a tavern from my upcoming map
Also there are wall_blank[upper] included. As you see in the picture that house is taller that the one in the tutorial. To do that just import the wall_blank[upper].mdx and use that. Then you can place wall on top of the ones you created. Same with all other [upper].mdx files
This uses some furniture packs.
Indoor doodads pack
Ket's some furniture pack
Ket's tableware
Hobbiton doodads
Attachments
Last edited by a moderator:


