Community
Projects
Maps
Tutorials
Gallery
Support Us
Install the app
How to install the app on iOS
Follow along with the video below to see how to install our site as a web app on your home screen.
Note: This feature may not be available in some browsers.
-
Listen to a special audio message from Bill Roper to the Hive Workshop community (Bill is a former Vice President of Blizzard Entertainment, Producer, Designer, Musician, Voice Actor) 🔗Click here to hear his message!
-
Read Evilhog's interview with Gregory Alper, the original composer of the music for WarCraft: Orcs & Humans 🔗Click here to read the full interview.
-
The Hive's 22nd Icon Contest: Creep Abilities is now concluded, time to vote for your favourite set of icons! Click here to vote!
-
✅ The POLL for Hive's Texturing Contest #34 is OPEN! Vote for the TOP 3 SKINS! 🔗Click here to cast your vote!
-
✅ The POLL for Hive's Techtree Contest #20 is OPEN! Vote for the TOP 3 FACTIONS! 🔗Click here to cast your vote!
You are using an out of date browser. It may not display this or other websites correctly.
You should upgrade or use an alternative browser.
You should upgrade or use an alternative browser.
Tides of Darkness - Orc

- Tags
- Campaign
- Size
- 29.03 MB
- Rating
-
(17 ratings)
- Downloads
- 15396
- Created
- Nov 22, 2019
- Updated
- Aug 18, 2025
- Resources
- 1
- State
 Approved
This bundle is marked as recommended. It works and satisfies the submission rules.


Important
ImportantThis campaign was made by Enoshima. He is the author of this campaign. The campaign is being posted on HiveWorkShop on his behalf with his express permission.
The campaign was originally posted here: Enoshimashrine

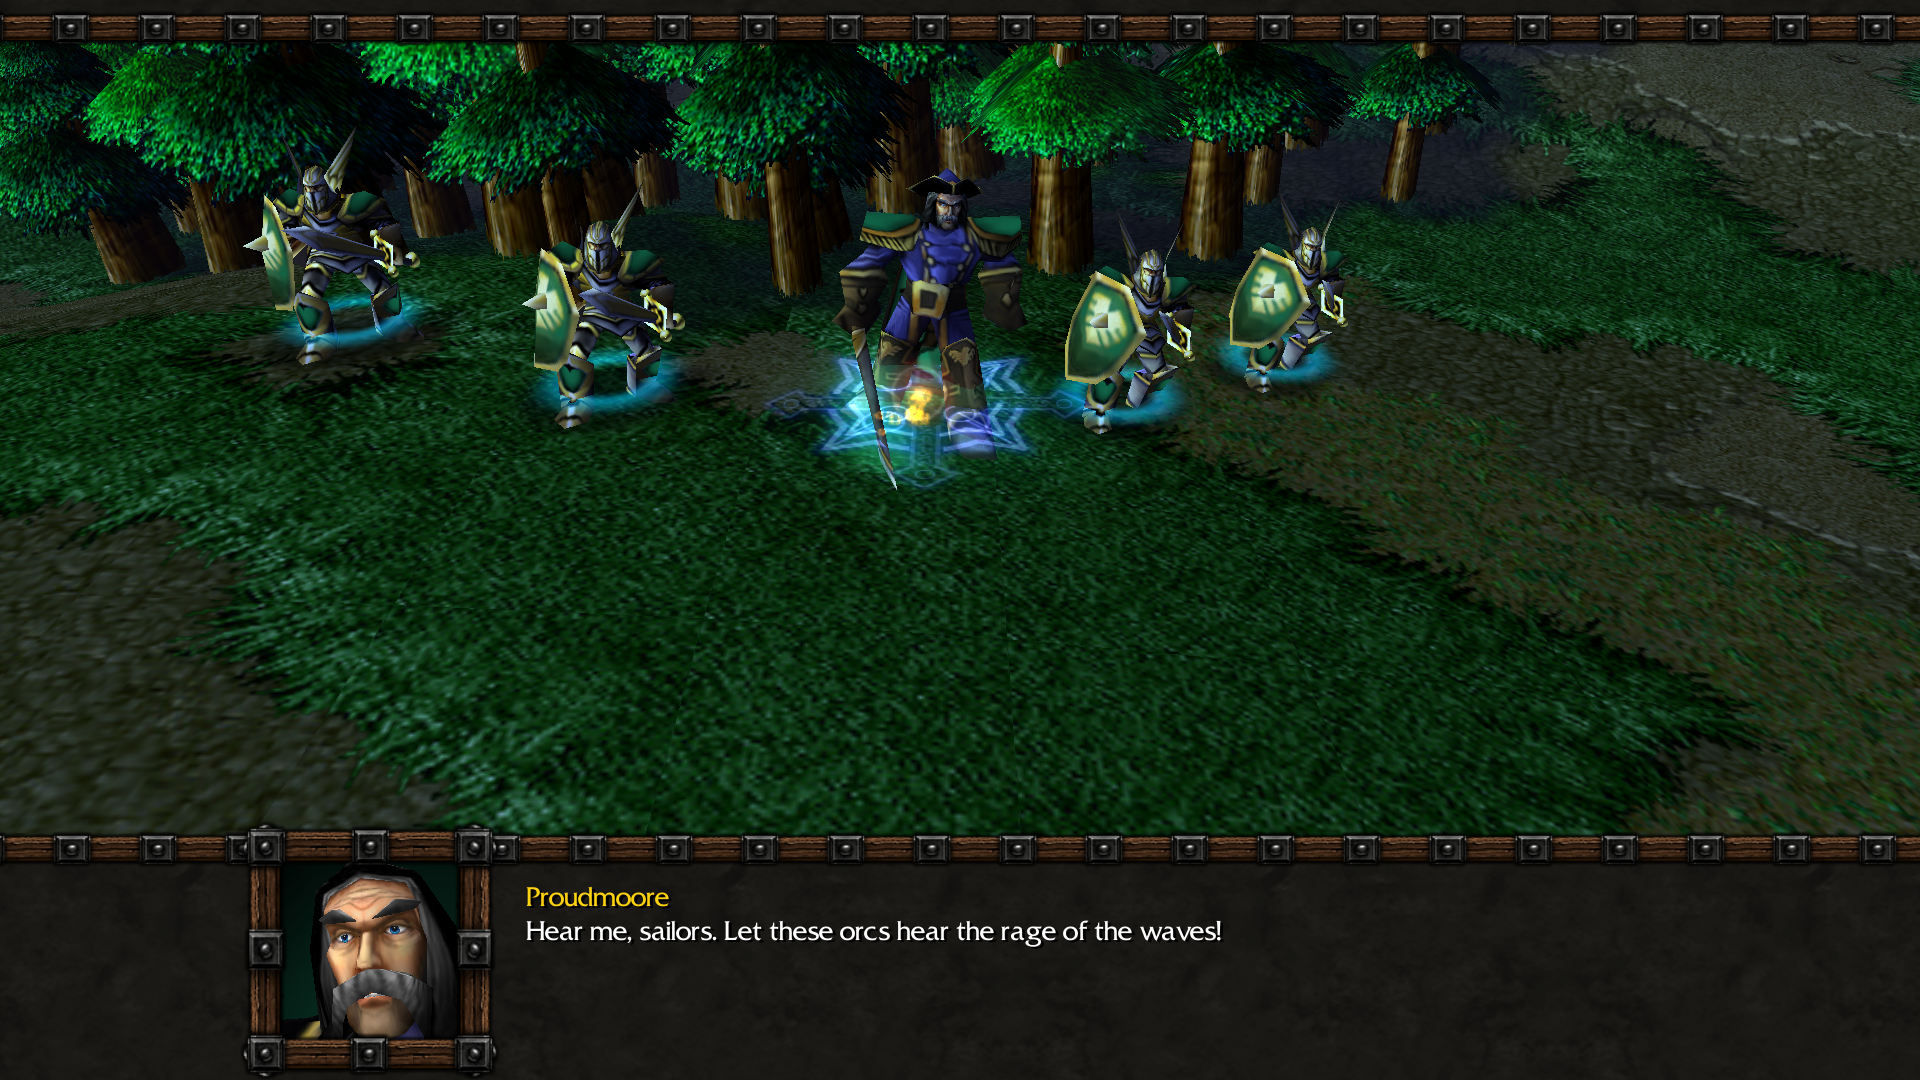
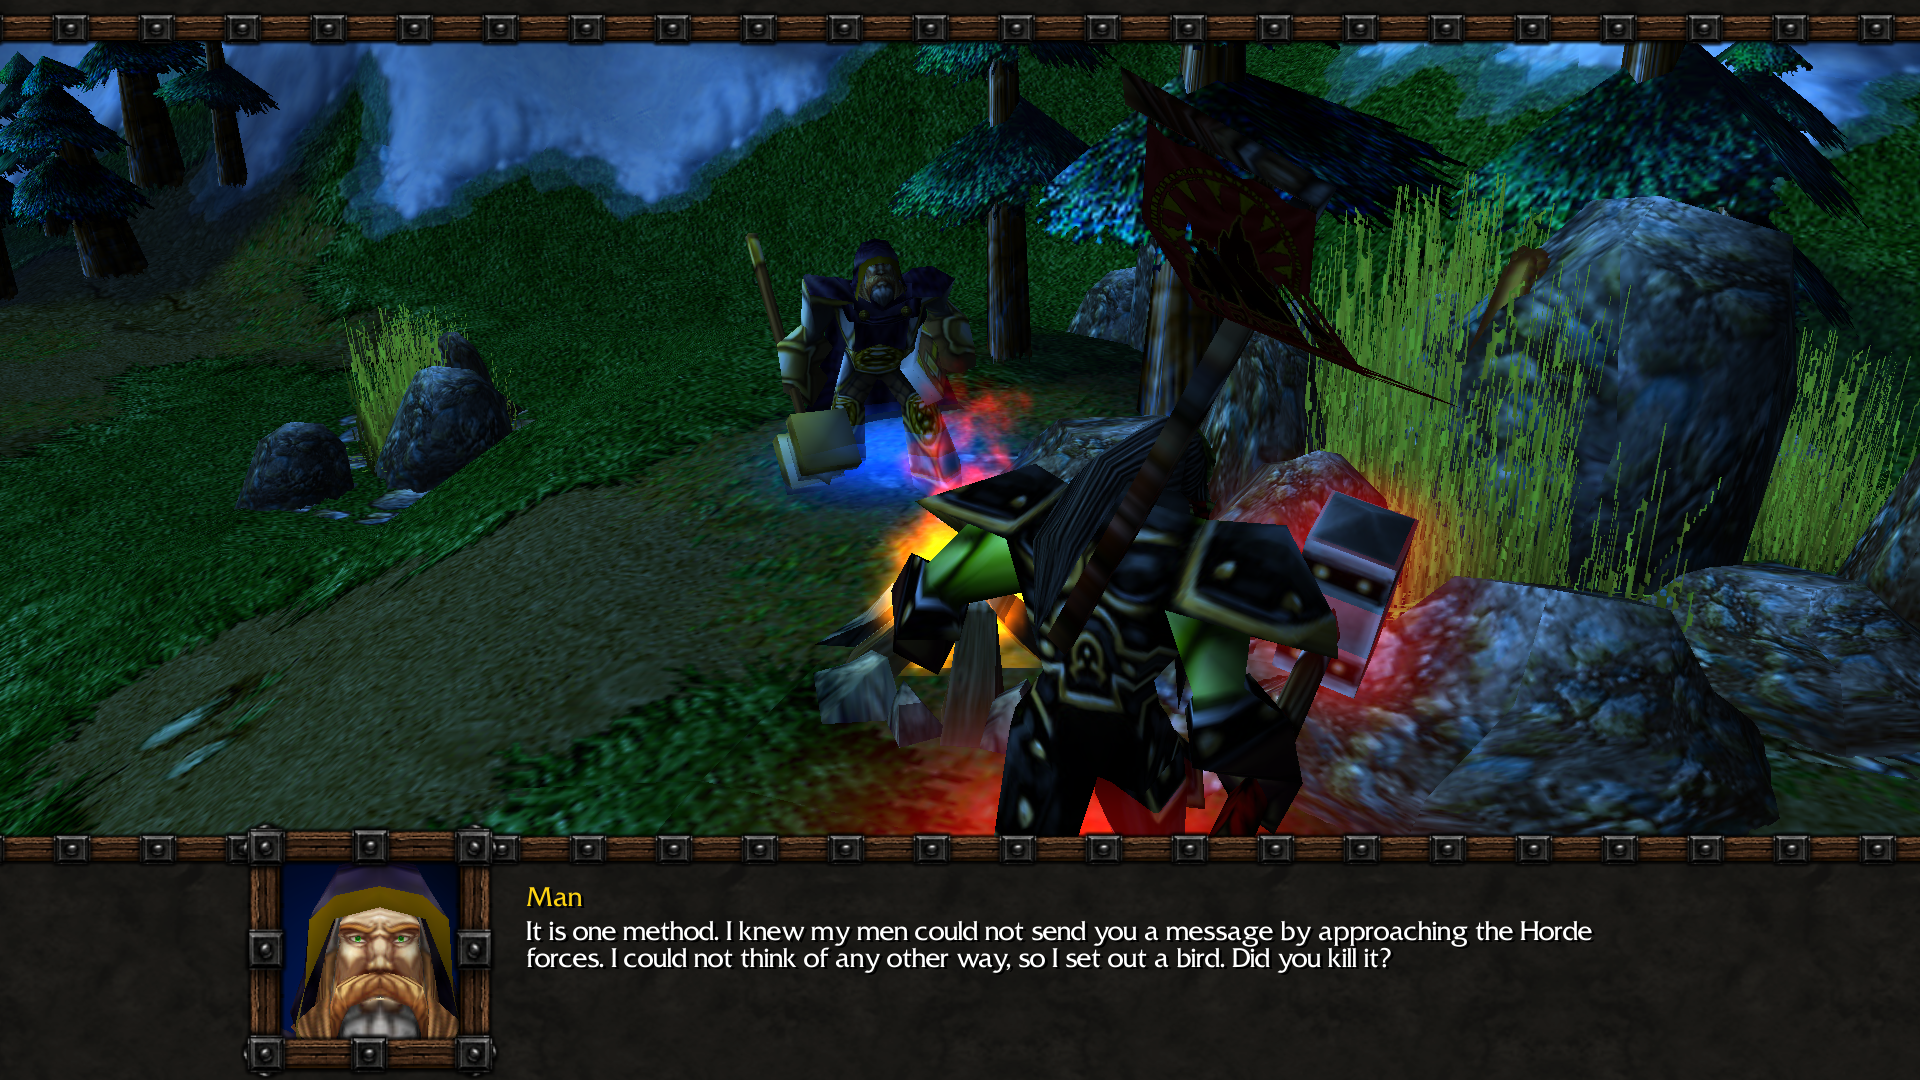
Tides of Darkness - Orc
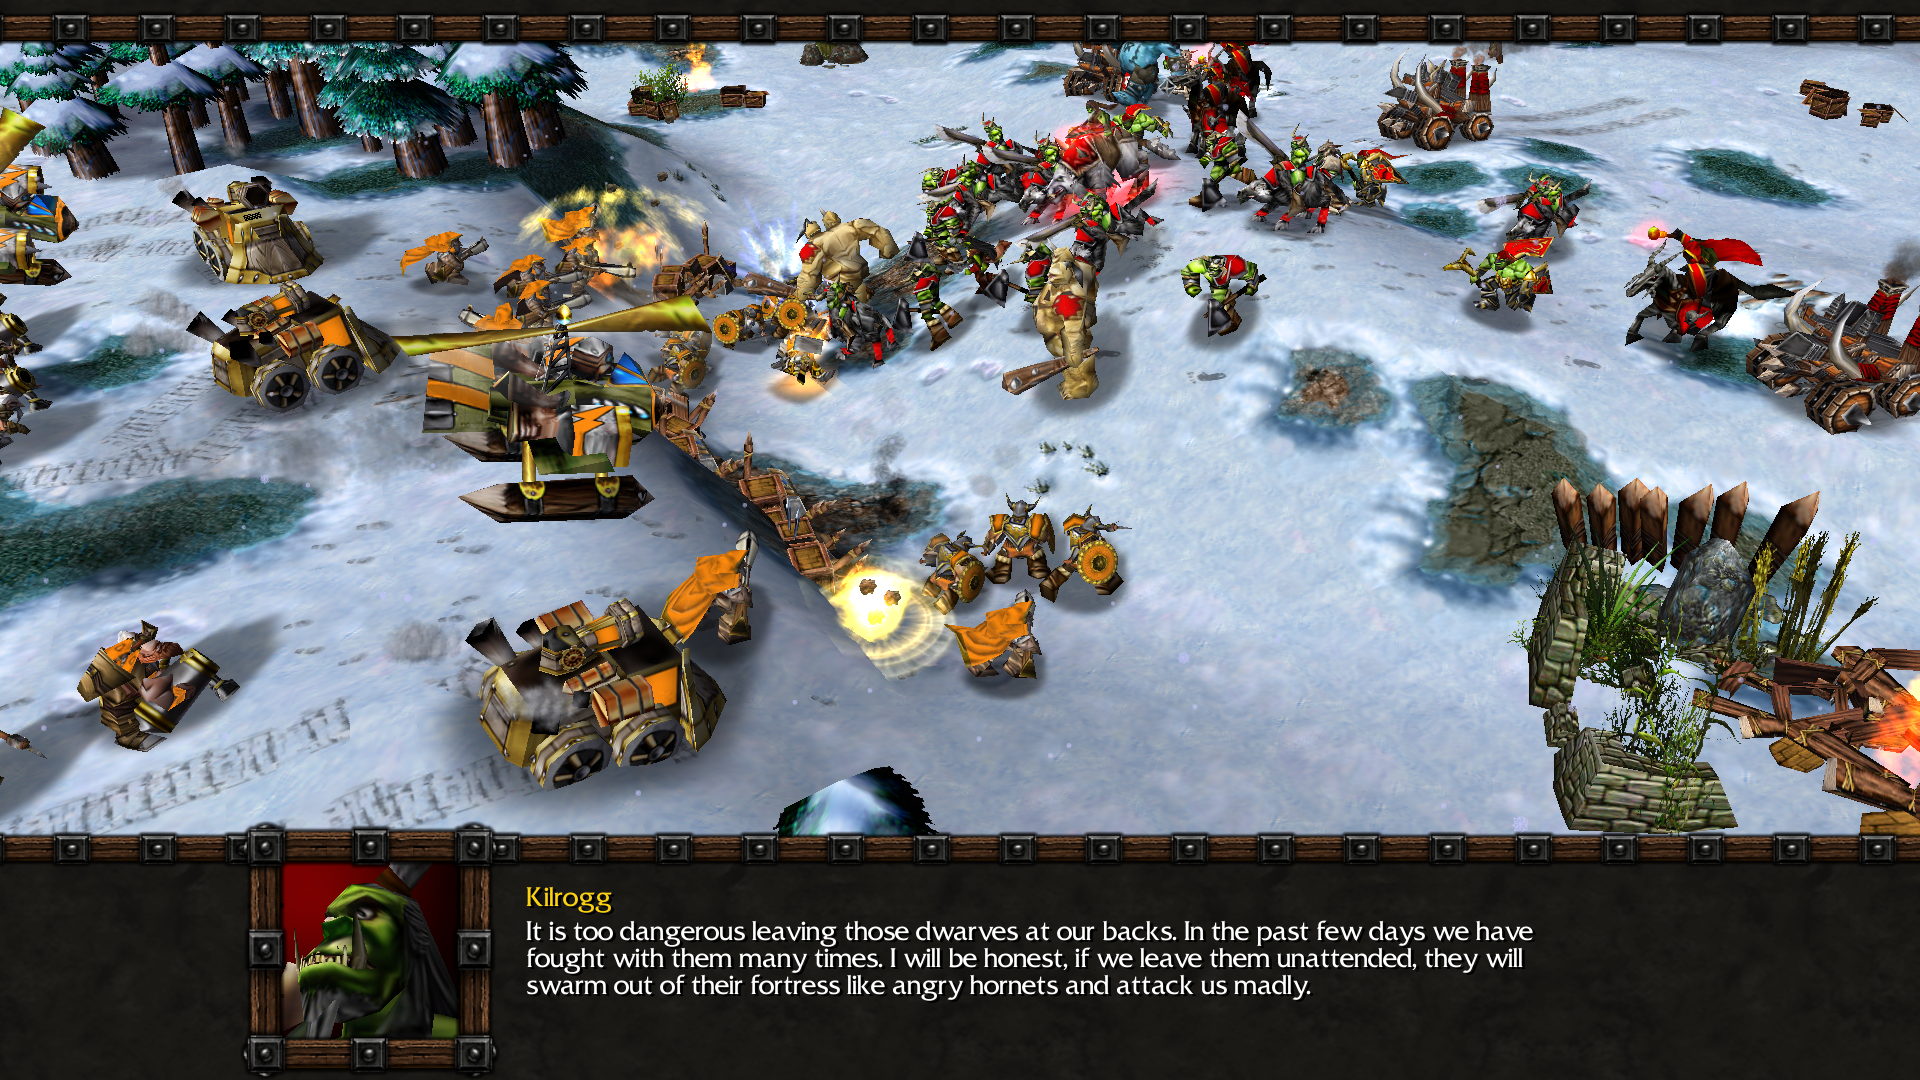
Tides of Darkness - OrcThis campaign follows Orgrim Doomhammer and the Horde. This campaign is comprised of 9 playable missions and 3 cinematic missions, and follows the style of the Blizzard campaign with RTS-style missions as well as RPG-style missions.
It is recommended to play the campaign using the most recent patch.
List of Enoshima's Campaigns
List of Enoshima's Campaigns
1. Tides of Darkness - Orc
2. Scarlet Frenzy I
3. Scarlet Frenzy II
4. New Avalon
5. The Ashen Verdict
Characters

Orgrim Doomhammer: The warchief of the Horde and chieftain of the Blackrock clan.

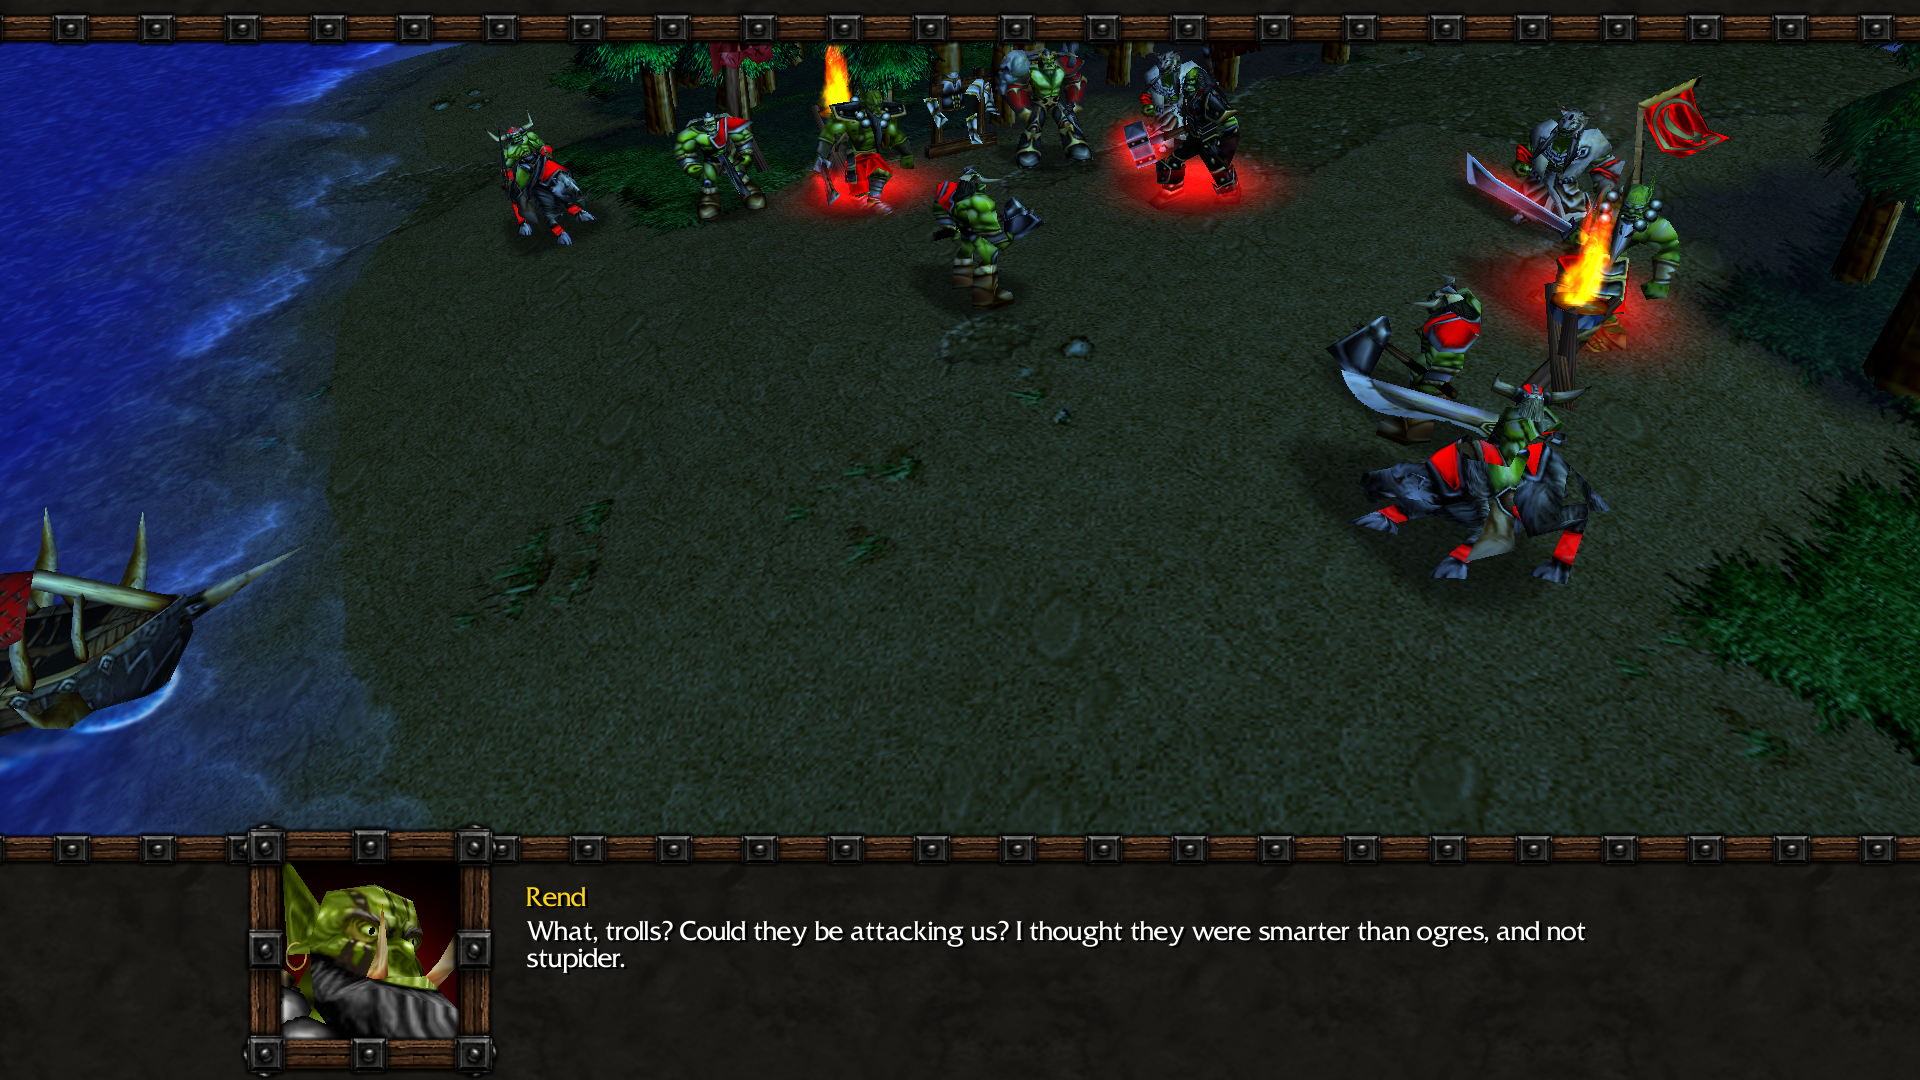
Rend Blackhand: The son of former warchief Blackhand the Destroyer.

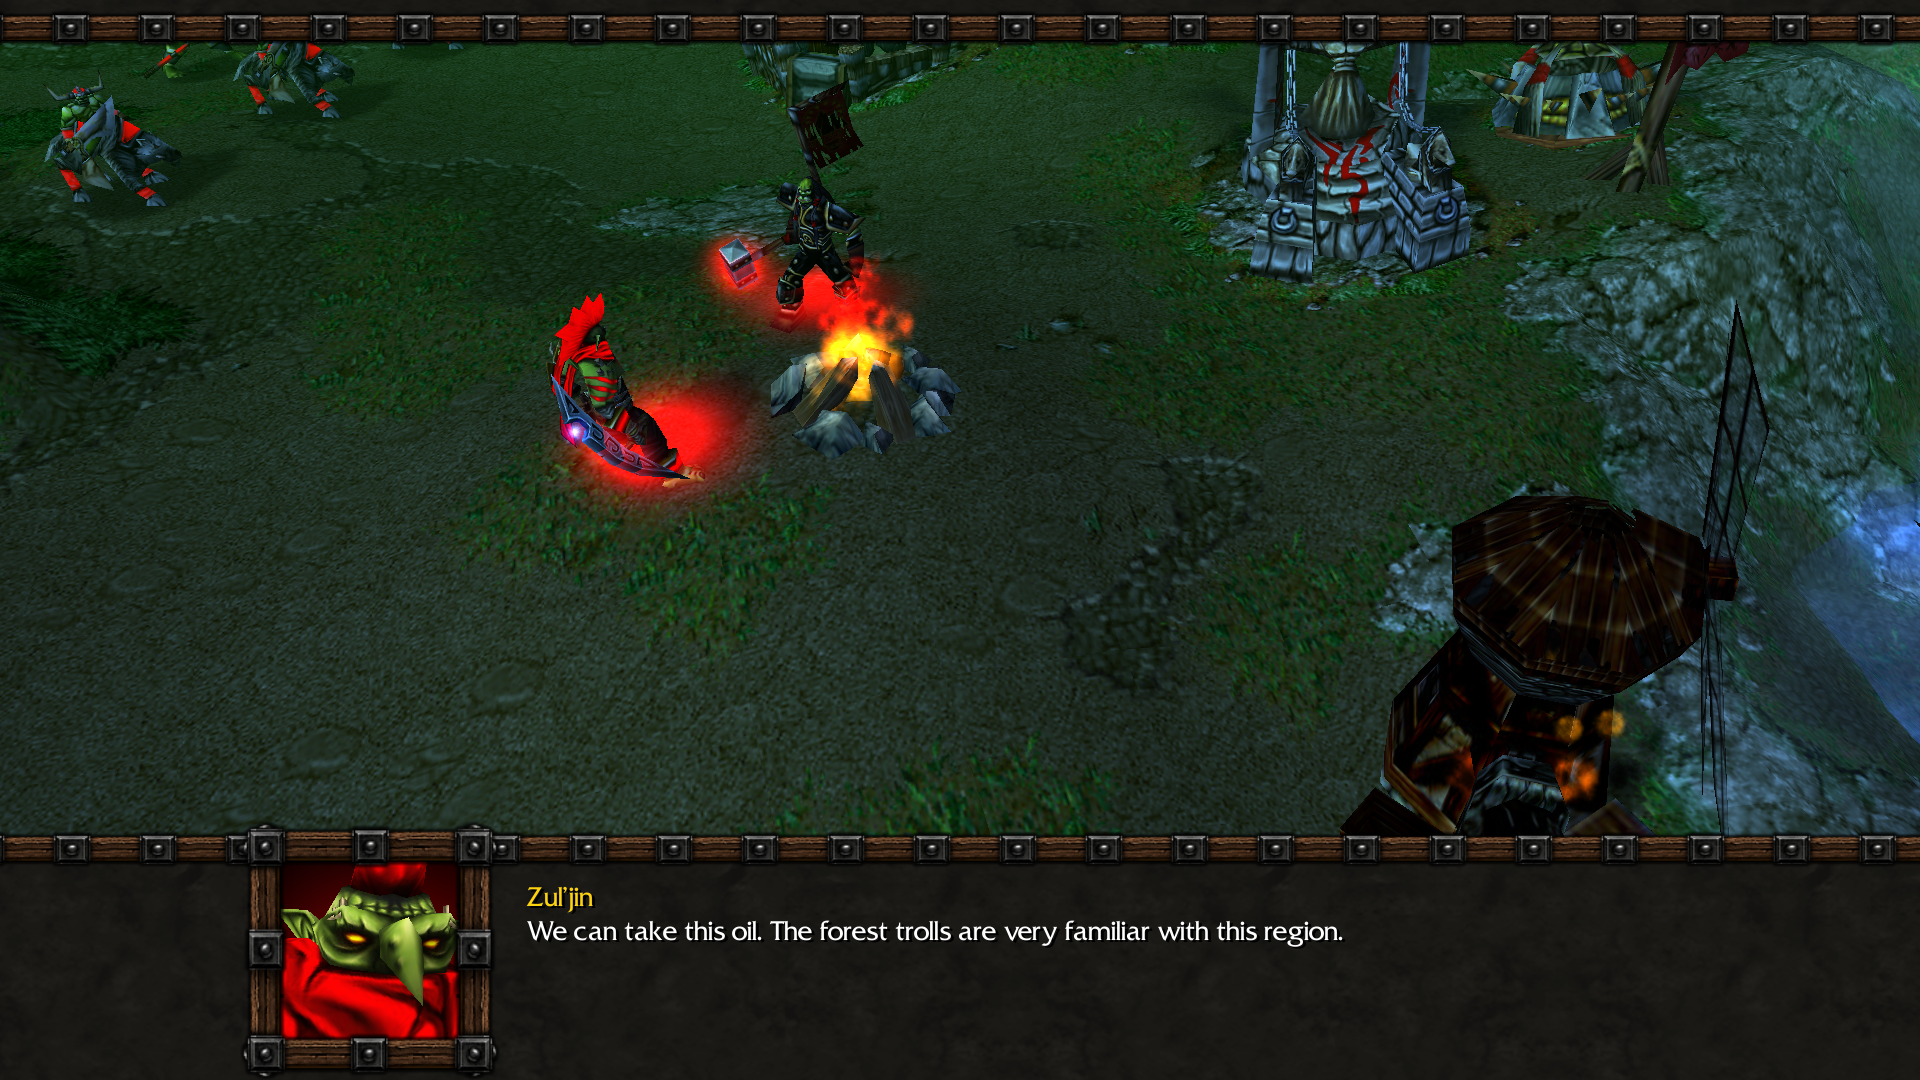
Zul'jin: The chieftain of the Amani tribe.

Teron Gorefiend: The former follower of Gul'dan, currently resurrected as a death knight.
Screenshots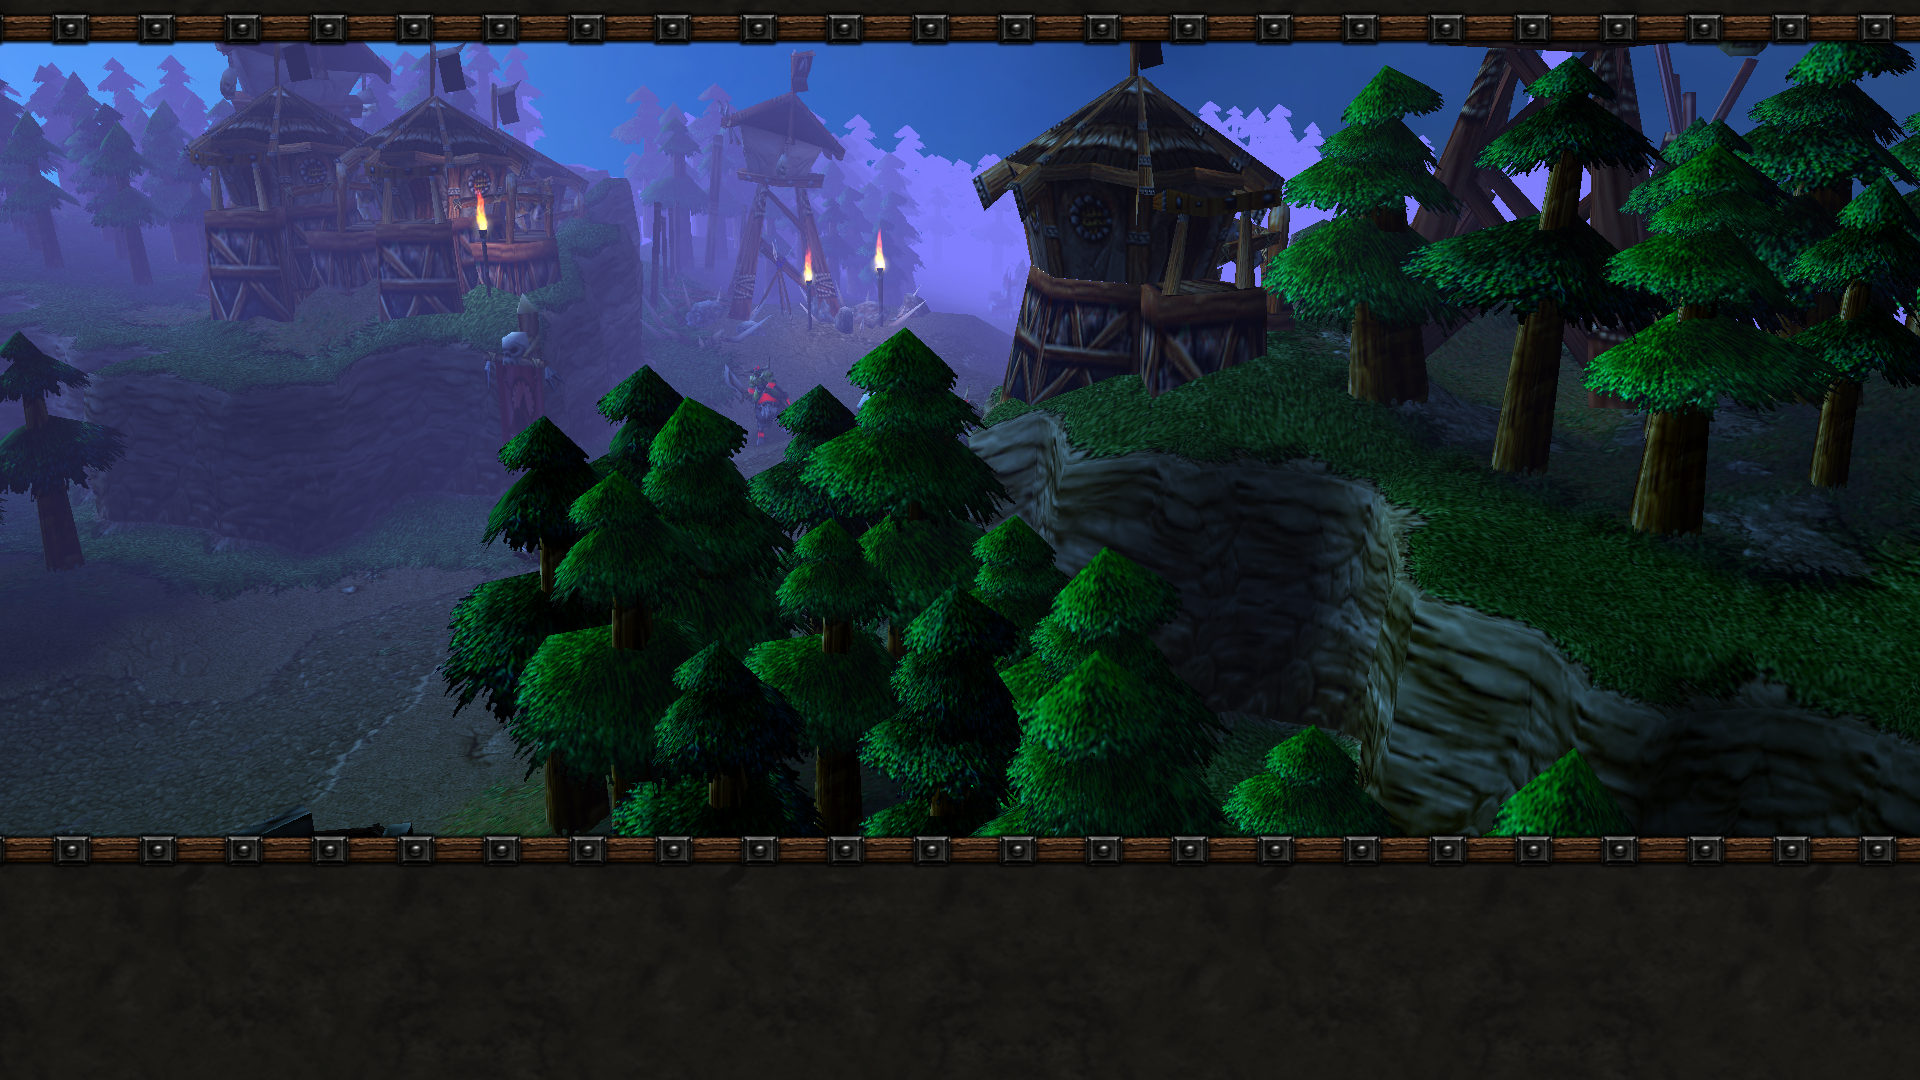
Credits
Message from Enoshima (creator): Thank you hiveworkshop for supporting my campaign. If the models I need are collected, then I might continue with the preparations for the next campaign.
These are the hiveworkshop resources in use, based on the automatic credit generator:
Resources in Use by Tides of Darkness: Orc | HIVE
Miseracord, dmitry rommel, eXciTe, Mister X, minkeun0806, sc_freek, Wyrwuulfe, Meanmachine, wingednosering, YoshiRyu, General Frank, Blizzard Entertainment, Carrington2k, Final Tyrant, darklord_avalon, Prmosquito, vile, Jetfanginferno, Waggawagga, Kuhneghetz, Tranquil, dickxunder, taurer, cavman, anteabte, takakenji, deolrin, sellenisko, cloudwolf, wandering soul, epsilon, anvil, proxy, handclaw, freddyk, whitewolf8, dhguardianes, dcrimson, herrdave, 67chrome, olyvian, mr.goblin, shiik, darkfang, twovenomous, gottfrei, blazekraze, sin’dorei300, mister_haudrauf, ujimasa hojo, Alok, zephyrius2412, A.R., mrhoon, scias, Stefan.k, prizraknadache, nightelfbuilder, loktar
Special Thanks
Message from Enoshima (creator): Thank you hiveworkshop for supporting my campaign. If the models I need are collected, then I might continue with the preparations for the next campaign.
These people helped in various ways in bringing the campaign to hiveworkshop.
Quinten- map description title picture, Deepstrasz/Cleavinghammer- various things, Tuwnew- map template.
Change Log
ToDOv0.027- Initial Upload
ToDOgre - Deepstrasz fix for Ogre Crash
ToDOOE- Edit of Deepstrasz fix (Portrait)
ToDOOgre2Ed- Invis Cho'gal chapter 8 fix
Contents
Tides of Darkness: Orc v2.0 (Campaign)
- Author
- Enoshima
- Filename
- ToDOOgre2Ed.w3n
- Required game
- Warcraft 3
- Recommended version
- 1.30
- Difficulty
- Easy/Normal/Hard
- Size
- 29.03 MB
- Uploaded
- Nov 22, 2019
- Updated
- May 15, 2020
Reviews
It's a good adaptation that doesn't quite follow the original game.
Approved.
If you want more reviews, you should participate in the The Grand Review Exchange!
R U L E S
Site Rules
Map Submission Rules
M A P - D E S C R I P T I O N
BB CODES...
If you like Tides of Darkness warcraft 2 play lagacy of master Custom campaing its realy bether than amd more Complete continue after Gul'dan betray end doomhammer death by Lothar and Gorefiend and Zuluhed go back in Black rock
hey been a while, sorry to relaise just want to ask why there is no Troll unit during the battle of Broken Shore, while there was during the level invasion on Lordaeron capital despite the split betwen Zuljin and Doom Hammer.
Also why this campaign ended after the hunt of Guldan, is there a sequel to this campaign still play as Orc ?
deepstrasz
Map Reviewer
- Joined
- Jun 4, 2009
- Messages
- 22,326
Also i Download it on 1.30 its work Perfectly dont need 1.31 reforged

- Joined
- Oct 5, 2021
- Messages
- 268
Is there by any chance letting me update this campaign. It's because it has many problems, no tooltips, and it has bugs and it's really to difficult and I thought of making it a bit easy.
Why I'm going to update it, because it hasn't been update like 1 or 2 years later I think. The last update was from deepstrasz.
Why I'm going to update it, because it hasn't been update like 1 or 2 years later I think. The last update was from deepstrasz.
deepstrasz
Map Reviewer
- Joined
- Jun 4, 2009
- Messages
- 22,326
Well, you'll have to get an answer from @tulee who needs an answer from Enoshima.That like l reaction in my comment. Is that a yes or no, as in I'm not gonna update this campaign.
I just need an answer
- Joined
- Dec 25, 2024
- Messages
- 9
bro why is chapter 6 crashing? i have patch 1.30
- Joined
- Jul 26, 2008
- Messages
- 1,575
Playing on latest wc3 patch should allow you to avoid any crashes. I think its related to the Chogal model having issues.bro why is chapter 6 crashing? i have patch 1.30
Last edited:
- Joined
- Dec 25, 2024
- Messages
- 9
how do i fix it? pls i wanna finish the campaign i was so investedPlaying on latest wc3 patch should allow you to avoid any crashes. I think its related to the Chogal model having issues.
- Joined
- Jul 26, 2008
- Messages
- 1,575
Get onto the latest patch of wc3 and play it from start I guess. I did write in the map description to use the latest version of wc3 to play it.how do i fix it? pls i wanna finish the campaign i was so invested
This campaign by Enoshima was originally able to be played on older versions of wc3, but leading up to the release of 1.32, Blizzard left some bugs in the 1.30-1.31 if I remember right, one of which was a bug that caused certain models to crash the game. The model here causing the crash is Chogal, since he appears first in ch6, and then in later chapters.
I just tested the mission in the latest wc3 patch, and it works fine. All I can say is to play campaigns on the latest version of Wc3 to avoid random bugs Blizzard did not fix in the later Pre 1.32 patches, such as 1.30 and 1.31.
How did you beat chapter 6 and 7??Haha I would advise you to try chapter 7 (which is my favourite map in a whole campaign) and see what the real hard difficulty looks like, when, as a rewarding challenge, you have to destroy the enemy Castle in 8 minutes (I think it was 8), while at the same time you have to hold on against three armies at once, and later against two more, which is five army bases altogether
By the way, I managed to beat the entire campaign on a Hard difficulty and I gotta say it's been a massive challenge to me, especially the chapter 8, when the enemy attacks were so frequant it was nearly impossible to beat the game. But I did managed to beat them by holding out against the enemy attacks right after capturing the gold mine at the western part of the map. Yet there is one funny thing about this map that I found out that helped me beat the chapter sooo easy - by skipping the starting cutscene of the game. This messes up the attack trigger of the enemy AI and completely disables the annoying attack waves of the upper enemy AI, giving you an easy time to prepare the army/researches and crush them all in only one 100/100 upkeep attack wave

Both of these chapters are very fun and challenging to play, which makes this campaign the way it is.How did you beat chapter 6 and 7??
In chapter 6, make sure to occupy two gold mines to the west of your main base. Set up towers and a few heavy troops with a few Warlocks to help them with their great set of spells. Completing the Sudden Change quest is impossible here, so after many tries, I gave up trying to beat it. Maybe it is doable with troops instead of heroes, but by this point I didn't even want to complete it. Instead, I only focused on occupying the gold mines and defending my bases until timer ran out.
Chapter 7 is a tough one in the beginning. You are required to play very fast in the beginning in order to destroy the first Castle of the humans in front of your base (the light blue human base).
Before you start doing all the setup, I strongly recommend you slow down the game speed, so that you can have more time to point your troops towards the task they need to do.
First of all, you are required to have at least 3 dragons for a successful attack, at least two Warlocks with all spells researched and at least two Demolishers to help Dragons snipe the Castle. You have one Dragon in the beginning, you need to train two more. At the same time, you need Peons to construct a few more buildings, such as Spirit Lounge, two Burrows and two War Mills (one goes to the left, beside trees, one goes to beside trees close to the Dragon Roost). At the same time, try to manage your hero items - sell items that you don't need for gold (you're going to need gold in the beginning, as early investment is expensive). After that, attack the two bandit locations that are near your base with your heroes. They're very weak so they'll be very easy to beat, plus they give some amount of gold and a Staff of Negation (you're really going to need this item to use on both your units and enemy troops, as the enemy has a lot of buff and debuff spellcasters such as Priests (Inner Fire) and Sorceress (Slow)). After you kill the bandits, raise them with your Death Knight hero. You need to get used to raising enemy troops, as this will be your main strike force that will always follow your heroes and be used as a bulwark to your heroes. Be sure to train at least two Warlocks from your Spirit Lodge and research their spells from other Spirit Lodge that you've built, as you're going to need to use Unholy Frenzy on Dragons and your heroes, while at the same time you need to put Healing Wards on the ground. The enemy is ignoring your Healing Wards during the battle, so it's a big plus for you. At the same time, you need to use your War Mills to research additional troop attack / defence buffs. Focus on ranged troop attack and defend buffs, as you'll need to have as strong attack and survivability for your Demolishers and Dragons as possible for the first Castle. I don't recommend attacking with Grunts and other troops, as the enemy seems to be focused on killing them first, so it's a waste of resources. Assuming you've obtained the Sudden Change quest rewards up to this point from the previous chapters, except chapter 6, your heroes will be in great shape, especially Doomhammer, who could tank a lot of damage.
After you're done with the first human Castle, you'll have some room for breathing until Stromgarde and Lothar's troops arrive, so you'll be ready with your fully researched spells for your Ogre Magi, which will help you significantly with their Bloodlust attack buff. The rest of the human bases are easier, since the beginning is the hardest part.
I know it is very hard to achieve this, as you are required to do all this work at the same time, but it's the strategy I used to beat this and it's definitely doable. If you're finding this difficult to achieve, I can do a video about it and post it for you to see.
Last edited:
I actually did complete the optional quest in ch6. So it is possible.Both of these chapters are very fun and challenging to play, which makes this campaign the way it is.
In chapter 6, make sure to occupy two gold mines to the west of your main base. Set up towers and a few heavy troops with a few Warlocks to help them with their great set of spells. Completing the Sudden Change quest is impossible here, so after many tries, I gave up trying to beat it. Maybe it is doable with troops instead of heroes, but by this point I didn't even want to complete it. Instead, I only focused on occupying the gold mines and defending my bases until timer ran out.
Chapter 7 is a tough one in the beginning. You are required to play very fast in the beginning in order to destroy the first Castle of the humans in front of your base (the light blue human base).
Before you start doing all the setup, I strongly recommend you slow down the game speed, so that you can have more time to point your troops towards the task they need to do.
First of all, you are required to have at least 3 dragons for a successful attack, at least two Warlocks with all spells researched and at least two Demolishers to help Dragons snipe the Castle. You have one Dragon in the beginning, you need to train two more. At the same time, you need Peons to construct a few more buildings, such as Spirit Lounge, two Burrows and two War Mills (one goes to the left, beside trees, one goes to beside trees close to the Dragon Roost). At the same time, try to manage your hero items - sell items that you don't need for gold (you're going to need gold in the beginning, as early investment is expensive). After that, attack the two bandit locations that are near your base with your heroes. They're very weak so they'll be very easy to beat, plus they give some amount of gold and a Staff of Negation (you're really going to need this item to use on both your units and enemy troops, as the enemy has a lot of buff and debuff spellcasters such as Priests (Inner Fire) and Sorceress (Slow)). After you kill the bandits, raise them with your Death Knight hero. You need to get used to raising enemy troops, as this will be your main strike force that will always follow your heroes and be used as a bulwark to your heroes. Be sure to train at least two Warlocks from your Spirit Lodge and research their spells from other Spirit Lodge that you've built, as you're going to need to use Unholy Frenzy on Dragons and your heroes, while at the same time you need to put Healing Wards on the ground. The enemy is ignoring your Healing Wards during the battle, so it's a big plus for you. At the same time, you need to use your War Mills to research additional troop attack / defence buffs. Focus on ranged troop attack and defend buffs, as you'll need to have as strong attack and survivability for your Demolishers and Dragons as possible for the first Castle. I don't recommend attacking with Grunts and other troops, as the enemy seems to be focused on killing them first, so it's a waste of resources. Assuming you've obtained the Sudden Change quest rewards up to this point from the previous chapters, except chapter 6, your heroes will be in great shape, especially Doomhammer, who could tank a lot of damage.
After you're done with the first human Castle, you'll have some room for breathing until Stromgarde and Lothar's troops arrive, so you'll be ready with your fully researched spells for your Ogre Magi, which will help you significantly with their Bloodlust attack buff. The rest of the human bases are easier, since the beginning is the hardest part.
I know it is very hard to achieve this, as you are required to do all this work at the same time, but it's the strategy I used to beat this and it's definitely doable. If you're finding this difficult to achieve, I can do a video about it and post it for you to see.
Right now I am struggling with ch6 by completing the optional quest as well. My strategy was to rush my heroes to the goblin laboratory, get a zeppelin, destroy 2 generators and then train 2 dragon riders to destroy the last 1 ( or 1 dragon rider ) surviving is more harder. What troops do you recommend?Both of these chapters are very fun and challenging to play, which makes this campaign the way it is.
In chapter 6, make sure to occupy two gold mines to the west of your main base. Set up towers and a few heavy troops with a few Warlocks to help them with their great set of spells. Completing the Sudden Change quest is impossible here, so after many tries, I gave up trying to beat it. Maybe it is doable with troops instead of heroes, but by this point I didn't even want to complete it. Instead, I only focused on occupying the gold mines and defending my bases until timer ran out.
Chapter 7 is a tough one in the beginning. You are required to play very fast in the beginning in order to destroy the first Castle of the humans in front of your base (the light blue human base).
Before you start doing all the setup, I strongly recommend you slow down the game speed, so that you can have more time to point your troops towards the task they need to do.
First of all, you are required to have at least 3 dragons for a successful attack, at least two Warlocks with all spells researched and at least two Demolishers to help Dragons snipe the Castle. You have one Dragon in the beginning, you need to train two more. At the same time, you need Peons to construct a few more buildings, such as Spirit Lounge, two Burrows and two War Mills (one goes to the left, beside trees, one goes to beside trees close to the Dragon Roost). At the same time, try to manage your hero items - sell items that you don't need for gold (you're going to need gold in the beginning, as early investment is expensive). After that, attack the two bandit locations that are near your base with your heroes. They're very weak so they'll be very easy to beat, plus they give some amount of gold and a Staff of Negation (you're really going to need this item to use on both your units and enemy troops, as the enemy has a lot of buff and debuff spellcasters such as Priests (Inner Fire) and Sorceress (Slow)). After you kill the bandits, raise them with your Death Knight hero. You need to get used to raising enemy troops, as this will be your main strike force that will always follow your heroes and be used as a bulwark to your heroes. Be sure to train at least two Warlocks from your Spirit Lodge and research their spells from other Spirit Lodge that you've built, as you're going to need to use Unholy Frenzy on Dragons and your heroes, while at the same time you need to put Healing Wards on the ground. The enemy is ignoring your Healing Wards during the battle, so it's a big plus for you. At the same time, you need to use your War Mills to research additional troop attack / defence buffs. Focus on ranged troop attack and defend buffs, as you'll need to have as strong attack and survivability for your Demolishers and Dragons as possible for the first Castle. I don't recommend attacking with Grunts and other troops, as the enemy seems to be focused on killing them first, so it's a waste of resources. Assuming you've obtained the Sudden Change quest rewards up to this point from the previous chapters, except chapter 6, your heroes will be in great shape, especially Doomhammer, who could tank a lot of damage.
After you're done with the first human Castle, you'll have some room for breathing until Stromgarde and Lothar's troops arrive, so you'll be ready with your fully researched spells for your Ogre Magi, which will help you significantly with their Bloodlust attack buff. The rest of the human bases are easier, since the beginning is the hardest part.
I know it is very hard to achieve this, as you are required to do all this work at the same time, but it's the strategy I used to beat this and it's definitely doable. If you're finding this difficult to achieve, I can do a video about it and post it for you to see.
Hello Lazarator. I am happy to inform you that not only ch6 is possible through a different strategy, you can also complete the optional quest, killed the OP rogue AND kill the phoenix birds to get the firehand hand itemBoth of these chapters are very fun and challenging to play, which makes this campaign the way it is.
In chapter 6, make sure to occupy two gold mines to the west of your main base. Set up towers and a few heavy troops with a few Warlocks to help them with their great set of spells. Completing the Sudden Change quest is impossible here, so after many tries, I gave up trying to beat it. Maybe it is doable with troops instead of heroes, but by this point I didn't even want to complete it. Instead, I only focused on occupying the gold mines and defending my bases until timer ran out.
Chapter 7 is a tough one in the beginning. You are required to play very fast in the beginning in order to destroy the first Castle of the humans in front of your base (the light blue human base).
Before you start doing all the setup, I strongly recommend you slow down the game speed, so that you can have more time to point your troops towards the task they need to do.
First of all, you are required to have at least 3 dragons for a successful attack, at least two Warlocks with all spells researched and at least two Demolishers to help Dragons snipe the Castle. You have one Dragon in the beginning, you need to train two more. At the same time, you need Peons to construct a few more buildings, such as Spirit Lounge, two Burrows and two War Mills (one goes to the left, beside trees, one goes to beside trees close to the Dragon Roost). At the same time, try to manage your hero items - sell items that you don't need for gold (you're going to need gold in the beginning, as early investment is expensive). After that, attack the two bandit locations that are near your base with your heroes. They're very weak so they'll be very easy to beat, plus they give some amount of gold and a Staff of Negation (you're really going to need this item to use on both your units and enemy troops, as the enemy has a lot of buff and debuff spellcasters such as Priests (Inner Fire) and Sorceress (Slow)). After you kill the bandits, raise them with your Death Knight hero. You need to get used to raising enemy troops, as this will be your main strike force that will always follow your heroes and be used as a bulwark to your heroes. Be sure to train at least two Warlocks from your Spirit Lodge and research their spells from other Spirit Lodge that you've built, as you're going to need to use Unholy Frenzy on Dragons and your heroes, while at the same time you need to put Healing Wards on the ground. The enemy is ignoring your Healing Wards during the battle, so it's a big plus for you. At the same time, you need to use your War Mills to research additional troop attack / defence buffs. Focus on ranged troop attack and defend buffs, as you'll need to have as strong attack and survivability for your Demolishers and Dragons as possible for the first Castle. I don't recommend attacking with Grunts and other troops, as the enemy seems to be focused on killing them first, so it's a waste of resources. Assuming you've obtained the Sudden Change quest rewards up to this point from the previous chapters, except chapter 6, your heroes will be in great shape, especially Doomhammer, who could tank a lot of damage.
After you're done with the first human Castle, you'll have some room for breathing until Stromgarde and Lothar's troops arrive, so you'll be ready with your fully researched spells for your Ogre Magi, which will help you significantly with their Bloodlust attack buff. The rest of the human bases are easier, since the beginning is the hardest part.
I know it is very hard to achieve this, as you are required to do all this work at the same time, but it's the strategy I used to beat this and it's definitely doable. If you're finding this difficult to achieve, I can do a video about it and post it for you to see.
") I will have to delete my review, as ch6 is indeed possible.. not sure about ch7 though.
I will have to delete my review, as ch6 is indeed possible.. not sure about ch7 though.Thank you for sharing your method of using Goblin Zeppelin transport to easily reach and destroy all three generators. I used this method and it worked! I don't know why I haven't considered this method before. But here's a problem - dark green AI. I have been attacked constantly by this AI. However, I had to cheese the AI by setting building the Great Hall by the first Gold Mine to the west of the main base. By ordering the constructing Peon to move away from the Great Hall while the building is being built, the AI will reset after you cancel the construction, but after the enemy is engaging your building. I basically have been repeating this strategy every time the dark green AI would send attack waves, which had given me an great adventage in defending the main base and completing the chapter.Hello Lazarator. I am happy to inform you that not only ch6 is possible through a different strategy, you can also complete the optional quest, killed the OP rogue AND kill the phoenix birds to get the firehand hand item
Trust me, chapter 7 is way easier than chapter 6. Just try to use the method I've explained you above and I'm sure you'll make it through. You have Dragons to help you, so try to relay on them - their AOE splash attacks are great against large number of enemy ground troops around your hero. Plus the Unholy Frenzy + Healing Ward from your Warlock will provide you a great amount of healing for Doomhammer and Teron. As soon as there are at least 6 dead troops on the ground, raise them back with Teron. After you break through the enemy ground troops, focus your Dragons on the enemy flying units, while the Demolishers snipe down enemy buildings. Good luck!
My strategy with the goblin zeppelin was a bit different, ch6 strategy was a bit different, but not sure if it was easier.Thank you for sharing your method of using Goblin Zeppelin transport to easily reach and destroy all three generators. I used this method and it worked! I don't know why I haven't considered this method before. But here's a problem - dark green AI. I have been attacked constantly by this AI. However, I had to cheese the AI by setting building the Great Hall by the first Gold Mine to the west of the main base. By ordering the constructing Peon to move away from the Great Hall while the building is being built, the AI will reset after you cancel the construction, but after the enemy is engaging your building. I basically have been repeating this strategy every time the dark green AI would send attack waves, which had given me an great adventage in defending the main base and completing the chapter.
Trust me, chapter 7 is way easier than chapter 6. Just try to use the method I've explained you above and I'm sure you'll make it through. You have Dragons to help you, so try to relay on them - their AOE splash attacks are great against large number of enemy ground troops around your hero. Plus the Unholy Frenzy + Healing Ward from your Warlock will provide you a great amount of healing for Doomhammer and Teron. As soon as there are at least 6 dead troops on the ground, raise them back with Teron. After you break through the enemy ground troops, focus your Dragons on the enemy flying units, while the Demolishers snipe down enemy buildings. Good luck!
I'd start the chapter by moving my 3 heroes into the zeppelin and getting the lumber and gold and tome from the crates AND getting a goblin shredder to have wood supply, while building an aerial attack building + upgrading warlocks. I would destroy the first generator to north west, get the town portal, then destroy the one to the east, and then teleport my troops back while I was under sieged. at that point, all I've had were 3 heroes vs 3 consecutive base attacks. I'd use ogrimar to stun the ranger and use the bladestorm, zul'jin ultimate for big crowds and Teron
Meanwhile, I've sent a single aerial unit to attack the generator to the right. Only 1 though, first he'd kill the elf and then the generator. This means that the Rogue Optional quest would attack right after 10 minutes, minus a few seconds.
And that's the hardest part
I was attacked by Alleria, sylvanas, and the rogue at the same time. How did I survive that? I don't know, but the item the rogue dropped made the game much easier. The only troops that I've trained were those: Bears, Warlocks, death knight and 1-2 demolishers. That's it
Ogres cost too much and are useless, grunts are overriden by bears and trolls die too fast. By the end, when 1 minute was left, I used my zeppelin to attack the pyros bird and get another op item : )
If chapter 7 is easier than 6, then it shall be done.
That's a great strategy for chapter 6. I liked it.My strategy with the goblin zeppelin was a bit different, ch6 strategy was a bit different, but not sure if it was easier.
I'd start the chapter by moving my 3 heroes into the zeppelin and getting the lumber and gold and tome from the crates AND getting a goblin shredder to have wood supply, while building an aerial attack building + upgrading warlocks. I would destroy the first generator to north west, get the town portal, then destroy the one to the east, and then teleport my troops back while I was under sieged. at that point, all I've had were 3 heroes vs 3 consecutive base attacks. I'd use ogrimar to stun the ranger and use the bladestorm, zul'jin ultimate for big crowds and Teron
Meanwhile, I've sent a single aerial unit to attack the generator to the right. Only 1 though, first he'd kill the elf and then the generator. This means that the Rogue Optional quest would attack right after 10 minutes, minus a few seconds.
And that's the hardest part
I was attacked by Alleria, sylvanas, and the rogue at the same time. How did I survive that? I don't know, but the item the rogue dropped made the game much easier. The only troops that I've trained were those: Bears, Warlocks, death knight and 1-2 demolishers. That's it
Ogres cost too much and are useless, grunts are overriden by bears and trolls die too fast. By the end, when 1 minute was left, I used my zeppelin to attack the pyros bird and get another op item : )
If chapter 7 is easier than 6, then it shall be done.
Without having to cheese the dark green AI attacks, I wouldn't be able to survive with three enemy AI attacking me nonstop. By the way, I managed to destroy all three generators without having to use a Dragon Rider, only heroes. The Rogue hero was OP, but I managed to kill her with my heroes. Then I had to teleport back and defend the base, while at the same time I had to keep cheesing the dark green AI attack with the Peon and Great Hall. For defence, all I needed were heroes and 2 Warlocks, 2 Death Knights and 1 Ogre Magi for Bloodlust and that's it. The game becomes much easier when there are Unholy Frenzy and Bloodlust casted on my heroes, especially on Orgrim.
Chapter 7 is easier, but you need to do it fast in the beginning, as I mentioned in one of my previous comments. Speaking of chapter 7, I forgot to mention there is an Inferno Stone in a crate just outside the grey human base beside the ruined Catedral building. However, you are required to use your Demolisher to destroy two trees that are blocking the path to the crate.
Hey Lazarator! I hope you're doing great. I have finished ch7 quite easily the last few days but I've forgot to tell you that. My strategy was a bit more simplierThat's a great strategy for chapter 6. I liked it.
Without having to cheese the dark green AI attacks, I wouldn't be able to survive with three enemy AI attacking me nonstop. By the way, I managed to destroy all three generators without having to use a Dragon Rider, only heroes. The Rogue hero was OP, but I managed to kill her with my heroes. Then I had to teleport back and defend the base, while at the same time I had to keep cheesing the dark green AI attack with the Peon and Great Hall. For defence, all I needed were heroes and 2 Warlocks, 2 Death Knights and 1 Ogre Magi for Bloodlust and that's it. The game becomes much easier when there are Unholy Frenzy and Bloodlust casted on my heroes, especially on Orgrim.
Chapter 7 is easier, but you need to do it fast in the beginning, as I mentioned in one of my previous comments. Speaking of chapter 7, I forgot to mention there is an Inferno Stone in a crate just outside the grey human base beside the ruined Catedral building. However, you are required to use your Demolisher to destroy two trees that are blocking the path to the crate.
Rush my troops instantly to the first base and destroy the case, while I was building more red dragons in my base. Meanwhile, I had to defend my base from attacks and Maim's base ( it seems he was getting attacked more) and I've used my Red Dragons to destroy the castle of enemy bases + peasants so they can no longer get gold and build troops. Of course there are still remnants of the bases after you destroy their castle, but they are slowly dying out by sending troops to you ( WC3 ai is so funny) Slowly but surely, I have won, and this chapter was miles easier than the previous. I am happy to say that this campaign is 100% possible on hard, with every single optional quest. I am now playing the Author's next campaign, Scarlet Frenzy. I have already finished the first mission and will come back to it. It's pretty good!
I will also need to write a new review for this campaign and 5 star it
Very good campaign. I originally rating it 1/5 because of 2 impossible missions, but after going through hell, I have completed them, and this campaign deserves the 5. The sudden quest change is really great mechanic, one that I haven't seen in warcraft campaigns. The AI ( to an extend) is also well done
The dialogue is very good, spot on, and enjoyable to read. Not to mention that maps are lengthy and have lots of details added in them. I am not that much of a fan of WC2, since I never played it, but this campaign seems to be following its story correctly. I love the optional quests making your hero OP and actually getting rewarded for playing on Hard. I also reallly like the last mission, I don't think we've had a mission where we follow Gul'Dan's into the Tomb Of Sargeras. Overall, a great campaign.
The dialogue is very good, spot on, and enjoyable to read. Not to mention that maps are lengthy and have lots of details added in them. I am not that much of a fan of WC2, since I never played it, but this campaign seems to be following its story correctly. I love the optional quests making your hero OP and actually getting rewarded for playing on Hard. I also reallly like the last mission, I don't think we've had a mission where we follow Gul'Dan's into the Tomb Of Sargeras. Overall, a great campaign.
- Joined
- Jan 7, 2024
- Messages
- 15
Tides of Darkness is a very meaningful part of Warcraft history, and I really like the Orc Campaign.
- Joined
- Aug 11, 2024
- Messages
- 16
a great adaptation of tides of darkness! A very interesting way to play
- Joined
- Jul 13, 2015
- Messages
- 88
 we need more campaigns for Wow Story
A well made but boring campaign, The design of the maps and its environments are good and dynamic but they're just the same. Same map objects and environments with same weather and same gameplay. Quests are normal, not good and not bad. The characterization and scripts have no soul, the heroes and playable characters, are very boring, no emotions, no special dialogues and no good cinematography. The story is boring too, the whole story follows the events of blackhand and his warriors during the war with lordaeron; I personally got very disappointed with the cutscenes, dialogues, camera and gameplay. Yet I give it a 3 star to remind that it is "not" a poor campaign, but an "Average" one.