General Terrain
1) Tileset
Choose your tileset carefully: a combination of about 3 or more different types of grass for forests is not a luxury.
The tileset is the base of the terrain, it's very important that you learn to combine tilesets that look good together (note that some of the edges of tilesets can be different when next to another type, you need to think about that too: what looks good next to what?).
Most people start out with 1 or 2 different types of tileset that don't match eachother, then go to randomly placing a few tilesets that do match eachother and then finally, after some practice, can succesfully combine tilesets and know where to place them.
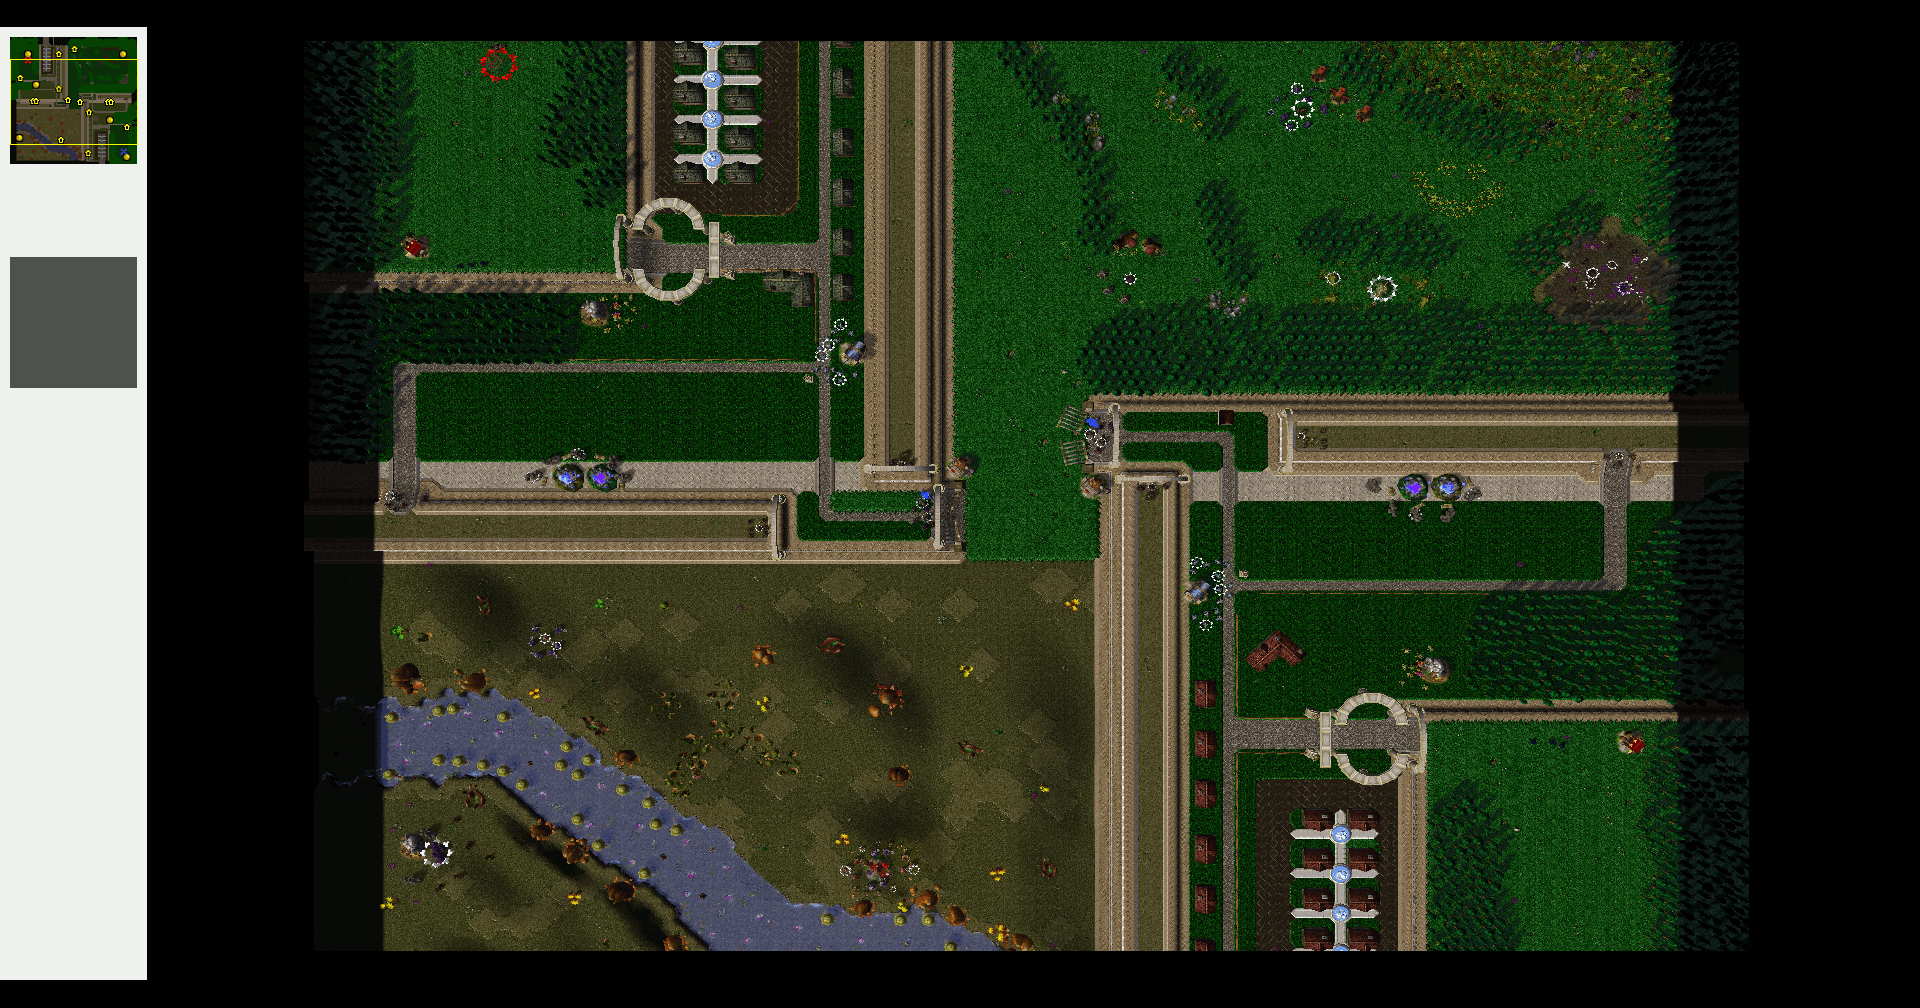
You used the basic lorderon summer tileset, which in itself, is a decent tileset. You used it very poorly however. You really left a lot of space where only 1-2 tiles were used.
2) Transition
This part also belongs to the tileset somehow.
When you're creating a terrain and you're using different tilesets, make sure that they are mixed and that you can't see any clear border.
You used almost no transitioning.
In the dirt area in the bottom left corner of the map, it's very clear you just click your mouse a few times to create the other blotches of dirt.
3) Cliffs
Try not to use cliffs (in the terrain palette: apply cliff: increase/decrease one/two).
Cliffs could be used when you actually need a cliff, but when you need a mountain of some sorts, or a wall use the raise land tool or doodads.
You only used blizzard cliffs, most of which just didn't look realistic by any means...
You should also never use the standard water-tools for the terrain, there's a far better (yet more complicated) option to create water.
Cliffs could be used when you actually need a cliff, but when you need a mountain of some sorts, or a wall use the raise land tool or doodads.
The thing here is that you need to create a new map in order to make this work, I don't think you can adjust this when you've already made your map.
What you need to do: when creating a new map, there's an option called "Initial Water Level", if you set this to "shallow water", you start off with your terrain completely under (shallow) water.
Afterwards, when the terrain is created, you should raise the land (
not with the cliff tool!) so it is slightly above water-level (it should look like land on the minimap, but may not be too high).
When this is done, click the "apply height: plateau" tool and drag it all along the terrain, starting from the little patch of land, now the entire terrain should be above water-level.
To create a river now is very easy: lower the terrain and you've got water - this can be done to create puddles, rivers, sea, whatever you want.
View attachment 89077
Ahem....
Doodads:
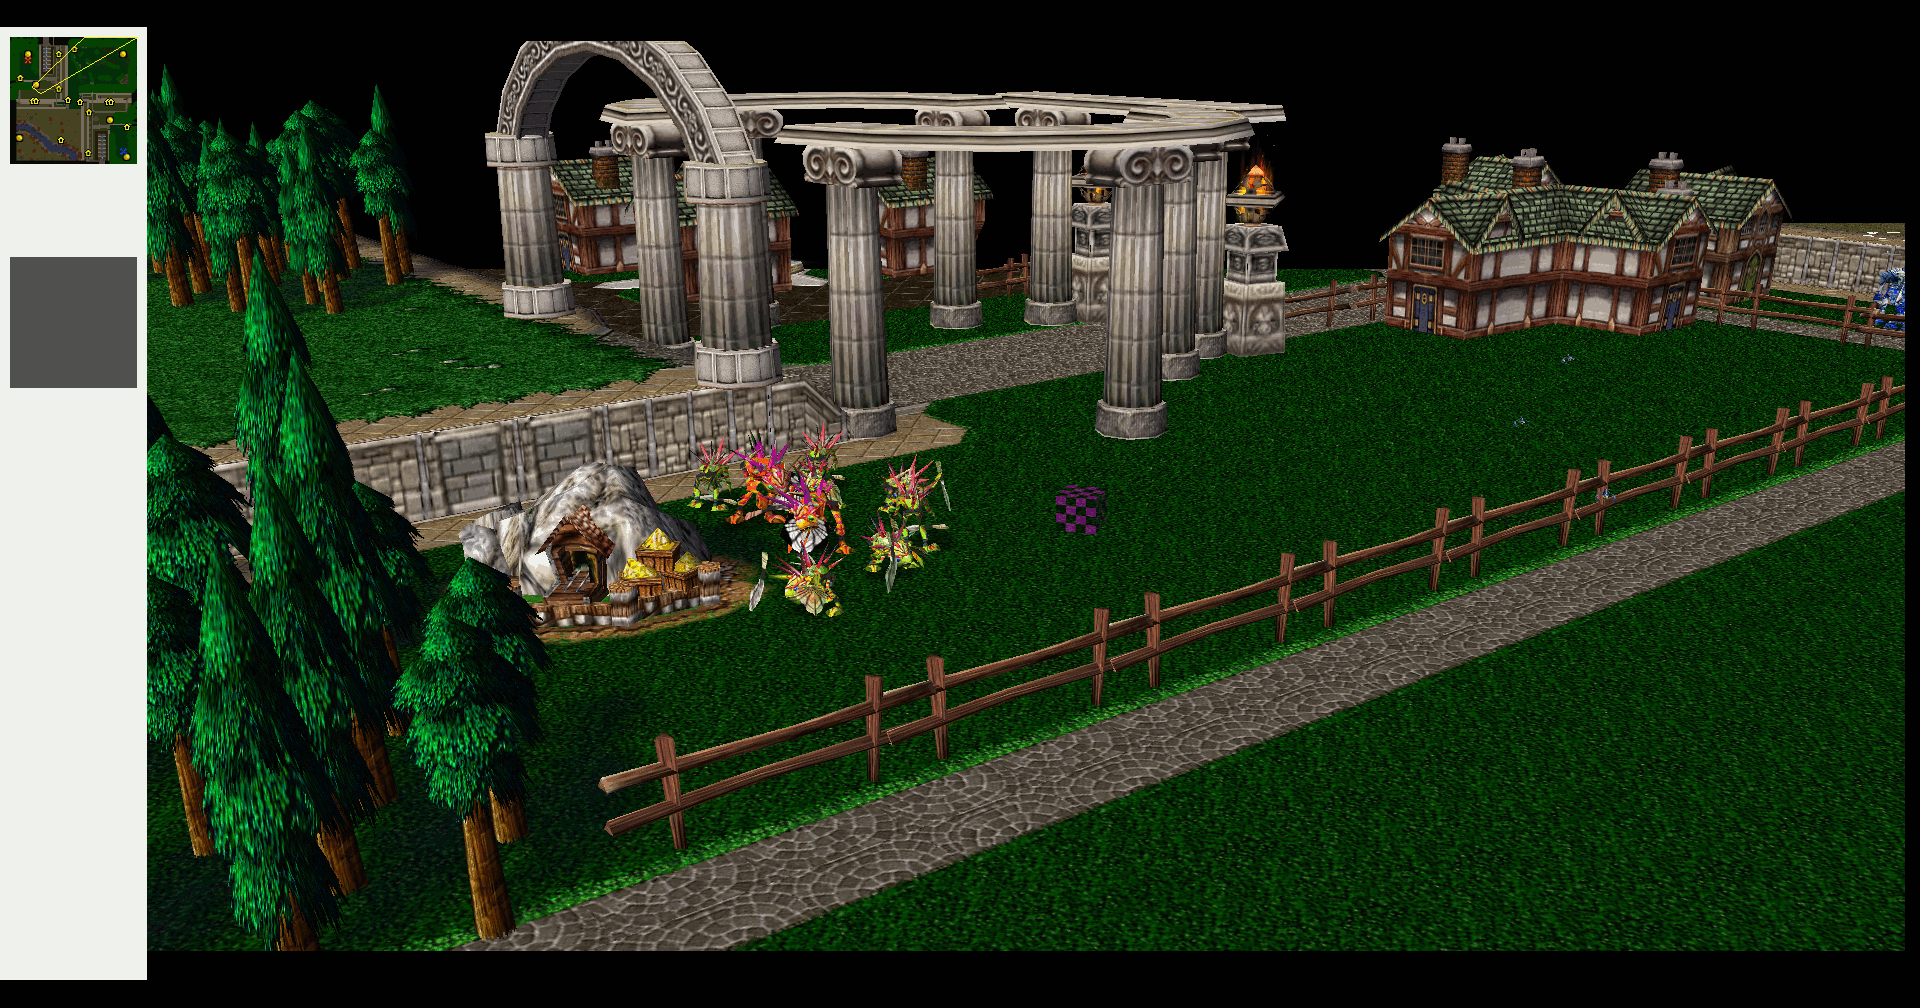
1) Spamming doodads
Doodads may never be spammed, you can place a lot of environmental doodads (such as shrubs), but never overdo it.
A lot of people spam things like rocks, waterfalls or fire, but that is not the point of doodads.
View attachment 89078
Looks pretty spammy...and the fact that these are some of the only doodads you used makes it worse.
2) Cinematic Doodads
Cinematic doodads should only be used in rare occasions and should never be spammed.
I know it is very flashy and might be appealing to some, but believe me: it looks far from good.
The fire is probably the most used cinematic doodad and I really don't care if it's used in the right places (a burning house for example).
You really didn't use/need any of these.
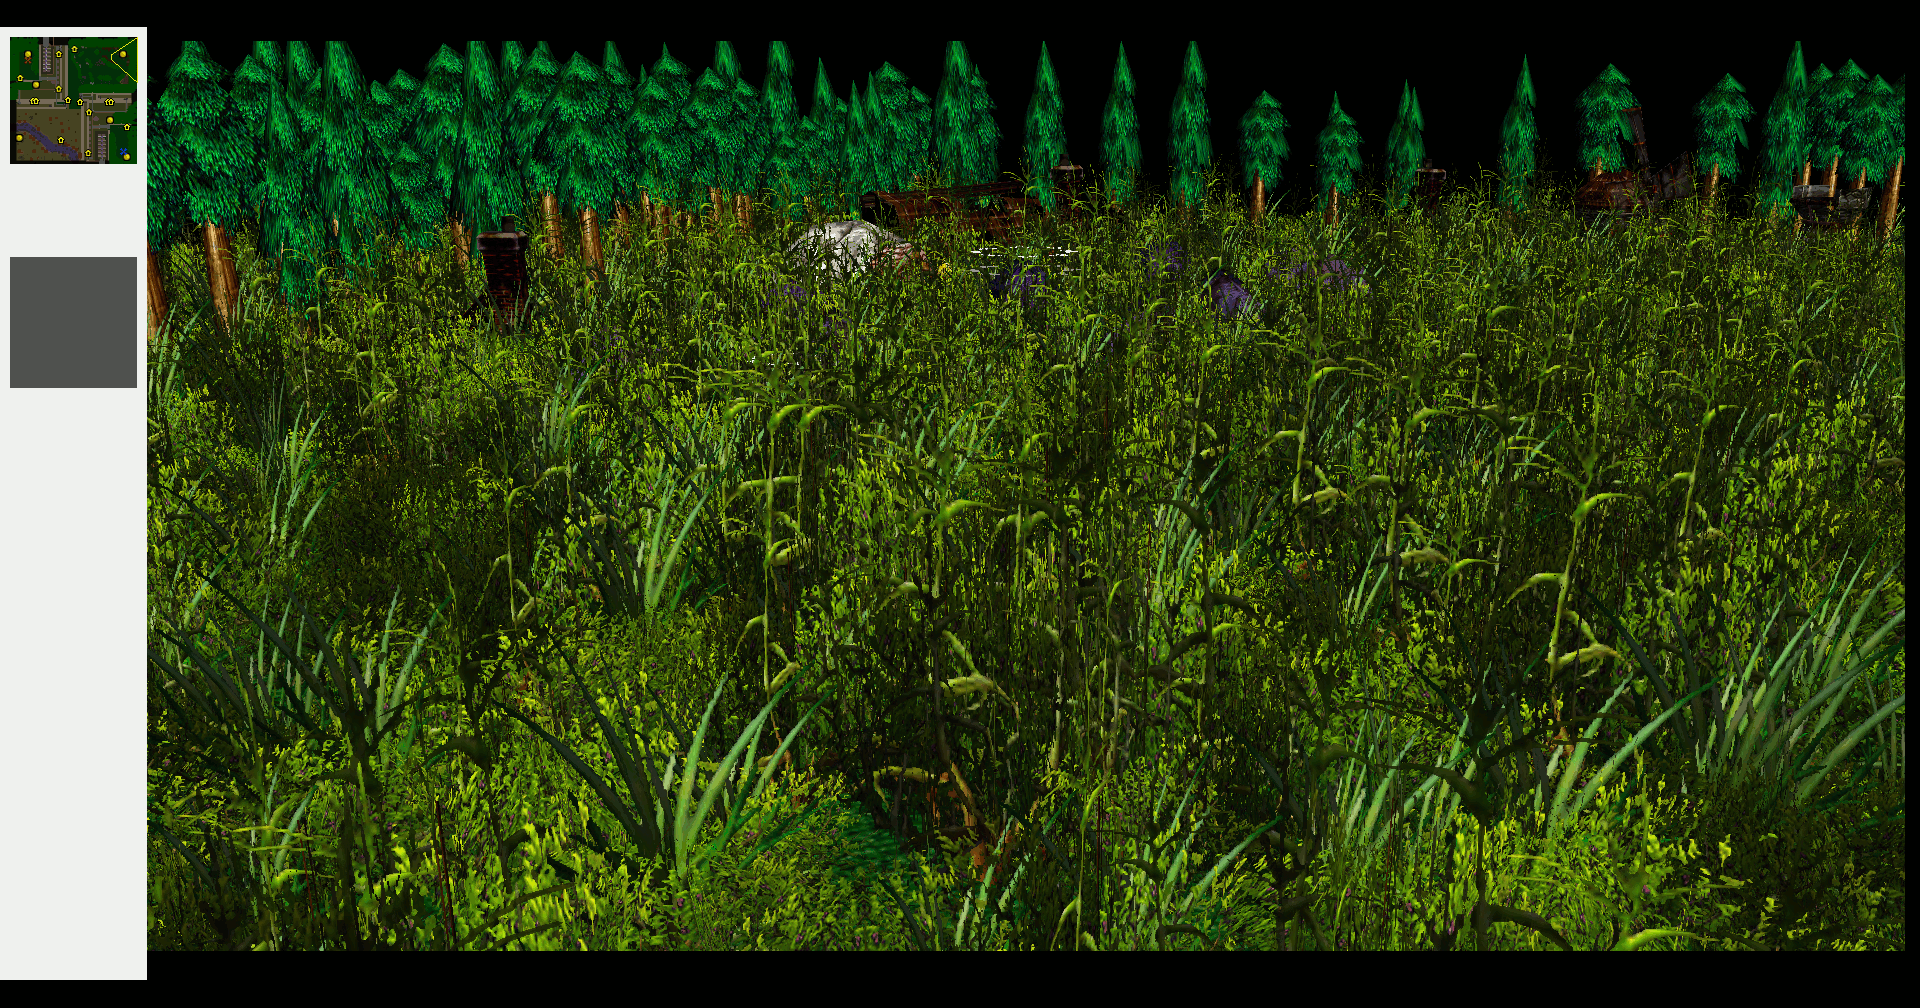
4) Emptiness
Empty terrains are very ugly, if you compare older or less professional maps with higher quality maps, you can immediately see that the higher the quality of the map, the less empty the terrain looks.
This is because, usually, people who know how to map, also know that the terrain is a major part in the entire game: I don't like playing on empty, bad terrains.
The solution? Environmental doodads! These are the most useful doodads and your map should exist out of about 70-80% environmental doodads (and trees are probably the second most used doodad).
A tree doodad is just a tree, nothing special, but once you add a bit of shrub and mushrooms underneath, it makes it feel more realistic.
Yet again: do not spam these either... they can look good in greater numbers than most doodads, but that's no reason to spam them.

Sad isn't it...?
Not only are the trees just randomly placed and bare, but the landscape around them is bare.
Additional:
1) Weather/Fog
These are main ingredients when creating a cinematic and shouldn't be forgotten in other maps either.
There's no need for a weather effect (in fact: please don't touch it if you don't really know what you need to do with it), but a (triggered, not weather) fog can drastically improve how a terrain looks, or the 'aura' it gives off.
Creepy maps need a darker fog, happy maps a light one, you can make it change for day/night purposes, you can change it depending on the region you're in.
Basically this decides what kind of map you're playing
To make a default fog: go to Scenario -> Options, there you should see the option "Use Terrain fog", set style to "Linear" (nothing else) and choose your color.
You probably need to lower the starting Z as well (about 1000, or even less if you want), otherwise you won't see a lot of the fog.
2) Sky
You seriously don't need this if you don't use camera's that have an angle of attack of at least 330 degrees...
In cinematics however, it decorates the entire terrain and - if it matches the cinematic theme - it really expresses the general idea.
 Approved