Adding a new campaign
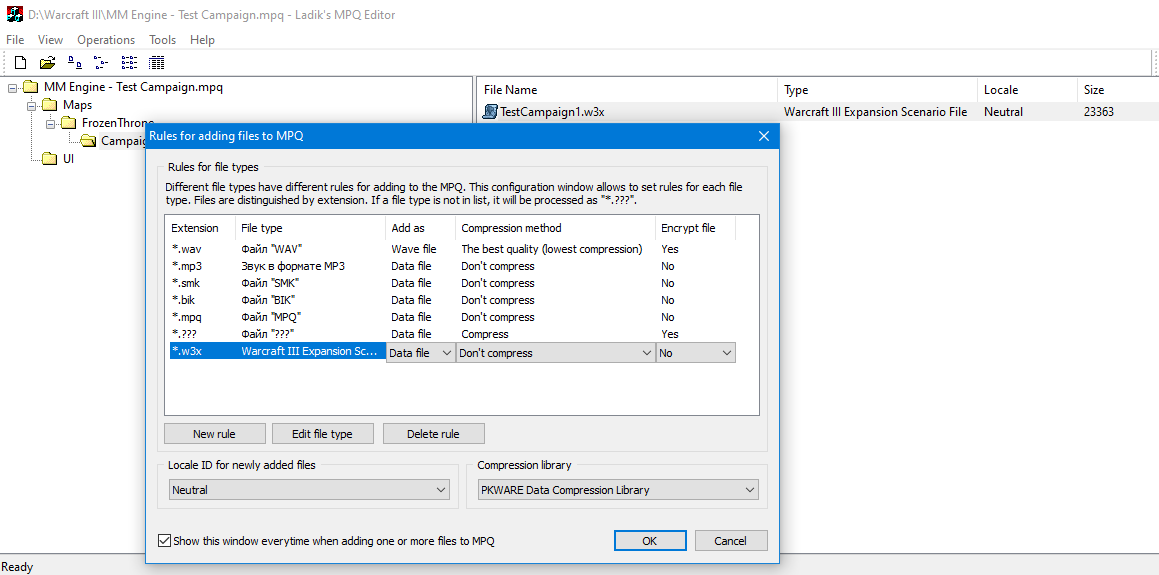
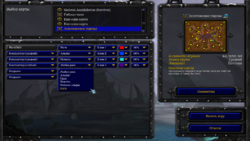
Step 1: Create map(s) in WC3 editor and transfer them to your mpq along the path "Maps\FrozenThrone\Campaign\" (or write your own path). When adding maps, if you are using the same mpq editor as mine, remove compression and encryption, otherwise WC3 simply won't find the map.
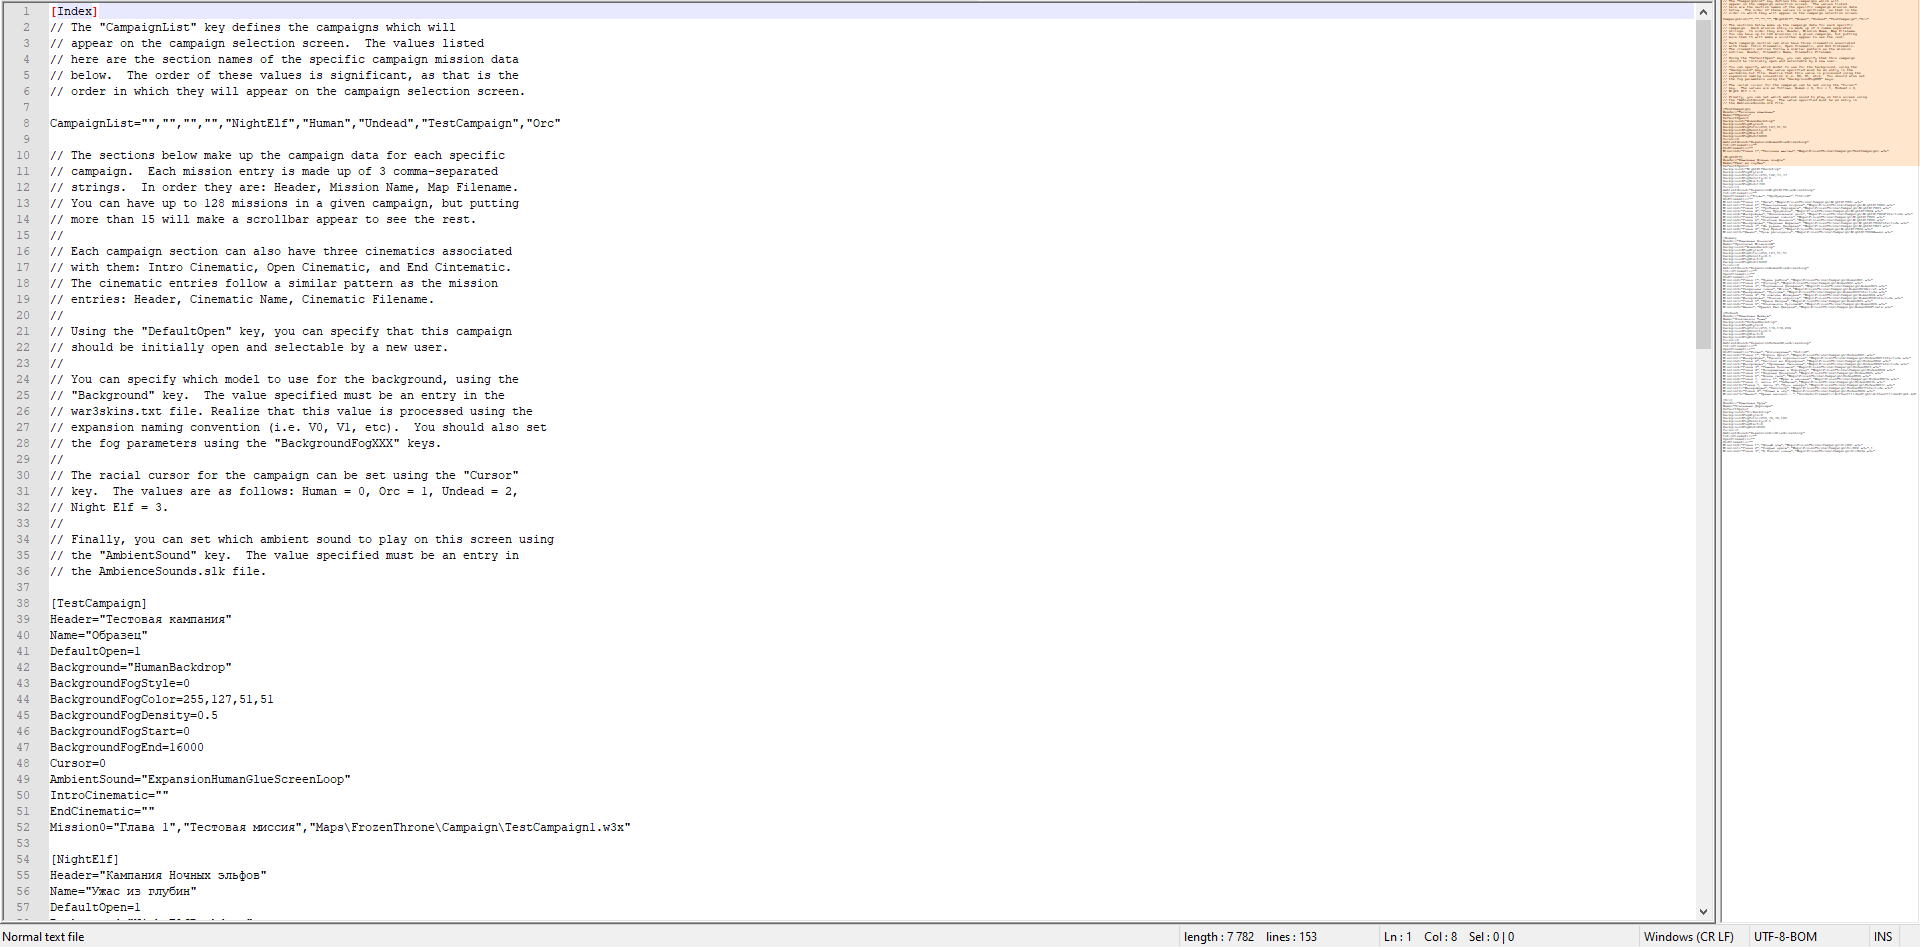
Step 2: To write new campaigns, you need to get CampaignStrings_exp.txt from War3Patch.mpq, change it at your discretion, and then transfer it to your mpq along the "UI \" path (strictly along this path). The "DefaultOpen" parameter makes the campaign available without going through others.
Stage 1: Unit Creation
The note:
1) For each mod, there must be a kind of foundation, without which it cannot exist. To begin with, you should create rough sketches of your race. Be it tweets on a piece of paper, pencil sketches, or a persistent thought in your head. Use your imagination. Give her your own flavor that will distinguish her from other races.
2) Creation of modifications for Warcraft 3 from scratch is a task beyond everyone's strength. The user must understand every bit of the code, have knowledge in the programming area and other troubles. However, MM Engine allows you to simplify this process to the maximum by providing some of its additions. If you haven’t downloaded it yet, then do it, as we will need this engine in creating our own modification.
3) After you have decided on the concept, sketch out an approximate ''development line'' (aka TechTree). Each race has 1 main building, 1 altar, 1 food production building, 1 starting barrack, and 1 building that makes improvements. At the second level (or 2nd Tier) of development, each race has a building for training magicians and 1 special building. The third level (aka 3-rd Tier) gives 1 building, which produces the most powerful combat unit of the race.
4) After drawing up your line of development, you can start working on your race. Collect resources (models, icons, possibly a soundtrack) for your mod. All resources can be found on such popular platforms as HiveWorkshop, XGM and so on.
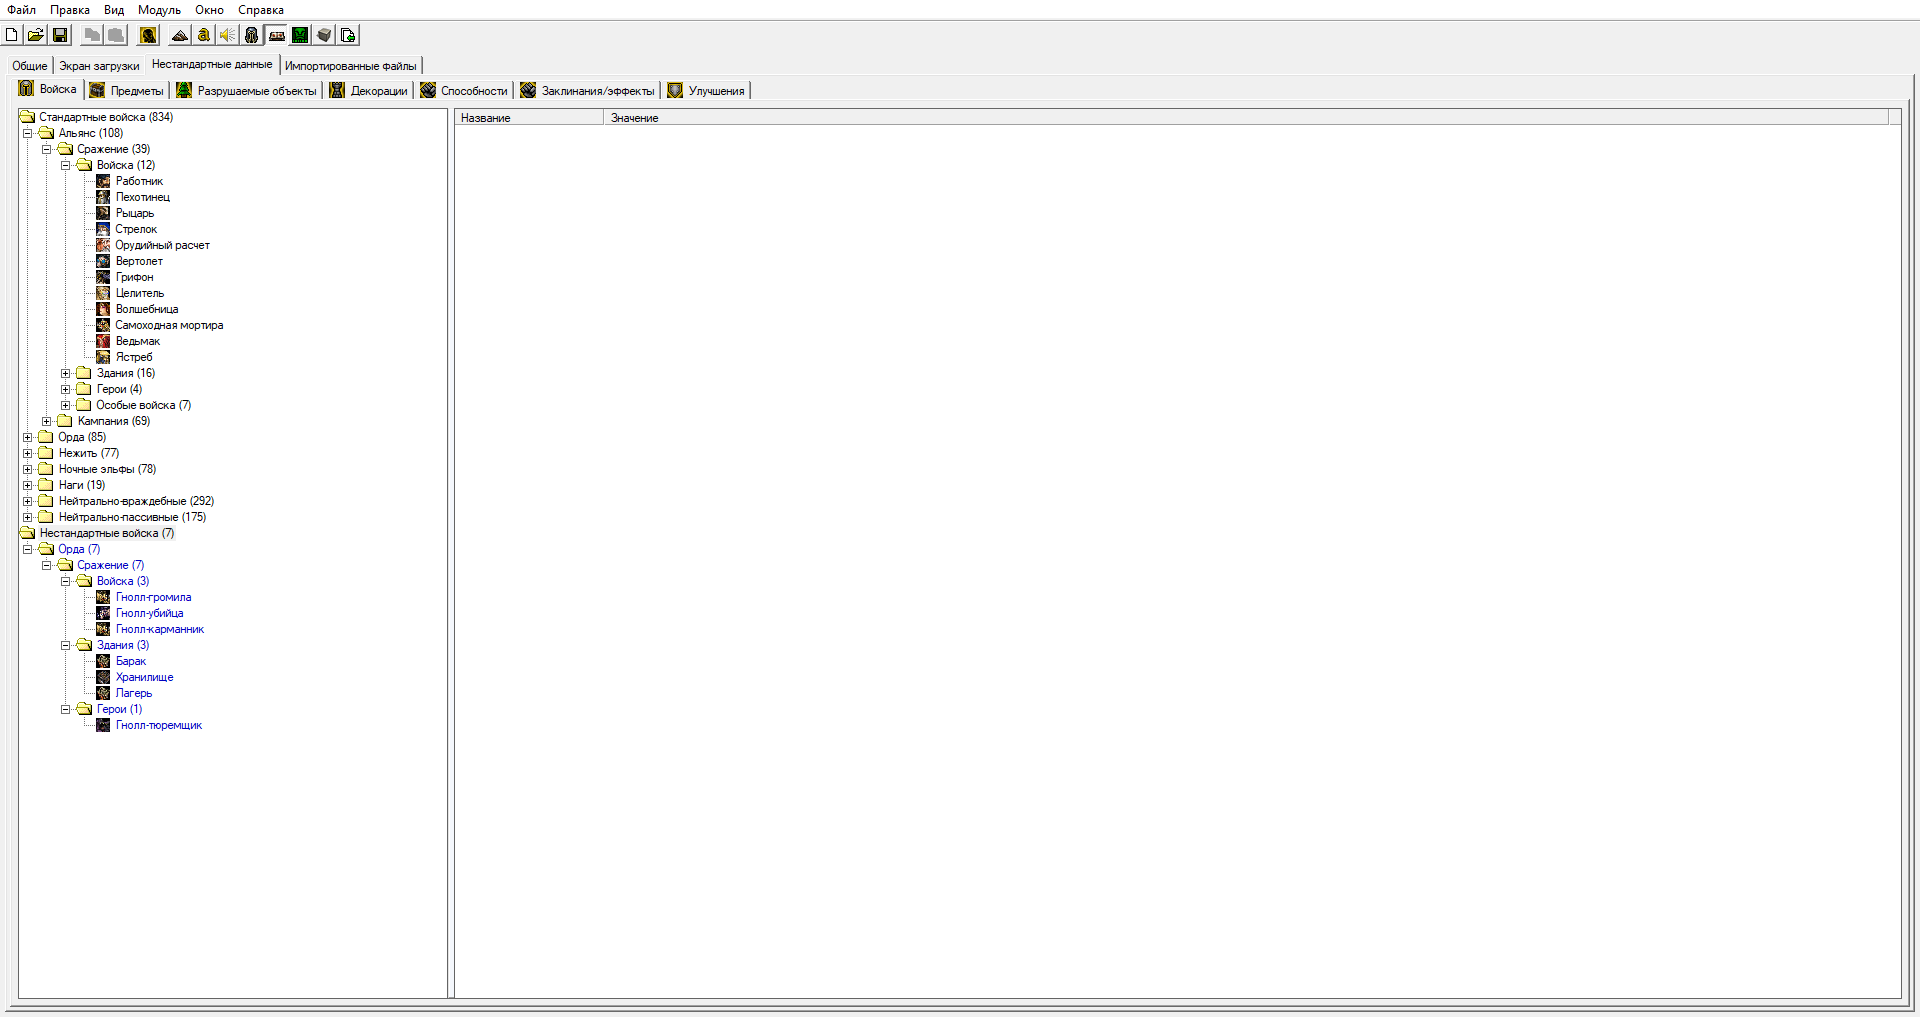
Step 1: After all the collected resources, you can go to the technical part of the mod. Use the campaign editor (or map) to create your own race. This process is not very labor intensive. It only requires patience and a lot of free, free time.
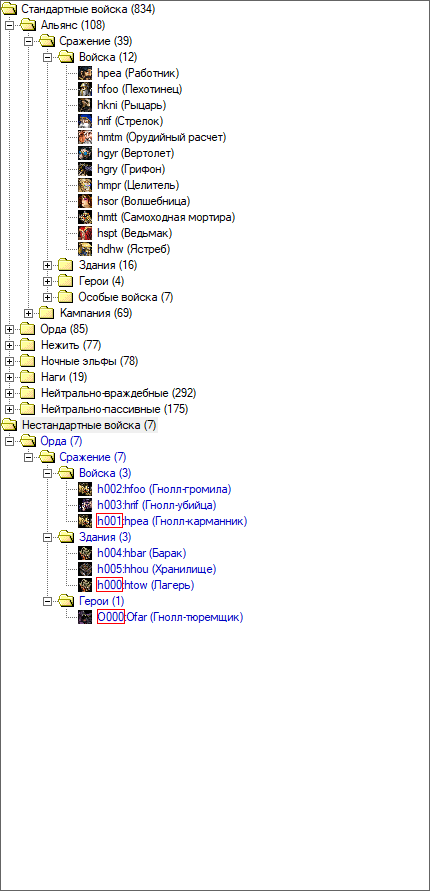
Step 2: When you are done with this part, press CTRL + D. This will display the ID (aka RawCode) of all game elements, including non-standard ones. After that, it is advisable to write down somewhere the ID of your workers, heroes and the main building, which will appear at the beginning of the game.
Step 3: Save our campaign (map), and then simply change the file extension from w3n (w3m \ w3x) to mpq. It looks pretty simple, doesn't it?
Stage 2: Scripts
Step 1: From the previously downloaded MM Engine.mpq we get Blizzard.j and common.j.
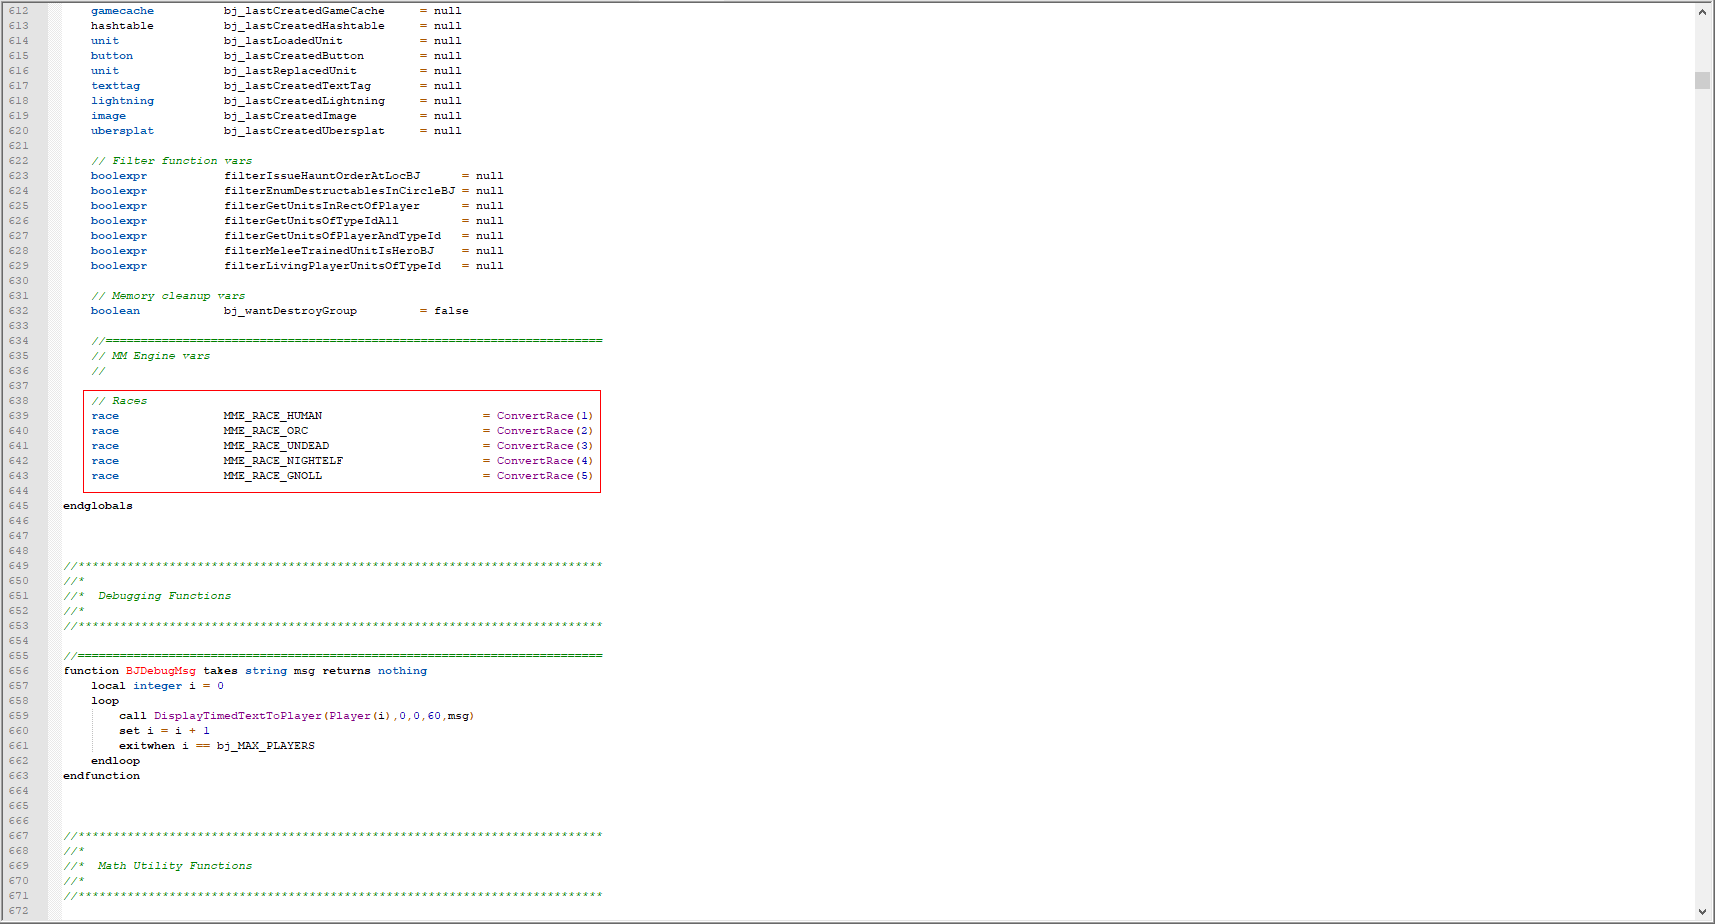
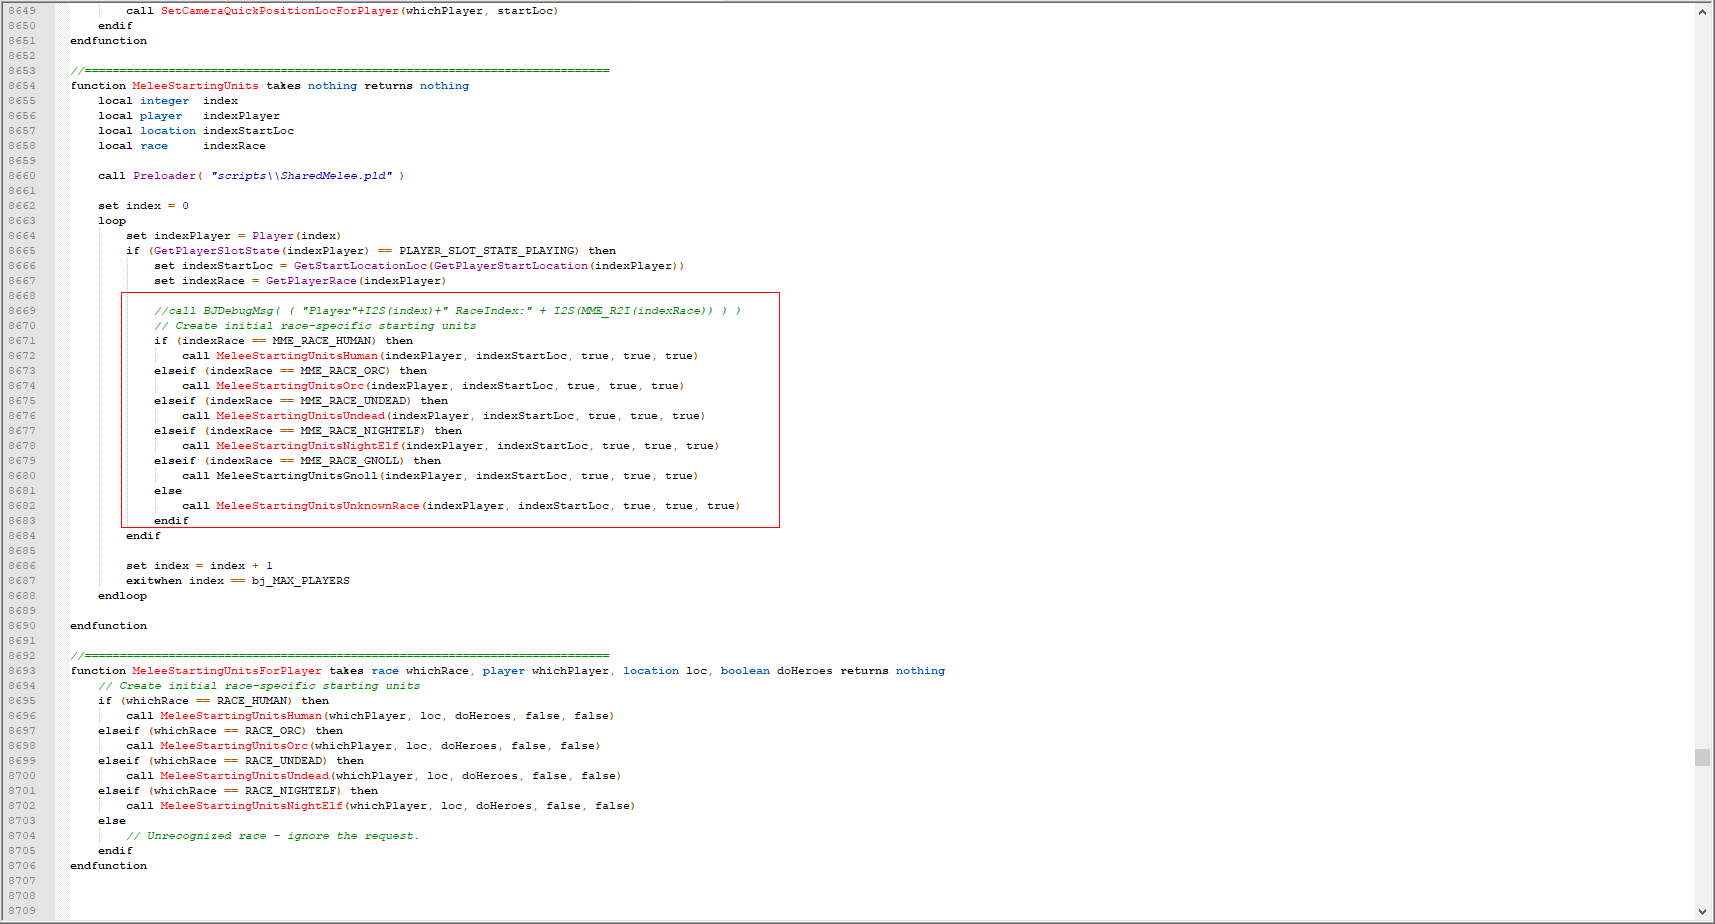
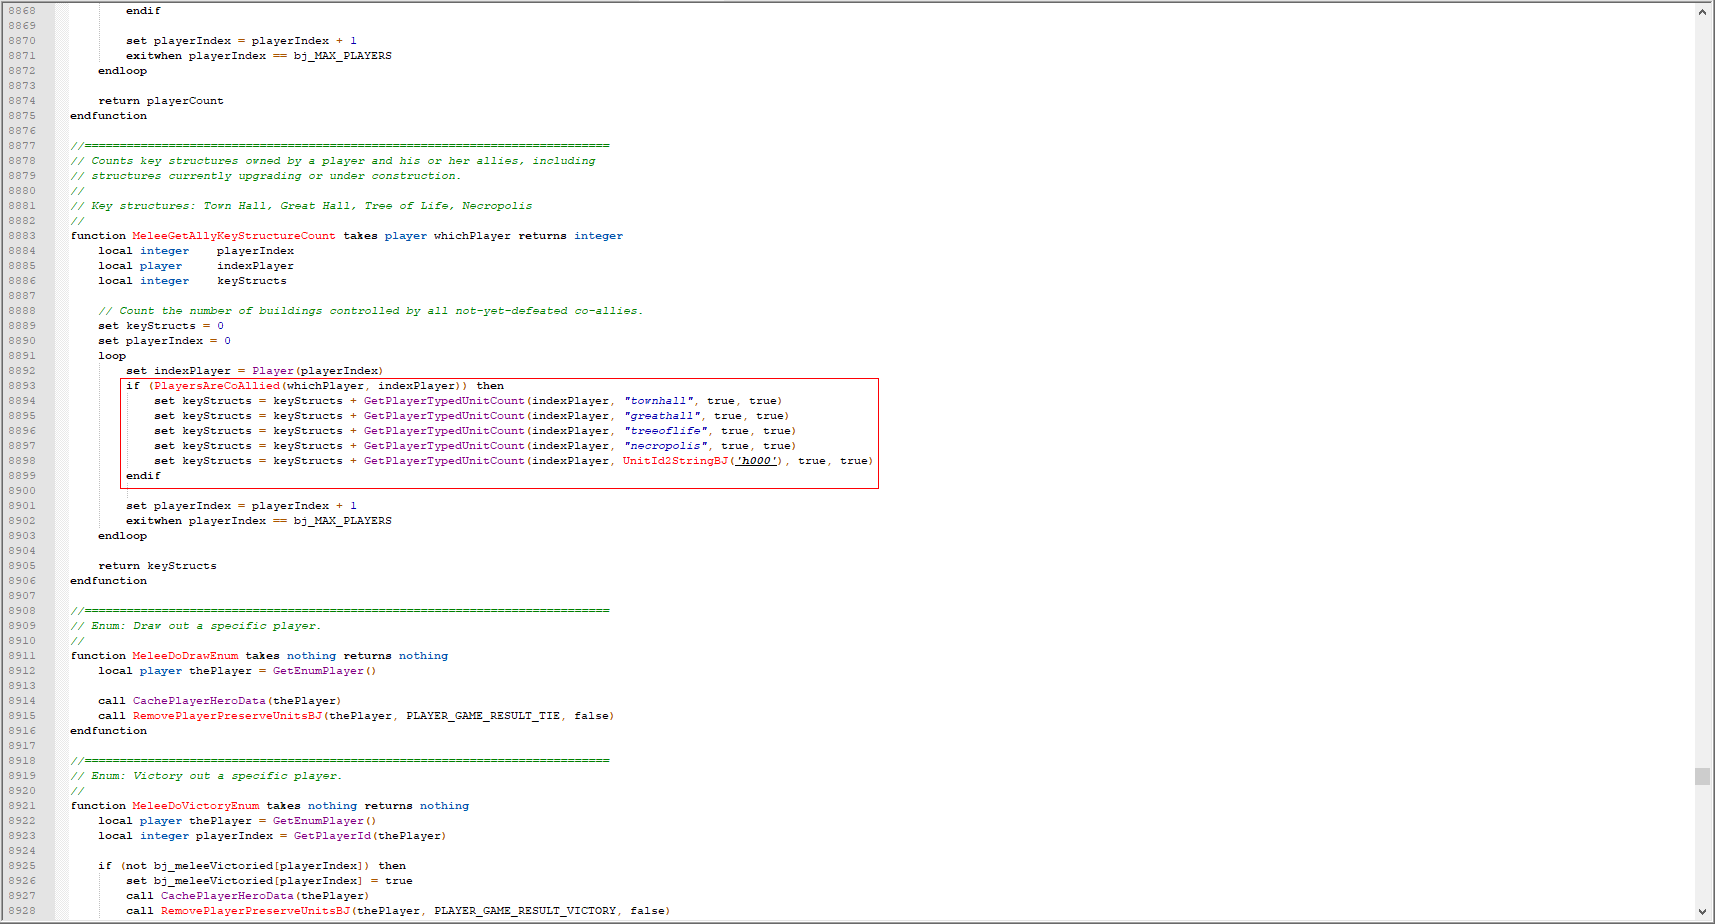
Step 2: Following the example with the standard races, create a variable that stores our race in the game.
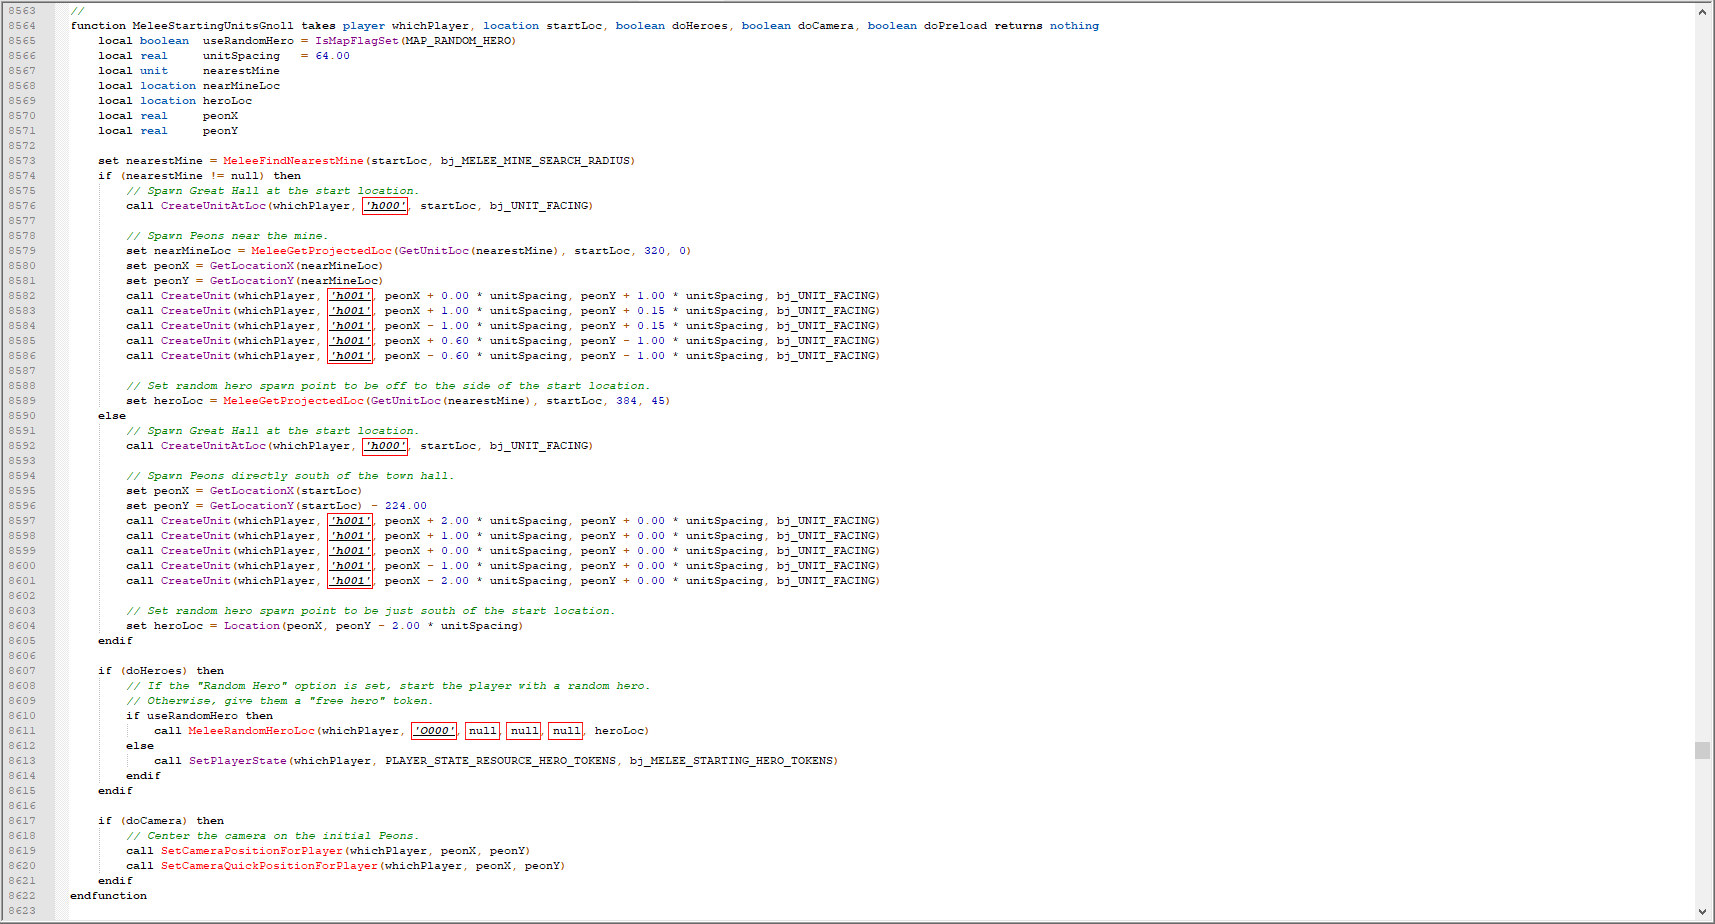
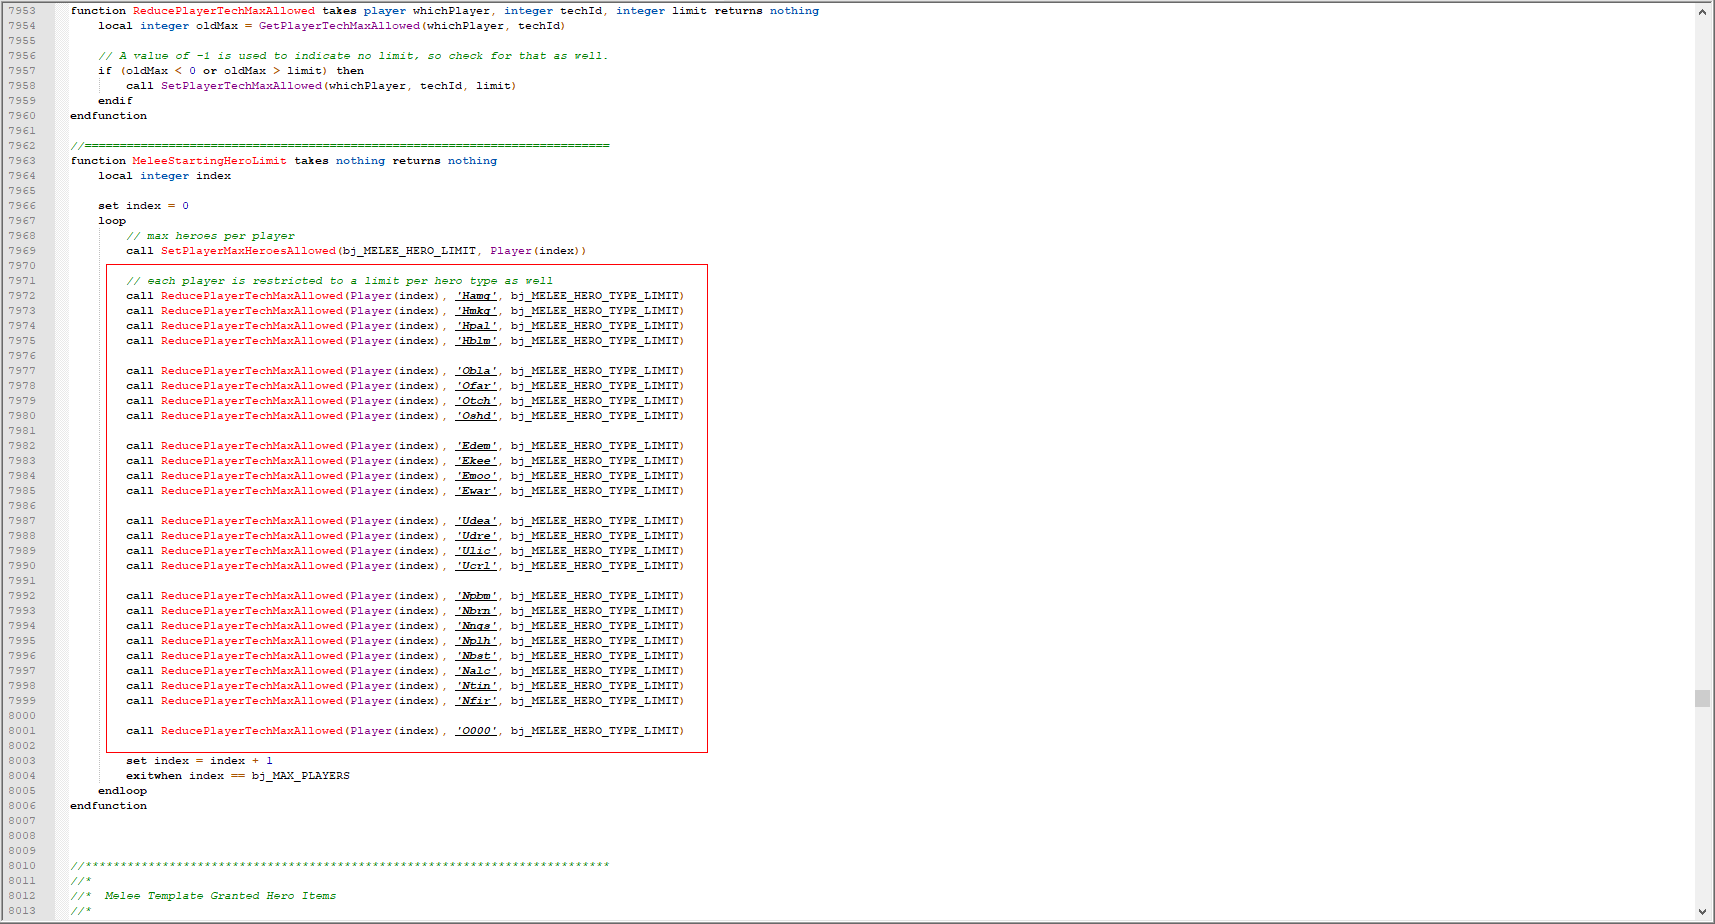
Step 3: Remember the very IDs that we wrote out? Prescribing for our new race of workers. Do not forget to register the heroes and the main building in order to avoid all sorts of incidents.
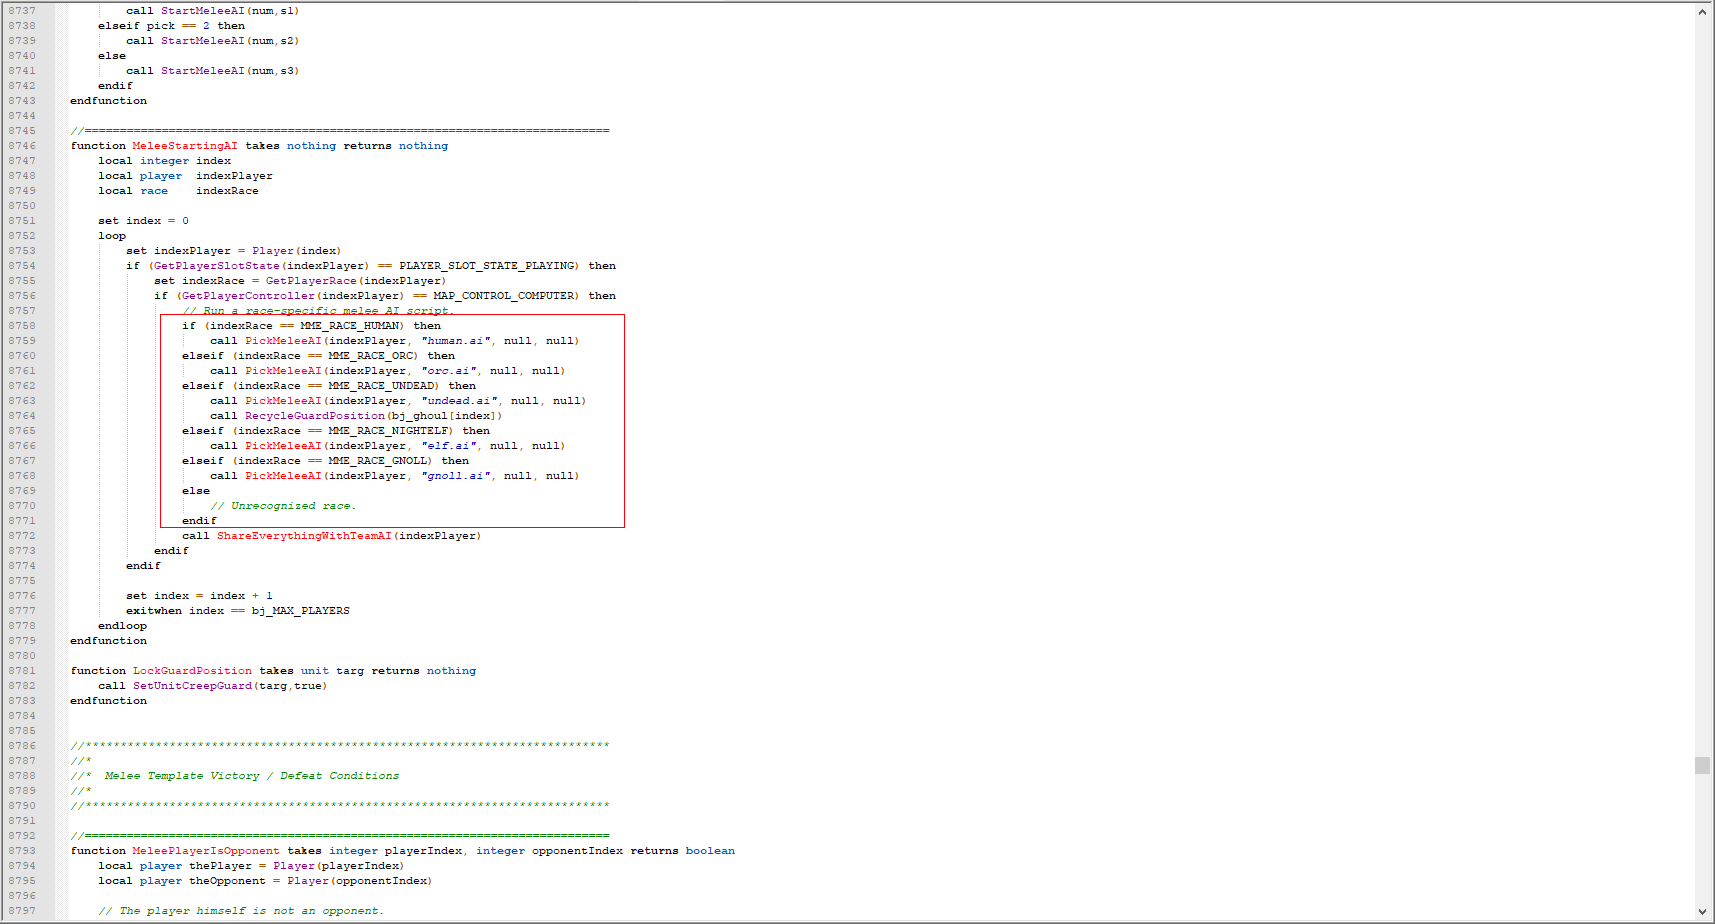
Step 4: We register the AI for our race, which we had to put into our MPQ archive earlier. If we do not have one, then we skip this point.
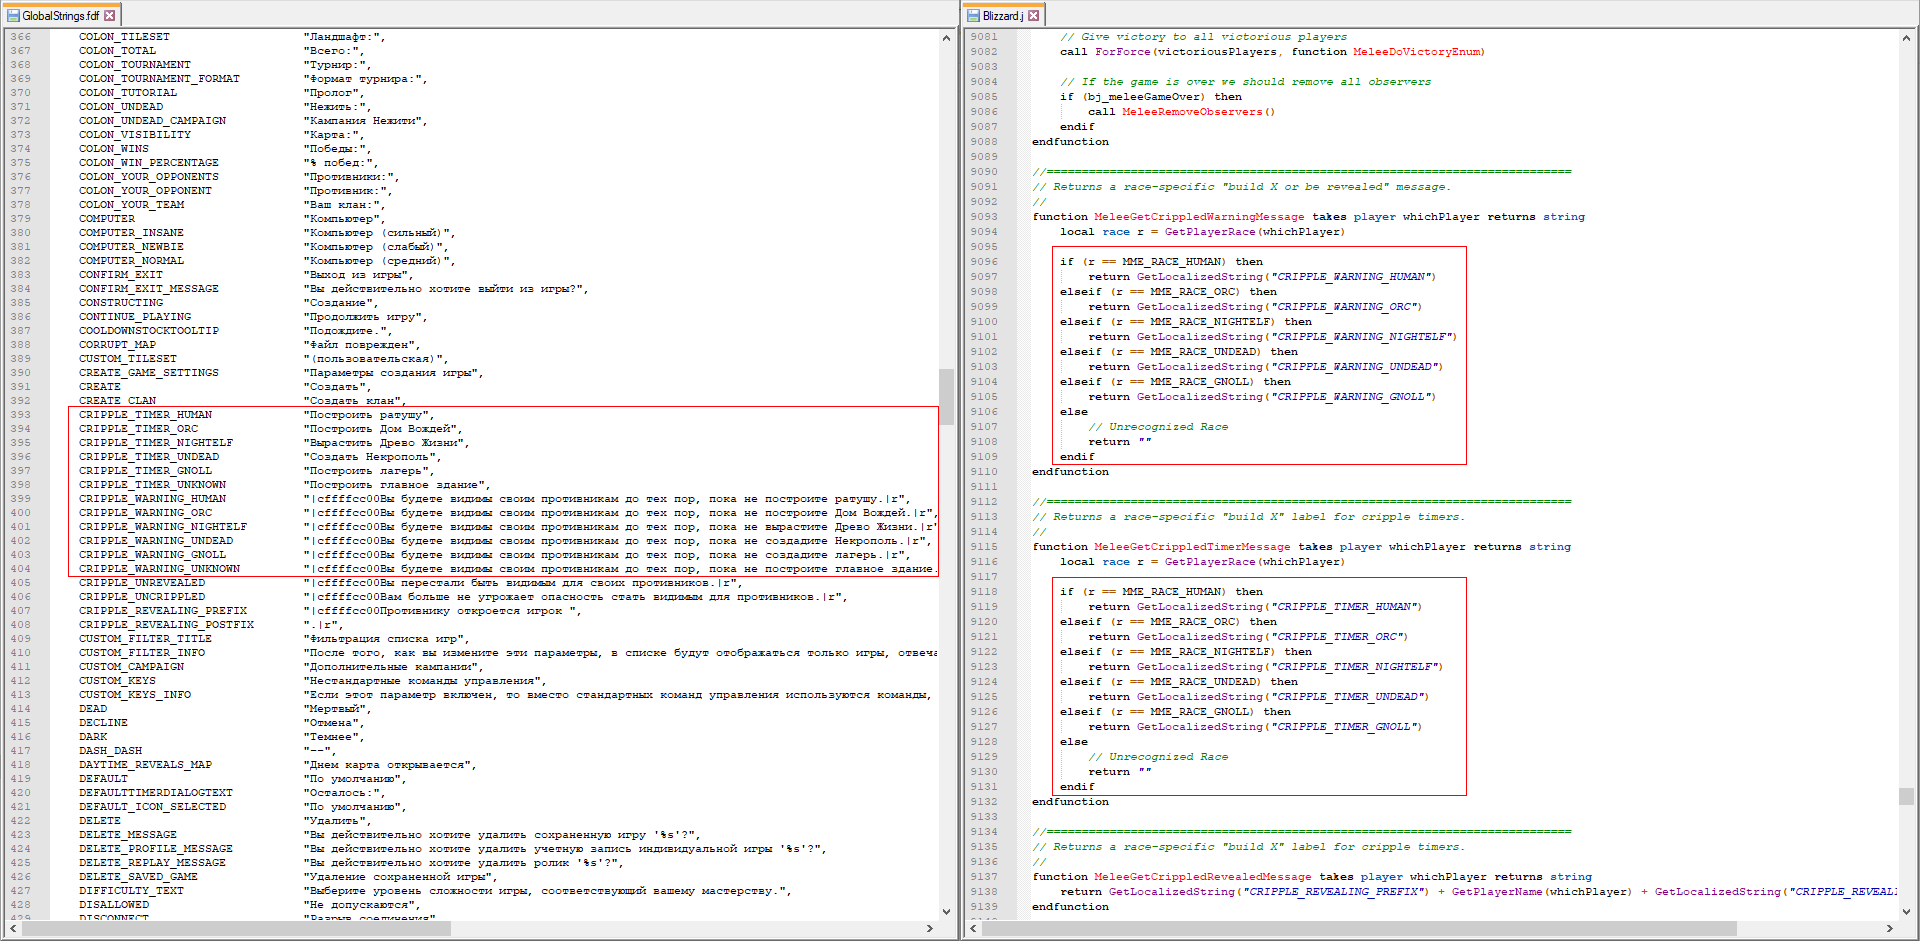
Step 5: To display the strings that appear in the absence of a race, we register their keys in Blizzard.j, and the strings themselves in GlobalStrings.fdf (You can get it from War3Patch.mpq).
Stage 3: Interface and minor additions
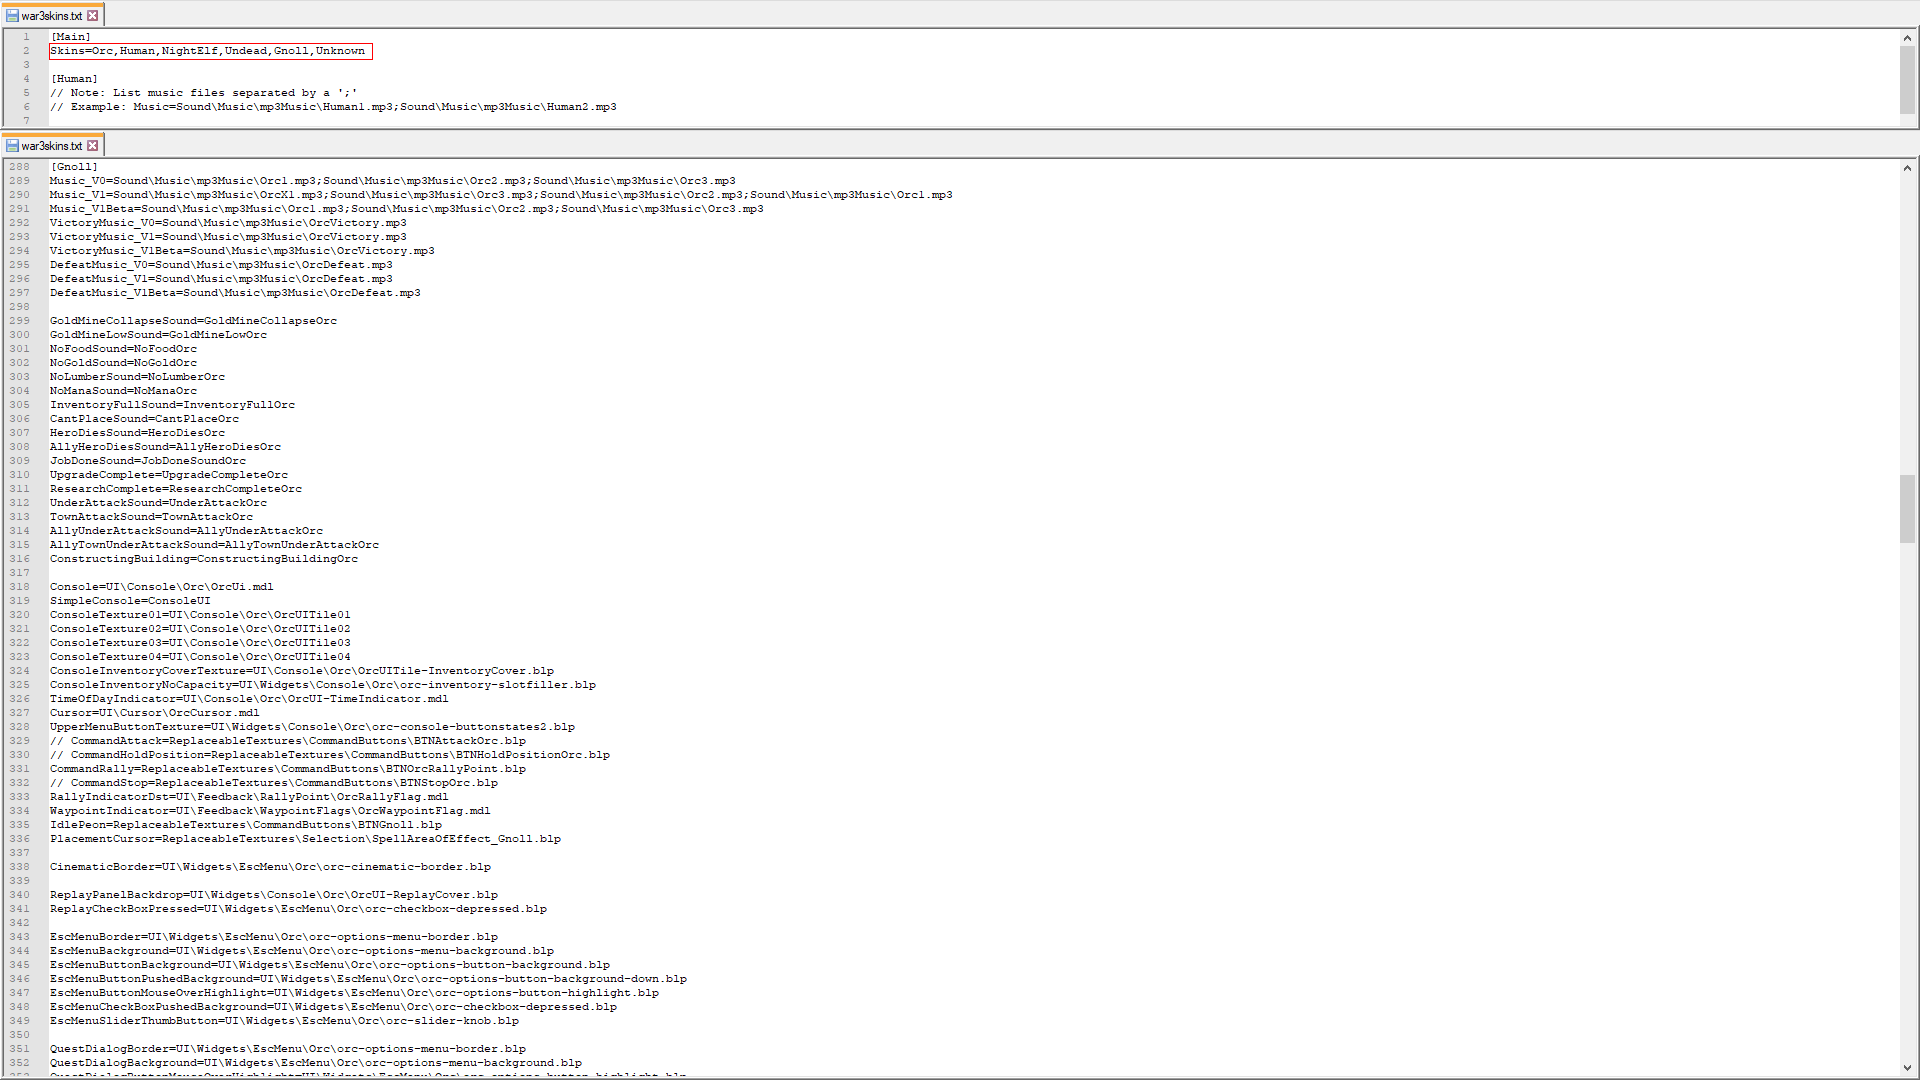
Step 1: To add an interface, we get war3skins.txt from MM Engine.txt, and, following the example of the standard races, we write our own paths for the interface.
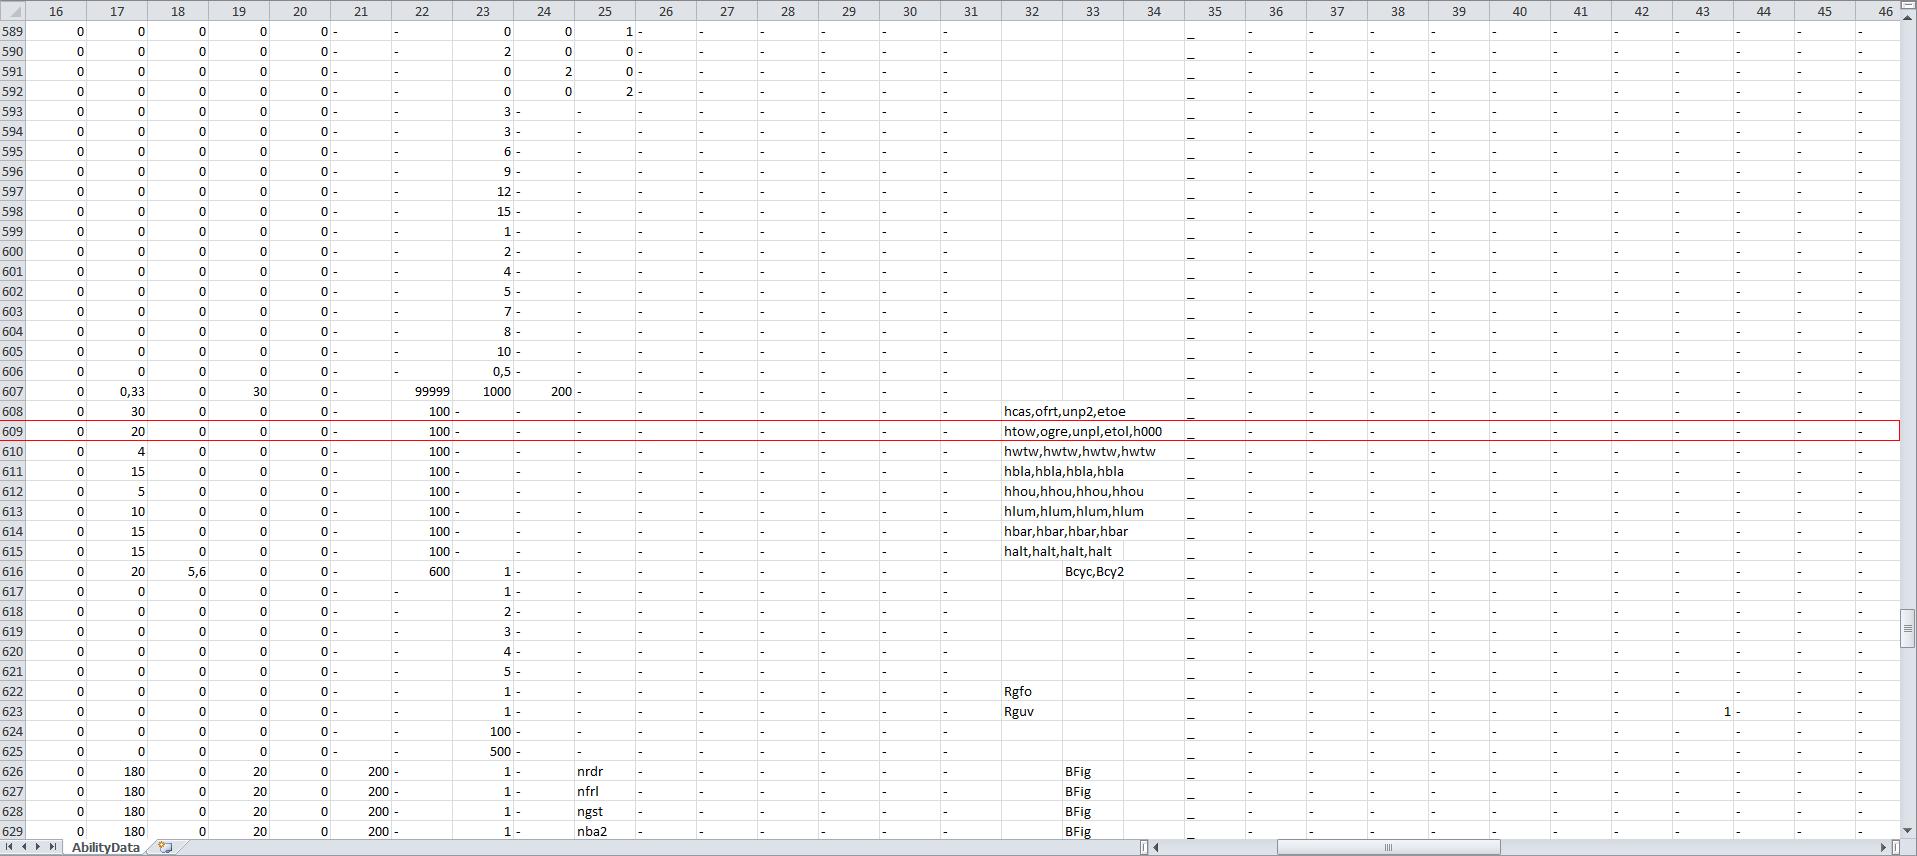
Step 2: If you want your town hall to be erected with the help of the chiefs' box, take the AbilityData.slk file from War3Patch.mpq and add our town hall to the standard ones on line 609 (ID Albg).
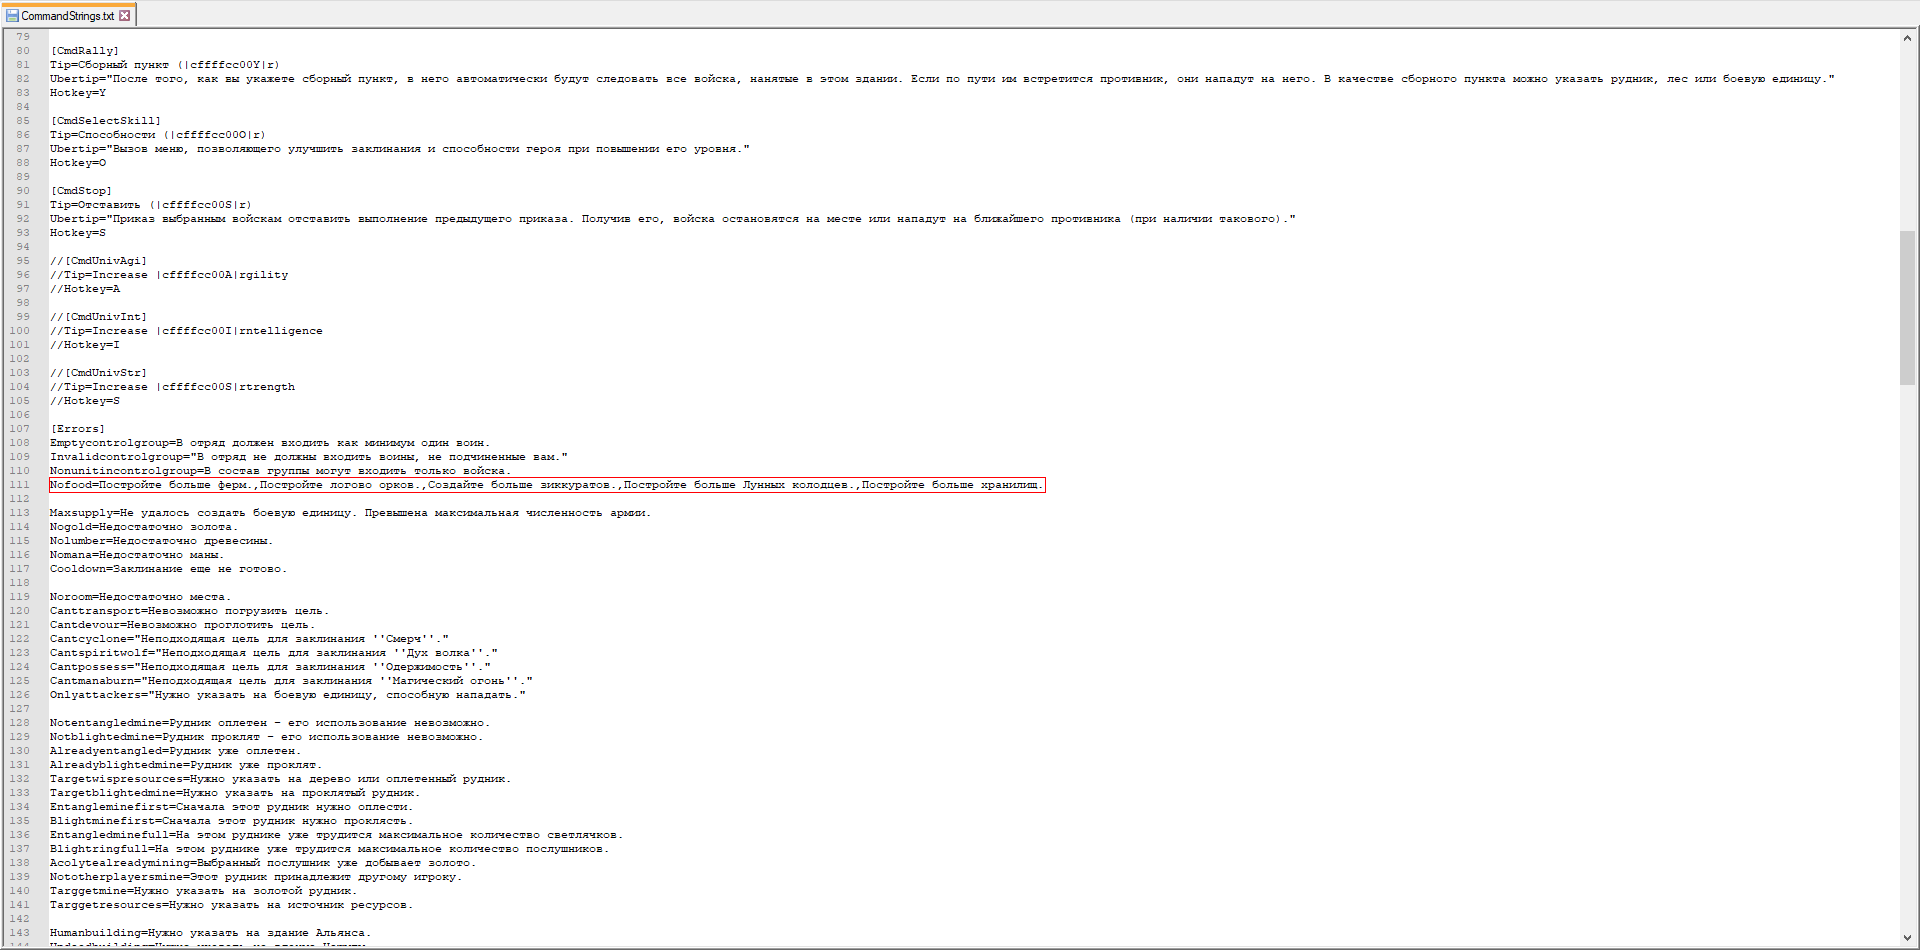
Step 3: To add phrases that are displayed in case of a shortage of food, take CommandStrings.txt from War3Patch.mpq and add our phrase in the line with the Nofood key. Don't forget to put a comma.
Stage 4: Create .json and finalize
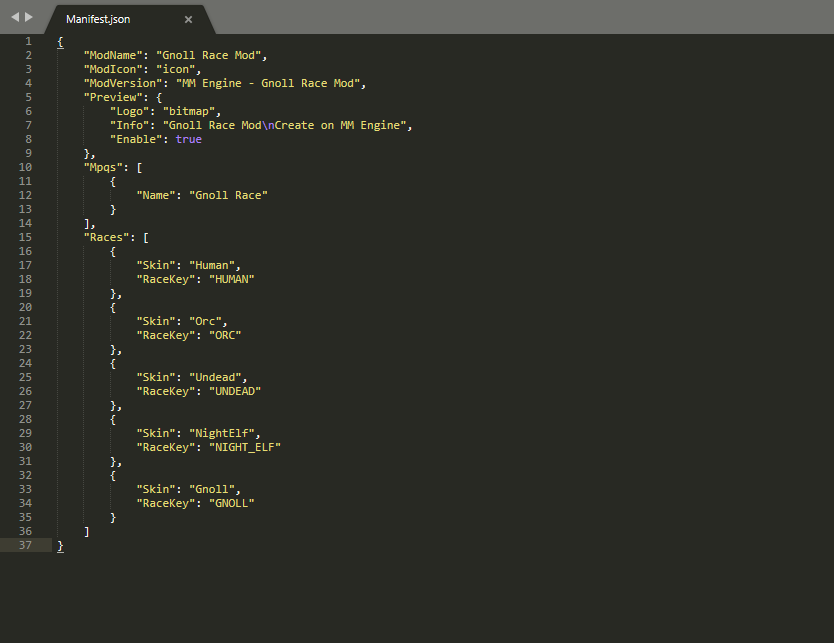
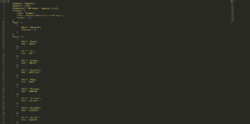
Step 1: Since version 2.0.0 MM Engine has switched to a unified method for launching mods, now all mod settings are stored in Manifest.json, in the mod folder, and to launch the mod, you need to write in the arguments -mod <Mod folder name >, so we fill in our Manifest and transfer everything to the mod folder, to its place (Mpq to the Mpqs folder; dll libraries to the Bins folder; Manifest, the logo and icons just to the mod folder).
Manifest parameters:
-
ModName - Responsible for the name of the mod;
-
ModIcon - Responsible for the name of the mod icon file (do not specify the extension, because it is always .ico);
-
ModVersion - Responsible for the displayed version of the mod in the main menu;
-
Preview - Responsible for the appearance of the mod's logo at startup, has 3 child parameters, of which 2 are required: Logo (similar to the icon, extension .bmp), Info (displayed information), and 1 optional - enable (true / false);
-
Mpqs - Responsible for loading mpq, is an array with objects that have 2 child parameters, of which Name is mandatory, responsible for the name of mpq, and Priority is optional, responsible for the priority of loading, if absent, it is automatically issued from the addition of the maximum priority and one;
-
Bins - Responsible for connecting dll libraries, is an array with strings;
-
Races - Responsible for loading races, is an array with objects that have 2 required parameters: Skin - race name located in war3skins.txt and Key - race name located in GlobalStrings.fdf.
Step 2: Add the -mod <Mod folder name> parameter to the arguments and enjoy the game.

 Approved
