- Joined
- Mar 29, 2011
- Messages
- 3,762
TreeEditingEditing Warcraft Trees
Trees are important in every map as destructibles or as decorations. This is the reason why I created this tutorial.
Tools Needed:
1. WC3 Viewer
2. MDLVis
Contents
1. Extracting
2. Editing
Extracting
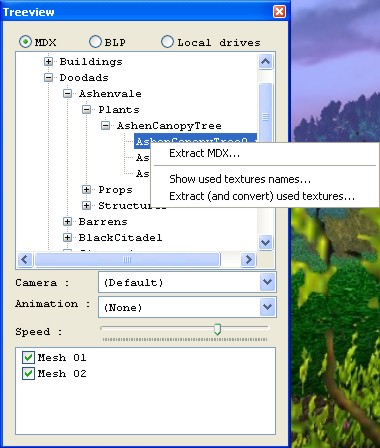
1. Open WC3 Viewer. Look for the tree you wanted to edit. Right click it then click extract MDX. This tutorial will use AshenCanopyTree0.mdx found at Warcraft III\War3x.mpq in my computer. The path is Doodads\Ashenvale\Plants\AshenCanopyTree\AshenCanopyTree0.mdx.
2. Do not forget which folder you saved the model.
Editing
1. Open MDLVis. Open the model which you have saved/extracted. Right Click Perspective, Click Front so that we may take a look at the front view of the model. Press F To view the model in textured view. Take note that the model has two geosets: the one for the tree and the second one for the dead tree version. We will not edit the dead tree version. Note: The number of geoset can be found at the bottom right corner.
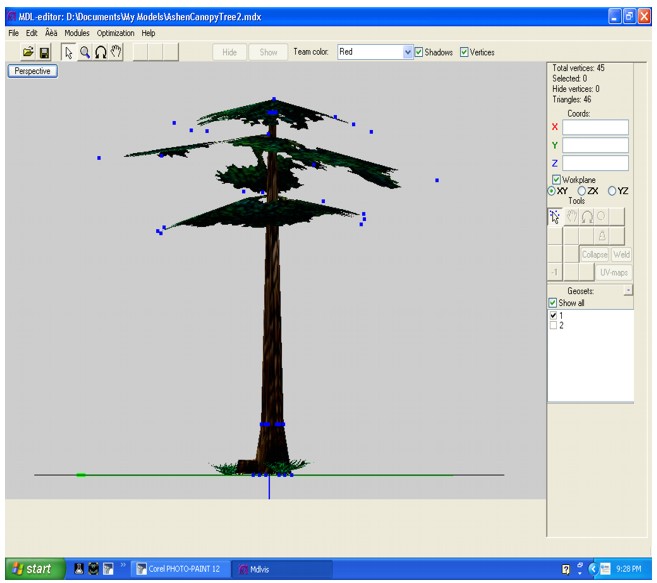
2. We are going to create a branch for this tree and some leaves for it. Select all the vertices bounding the trunk. Be careful in selecting vertices, you might select the wrong one. Click Edit then click Copy.We now have the copy of the trunk.Always view the model in textured view.
The edit command.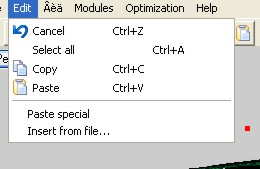
This image shows the selected vertices of the trunk before you copy it.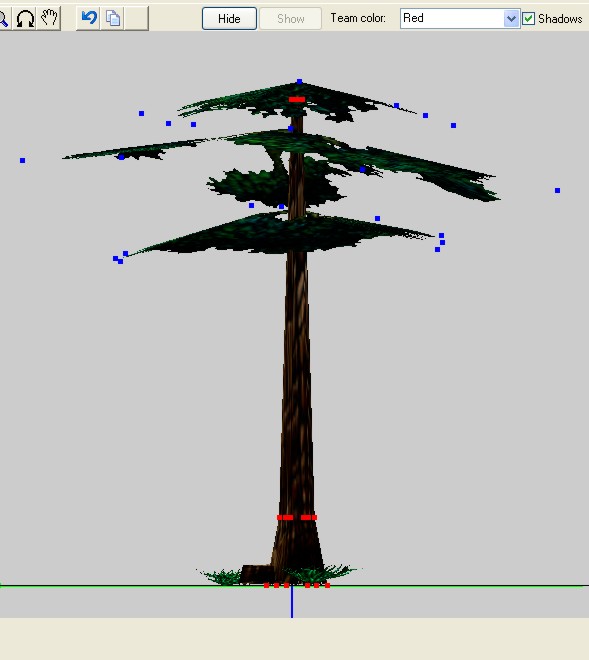
This image shows the selected vertices of the trunk after you copy it.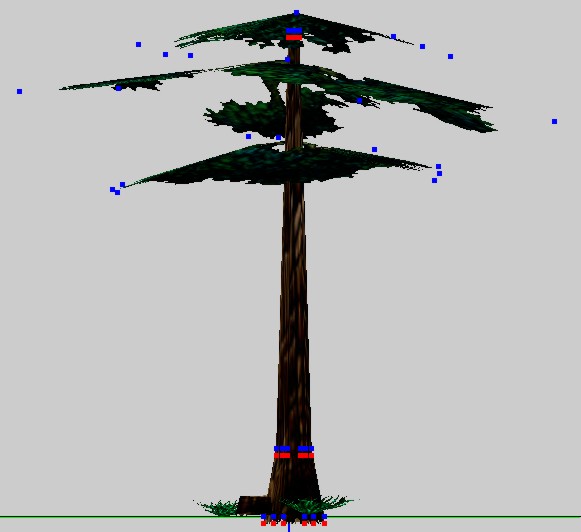
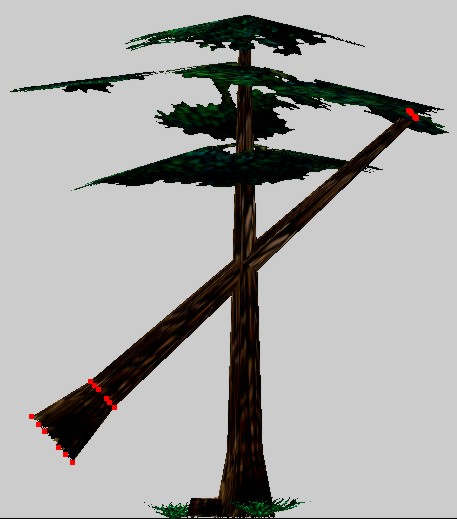
3. In Work Plane click YZ. Click Rotate. Position the cursor at the trunk then move left or right to rotate it. This new trunk will become our branch. Note: All the bounding vertices of the trunk must be selected first before rotating it. The result must be like the one shown below.
4. You will now decide the location of your branch with reference to the trunk of the tree. You can experiment in many ways here. You can rotate, move or resize your branch at your will. If you are done experimenting and is satisfied with the result, It is now time to place the leaves for that branch.
You may want to position the brach like the one shown in the image.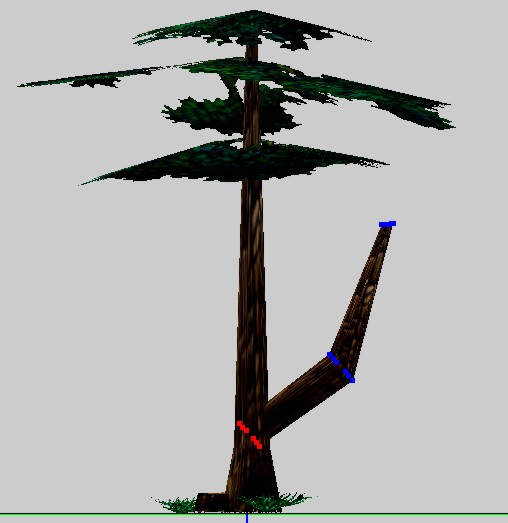
5. Now, we will put leaves into our new branch. We will just select the vertices bounding the leaves. Always be careful in selecting vertices. If you are done selecting the vertices, click Edit then click Copy to create new leaves for our trunk. Always press F after copying any geosets from a model.

6. With the leaves' vertices still selected, carefully position it into the new branch using the move command. Take note that you are always free to experiment in MDLVis.
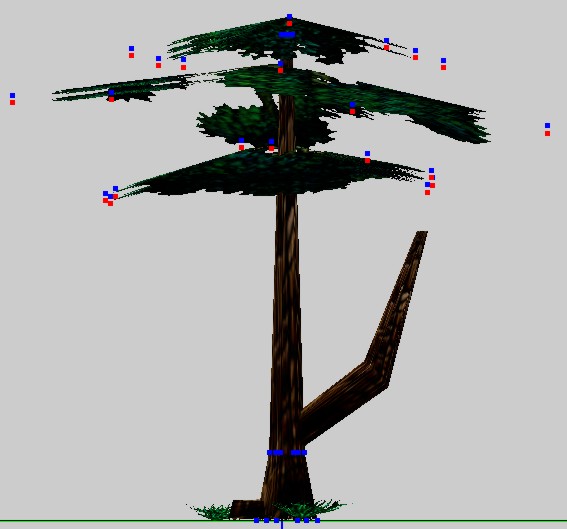
7. If you are satisfied with the position of the leaves, save it. See the finished new AshenvaleCanopyTree below.
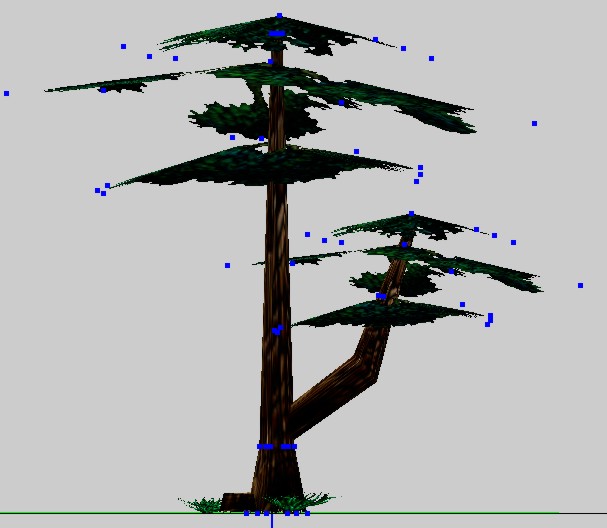
Note From the Author
What is good in editing Warcraft Tree is that we do not need to create animations. Once you are done editing it, you can immidiately save it for use because it already has stand, stand hit, birth, and death animations. If you think that your edit is in good quality, you can upload it in the model section.
Attachments
-
 selected trunk vertices copied textured.jpg33.6 KB · Views: 3,573
 -
 selected trunk vertices textured.jpg42 KB · Views: 3,632
 -
 saved model.jpg58.5 KB · Views: 4,469
 -
 rotated new trunk.jpg37.3 KB · Views: 3,586
 -
 positioned branch.jpg34.6 KB · Views: 3,534
 -
 move rotate commands.jpg32 KB · Views: 421
 -
 extracting mdx file.jpg50.7 KB · Views: 3,905
 -
 edit command.jpg12.7 KB · Views: 3,515
 -
 selected new leaves vertices textured.jpg41.4 KB · Views: 6,485
 -
 the new variation of AshenvaleCanopyTreeEdited.jpg46.2 KB · Views: 3,512
Last edited:


