- Joined
- Dec 29, 2006
- Messages
- 365
Intro:
I decided to make a tutorial on animation in 3ds max 5, I know that there are a couple tutorials on wc3campains but to me they are poorly written. It took me about 2 hrs of re-reading each tutorial and the blizz art tools tutorial before I finally got it. Now I want to spare all of you the frustration of trying to animate using Bones. This will be a step by step instruction and as detailed and clear as I can get, if anything is unclear please PM me and ill try to explain it in more depth. I am not a expert in this and some things could be wrong so please let me know so I can change things.
Difficulty level
medium
Requirements
1.3ds max 5
2.blizzard art tools
3.a bunch of patience
Contents
1.Introduction
2.Definitions
3.Getting started
4.Rigging your model
5.Dope sheet
6.Animation
7.Looping/nonlooping.
Definitions
Bones:
Some of you may wonder what are bones exactly? Well bones are boxes that are placed inside of your models at different places to control different parts of the model. Really no different than the human bones . Bones should be labeled “Bone_head, Bone_arm, Bone_torso” etc.
Keys:
Keys are what “Store” your models movements, each motion needs a key assigned to it.
Getting Started
First things first, you need something to animate, in this tutorial I decided to just make a simple sphere and have it bounce up and down for its walk animation. I will only be covering the walk animation but the process is the same for any animation you will make in the future.
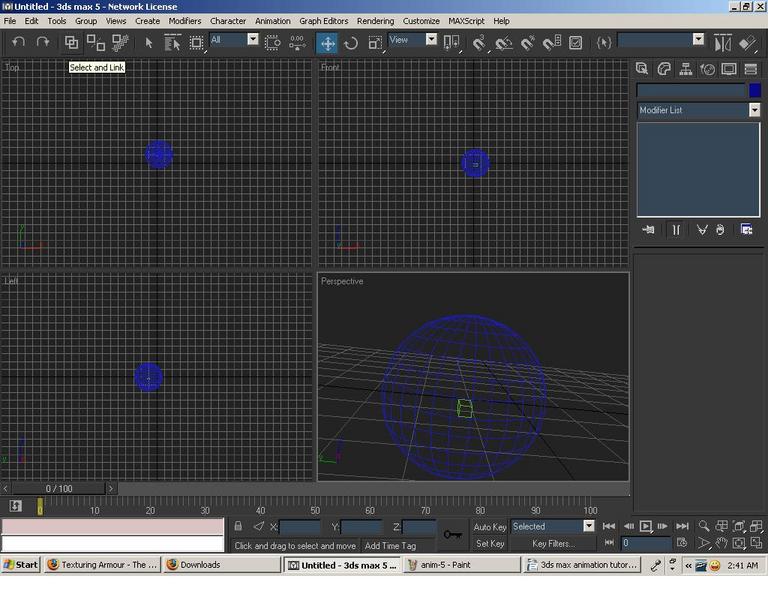
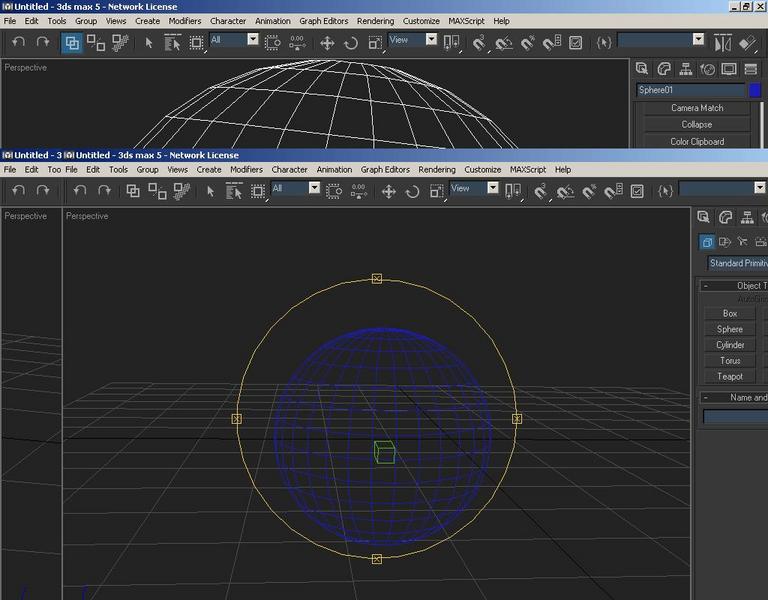
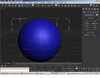
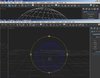
1. Create a sphere and label it anything you want.

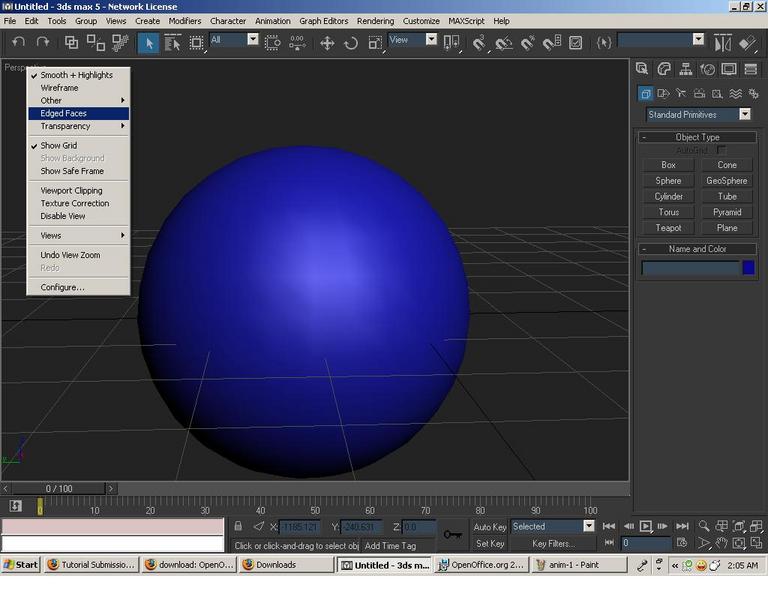
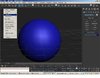
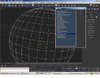
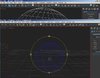
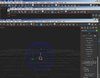
2. Next you will want to edit the sphere so it shows edged faces, to do this right click on prospective in the top left corner of the view. Then select edged faces, this makes it a lot easier to see and select things
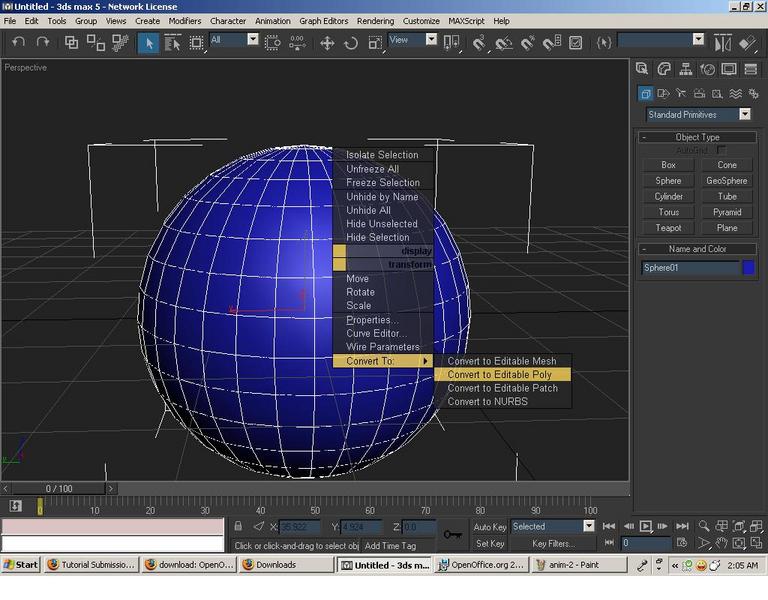
3. Now Select your model and right click on it, you will get a menu. Go to the bottom where it says Convert, then select editable poly. This should be done no matter what you are doing in 3ds max, it enables you to select different places on your model. From vertex to faces.
Rigging your model
Now that you have you model all set up, its time to “Rig” it for animation. Now in order to make things move such as arms and legs in wc3 you need to split your mesh into many parts such as, hands, arms, legs, torso, head, hip. They need to be separated so that you can move them. You may ask yourself... “why? Wont this screw up the model by creating gaps?” the answer is no. Its necessary to split them up so u can assign bones to them and so they work correctly, don't worry about the gaps, the skin will stretch to fill in those gaps.
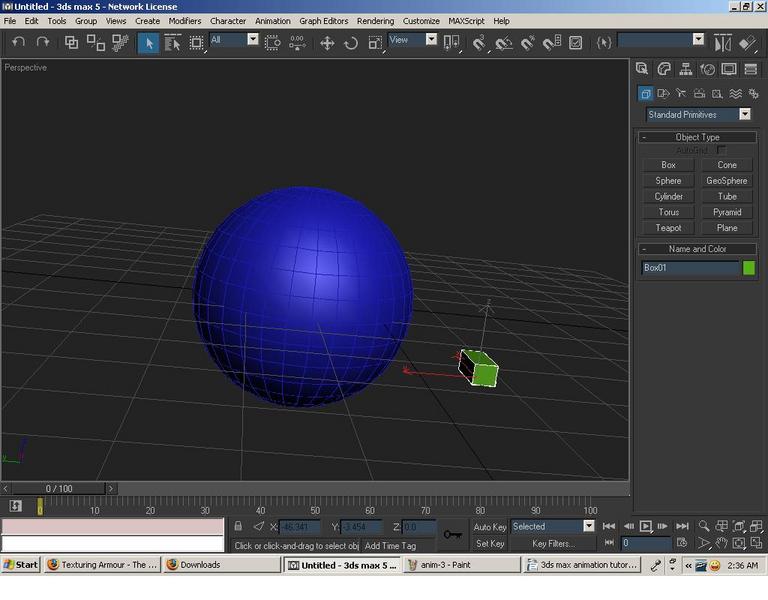
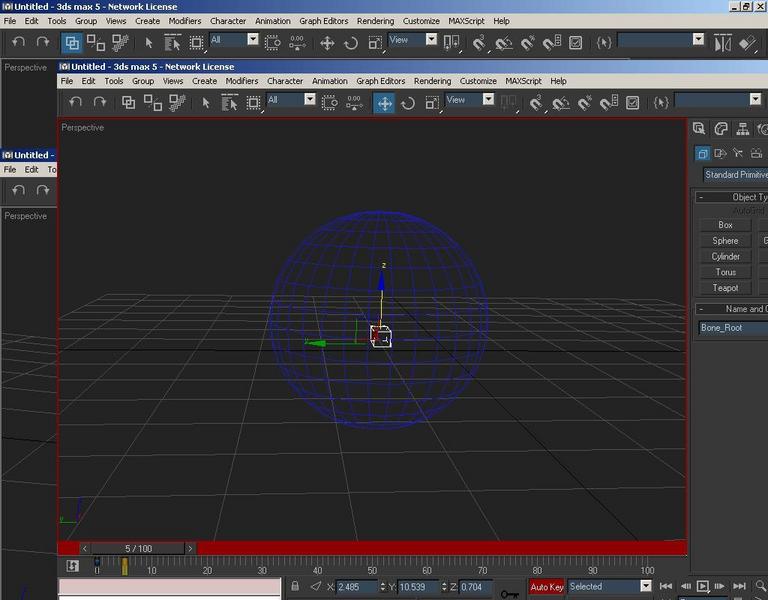
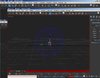
1: Create a small box and label it Bone_Root.
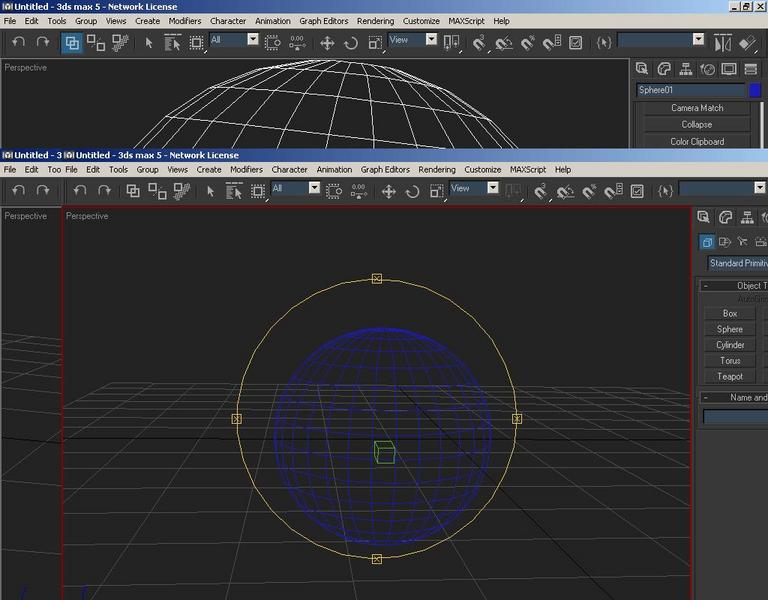
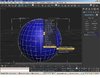
2. Convert this to editable poly like you did with the sphere and then move the box to the middle of the sphere, make sure that you look in all views to make sure that is in the middle.
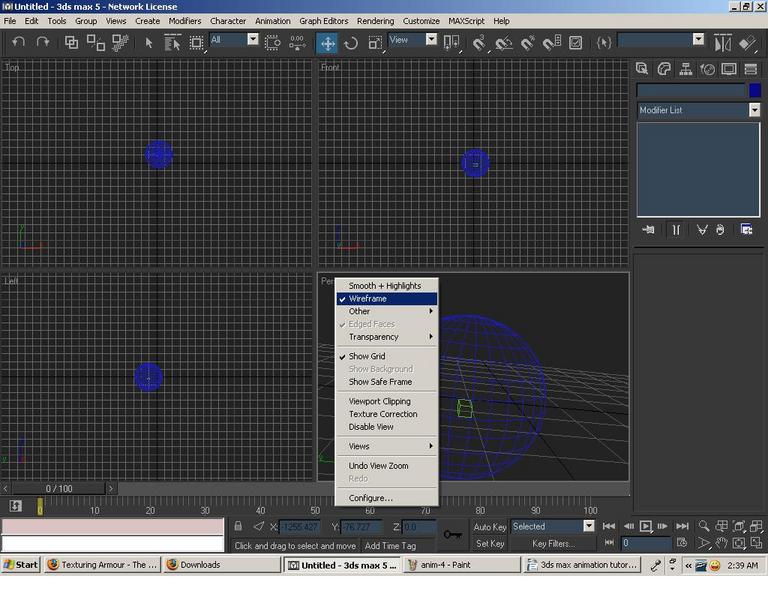
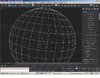
3. Now you may have trouble seeing your bone in prospective view, to correct this right click on prospective again and select “wire frame” this will allow you to see it much easier.
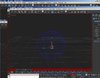
4. Next you need to “link” the sphere to the box. To do this select the link tool in the upper left hand corner.
5. To link the sphere to the box by clicking on the sphere with the tool and hold the left mouse button down, you will notice that when you move the mouse that there is a dotted line that follows. Direct this line to the box and let the left mouse button go when you touch the box. The box should flash indicated that you linked them together. To test that you got it right, click and move the box, if the sphere follows it then you did it right.
I talked a little about splitting your model into pieces, this is where it comes into play. You simply select a part of your model (making sure you select everything you want) and clicking the detach button found in the modify tab, you may be prompted to rename the part, simply rename it to the part in which it is. Now do the same technique by making boxes and placing them in the body parts and linking each body part to that bone. You will need a Root bone to link all the pieces of your model too, this is normally found in the torso, so simply make a box there and link each bone to that bone. No this will not override your work of linking each body part to the meshes.
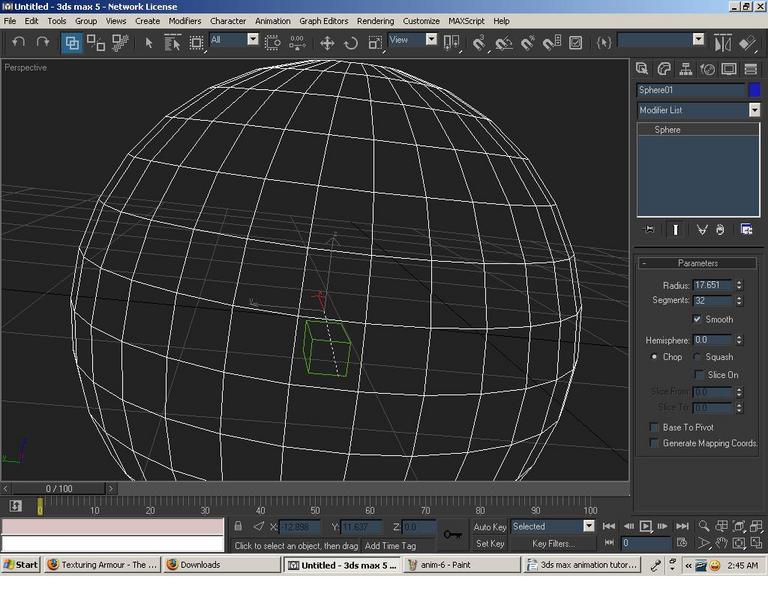
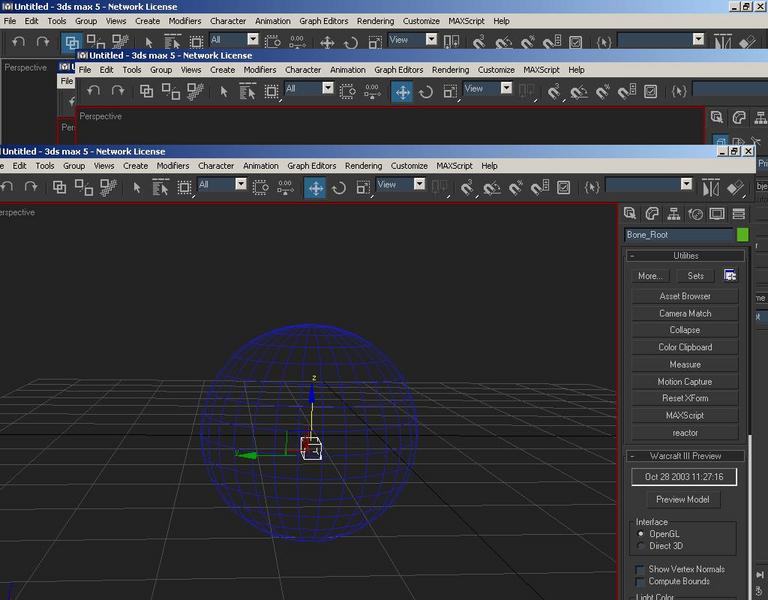
6. Now you need to declare that the box is a bone, to do this click the utilities roll out tab in the upper right side of the screen, and then click more.
7. next click user property out of the list of utilities.

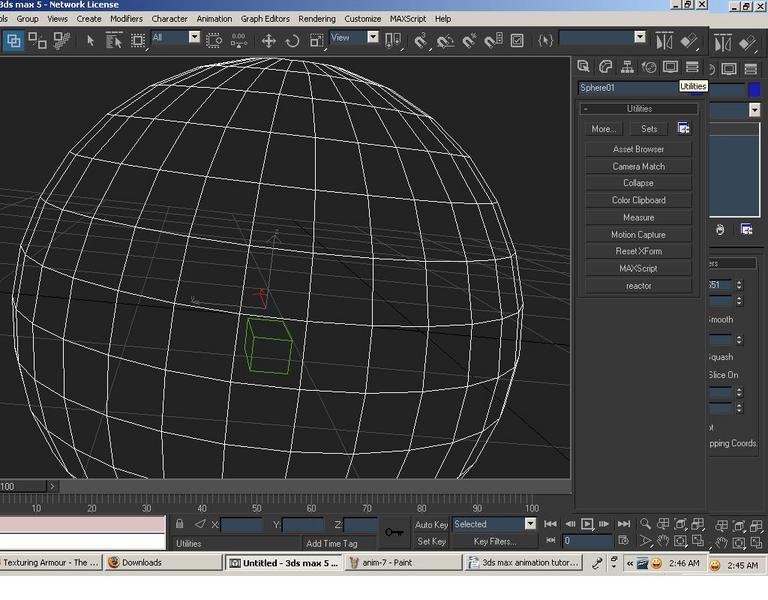
8. You will see a panel appear just below the buttons on the utilities tab. If you have the sphere already selected, go ahead and click the Mesh Properties.
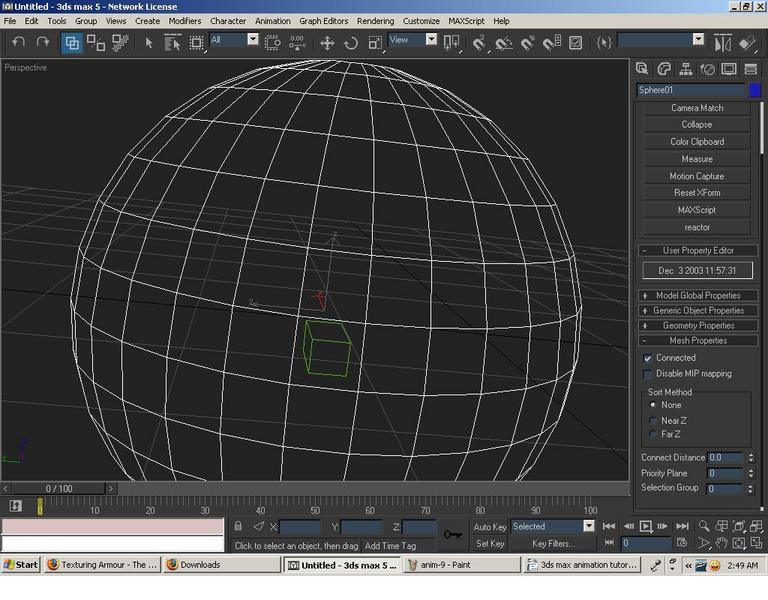
9. you will see that there will be a box and next to the box will say Connected, check that box. This allows your skin to mold to your model and close the gaps, this must be done to each part of you mesh. But in this tutorial you don't need to worry about it.
10. Next select your box and click the Geometry roll out in the same place as the Mesh properties. Now select the Bone option. This tells wc3 that this is a bone and it will not show up on your model or add extra polys.
Congratulations, your model is ready to be animated.
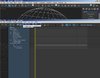
Dope Sheet
Now its time to set up your dope sheet before you animate, the dope sheet records your movements in things called “notes” notes are used to identify and record each set of animations, and make it so that he game engine can tell which is default action and alternate action
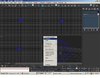
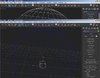
1. Go to the top of the screen and select the graph editors and select dope sheet.
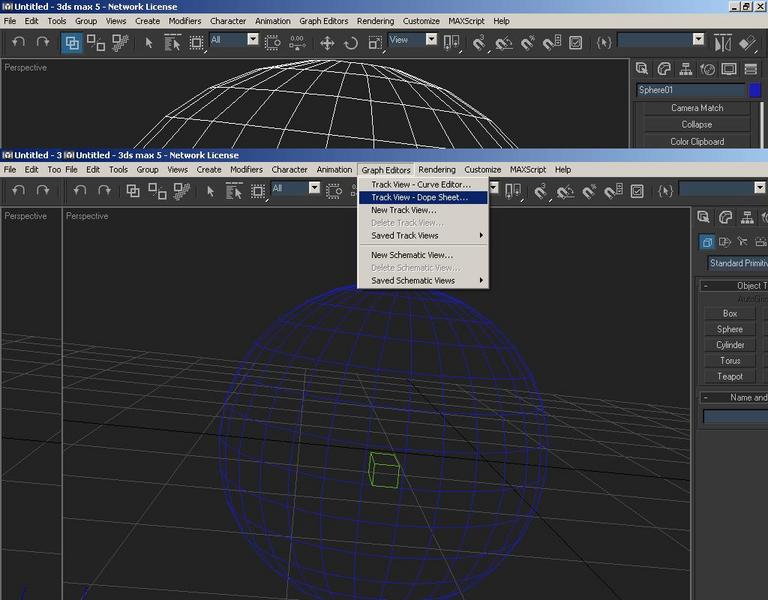
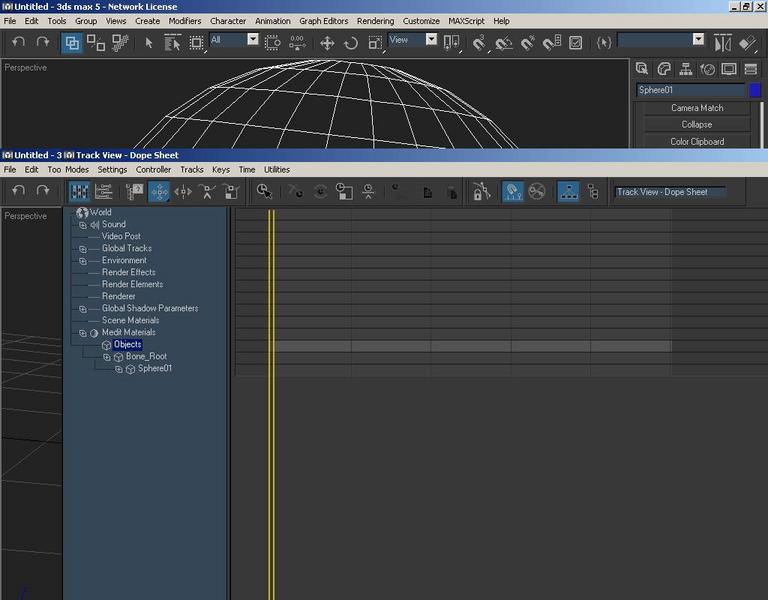
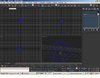
2. The dope sheet may look confusing but don't worry, now on the left column select objects.
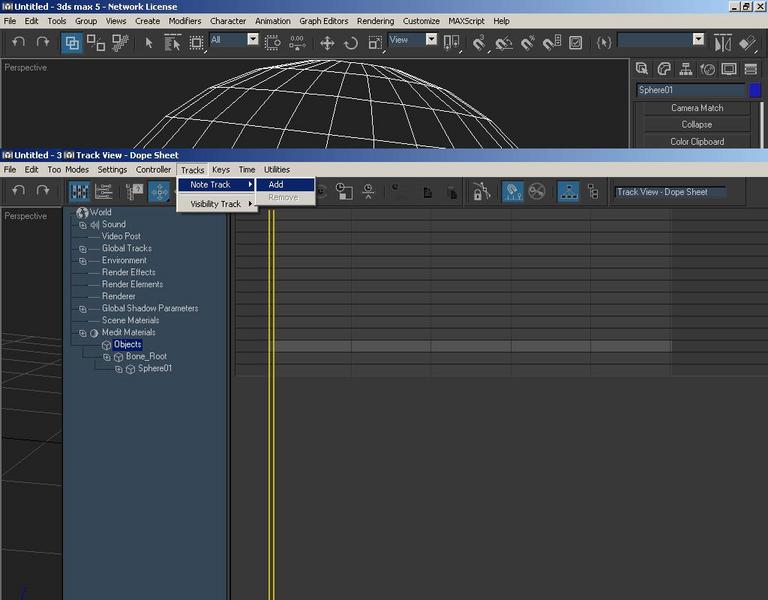
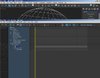
3. Then go up to the top and select Tacks then Note take -> Add.
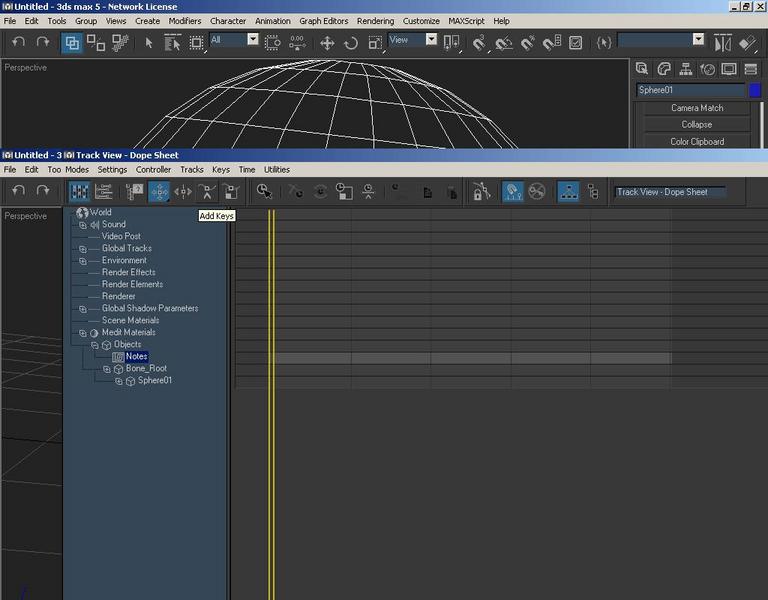
4. Under the objects you should now have “Notes” selected.

5. now we need to add keys, go to the top and select add keys.
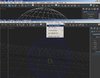
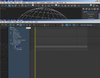
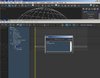
6. you should notice that if you have notes selected that there will be a light gray line that is clearly visible, this is where you add your keys. Click in between the 2 solid yellow lines, don't worry if you miss, just select the move tool and right click the key you just made. You should get another window that looks like this.
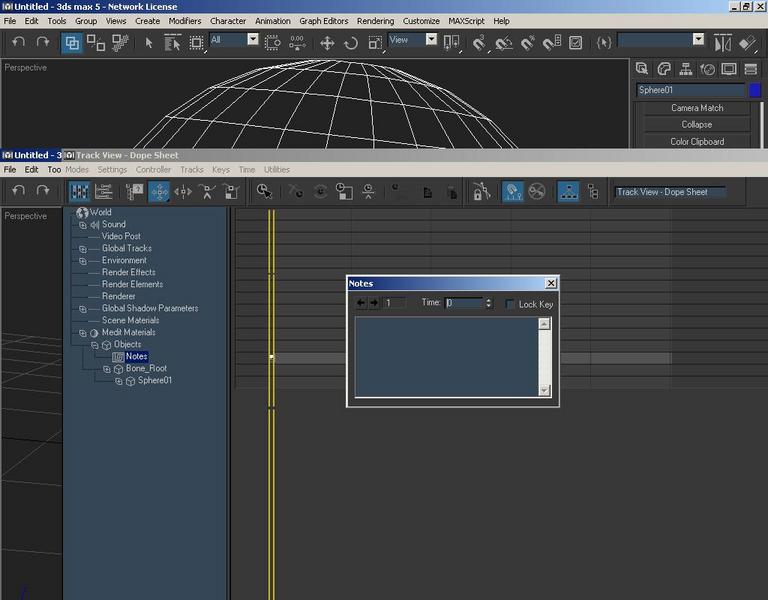
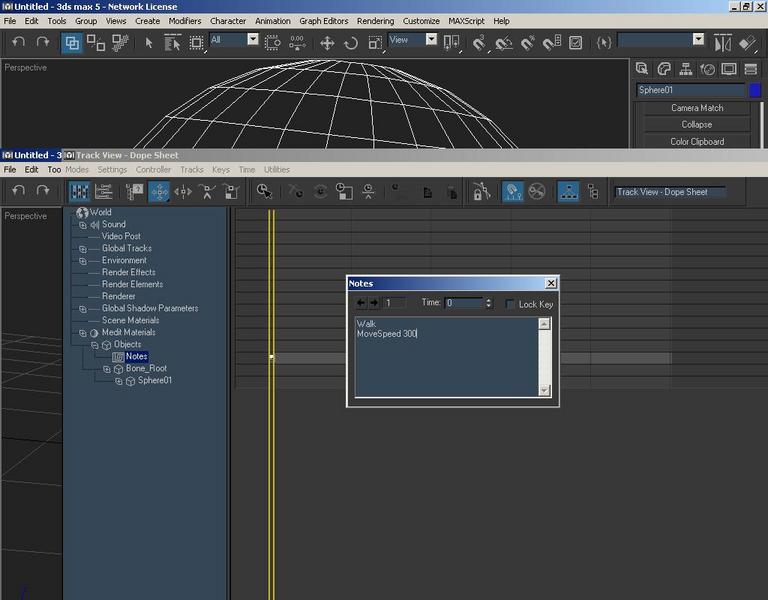
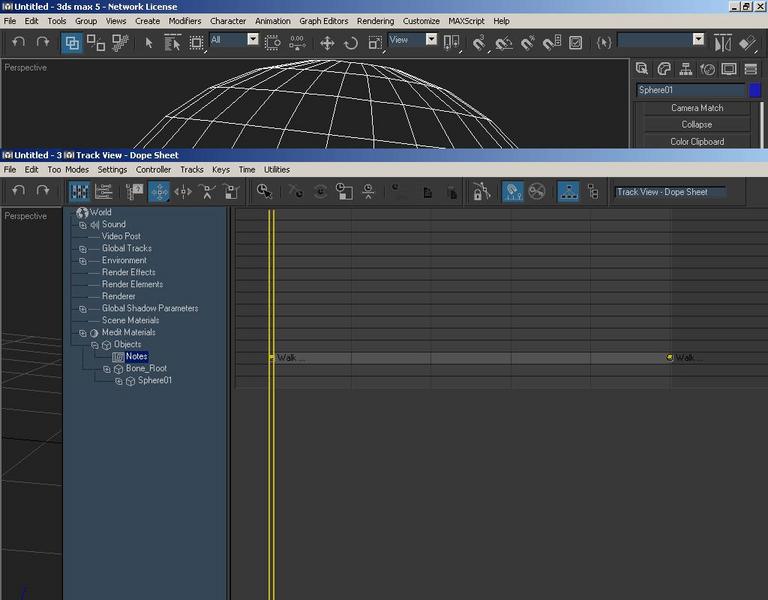
7. Notice where it says time? It should read 0 and not -1, highlight it and change it if it says -1. this will move the key to 0. Next in the same window you see a open space, click it and write Walk. Then hit enter and underneath it write MoveSpeed 300. it should be exactly the way I wrote it. Then exit out of it, you should see the key on the time line with the name “Walk” this is called the starting key, we now want to make a ending key.
9. So do the same thing and make another key, but this time place it 100. the time line goes to 100 but it can be changed, but for the sake of this tutorial just keep it at 100. so once you have your ending key made it should be exactly like the first one. You can now exit out of the dope sheet.
Now comes the fun part, Animating, Next we select auto key. You will notice a red border, if you see this then you clicked the right thing
10. You need to create a key, do this by selecting the big key at the bottom right of the screen.
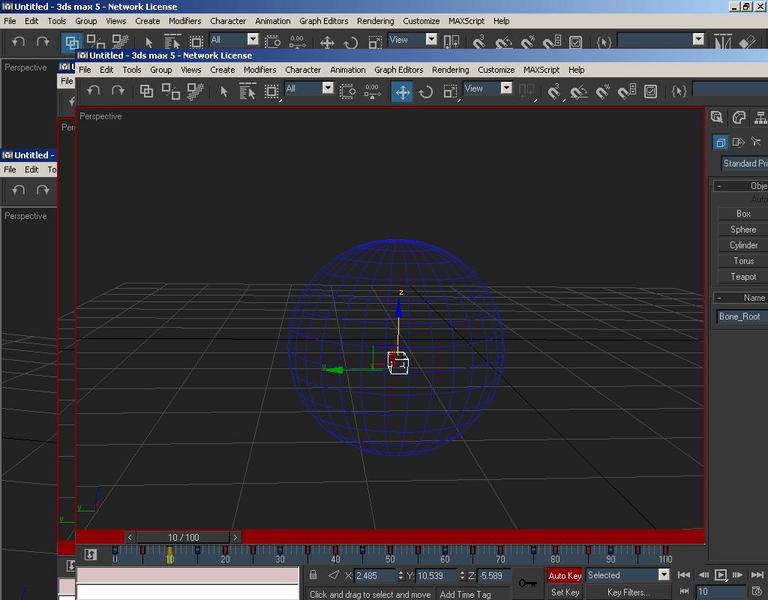
11. Now we drag the bar on the time line to 5, then select the box and move it up a little bit, then move the slider to 10 and move the sphere back down. Make sure its at the same exact place as it was when you first started otherwise it will look weird.
12. I know what your thinking... “do I need to do this all the way to 100? the answer is yes, but you do not need to keep moving the sphere, you got the basic animation already recorded, all we gotta do is select the two keys on the bottom and copy and paste them 5 apart. To do this press and hold control and select the little keys on the time line. They should turn white.
13. Now hold shift and click and drag them into place, then let go and click again to make a new set, make sure that they are at every 5, so 5, 10, 15, 20 etc.
12. Next we will test our animation. Drag the slider to 0/100 and press play, you should see a bouncing sphere. Notice that the sphere continues to bounce? This is because its looping automatically. We want it to loop because its a walk animation. To make it loop the starting key needs to be equal to the ending key. This is why I put one at every 5 on the time line to make it nice and smooth.
Congratulations
you just made a bouncing sphere.
Looping/non looping
walk animations need to be looping because its an on going, for attack though we do not want it to loop, we want the attack to stop when we tell it to, to accomplish this we need to not make the starting and ending not equal.
Now I suppose you wondering how does this look in game? Well go to utilities again and select more then wc3 previewer.
And click preview model, you will get a bunch of errors about no skin and what not, just ignore it. If you get an error saying that there are notes on the same line error, double check your dope sheet/ time line. If theres still a problem after you redid everything let me know, it may be a missed step in my tutorial. You should see your sphere bouncing and moving forward on a grid. If you got this then congratulations you just animated your first model... doesn't it feel good?
Thats it for this tutorial, Im attaching unanimated models Chriz posted in the animation contests. I used these to learn so have fun.
Keep animating hope this helped.
If there are errors let me know, I wrote this at 3:00 in the morning so im a little tired.
I decided to make a tutorial on animation in 3ds max 5, I know that there are a couple tutorials on wc3campains but to me they are poorly written. It took me about 2 hrs of re-reading each tutorial and the blizz art tools tutorial before I finally got it. Now I want to spare all of you the frustration of trying to animate using Bones. This will be a step by step instruction and as detailed and clear as I can get, if anything is unclear please PM me and ill try to explain it in more depth. I am not a expert in this and some things could be wrong so please let me know so I can change things.
Difficulty level
medium
Requirements
1.3ds max 5
2.blizzard art tools
3.a bunch of patience
Contents
1.Introduction
2.Definitions
3.Getting started
4.Rigging your model
5.Dope sheet
6.Animation
7.Looping/nonlooping.
Definitions
Bones:
Some of you may wonder what are bones exactly? Well bones are boxes that are placed inside of your models at different places to control different parts of the model. Really no different than the human bones
. Bones should be labeled “Bone_head, Bone_arm, Bone_torso” etc. Keys:
Keys are what “Store” your models movements, each motion needs a key assigned to it.
Getting Started
First things first, you need something to animate, in this tutorial I decided to just make a simple sphere and have it bounce up and down for its walk animation. I will only be covering the walk animation but the process is the same for any animation you will make in the future.
1. Create a sphere and label it anything you want.
2. Next you will want to edit the sphere so it shows edged faces, to do this right click on prospective in the top left corner of the view. Then select edged faces, this makes it a lot easier to see and select things
3. Now Select your model and right click on it, you will get a menu. Go to the bottom where it says Convert, then select editable poly. This should be done no matter what you are doing in 3ds max, it enables you to select different places on your model. From vertex to faces.
Rigging your model
Now that you have you model all set up, its time to “Rig” it for animation. Now in order to make things move such as arms and legs in wc3 you need to split your mesh into many parts such as, hands, arms, legs, torso, head, hip. They need to be separated so that you can move them. You may ask yourself... “why? Wont this screw up the model by creating gaps?” the answer is no. Its necessary to split them up so u can assign bones to them and so they work correctly, don't worry about the gaps, the skin will stretch to fill in those gaps.
1: Create a small box and label it Bone_Root.
2. Convert this to editable poly like you did with the sphere and then move the box to the middle of the sphere, make sure that you look in all views to make sure that is in the middle.
3. Now you may have trouble seeing your bone in prospective view, to correct this right click on prospective again and select “wire frame” this will allow you to see it much easier.
4. Next you need to “link” the sphere to the box. To do this select the link tool in the upper left hand corner.
5. To link the sphere to the box by clicking on the sphere with the tool and hold the left mouse button down, you will notice that when you move the mouse that there is a dotted line that follows. Direct this line to the box and let the left mouse button go when you touch the box. The box should flash indicated that you linked them together. To test that you got it right, click and move the box, if the sphere follows it then you did it right.
I talked a little about splitting your model into pieces, this is where it comes into play. You simply select a part of your model (making sure you select everything you want) and clicking the detach button found in the modify tab, you may be prompted to rename the part, simply rename it to the part in which it is. Now do the same technique by making boxes and placing them in the body parts and linking each body part to that bone. You will need a Root bone to link all the pieces of your model too, this is normally found in the torso, so simply make a box there and link each bone to that bone. No this will not override your work of linking each body part to the meshes.
6. Now you need to declare that the box is a bone, to do this click the utilities roll out tab in the upper right side of the screen, and then click more.
7. next click user property out of the list of utilities.
8. You will see a panel appear just below the buttons on the utilities tab. If you have the sphere already selected, go ahead and click the Mesh Properties.
9. you will see that there will be a box and next to the box will say Connected, check that box. This allows your skin to mold to your model and close the gaps, this must be done to each part of you mesh. But in this tutorial you don't need to worry about it.
10. Next select your box and click the Geometry roll out in the same place as the Mesh properties. Now select the Bone option. This tells wc3 that this is a bone and it will not show up on your model or add extra polys.
Congratulations, your model is ready to be animated.
Dope Sheet
Now its time to set up your dope sheet before you animate, the dope sheet records your movements in things called “notes” notes are used to identify and record each set of animations, and make it so that he game engine can tell which is default action and alternate action
1. Go to the top of the screen and select the graph editors and select dope sheet.
2. The dope sheet may look confusing but don't worry, now on the left column select objects.
3. Then go up to the top and select Tacks then Note take -> Add.
4. Under the objects you should now have “Notes” selected.
5. now we need to add keys, go to the top and select add keys.
6. you should notice that if you have notes selected that there will be a light gray line that is clearly visible, this is where you add your keys. Click in between the 2 solid yellow lines, don't worry if you miss, just select the move tool and right click the key you just made. You should get another window that looks like this.
7. Notice where it says time? It should read 0 and not -1, highlight it and change it if it says -1. this will move the key to 0. Next in the same window you see a open space, click it and write Walk. Then hit enter and underneath it write MoveSpeed 300. it should be exactly the way I wrote it. Then exit out of it, you should see the key on the time line with the name “Walk” this is called the starting key, we now want to make a ending key.
9. So do the same thing and make another key, but this time place it 100. the time line goes to 100 but it can be changed, but for the sake of this tutorial just keep it at 100. so once you have your ending key made it should be exactly like the first one. You can now exit out of the dope sheet.
Now comes the fun part, Animating, Next we select auto key. You will notice a red border, if you see this then you clicked the right thing
10. You need to create a key, do this by selecting the big key at the bottom right of the screen.
11. Now we drag the bar on the time line to 5, then select the box and move it up a little bit, then move the slider to 10 and move the sphere back down. Make sure its at the same exact place as it was when you first started otherwise it will look weird.
12. I know what your thinking... “do I need to do this all the way to 100? the answer is yes, but you do not need to keep moving the sphere, you got the basic animation already recorded, all we gotta do is select the two keys on the bottom and copy and paste them 5 apart. To do this press and hold control and select the little keys on the time line. They should turn white.
13. Now hold shift and click and drag them into place, then let go and click again to make a new set, make sure that they are at every 5, so 5, 10, 15, 20 etc.
12. Next we will test our animation. Drag the slider to 0/100 and press play, you should see a bouncing sphere. Notice that the sphere continues to bounce? This is because its looping automatically. We want it to loop because its a walk animation. To make it loop the starting key needs to be equal to the ending key. This is why I put one at every 5 on the time line to make it nice and smooth.
Congratulations
you just made a bouncing sphere.
Looping/non looping
walk animations need to be looping because its an on going, for attack though we do not want it to loop, we want the attack to stop when we tell it to, to accomplish this we need to not make the starting and ending not equal.
Now I suppose you wondering how does this look in game? Well go to utilities again and select more then wc3 previewer.
And click preview model, you will get a bunch of errors about no skin and what not, just ignore it. If you get an error saying that there are notes on the same line error, double check your dope sheet/ time line. If theres still a problem after you redid everything let me know, it may be a missed step in my tutorial. You should see your sphere bouncing and moving forward on a grid. If you got this then congratulations you just animated your first model... doesn't it feel good?
Thats it for this tutorial, Im attaching unanimated models Chriz posted in the animation contests. I used these to learn so have fun.
Keep animating
hope this helped. If there are errors let me know, I wrote this at 3:00 in the morning so im a little tired.
Attachments
-
 anim-1.jpg48.7 KB · Views: 4,915
 -
 anim-2.jpg51.9 KB · Views: 5,204
 -
 anim-3.jpg71.5 KB · Views: 6,426
 -
 anim-4.jpg51.3 KB · Views: 4,957
 -
 anim-5.jpg83.8 KB · Views: 4,875
 -
 anim-6.jpg79.9 KB · Views: 4,612
 -
 anim-7.jpg75.3 KB · Views: 4,621
 -
 anim-8.jpg74.3 KB · Views: 4,567
 -
 anim-9.jpg74.6 KB · Views: 4,574
 -
 anim-10.jpg78.7 KB · Views: 4,569
 -
 anim-11.jpg61.4 KB · Views: 262
 -
 anim-12.jpg59.6 KB · Views: 4,530
 -
 anim-13.jpg49.6 KB · Views: 4,547
 -
 anim-14.jpg50.4 KB · Views: 4,432
 -
 anim-15.jpg50.5 KB · Views: 4,516
 -
 anim-16.jpg50.9 KB · Views: 4,510
 -
 anim-17.jpg50.8 KB · Views: 4,451
 -
 anim-18.jpg51.2 KB · Views: 4,475
 -
 anim-19.jpg50.7 KB · Views: 4,454
 -
 anim-20.jpg57.7 KB · Views: 4,470
 -
 anim-21.jpg57.6 KB · Views: 4,415
 -
 anim-22.jpg53.3 KB · Views: 4,396
 -
 anim-23.jpg55 KB · Views: 4,441
 -
 anim-24.jpg61 KB · Views: 4,352
 -
Unanimated Models Fixed.rar52.1 KB · Views: 250


