- Joined
- Oct 2, 2023
- Messages
- 50
Hello, dear HiveWorkshop users. How to test the texture of the model adapted to the Warcraft3 Classic format through the simple Retera Model Studio to the Warcraft3 Reforged look using the Photoshop program. I would like to share my experience of a year and a half with you!
DISCLAIMER:
This tutorial has not been 100% tested and is not written to discredit or discredit WarCraft 3 Reforged.
This textbook was translated from Uzbek to English using Google translator. My Photoshop program is also in Russian. As much as possible, I will try to translate the words of Photoshop functions into English. I apologize if there are any grammatical or spelling mistakes in the translation!
The textbook is checked for errors by myself and HiveWorkshop staff. If there are mistakes, they can be corrected.
And my main point is that I may be a little late in answering your questions, so I apologize in advance for this situation!
The main programs we need:
Photoshop
War 3 Model Editor
We need (DDS-TGA-BLP) converter programs:
Paint.net and XConverter
Download link for XConverter blp and dds plugins:
Plugin- DDS and Blp
Video link on installing XConverter blp and dds plugins:
Part-1: Add the Normal texture to the Diffuse texture:
Concept of normal (map) texture:
You Tube Video
1. We use the following two programs to convert these model textures from DDS format to TGA format.
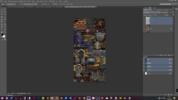
2. Place these three textures (diffuse, normal and orm) in Photoshop while pressing the Ctrl key.
3. Go to the first Diffuse texture and press CTRL+J twice.
4. Go to the normal texture and press CTRL+A and then CTRL+C
5. Go to Diffuse texture and press CTRL+V. That is, we transfer the copy of the normal texture to the diffuse texture.
6. Let's move the visible yellow normal texture one step below the patterned diffuse texture.
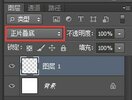
7. We will change the filter blend setting of the normal texture that we downloaded to Luminosity mode.
8. Go to the first diffuse texture and change its filter blend setting to Color mode.
9. Press Ctrl+E to combine the two textures with the second normal diffuse texture with the normal texture.
10. Change the filter blend setting of our combined texture to Hard Color mode (or Soft Color mode).
11. Hold the textures with the Ctrl key and press Ctrl+E to combine the three textures.
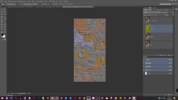
12. And the result:
2-Part: Add the Orm texture to the Diffuse texture:
Concept of orm (map) texture:
You Tube Video
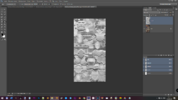
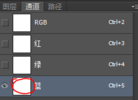
1. Go to the Orm texture and select the red channel from its channels using the Ctrl+A button and copy it by pressing the Ctrl+C button.
2. Go to the Diffuse texture and press Ctrl+V to place a copy of the red channel of the Orm texture.
3. Change this red channel filter blend setting to Darken mode.
4. Select two textures with the Ctrl key and press Ctrl+E to merge the two textures.
5. And the result:
Attention, it is not mandatory to use this method, but try this method according to your desire!!!
Metallic condition:
6. Multiply the finished diffuse texture by one more using the Ctrl+J button.
7. Make this first copy black and white using Ctrl+Shift+U.
8. Go to the Orm texture and copy it from the blue channel by pressing Ctrl+A and Ctrl+C.
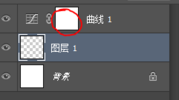
9. Go to the Diffuse texture and open a Mask on the first texture copied below.
10. Place the blue channel of the Orm texture on this Mask using the Ctrl+V keys.
11. Change the copied black-and-white diffuse texture to the Overlay mode with the filter blend setting.
12. Combine these two textures by holding down the Ctrl key and pressing Ctrl+E.
13. And the result:
Add 3-Part Team color (Orm - alpha channel) to the Diffuse texture:
Coming soon...
The textbook is not yet 100% ready. I will continue to fix the bugs. I just shared my work as a tutorial.
I look forward to your questions and thanks.

