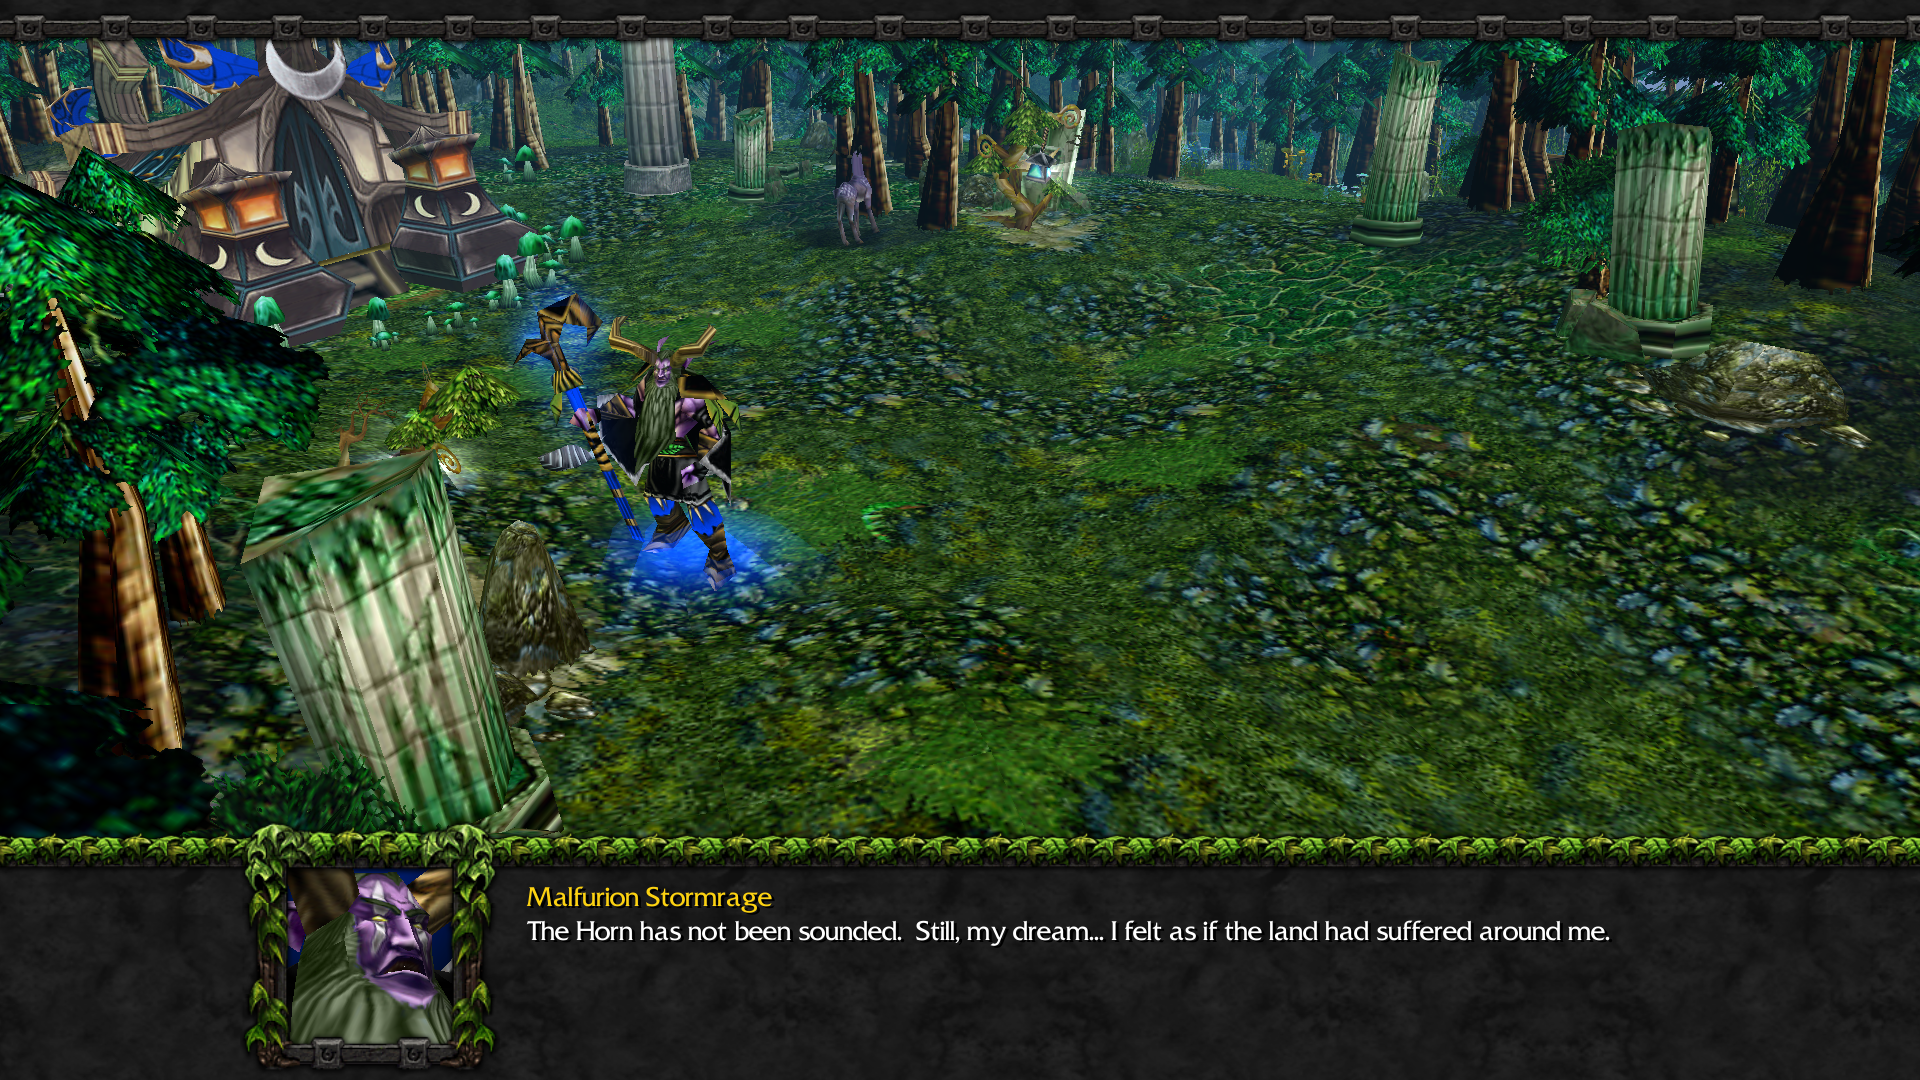
Ok, so after couple of times I tried, I managed to destroy the Medivh's dragonflight base in chapter 9: The Last Guardian and complete the chapter 10: Darkness and Sorrow (which I tried for longer than an hour) on a HARD difficulty. I am feeling happy to share my success and help others who struggle to pass these two final chapters.
About chapter 9, what I did is next:
- I didn't build any base, so that I didn't have to watch over my base for incoming naga and demon advances all the time. I only used heroes to rush (some people call it Wow Dungeon which is completely justified
")
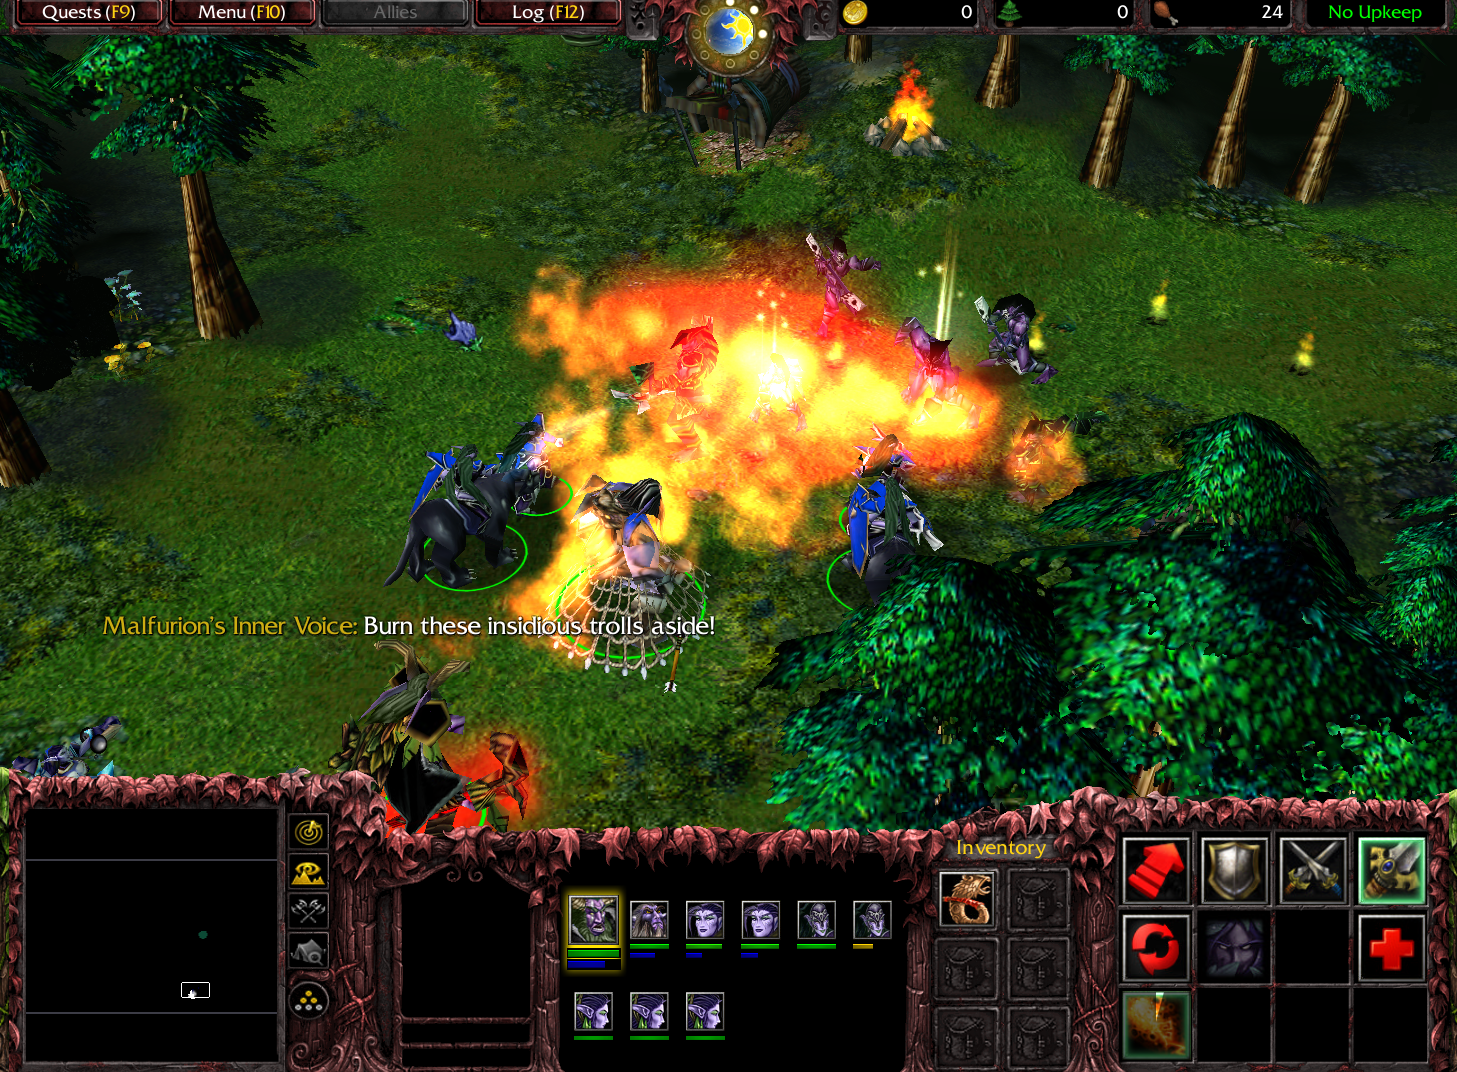
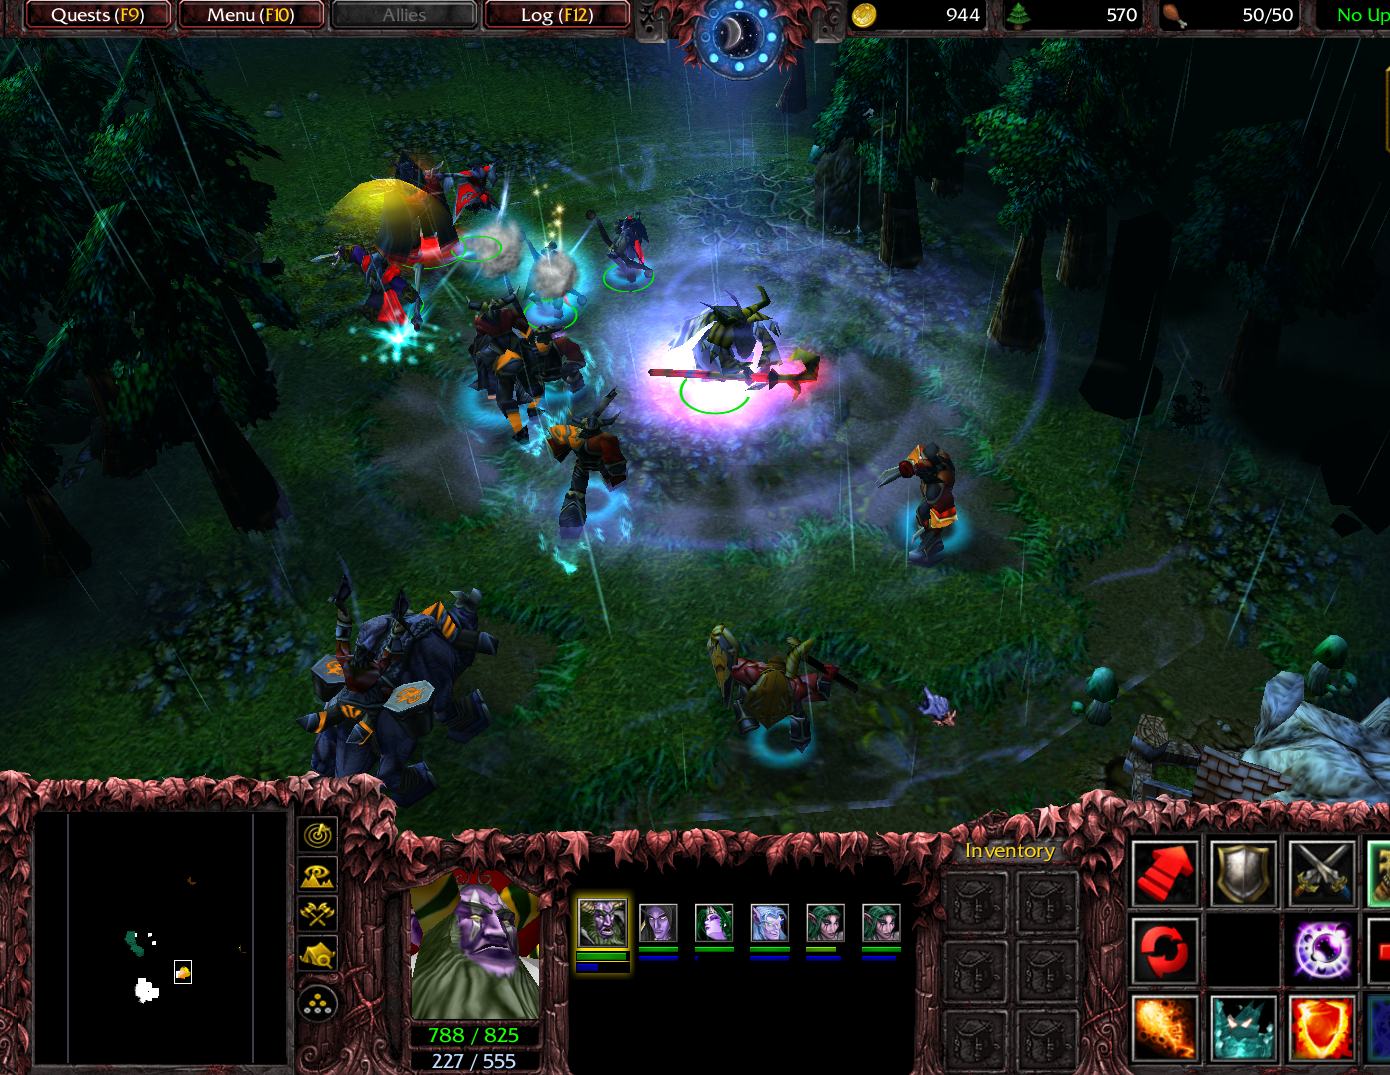
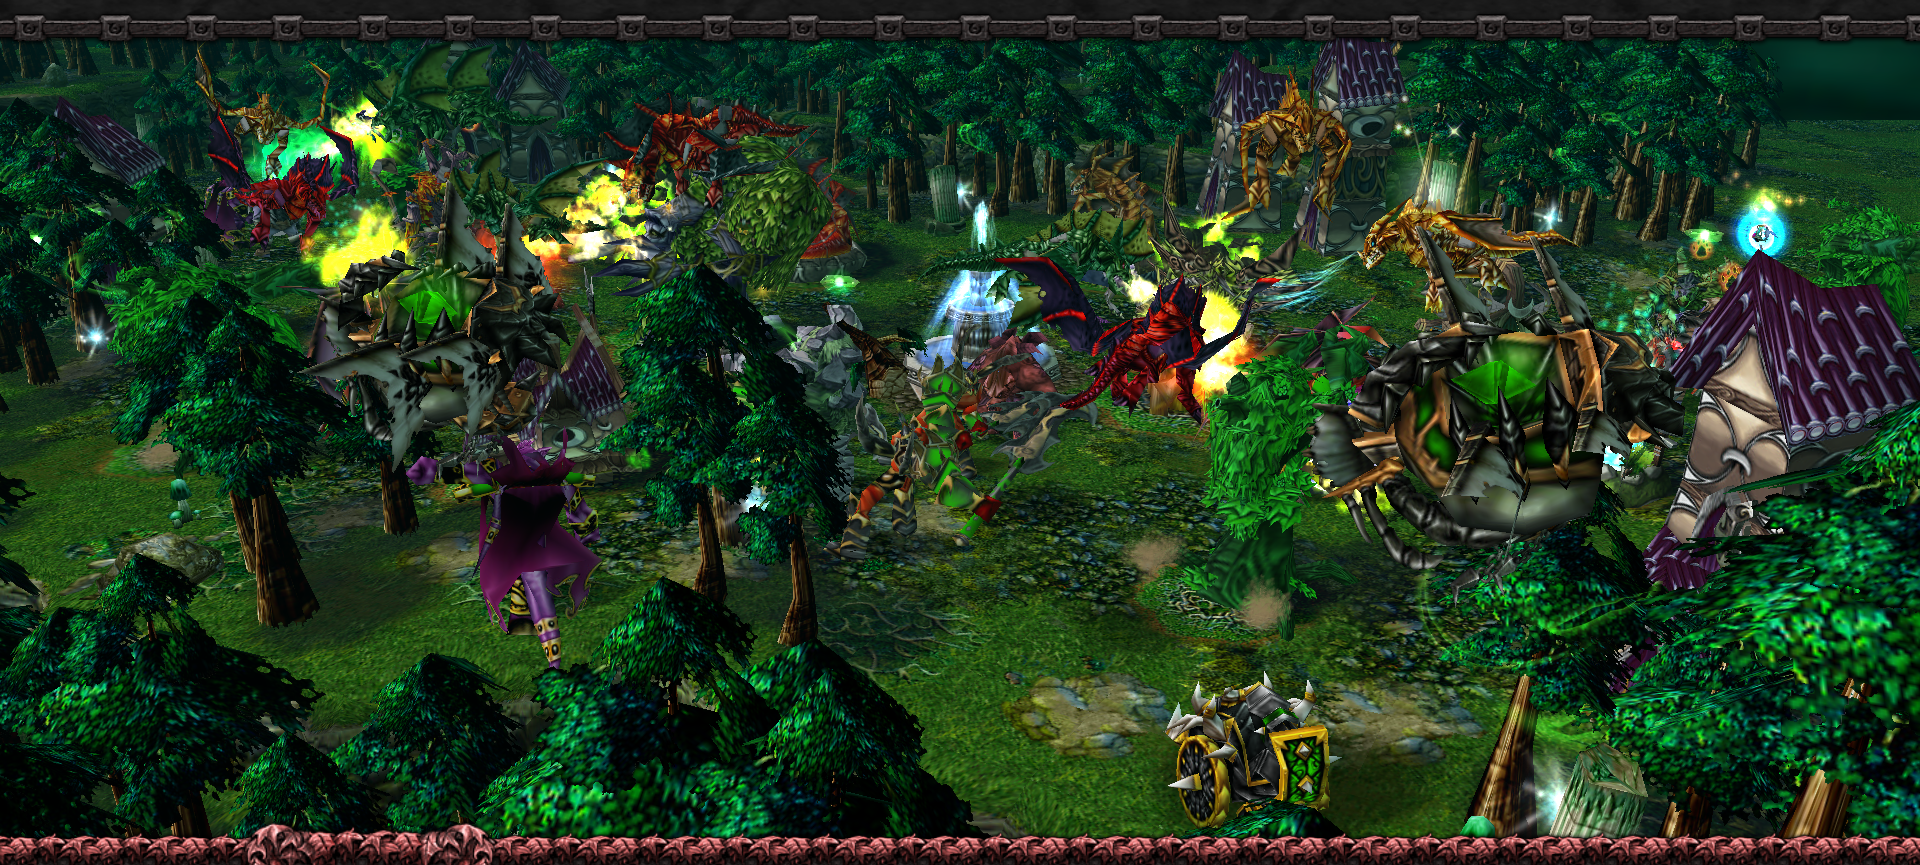
). It required me to destroy one building at a time while also I had to lure the enemy units away from their bases. Then rush to destroy a building and again lure again. The key is to repeat the procedure until the Dragon Roosts are destroyed, because Wisps can't rebuild Roosts and the Ancient Guardians. As a result of the whole base being consisted of two separate AIs, they both have three Dragon Roosts - a Red, Green and a Bronze Roost for each enemy base. They all had to be destroyed so that I could have more time to recover and heal my heroes while the AI would need more time to train the dragons that I killed while luring/rushing. That's a huge advantage, since the dragons are the main enemy units in this chapter, while the ground units, including the enemy heroes, are easy targets compared to the strength of my heroes.
In this chapter, the most precious item was Master Scepter of Healing, which was the key item that kept my heroes alive. I left one free item slot for each of my heroes, so that I could make them heal each other when they lose some amount of health. Except Malfurion who has a backpack to easily store and switch between the existing items. Having great items is a very, very important thing to strenghten the heroes.
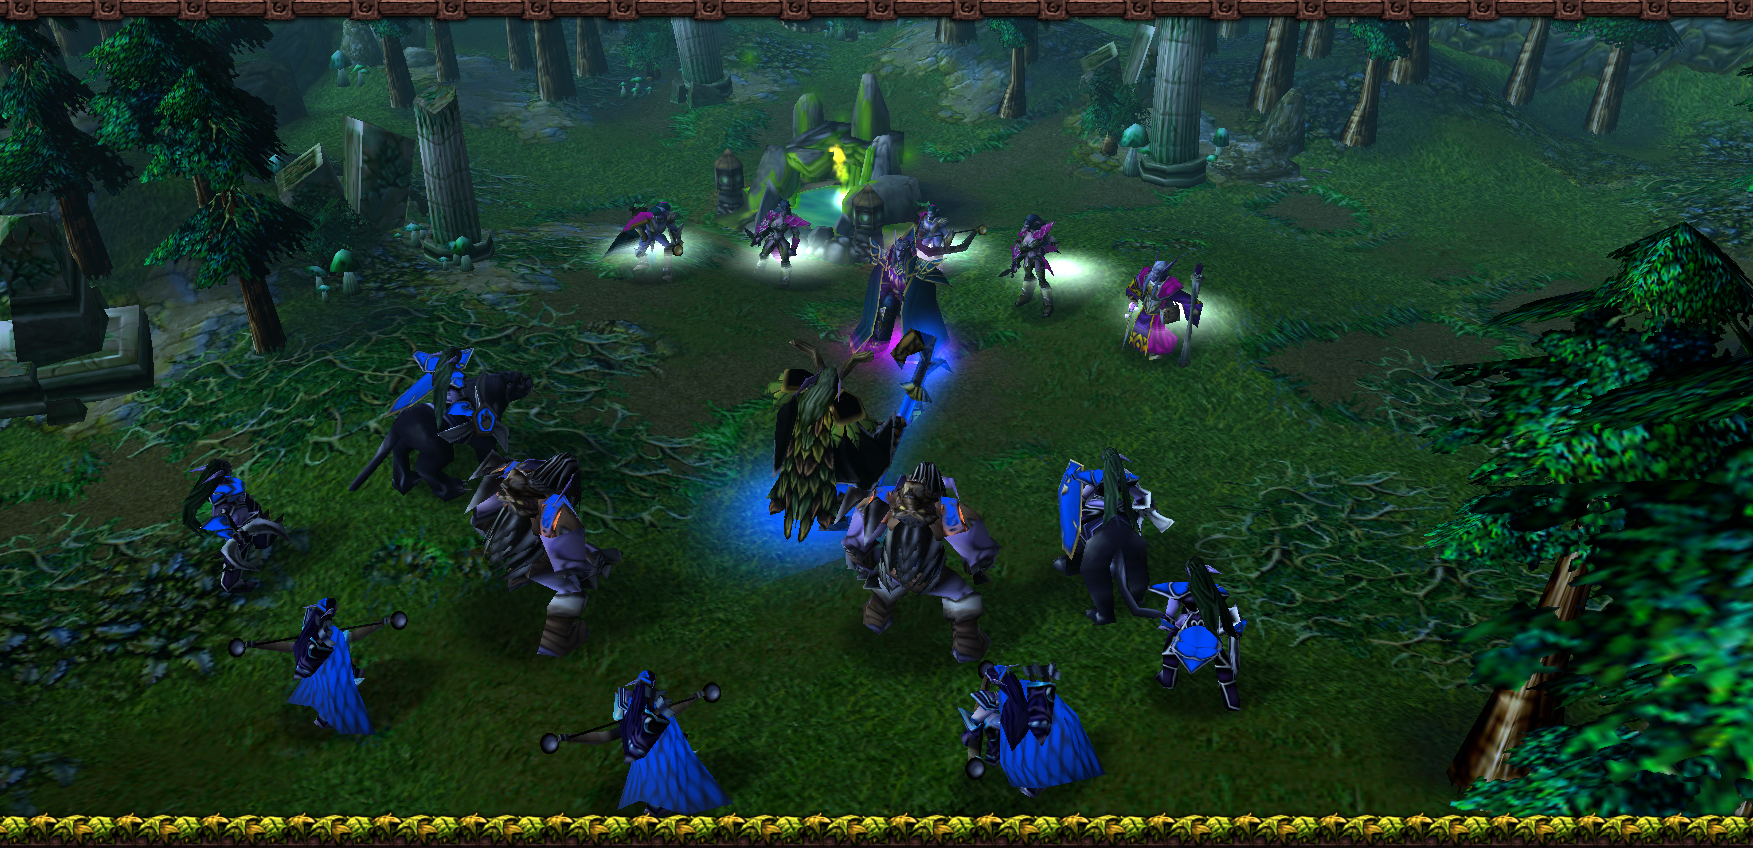
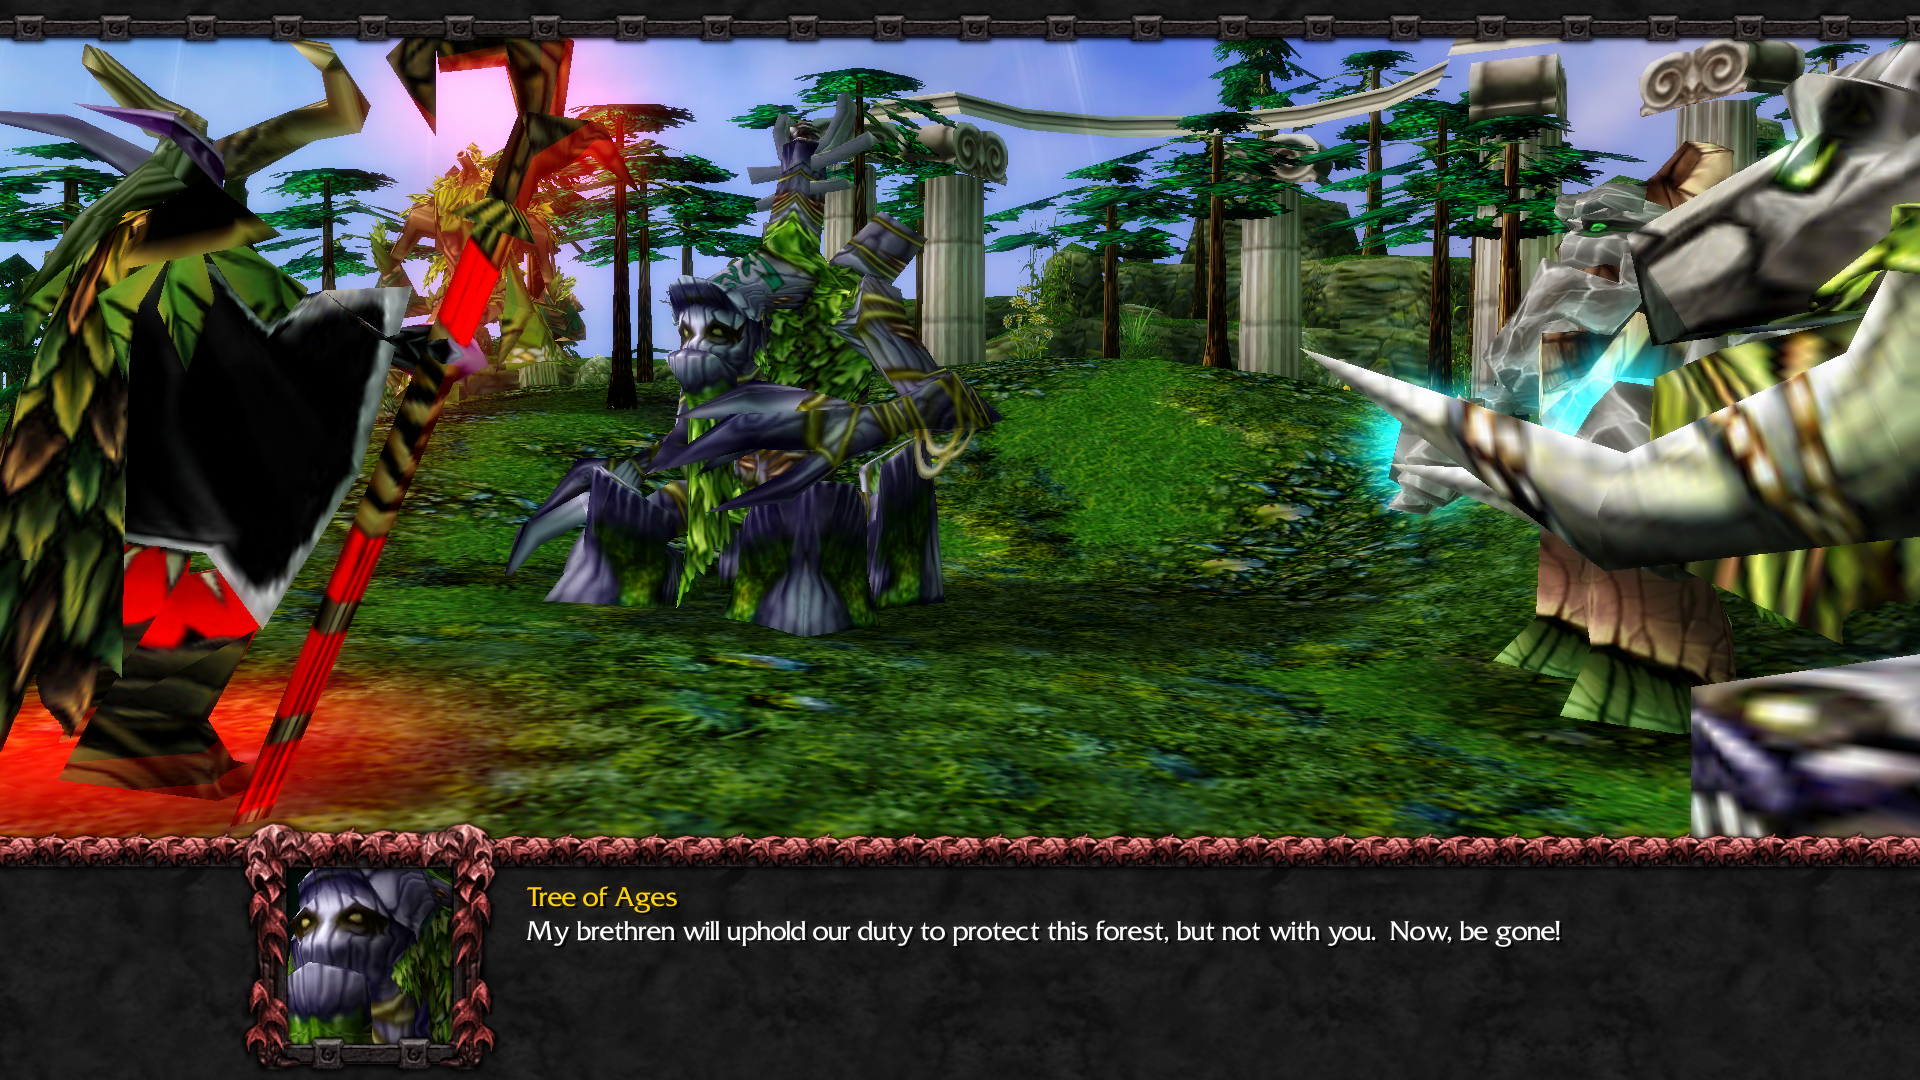
After waves and waves of the enemy advances, which I had to lure to reduce the number of their units when rushing the base to have some easier time, I managed to destroy the first three buildings of the right base (two Moon Wells and the Ancient Guardian). I attacked the right base first, though it doesn't matter which base we choose to attack, the procedure remains the same for both bases. Then I destroyed another Ancient Guardian and after it I rushed as fast as I could to destroy the Bronze Roost and again lure the enemy away from the base. After reducing a fair number of enemy units, both dragons and ground units, I moved my heroes to the far right side of the right night elf base. Surprisingly, the left enemy AI didn't send a single unit to help the right AI, which made it easier for me to destroy their Tree of Eternity and Wisps that would eventually rebuild it. After that, the rest of the base is a child's play

Having destroyed the right AI base, the left AI threw at me all the units they had. And since the whole amount of enemy units were crippled to half due to the right AI base being destroyed, it's been much easier to kill all remaining enemy units while at the same time fully rushing their base and destroying their buildings.
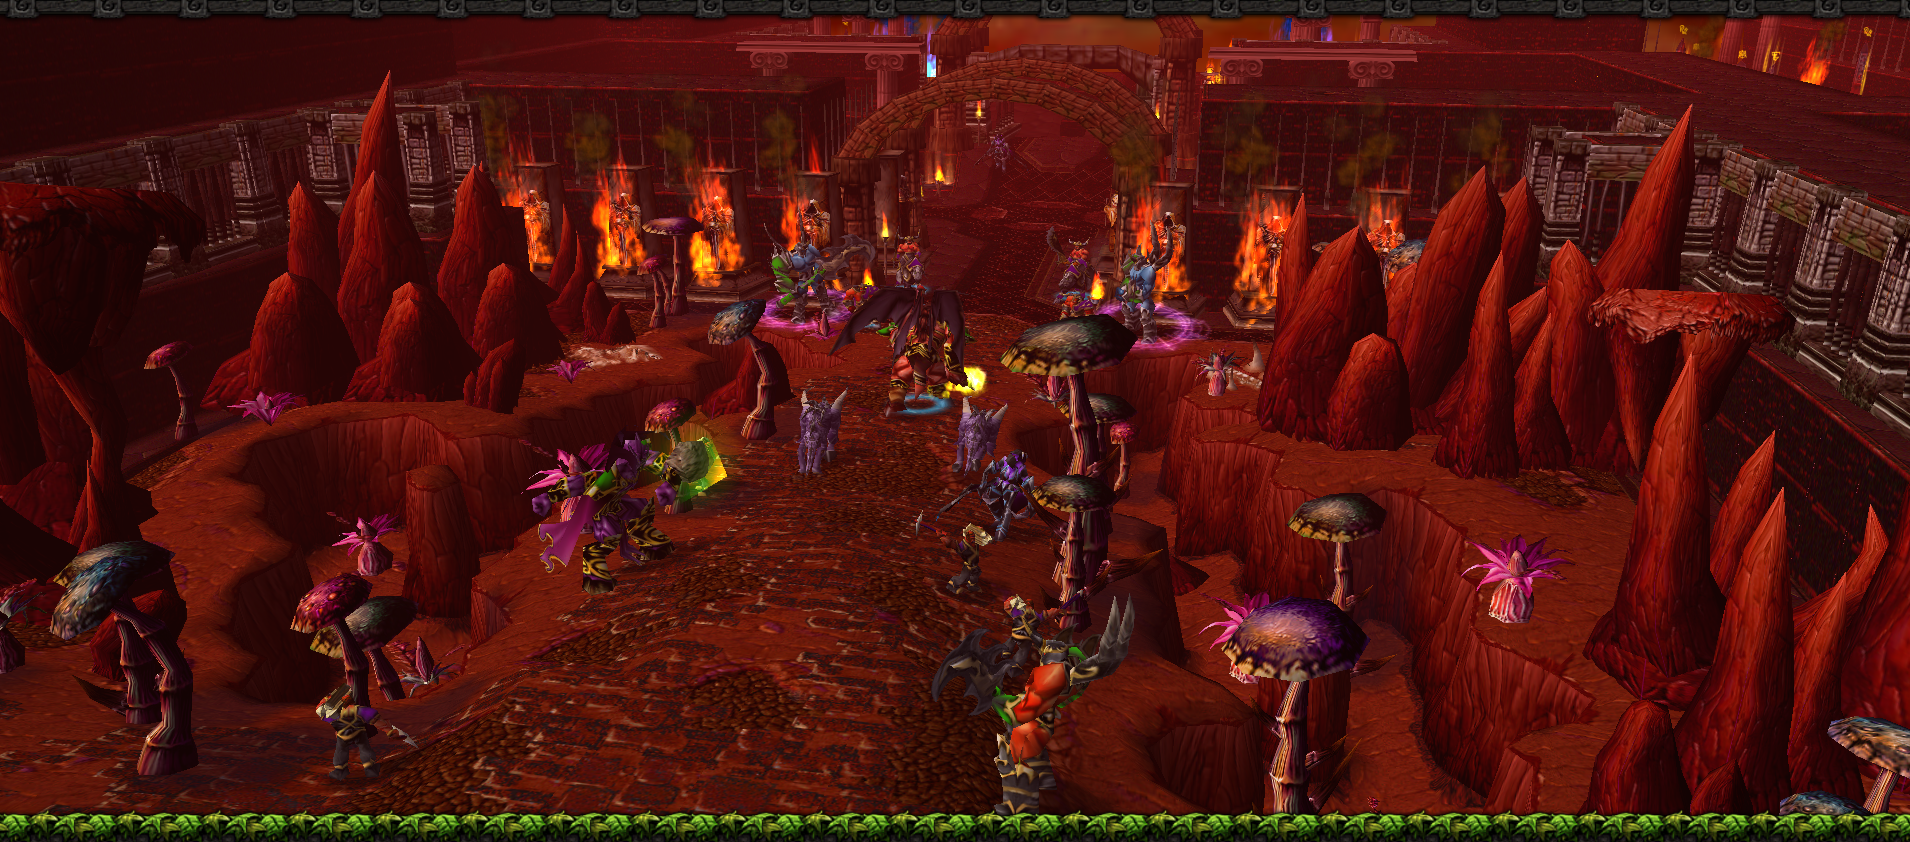
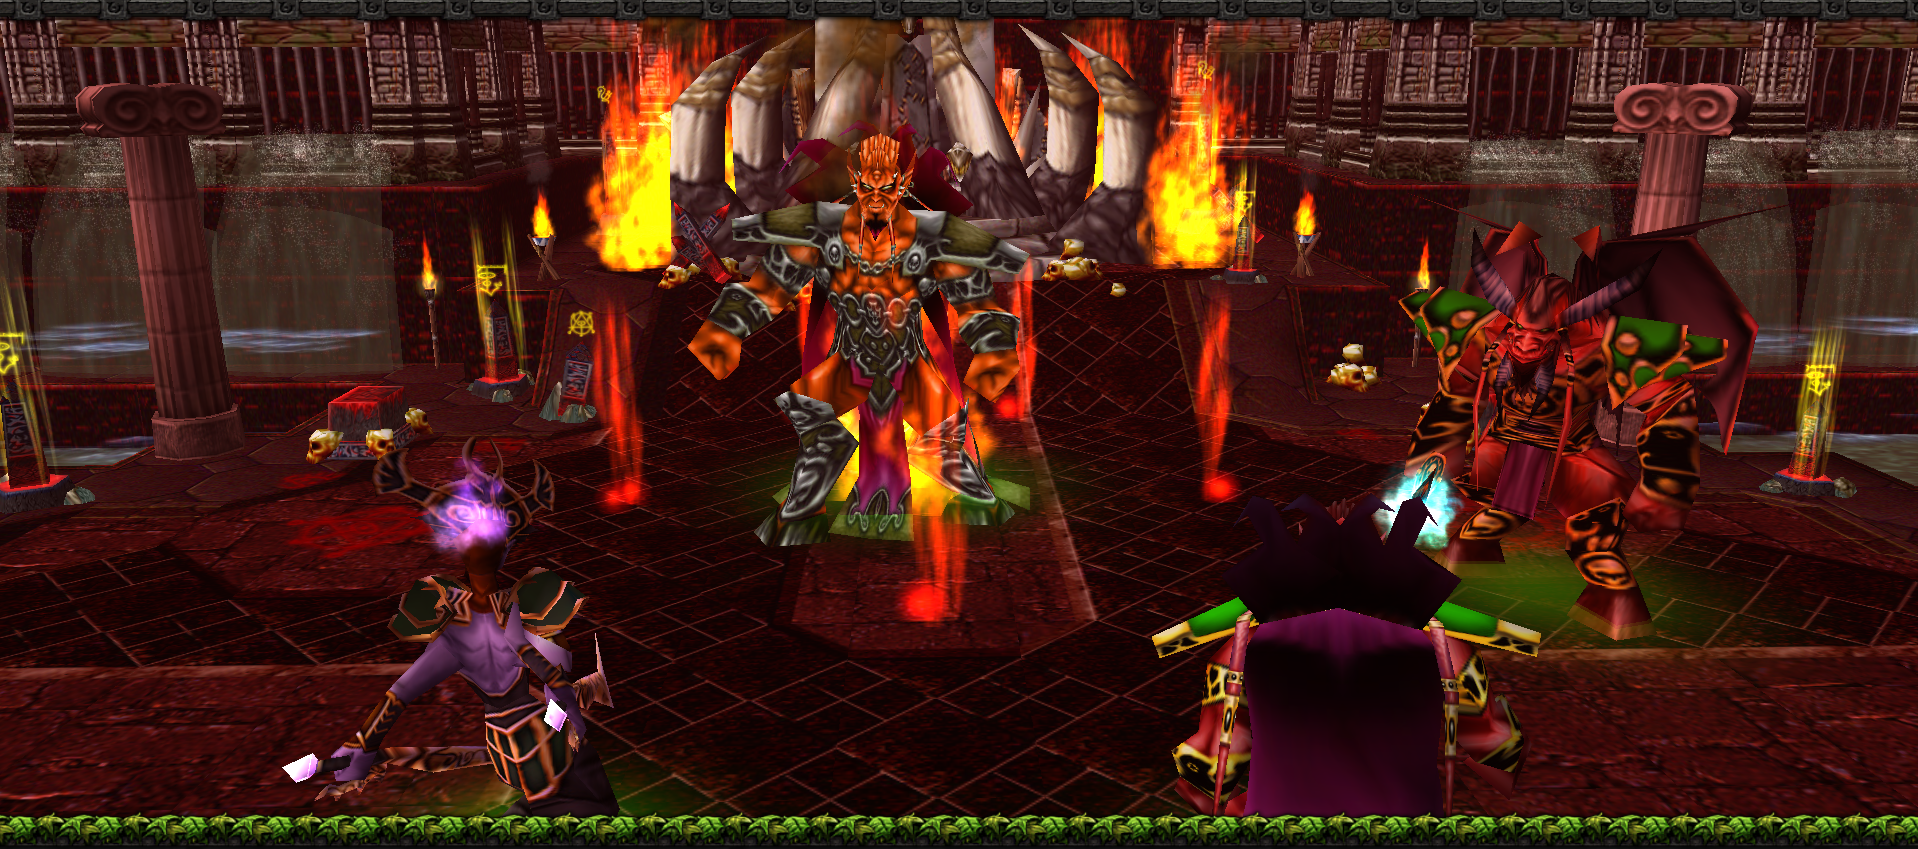
Battle with Magtheridon against Kazzak the Supreme was pretty easy-going. Kazzak had the abilities more like a classic Doom Guard, except the Bloodlust ability.
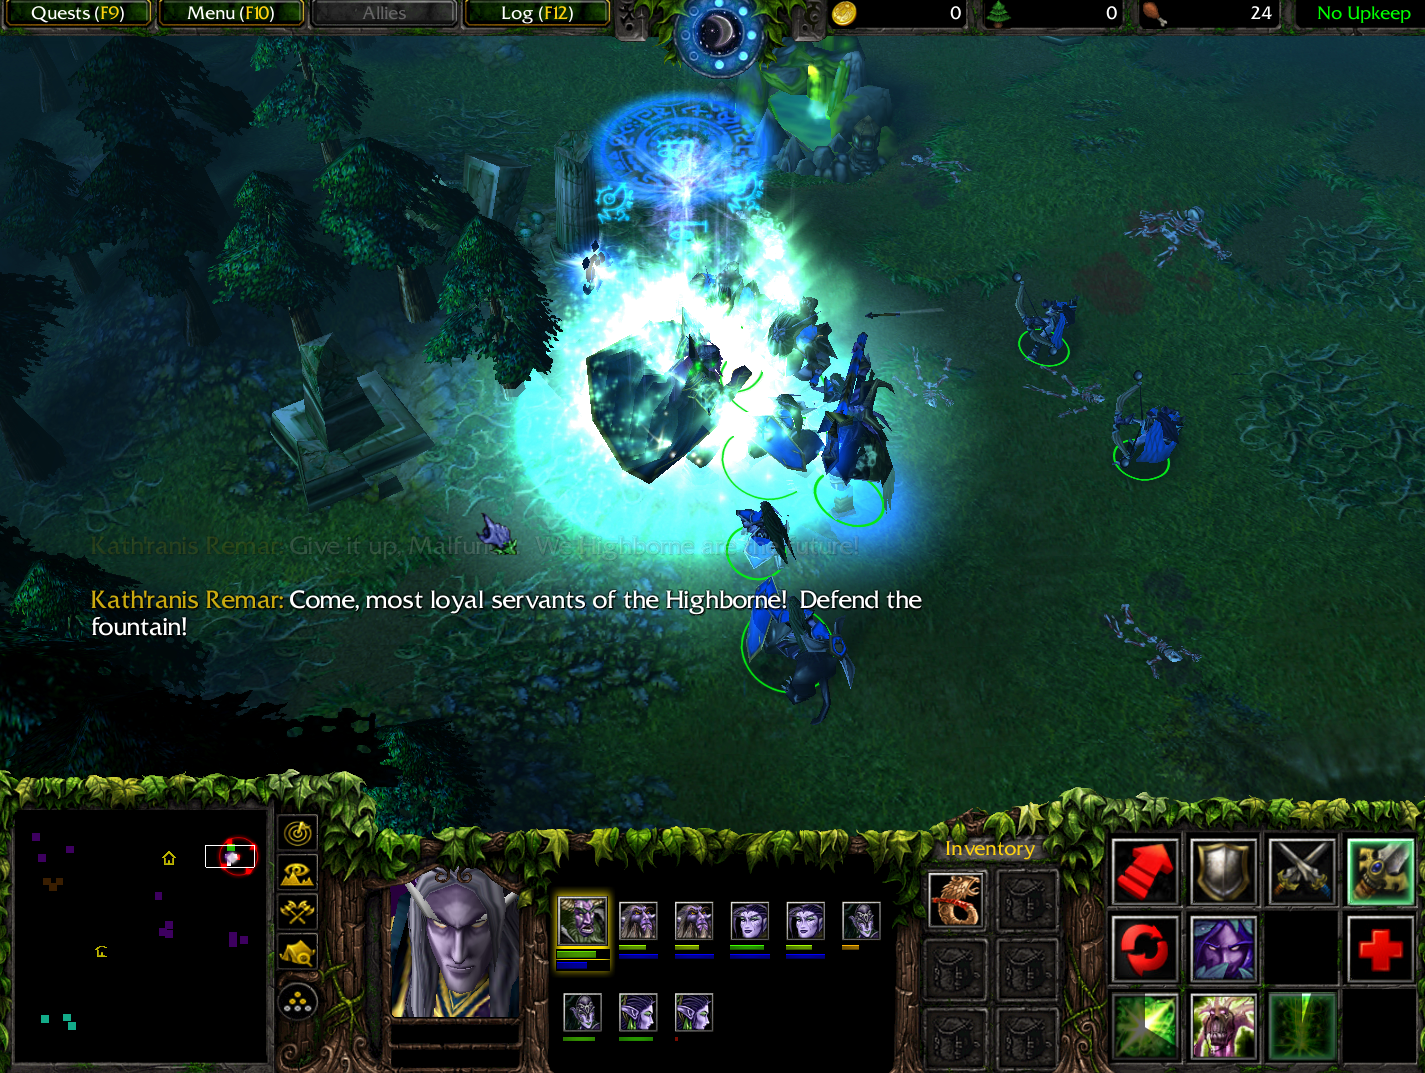
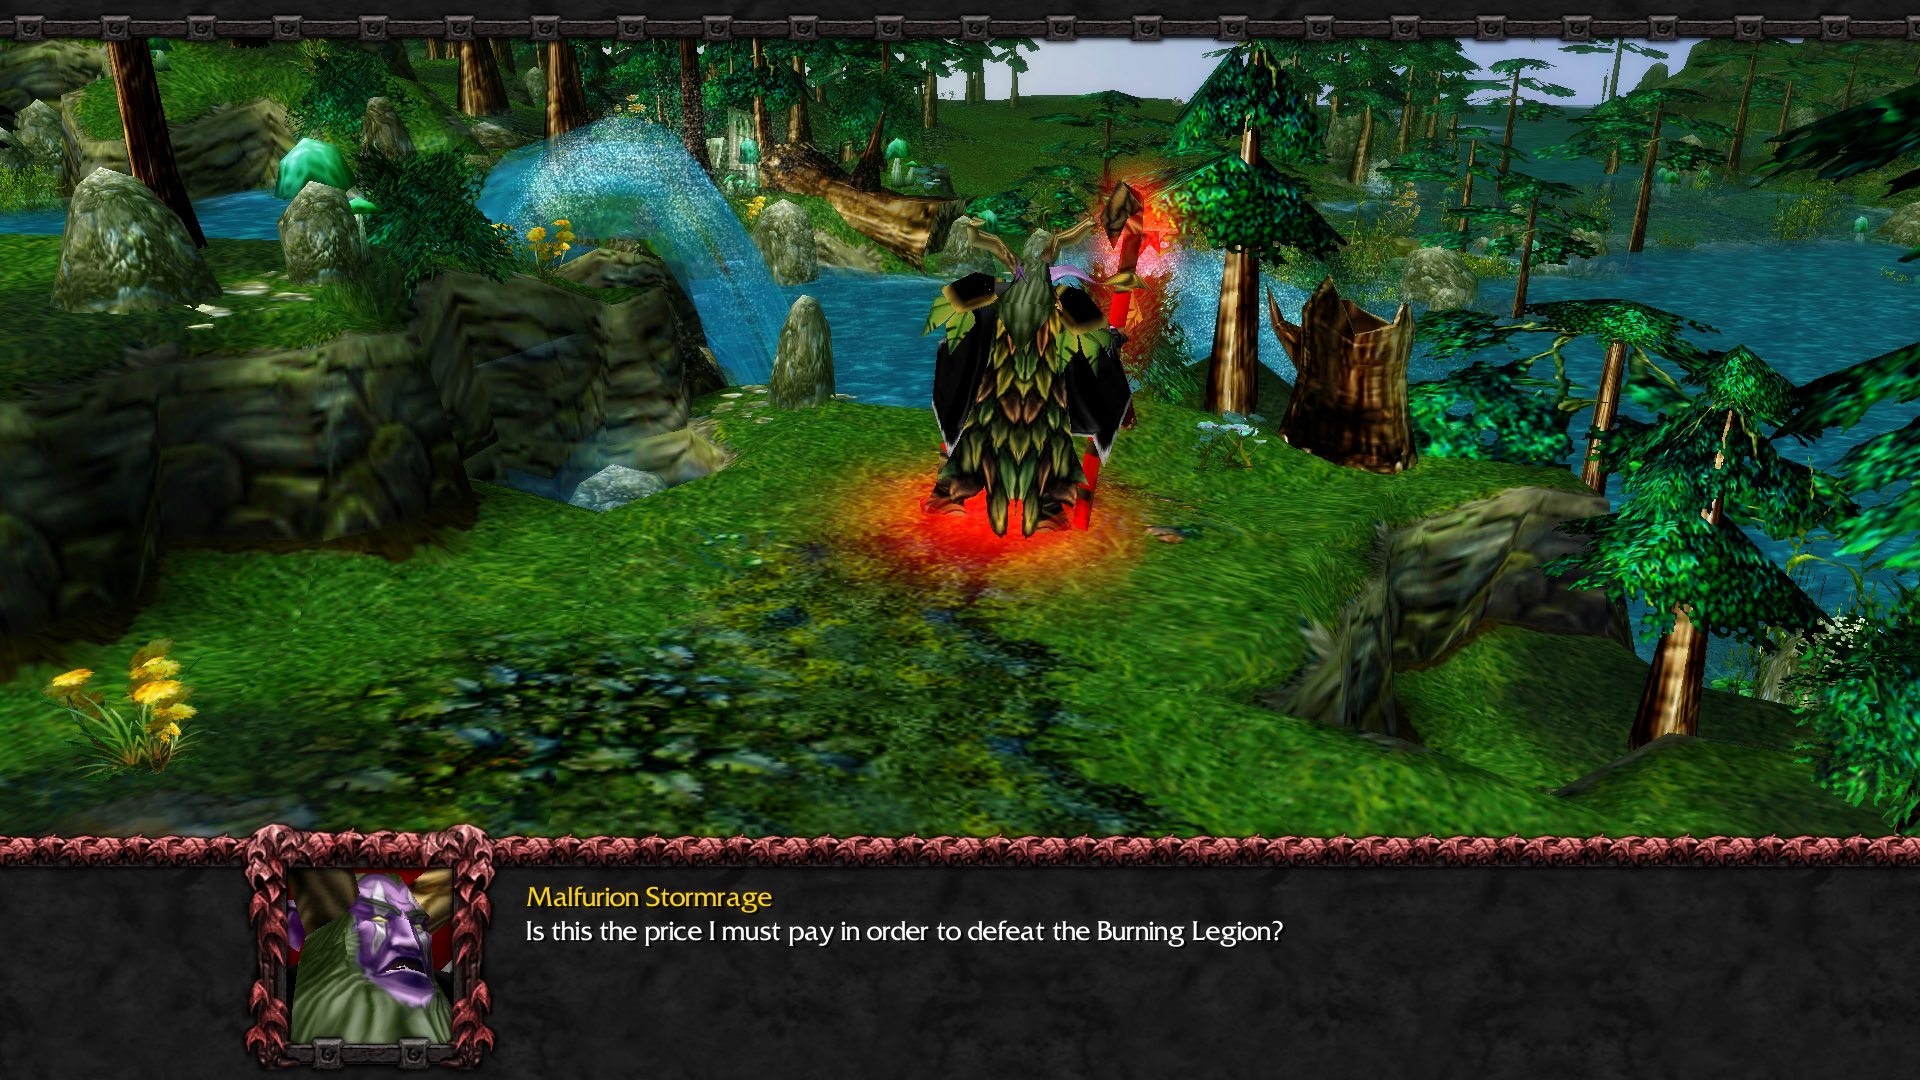
Also, while fighting Azshara, there is a bug. If I get killed, the game doesn't result in a mission fail. This also happens in a fight against Medivh alone. When I got killed by Azshara, I could watch a battle between Azshara and Medivh
And one more thing. I noticed when Medivh gets hit, the AI uses both Divine Shield and Illusions lol.
Now, about chapter 10:
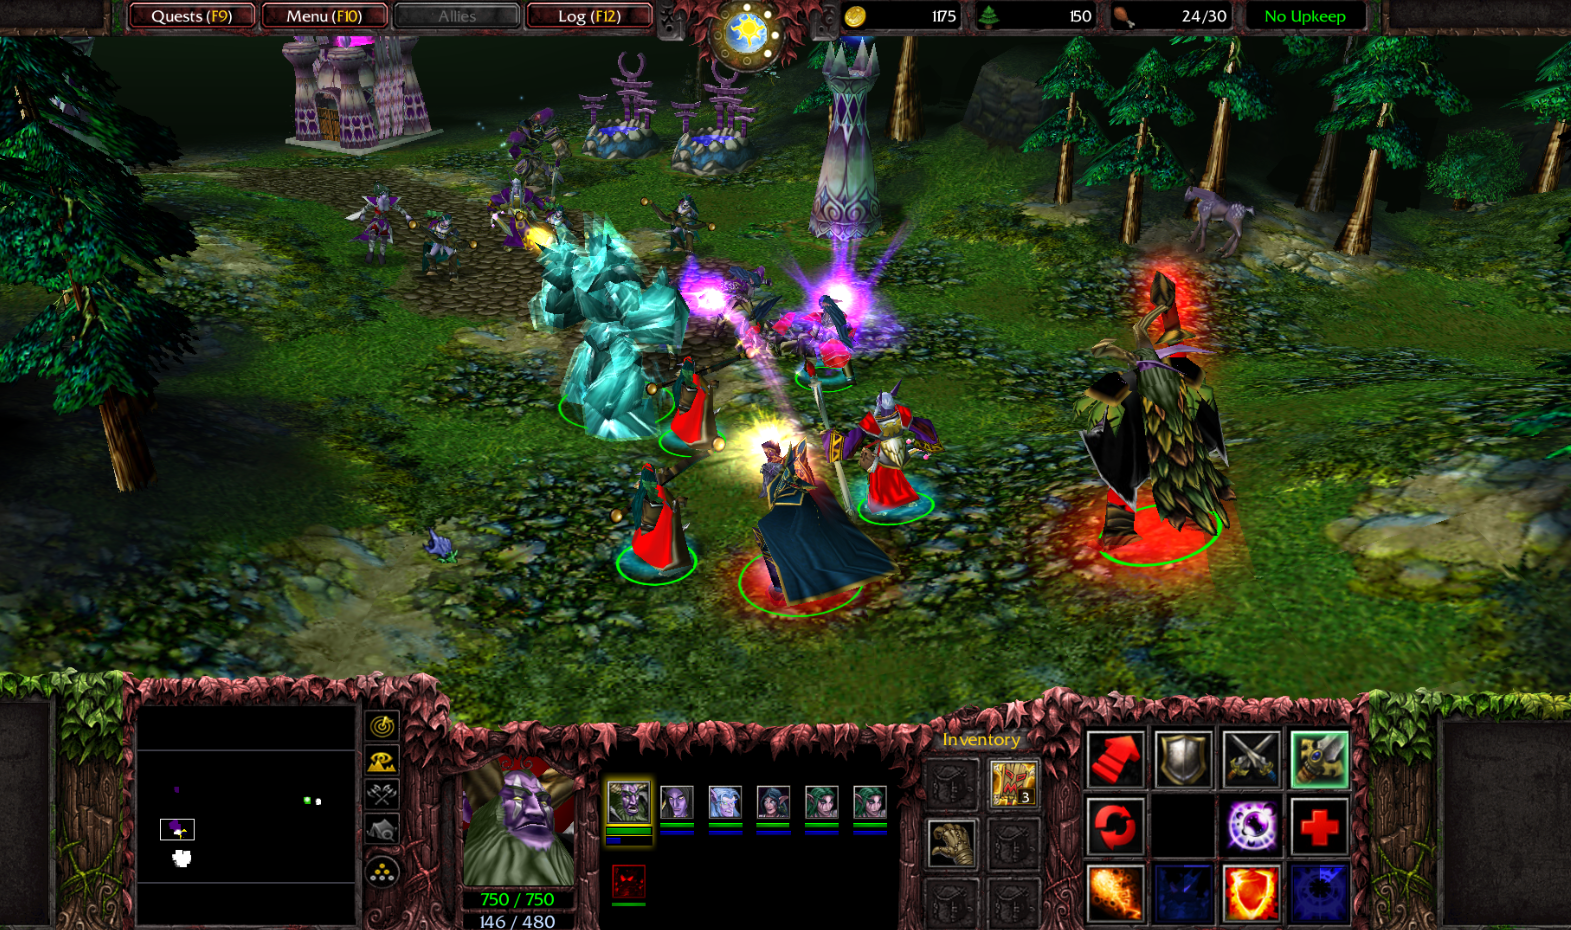
- Fighting the demons inside Nordrassil and Ysera and even Illidan was nothing compared to a battle against Kil'jaeden. This battle was the hardest than any battle I've ever had in my lifetime of playing Warcraft 3. Great job to Turnro and FallenStar for making it such a challenge. Hell, for making the whole campaign a great mixture of challenge and fun to play!
Now, how I beat Kil'jaeden:
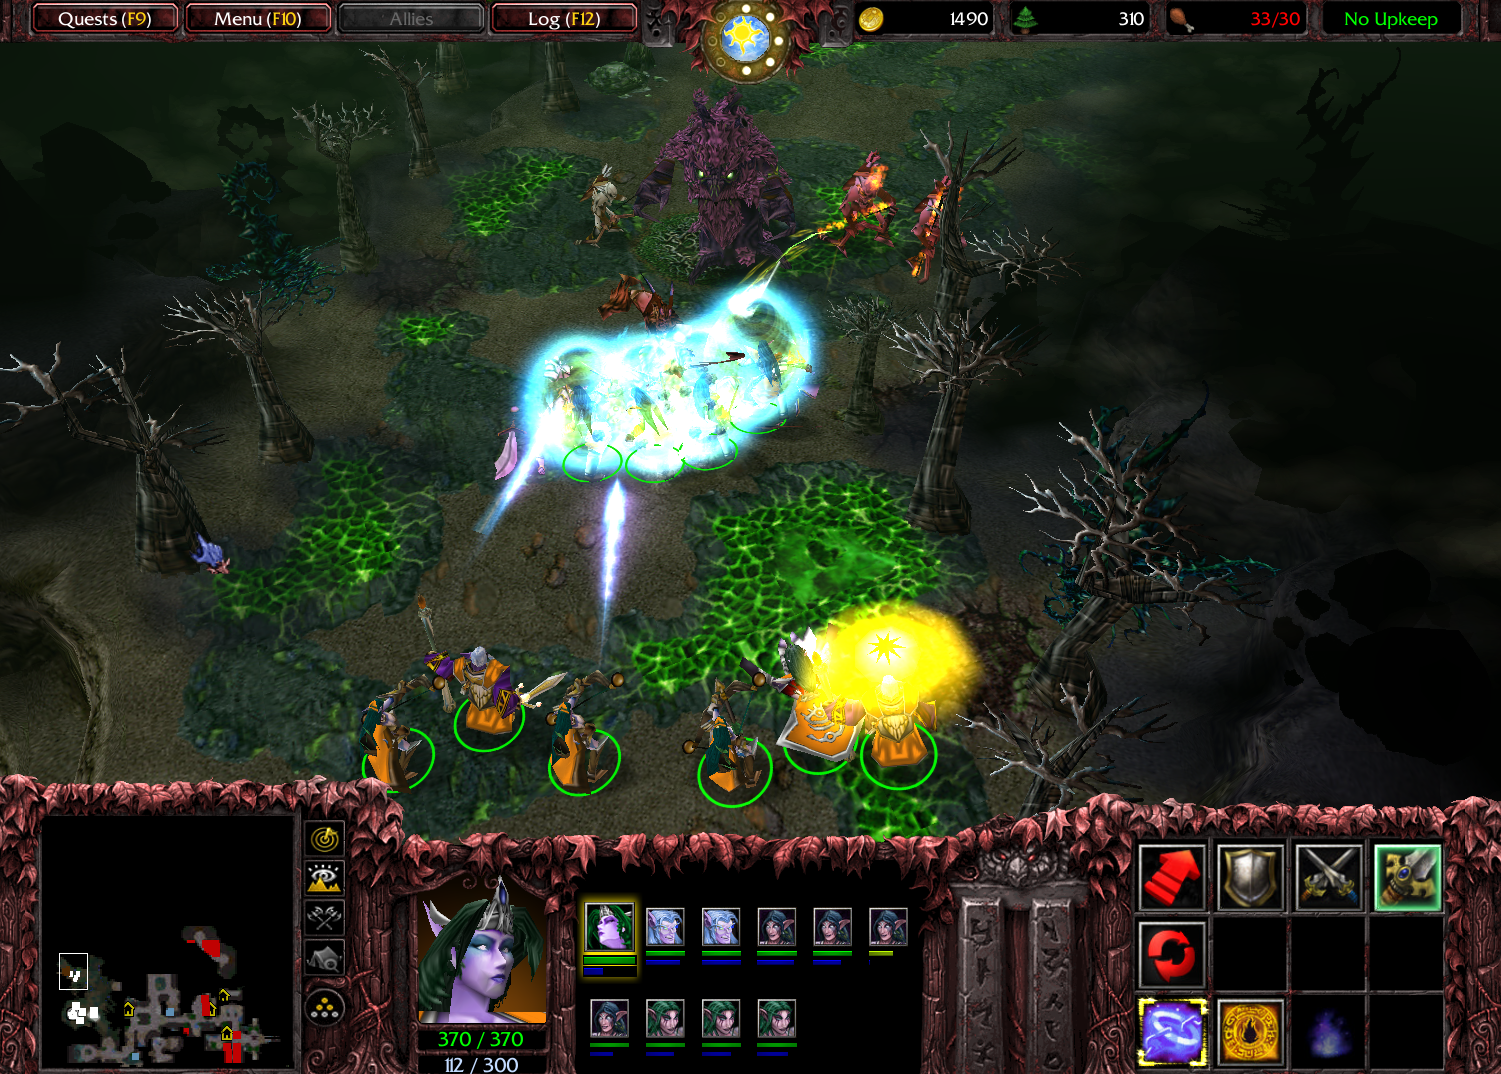
First thing I did is I kept Healing Wards in inventory, just in case. The first time I played this campaign I thought, why not, they could definitely be useful. And I was right. I kept them in Malfurion's inventory for a very long time throughout the campaign and they were useful as much as they should be. Without them, I never could have beaten Kil'jaeden.
Here's my list of items I had in inventory:
- Orb of Corruption;
- Sphere of Nature;
- Shield of the Depths;
- Shield of Darkness;
- Cenarian Mantle (effective mostly against Kil'jaeden's Finger of Death and Demonic Fire spells because it grants hero a 33% of magic resistance) and;
- Tablet of Pronouncement.
Mostly when Kil'jaeden didn't cast spells, I would switch between Cenarian Mentle and Healing Wards to put them to heal me. Then switch back to Cenarian Mentle.
I don't recommend using Orb of the Void or a Darkmoon Necklace because they aren't that helpful. They do block Kil'jaeden's spells, but they are practically useless because it's harder to block Finger of Death and Demonic Fire due to Kil'jaeden's Bash ability, which are more required to be blocked than a Bash

Also, no matter how much damage I took or how much mana I lost, I would always take Rune of Healing/Mana. Because occasionally they get respawned and, trust me, they're really needed throughout the long battle

Mostly I played with that Twisted Ancient. Only at the very beginning of the battle I Summoned Crystal Golem and give it a Fire Shield and immidiately turn into Twisted Ancient. That way Malfurion gets a faster health regeneration, hits and moves faster. Moving fast is especially useful when evading the flames that Kil'jaeden causes most of the times.
While Kil'jaeden creates fires on the ground, I managed to hit him twice while there was a pause between the fire spell being created again. That way I dealt him some bonus damage.
When it comes to Malfurion's Reflections, there's not much to be told. I always get to the top spot of the area by the gate where Kil'jaeden stood at the very beginning of the cinematic. By doing so, as always, the Reflections will try to get to me, so they will stand at the same order, one near the other, giving me a great target for my Firewave. After I move aside and cast Firewave at them, I turn Immolation on and start attacking the middle Reflection. When the Firewave cooldown is up, I move away from them and cast it again. So it's pretty simple to defeat the Reflections
Overall the procedure of fighting Kil'jaeden is the same until the very end - avoid being hit by ground fire, hit Kil'jaeden when the ground fire pauses between each wave, take as many runes as you can (whenever they're dropped), switch between the items and put Healing Waves when Kil'jaeden stops casting ground fire (because it mostly destroys the Healing Wave and prevents you from healing and restoring lost health), use Cenarian Mentle to become more resistant to Kil'jaeden's spells and that's it. It's not impossible, it's just increadibly hard
Also, don't get confused when you guys see the falling metheors. It's just a spell which damage you can reduce by using the Cenarian Mentle
")
I barely managed to defeat him, even though I managed to evade every ground fire. He left me with like 150-200 health at the end. This battle requires an extreme perfectionalism to win


 Approved