- Joined
- Apr 23, 2008
- Messages
- 28
I'm Atreyu from TH and I would like to submit my tutorial here.
What is a Signature?
- Signature is the graphic art usually found on below the user's posts. For the Hiveworkshop, I know you see the signatures below their posts.
Why have One?
- Well, in that case, its up to you....
That's finished. Let's get started!
In some signatures, you often see images and stuff like that. They're called renders and you can find renders here: Planet Renders // Renders - Home
Find the image that you want to have for your signature. For this tutorial, the image I want to show you is this:
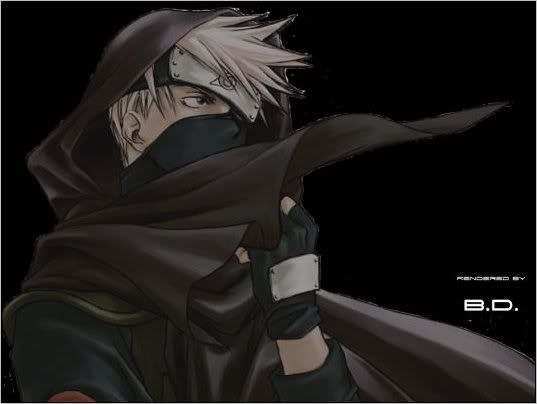
That's Kakashi.
Well, you've seen the image, now you have to cut it. Why? Because if you don't cut it, the background would interfere and its in a layer - A single layer. So let's get started!
Use a Pen Tool or a lasso tool:
I would suggest Pen tool. Why? Lasso tool takes time to make and it doesn't look perfect in the end.
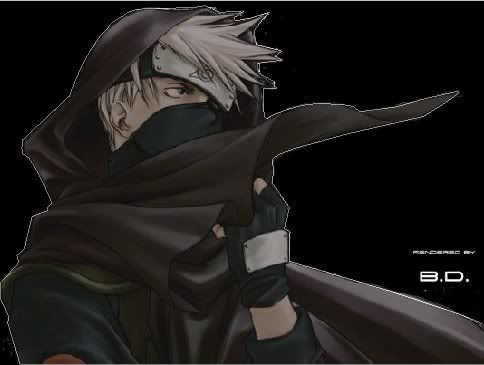
Start using the tool around the image and carefully take a look at the sides. When you're finished, you have something like this:
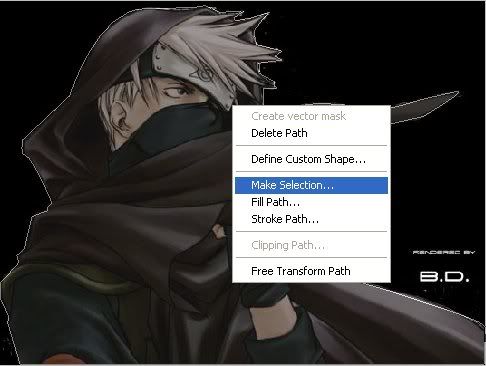
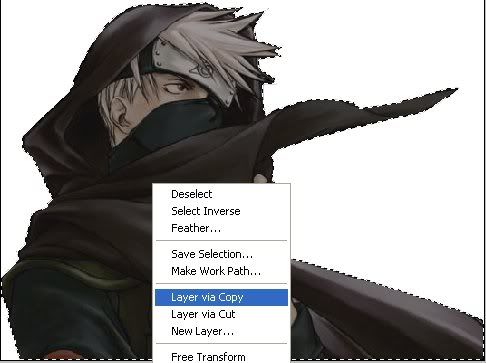
That's how its done in a pen tool. Nice and perfect. Then what do we do next? We cut it and finish it of course! Right-click on the image and select Make selection - As shown in the picture below:
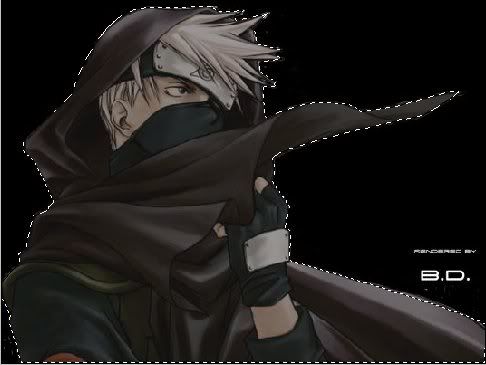
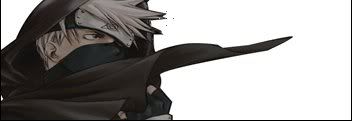
When thats finished. You see a message popping up and says something with a zero. Just click Ok and it'll be fine... When you're done you have something like this:
Ahh.. A nice-looking cut eh? That's the end of the Pen Tool work. When you're done... You have to delete the background. Right-click on the image using the box-tool/Circle-tool. And select inverse.. That way, you're selecting the background not the image and just click DELETE. It'll be all white.. Select inverse again. Part two end.
After you select the image. Right-click on it and click.
 Now, the image is on another layer. Now, create a new file with a size 350x120 - That's my size for any signature. Go back to the render file and click duplicate layer. Duplicate it to the New one. You might see this image when you've transfered it:

Well don't be scared. Resize it and it'll be fine...
After you've resized it, it'll look like this:
Pretty cool eh?
Each image should have a background. And a signature wouldn't look nice without one..
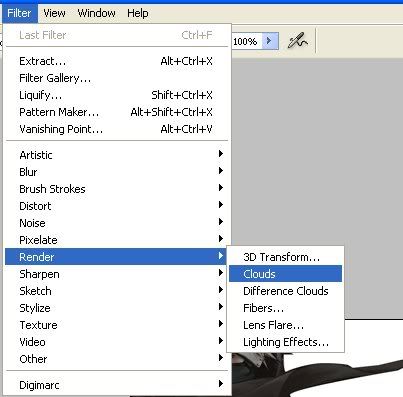
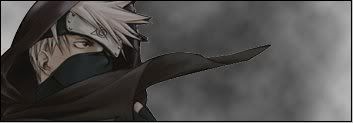
Create a new layer and smooth it all up by using a render. I use a cloud render:
Use a black color if you want it to look like black smoke. You should have something like this:
A signature would look slightly better if you add brush strokes to the mix. Use any brush tool you have and create a nice effect that reflect your theme/Idea. Once that is finished, you have something like this:
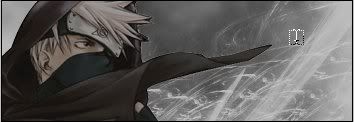
Looks better now right?
To add it all up, Write a simple text that says... Anything you want:
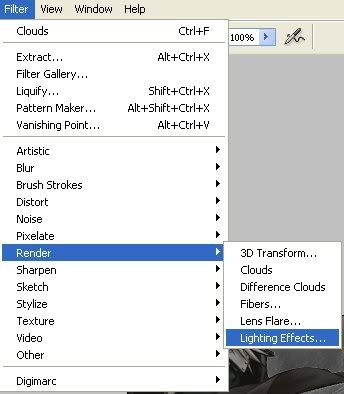
For the finishing, add more and more renders. I used Lightning effects for this one:
Once you clicked it, you'll find something that looks like this:
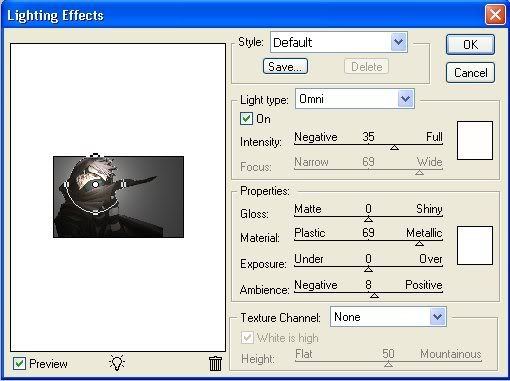
Place the little circle to the point you want the light to be. I used the omni light .
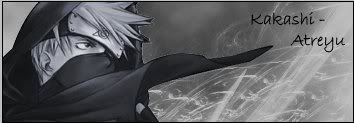
Finally, change the color of the image so that it matches the background.
Like this:
How to create a Basic Signature on Photoshop
INTRODUCTION:
What is a Signature?
- Signature is the graphic art usually found on below the user's posts. For the Hiveworkshop, I know you see the signatures below their posts.
Why have One?
- Well, in that case, its up to you....
That's finished. Let's get started!
The Image:
In some signatures, you often see images and stuff like that. They're called renders and you can find renders here: Planet Renders // Renders - Home
Find the image that you want to have for your signature. For this tutorial, the image I want to show you is this:
That's Kakashi.
The Cut:
Well, you've seen the image, now you have to cut it. Why? Because if you don't cut it, the background would interfere and its in a layer - A single layer. So let's get started!
Use a Pen Tool or a lasso tool:

| 
|
I would suggest Pen tool. Why? Lasso tool takes time to make and it doesn't look perfect in the end.
Start using the tool around the image and carefully take a look at the sides. When you're finished, you have something like this:
That's how its done in a pen tool. Nice and perfect. Then what do we do next? We cut it and finish it of course! Right-click on the image and select Make selection - As shown in the picture below:
When thats finished. You see a message popping up and says something with a zero. Just click Ok and it'll be fine... When you're done you have something like this:
Ahh.. A nice-looking cut eh? That's the end of the Pen Tool work. When you're done... You have to delete the background. Right-click on the image using the box-tool/Circle-tool. And select inverse.. That way, you're selecting the background not the image and just click DELETE. It'll be all white.. Select inverse again. Part two end.
Transferring the Image:
After you select the image. Right-click on it and click.
Well don't be scared. Resize it and it'll be fine...
After you've resized it, it'll look like this:
Pretty cool eh?
Creating the Background:
Each image should have a background. And a signature wouldn't look nice without one..
Create a new layer and smooth it all up by using a render. I use a cloud render:
Use a black color if you want it to look like black smoke. You should have something like this:
Creating the text and brushes:
A signature would look slightly better if you add brush strokes to the mix. Use any brush tool you have and create a nice effect that reflect your theme/Idea. Once that is finished, you have something like this:
Looks better now right?
To add it all up, Write a simple text that says... Anything you want:
The Finish:
For the finishing, add more and more renders. I used Lightning effects for this one:
Once you clicked it, you'll find something that looks like this:
Place the little circle to the point you want the light to be. I used the omni light .
Finally, change the color of the image so that it matches the background.
Like this:
Last edited by a moderator:


")