ATTENTION!
This map is now available as part of a larger, updated and enhanced Campaign file. The campaign includes the conclusion to this epic, so it is strongly recommended you play the Campaign instead of this slightly outdated version of the standalone Chapter.
You can find the campaign on Hiveworkshop here:
http://www.hiveworkshop.com/forums/maps-564/bitter-end-202289/
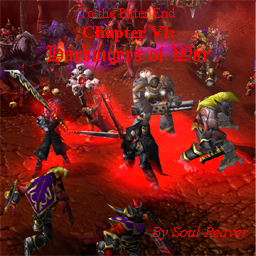
To the Bitter End
Chapter VI: Harbingers of War
Version: 0.7.05
(Beta release)
Single Player Action RPG/Campaign
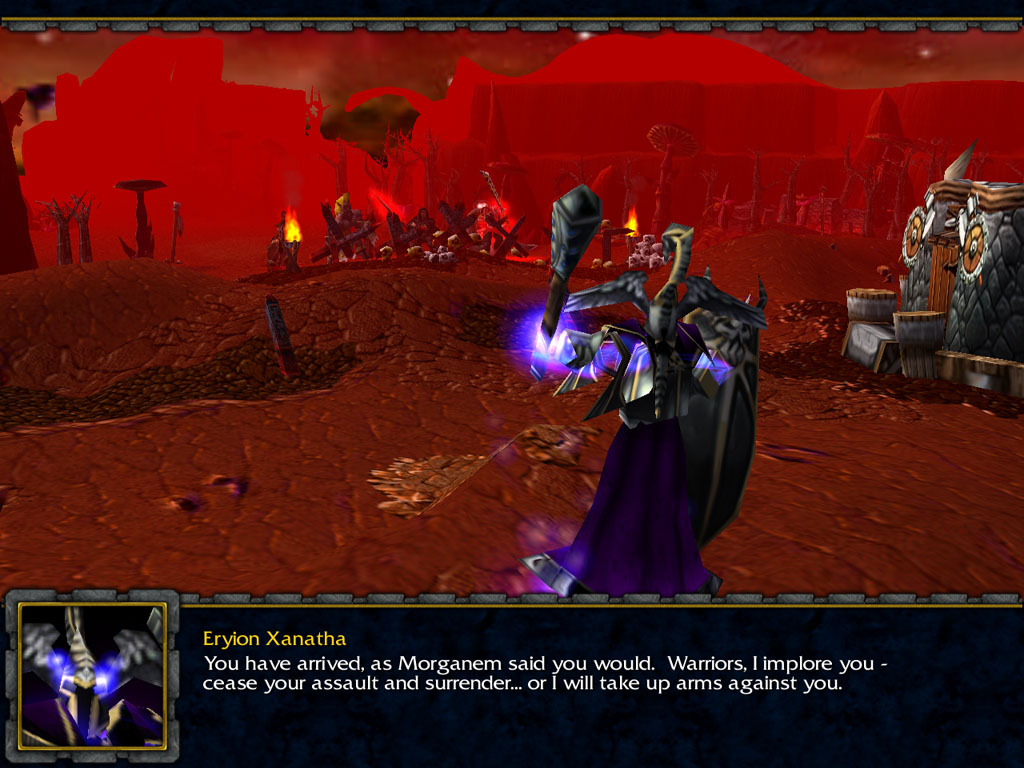
Reunited at last, the companions take the battle to the Dharuk homeworld, and the seat of Morganem's power. But their way to Khaal Spire will be arduous. Lurking amidst the fortifications are the Dharuk army, the sinister Void Children... and Morganem's mighty, immortal Warlords.
********
Map description:
----------------
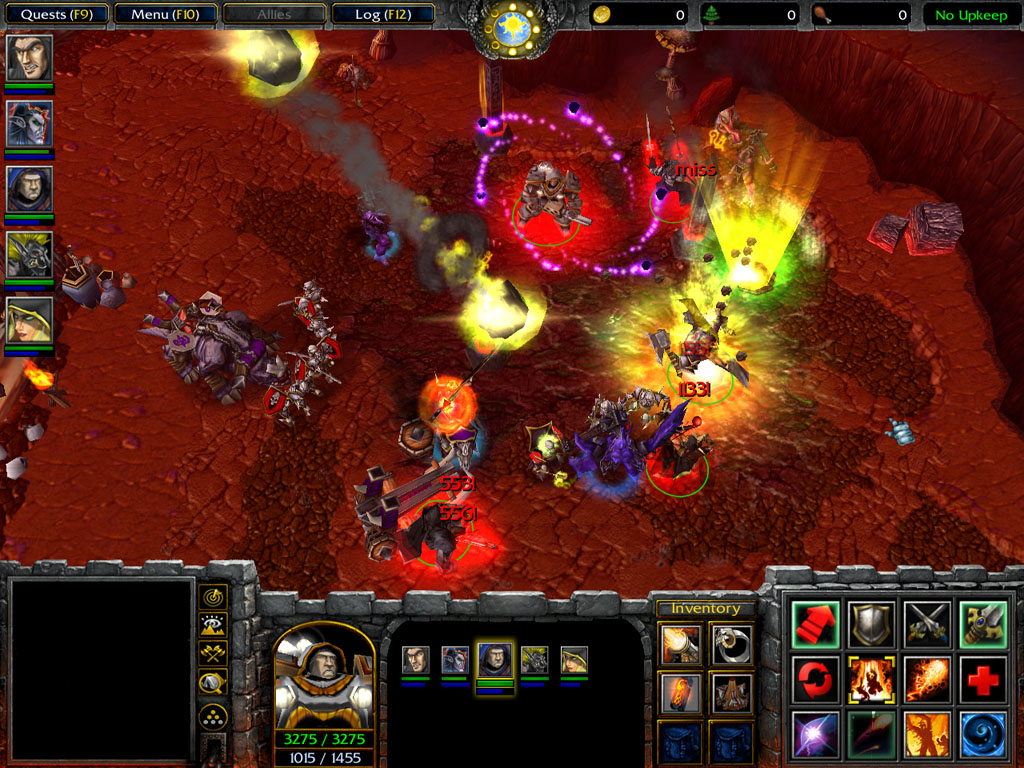
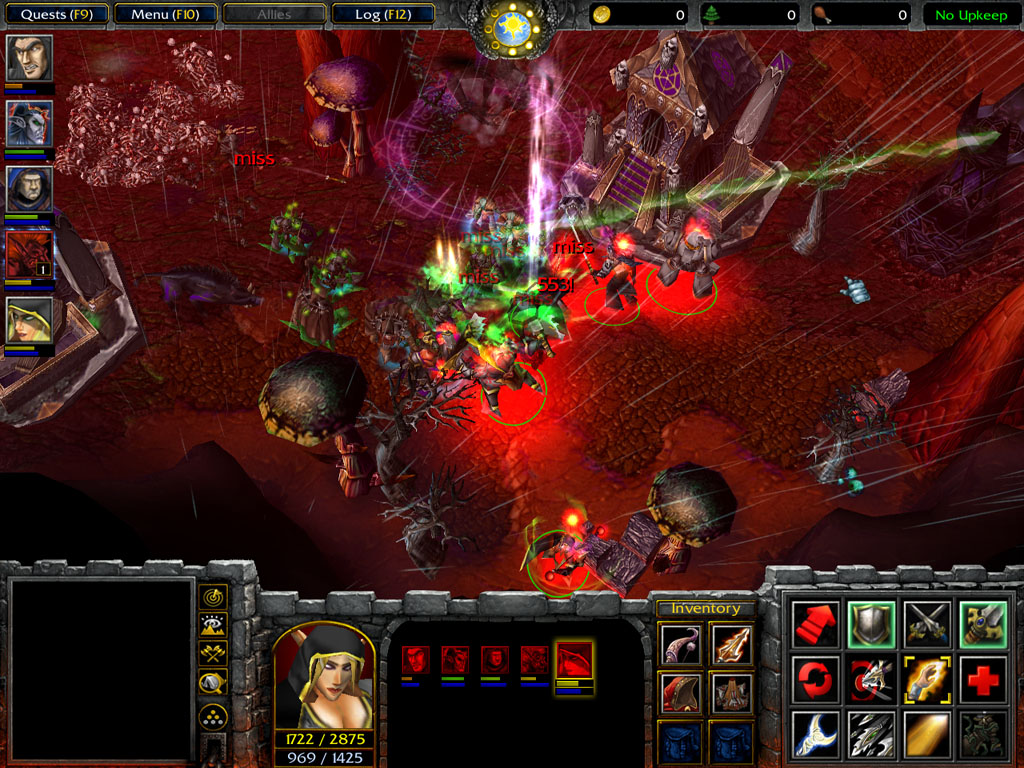
Control Soul Reaver, Fei Serumen, Cameron Aileron, Kitharsis and Sera Poi as they battle their way through Morganem's fortifications on their way to Khaal Spire.
Installation instructions:
--------------------------
Put the .w3x file into a folder named "To the Bitter End" (without quotation marks, obviously) in your Warcraft III "maps" folder.
You can play the game by starting The Frozen Throne, then selecting 'Single Player', 'Custom Game', and then navigating to the map and selecting it.
It helps to have your video settings for Warcraft III set to high quality, or some custom skins in some of the campaign might look a little... weird.
Difficulty:
-----------
To the Bitter End is supposed to be very difficult. However, for those finding it simply too tough, as of version 0.7.04, I have added in variable difficulty levels. Once in-game, press Enter to bring up the chat window, then type in "easy", "medium" or "hard" (without quotation marks) to change the difficulty of the current Chapter. The default difficulty is "hard". Note that the only thing this modifies is the HP of enemy units, and enemy hero units are less affected than normal units are.
Remember though: real heroes play on hard!
Other Notes:
------------
For further info and an extensive manual, check the 'official site' at www.familykrieg.com/tothebitterend
This is the sixth of a series beta releases, it is suggested you play this one after Chapter V: Reunion.
The other releases in the series thus far are:
Chapter I: Dark Dawn
Chapter II: The Dream of Blood
Chapter III: Juggernaut
Chapter IV: Heart of Ice
Chapter V: Reunion
Chapter VII: Grim Harvest
They can all be found at the official site at http://www.familykrieg.com/tothebitterend/.
To check the version number of any of your TTBE maps, type "version" (without quotation marks) into the chat text in-game and it will display (or if nothing displays, then your version is definitely out-of-date). The newest versions are always available on the official site.
Although I am solely responsible for creating this map, the central characters featured in this campaign, as well as the Multiverse in which it is set, were envisaged by the writers at The Administorum (http://theadministorum.yuku.com/) and its newest incarnation, the Administorum 2.0 (http://nerdramblingz.com/starforums/index.php).
This was my first serious attempt at a campaign map, and my first release. I was going to wait until I had completed the campaign in its entirety before releasing anything, but at the request of one of my Administorum friends, I decided to release the completed Chapters here. Since the campaign itself not complete, this classifies the maps as beta releases. Unfortunately, with all my current commitments, it may be some time before I get all the maps done.
Some known bugs or issues (with suggested workarounds):
-------------------------------------------------------
- Does not automatically start Chapter VII: Grim Harvest on completion. (Workaround: start it manually - your characters from Harbingers of War should transfer into it fine.)
- Some of the characters' textures look strange. (Solution: set the texture quality in the video settings to the highest available setting).
A word on cinematics:
---------------------
- It is possible to skip any of the cinematics, just press ESC.
- One 'bug' that occurs if you skip the cinematics is that any items or abilities that might have 'cooled down' and become available over the course of the cinematic will now not do this. This means that if you want to use those items/abilities often, you may have to wait around more... and if there's a timer counting down while you wait, that might not be advisable. This isn't a major thing, but it does mean that the game might be more difficult if you skip the cinematics.
- You are advised to watch the cinematics at least once. They will often give you instructions as to what to do next and offer clues as to what to expect. Making sense of the game plot without them would be pretty difficult.
- If you want to be sure to experience the game how it was meant to be played, then don't skip the cinematics. That's how I planned the level out and how I spent the most time testing it.
Hints/Notes:
------------
- You can play this map even if you haven't completed Dark Dawn, The Dream of Blood, Juggernaut, Heart of Ice or Reunion. You'll start with heroes of an appropriate Experience level and unused skill points that you can spend as you see fit. But only Morganem's lackeys would play Chapter VI without completing Chapter I, II, III, IV and V first, and surely you aren't one of them?
- Use your quest log if unsure of what to do next... that's what it's there for.
- Read the tooltips if you want to know what an ability or item does. In fact, this is strongly recommended.
- Your items are re-usable. However, they have long cooldown times. Save them for when you need them, and then unleash hell.
- Your abilities are by now significantly more impressive than your items (especially your ultimates, which can often end a battle). However, your items are still valuable and can give you a vital edge in battle when used strategically.
- Sphere of Annihilation and Cataclysm are appropriately named, because they will pretty much obliterate ANYTHING in the target area. That includes things you might prefer to keep un-obliterated, such as yourself.
- By now all your basic skills should be at their maximum levels, so you will get a Skill Point every time you level up.
- It is not advisable to activate Sera's Healing Touch autocast unless you really want her to use it. Sera Poi's AI will prioritize healing over attacking, and that may not be a good thing.
- When attacking an outpost, make sure you destroy all troop producing structures before moving onto the next, or you may find yourself faced with attacks coming from both directions.
- The enemy will send in reinforcements even if all troop-producing structures have been destroyed. Though weak at first, these reinforcements will grow significantly more numerous and will arrive more and more quickly should you take too long to conquer an outpost.
- You will probably be forced to rest sometimes even in the middle of battle. If you do this, retreat away from the front lines a bit, leave some companions to awake to guard those that are resting, and if possible, summon some creatures to help defend you. You can also use Sera's Healing Touch to speed up the recovery process, which can otherwise be quite slow.
- You'll find that the Warlords cannot be killed in conventional combat. They are protected by a Mana Conduit - the only way to defeat them is to find and destroy this Mana Conduit. You should be able to find where it is by tracing back the line of energy that bursts from the conduit whenever it heals an injured Warlord.
- The Mana Conduits are tough, and it can be hard to survive long enough to destroy them. Use Sera's Face of the Heavens ultimate near the conduit and you'll have a good chance at surviving. Failing that, use strongly disruptive abilities (like Sandstorm, Nature's Wrath, Darkbolt Barrage and Meteor Shower for example) to keep attackers from overwhelming you.
- For the first outpost, make straight for the Mana Conduit after the Warlord begins his attack. You won't last long against him otherwise.
- For the second outpost, if the Warlord uses his Ultimates against you, keep moving, and distract him with summoned minions if possible. If you stand and fight it will be suicide. Go after the Mana Conduit only once his Ultimates' durations have expired.
- In the second outpost, you'll be confronted by the Undying. The only way to kill them for good is to slay them twice in quick succession. Give them too long after they resurrect themselves and they'll be able to resurrect themselves again.
- In the third outpost, you'll face several enemy heroes. Stay on your toes, move forward slowly, and keep your Health high... and use Ultimates if necessary. Don't rush or you'll die.
- The third outpost's Mana Conduit is close to the Warlord. He's strong but slow - try to lead him away from the Mana Conduit a bit before assaulting it.
- In the fourth outpost, it is important to destroy the troop producing structures as quickly as possible. The fourth Warlord will repeatedly harass you during your approach, so it is important to not waste time. However, be certain to rest up before making your final push at the Mana Conduit, as the Warlord will start to use their Ultimates against you then.
- In the fifth outpost, you can temporarily remove the Warlord from the battle by attacking the Mana Conduit and doing some damage to it. This will not destroy it, but will give you a moment's reprieve from his attacks.
- Whenever you destroy a group of Void Portal summoners in the fifth outpost, your Health and Mana will be completely restored... but you'll come face to face with a major opponent shortly afterwards. Fortunately the fifth Warlord will not interfere with this battle, and will retreat for its duration. Use your Ultimates if you need to, the battles will be tough.
- Once all four groups of Void Portal summoners are dead, you can attempt to destroy the last Mana Conduit. However, the fifth Warlord will use all his skills against you to try and stop you. Hold him at bay with everything you have as you make for the final Mana Conduit, and don't delay, as reinforcements will soon start to arrive in force.
- You will not reach your maximum experience level in Chapter VI. Obviously.
- Morganem's armies will attack you with everything they've got. SAVE OFTEN.
- Don't expect to find Raziel from the Legacy of Kain series in this game. I've been using the name Soul Reaver for my RPG alter-ego since long before even the first Blood Omen came out. The Soul Reaver in this map is an original character.
Storyline FAQ:
--------------
Q: Who are these Warlords? Am I supposed to know them?
A: The Warlords are all immortals, just like the Companions are. They are Morganem's advisors and generals. You won't have met most of them yet, but the last two should be familiar. That previous meeting also explains their disposition towards the Companions.
Q: I can't beat the Warlords! Help!
A: Don't try. You're not supposed to be able to kill them - only try to destroy their Mana Conduits. Your best bet is to delay them. Use summoned minions to keep them distracted, and use abilities that stun them or slow them down to keep them at bay while you make for your real targets.
Q: Why does Dustwalker call Soul Reaver and Fei Serumen murderers?
A: The answer to that will be forthcoming in a later chapter. Have patience.
Q: Wait, wasn't there once a character called 'Clutchfiend'? Why is he called 'Cameron Aileron' now?
A: Ah, retcons, the bane of my existence. The guy who invented the character of Clutchfiend recently retconned his background (and name). Since I liked the changes he made though, I incorporated them into To the Bitter End. Thus, all references to 'Clutchfiend' have been changed to 'Cameron Aileron' from version 0.7.04 onwards.
Q: What's the name of that cool song you used for this map?
A: "We're in this Together Now", by "Nine Inch Nails". Buy the album, it's worth it.
Special Thanks/Credits:
-----------------------
- Me, for being insane enough to make this all by myself.
- Cameron, Kitharsis, Fei and all the other writers, past, present and future, at The Administorum. That place wouldn't be what it is without you guys.
- Larc for helping me with some weapon models. You were quick, efficient and extremely helpful in resolving a major map issue. Thank you!
- Thanks to all the folks at The War Center map making forums (http://www.thewarcenter.com/forums/index.php?showforum=11) for helping me in my early days and inspiring me to keep trying. Special thanks to 1)ragonspawn for helping teach me how to deal with memory leaks.
- Everyone who submits their custom abilities and spells freely for use at www.wc3campaigns.net. You helped teach me how to do this stuff and provided a lot of inspiration.
- Warnicro from war3.incgamers.com. You put a lot of work into getting my map links working and then even put them up as featured maps, not to mention all the other help and comments you've been prepared to offer. I really appreciate all your efforts.
- Filefront for offering me the chance to host my maps there.
- Nine Inch Nails for creating the music I used. I don't claim to have written this myself.
- Everyone who play-tested the maps and gave me feedback. Thank you for taking the time to play.
- All the fans. It means very much to me to know that you enjoy my work.
- Everyone who gives me constructive feedback or takes an interest here. Thank you in advance.
Screenshots:
------------
******
Tell me what you think! E-mail me (
[email protected]) if you have comments or questions about 'Harbingers of War', the 'To the Bitter End' campaign, the Multiverse, or Soul Reaver.
******
Please do not redistribute or modify these files without my permission. These map files are not to be sold for profit.
Keywords:
Action, RPG, Single Player, SP, To the Bitter End, Multiverse, Soul Reaver, Fei Serumen, Cameron Aileron, Kitharsis, Sera Poi, Morganem
 Approved

 . I'd be glad to help out in terraining XD. I've loved the ttbe gameplay/story series since the worldofwar.net times.