- Joined
- Oct 18, 2007
- Messages
- 19
Scratch-Made Weapon Attachments with Particle Emitters
By: Fabioz (U.S. East)
By: Fabioz (U.S. East)
Introduction:
Today we are going to make a weapon that will be attached to a unit. The model that we are going to make is going to be completly from scratch. We are going to use only in-game textures. The weapon will also have a particle emitter to show "fire" or "blue flames". Neat!
Tools required:
- Magos War3 Model Editor
- Oinkerwinkle's Vertex Modifier
- Oinkerwinkle's Primitives These are starting models
- Warcraft III Image Extractor II
- Warcraft III World Editor Duh...
- Notepad Usually comes with your computor
Getting to Know the Vertex Modifier:
Selection:
- Select: When highlighted, any points you select will light up, and will be modified. But, if you select new points, these points will be unselected.
- Add: When highlighted, any points you select will light up, and will be modified. But, if you select new points, the new points and the old points will all be slected.
- Deselct: When highlighted, any points you select will be unselected. But not any of the other already selected points.
Transformations:
- Move: When highlighted, any points selected will translate.
- Rotate: When highlighted, any points selected will rotate around the center of mass.
- Scale: When highlighted, any points selected will shrink or grow around the center of mass.
- Extrude: When highlighted, any points selected will be cloned in the same position as the older ones, but translated to a new position. This is very useful.
Other Useful Things:
- X: When highlighted, any points will not be affected in the X axis, during a transformation.
- Y: When highlighted, any points will not be affected in the Y axis, during a transformation.
- Z: When highlighted, any points will not be affected in the Z axis, during a transformation.
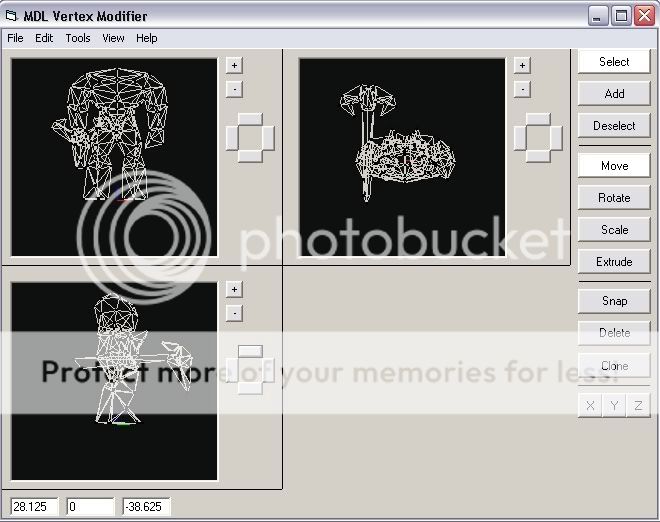
Making Your Model:
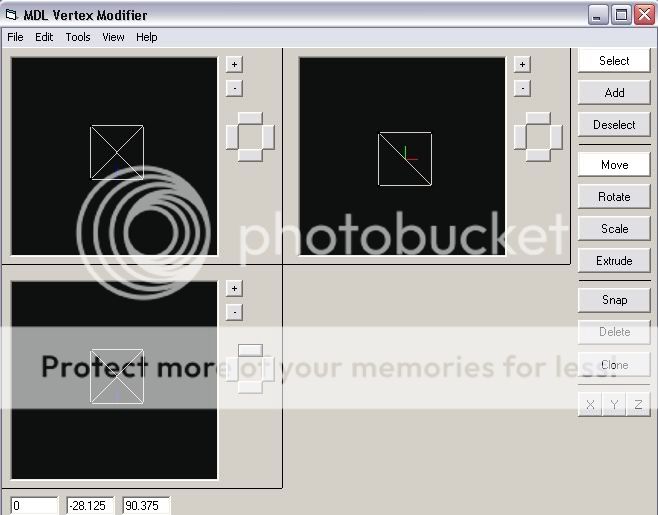
- Open up your Vertex Modifier
- You should see three blank "viewports"
- Go to "File" and select "Open". Find where you saved the Primitives.
- Open one of the primitives that you want to use. I will be using a cube to create a sword.
- Let us save the primitive. I named mine "Sword". Your screen should look a bit like this:
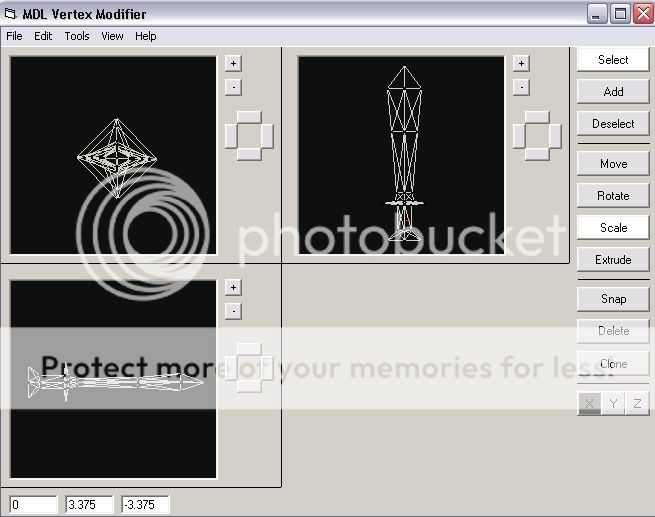
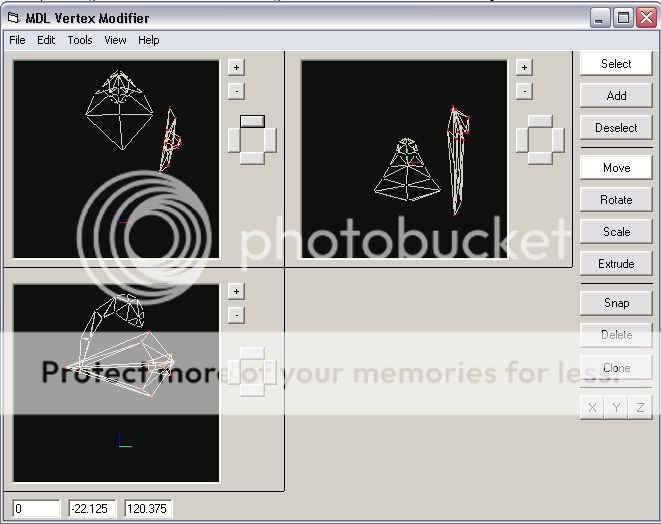
Transforming the Model:
- So the sword will be facing the right way when attached to a unit, the weapon should face upright in the top right viewport.
- The part of the weapon that will be in the unit's hand, should be right on the origin. (very middle)
- For my sword, I first used the rotate tool to make the sword turn about 45 degrees. So the sides will be sharp
- Then I used the scale tool and made my hilt (cube on the origin) long and skinny; press in X, Y, or Z to make it long, but not thick.
- Next, I used the extrude tool to make the hilt extend into the other parts of the sword.
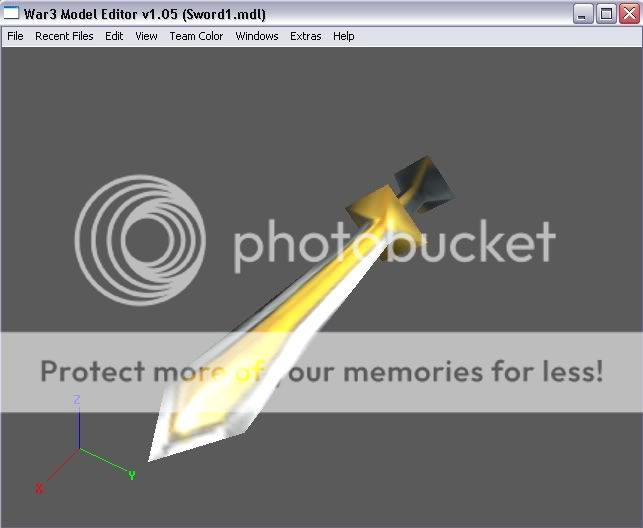
- That is how I used the tools, there is no need for me to explain how I got to the finished product. All you have to do is play around with the tools, and eventually you will have a weapon. This is what I ended up with:
Adding Texture to Your Weapon:
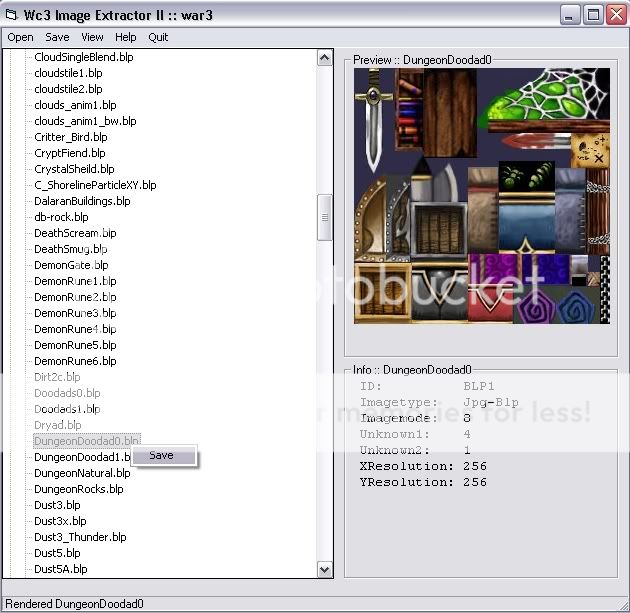
- Open up your War3 Image Extractor II
- We are going to use in-game textures, because, most people don't like to mess with out of game textures. So, find a texture that you want use for your new weapon model.
- I found the captain texture in the file: "Textures" and the picture name was: "DungeonDoodad0.blp". Remember where you found your texture! Write it down! Mine is "Texture\DungeonDoodad0.blp".
- Once you find a good texture, right click the file and save it. Save it somewhere you will remember. Here is a screenshot:
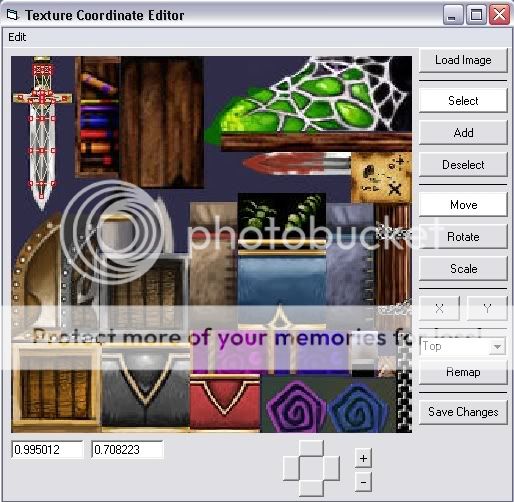
- Go back to Vertex Modifier and open the weapon you want to texture.
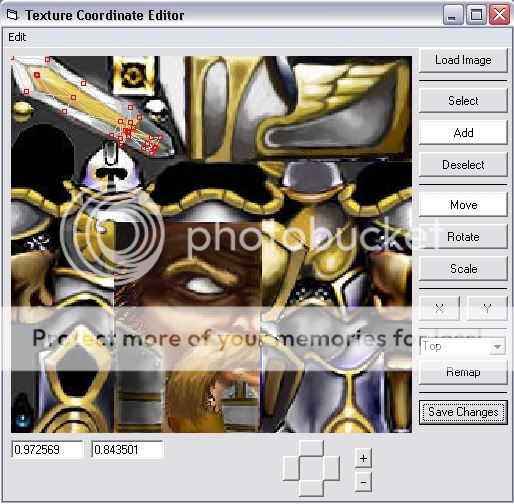
- First, go to "tools" and select "UV Mapping". Click "Load Image" and load the texture that you saved. Exit out of that window and select your entire weapon, so each vertex (point) is lighted.
- Go back into the UV mapping window. In the drop-down box, select how you want your model to face while texturing it. Then click "Remap".
- Edit the points so they suround what you want to be on the model. I ended up with this:
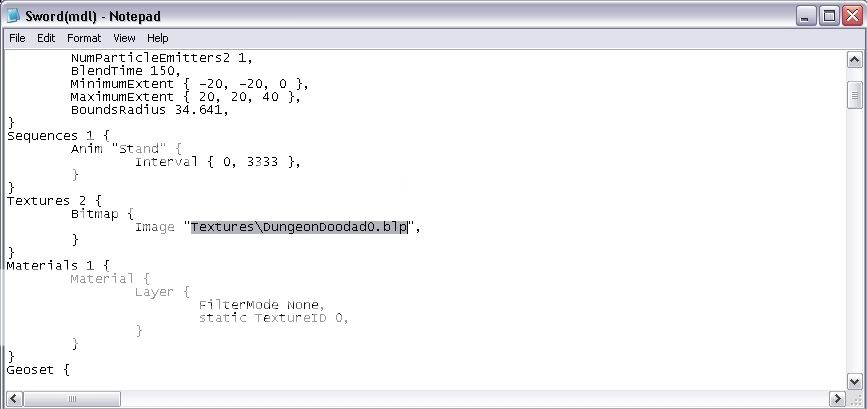
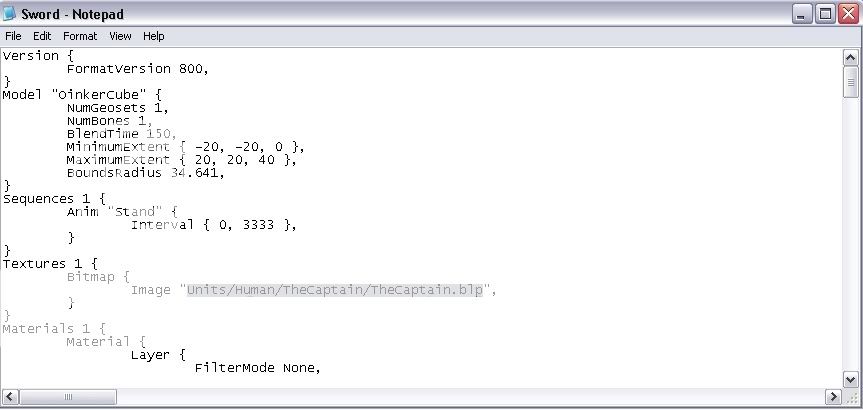
- Now, go to Notepad and open your model. You might have to change the type of files to "All Files".
- Go to textures and there should be a part that says "Image", and after that it says "Textures\white.blp". When typing in the file, use "\" not "/"!
- Change that to the name of the texture you used. Remember when I said to remember this, and to write it down? Here is what it looks like, the highlighted part is what you change.
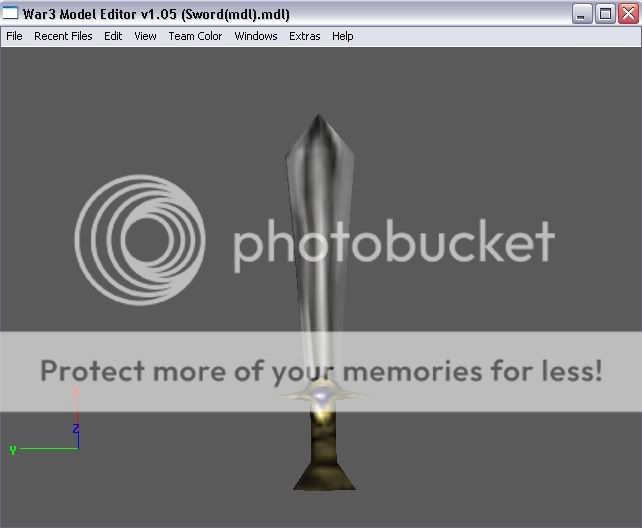
- Open War3 Model Editor and open your model. Now look at your beautiful weapon... ahh, so pretty. But, it can be even better!
!Note!: Before adding the particle emitters, you may want to test your weapon in the World Editor to make sure that it is "to scale". Make sure that it isn't too big or too small for the units.
If it is too big, or too small, all you have to do is use the scale tool in the Vertex Modifier. A sword from 70~90 units from the origin is all right.
Adding Particle Emitters:
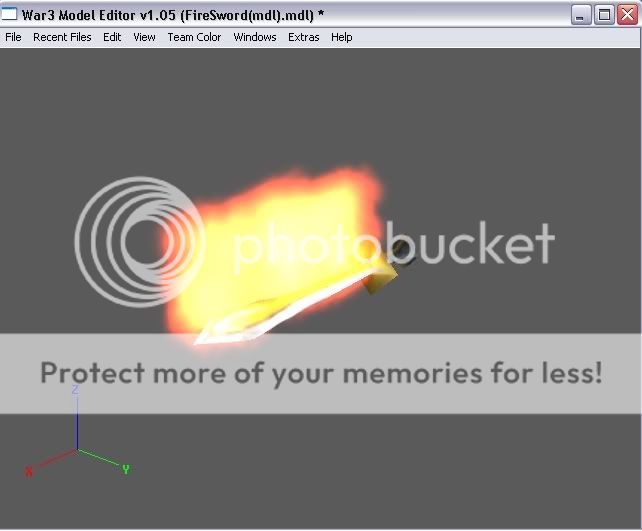
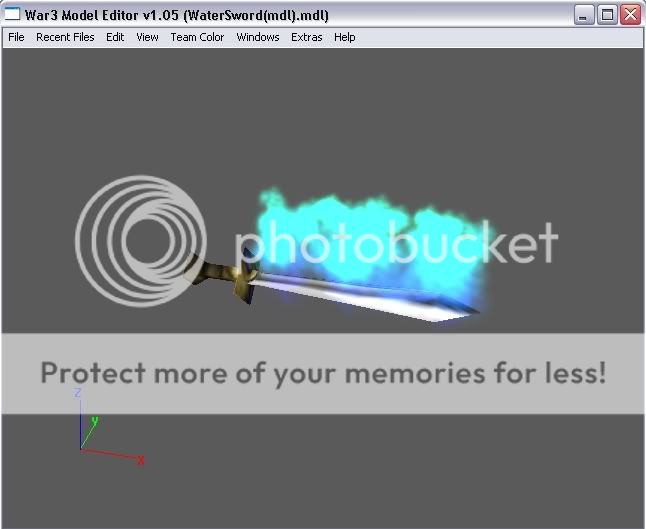
- Now that we have our weapon, let us make it into a fire sword, or maybe a water sword! Don't know what I mean? You'll soon find out.
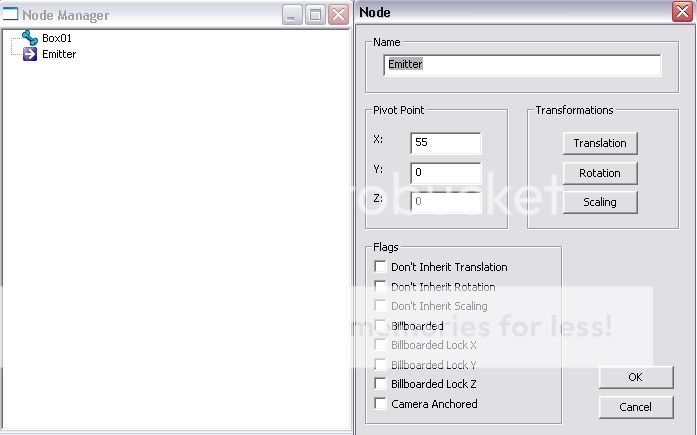
- I will be using 1 particle emitters. Go to "Windows" and select "Node Manager". You should see a blank screen with "Box01" at the top.
- Right-click anywhere in the screen, but not on the word object "Box01" and select "Create Particle Emitter 2" Remember to select the one that says "2"!
- Now, go back to the Vertex Modifier. Use your mouse to hover over the place you want your particle emitter, look at the bottom left part of the screen and write down the coordnates.
- Go back to War3 Model Editor, right-click one of the particle emitters and select "Edit Node" change the name if you want. (to organize)
- Change the "Pivot Points" to the coordinates you wrote down. Do this for This is what I have:
- Now that you have specified where you want your emitter, we are going to choose what our emitter looks like.
- Open up the "MPQ Browser" find a texture that you like. I would use SingleCloud.blp, because that is the most basic particle emitter that can work for pretty much everything. SingleCloud.blp is in the file "Textures".
- Right-click your texture and select "Use as Texture" You can use more that one texture.
- Exit out of the "MPQ Browser" and go back to the "Node Manager"
- Double-click your emitter. A screen like this should show up:
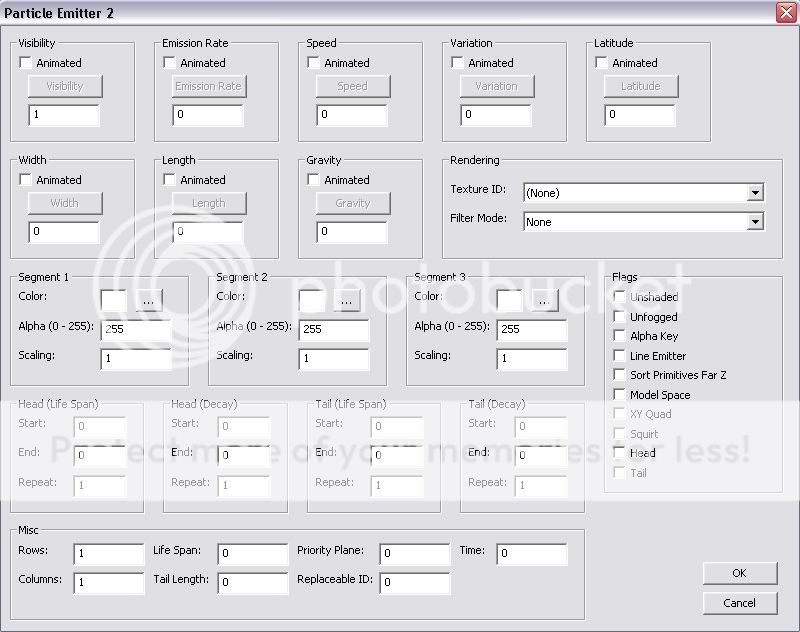
- This is what it all means:
- Visibility: 0 = Not Visible; 1-Infinity = Visible. Usually always set to 1. 2 does the same thing as 3, etc.
- Emission Rate: How many particles are released per second.
- Speed: How many units per second the particles move
- Variation: This varies the speed you have set. So if you set the speed to 30 and the variation to 20, each particle will travel at a speed between 10 and 50.
- Latitude: This one is really neat! The measurments for this variable is degrees. 0 means all particles will travel up. If set on 360 particles will start from the middle and travel out in any direction.
- Width: This is how long you want your particle emitter.
- Length: This is how thick you want your particle emitter.
Note: Magos mixed width and length. - Gravity: This is how much gravity will play a part in your emitter. Setting this to a positive number will make the particles go down, while a negative number will make it go up.
- Texture ID: This specifies the texture that is used as the particles.
- Filter Mode: This changes the art of the texture, as much as I could figure out. This is almost always set to "Additive".
- Segment 1: This is not seen. Unless "Time" is set to a different variable.
- Segment 2: This is seen first (or second). This color mixes with segment 1 (If time is set correctly)
- Segment 3: This is seen last, this color mixes with segment 2.
- Alpha (0 - 255): This is how much of this emitter is visible. 0 = Invisible while 255 = completely visible.
- Scale: This is the size of the particle.
- Head (Life Span): This is how long you can see the head part of the particle.
- Head (Decay): This is when the particle begins to fade (decay).
- Tail (Life Span): This sets how long the tail can be seen.
- Tail (Decay): This is the time when the particle begins to fade.
- Rows: This sets how many rows of particles are emitted. I do not recomend changing this. It will look boxy if you do.
- Columns: This sets how many columns of particles are emitted. I do not recomend changing this. It will look boxy if you do.
- Life Span: This is how long (in seconds) one particle takes to disappear.
- Tail Length: I did not notice any changes when editing this variable.
- Time: This is the amount of time each segment is to be seen. This allows segment one to be seen, if you set it to one.
- Flags:
- Unshaded: If checked, particles will not be affected by lighting.
- Unfogged: If checked, paticles will not be affected by fog.
- Alpha Key: I do not notice any changes. Do not check
- Line Emitter: Whether or not particles move in three directions, or two.
- Sort Primitives Far Z: Keeps particles in order from color to color. Keep this checked
- Model Space: Whether or not particles move with the emitter/model.
- XY Quad: This makes it so the emitter can only be seen from the top, in XY coordinates; not XYZ coordinates
- Squirt: Squirt: particles are created more rapidly, they Squirt out.
- Head: Head: Shows the head (The current part ) of the emmitter
- Tail: Shows the tail, AKA, the decay and such of the emitter. If you set time to a time longer than the head's lifespan, you could create some cool smoke effects. (As time effects the time it takes for the particle to go through it's entire color span)
If anyone could help me out with some of these, help is appreciated.
- Visibility: 0 = Not Visible; 1-Infinity = Visible. Usually always set to 1. 2 does the same thing as 3, etc.
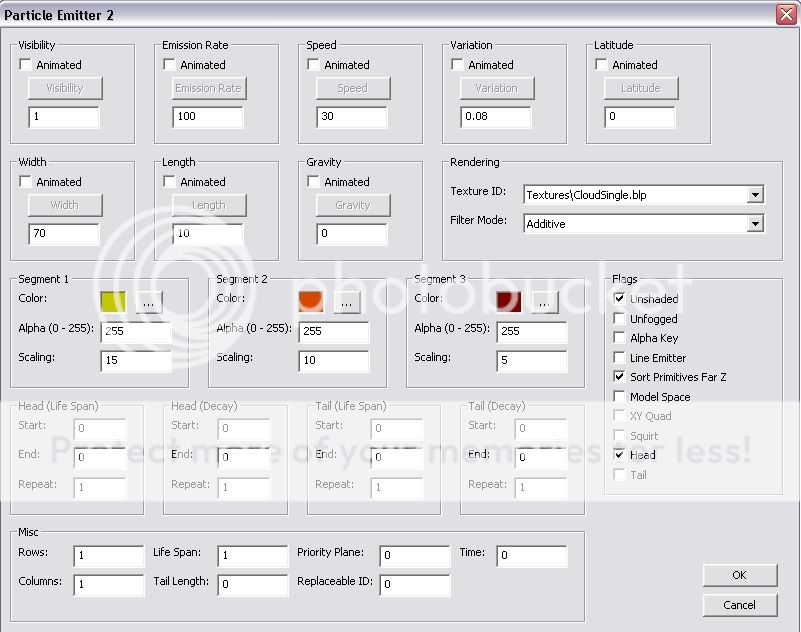
- There are a lot of sections to fill out, so I will show you the basic fire particle emitter settings:
- Set the Visibility to 1
- Set the Emission Rate to 100~200
- Set the Speed to 30~50
- Set the Variation to 0.02~0.10
- Set the Latitude to 0
- Set the Width to how thick you want it, mine is 80.
- Set the Length to how long you want it, mine is 10.
- Set the Gravity to 0
- Set the Texture to the texture you want to use, min is: Textures\CloudSingle.blp
- Set the Filter Mode to Additive
- Set the Segment 1 color to dark yellow
- Set the Segment 2 color to red
- Set the Segment 3 color to dark red
- Set all the Segment Alpha values to 255
- Set the Segment Scaling values to 5~30
- Set all the Start and End to 0
- Set the rest of the Repeat to 1
- Set the Rows to 1
- Set the Columns to 1
- Set the Life Span to 1
- Set the Tail Length to 1
- Set the Priority Plane to 0
- Set the Replaceable ID to 0
- Set the Time to 0
- Check Flags: Unshaded, Sort Primitives Far Z, and Head
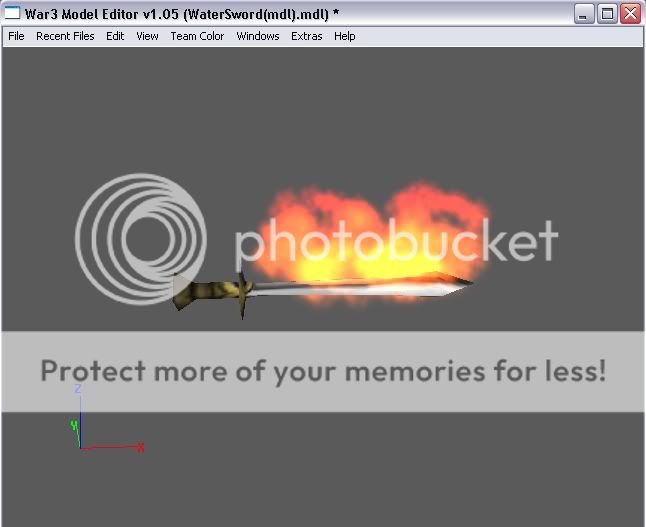
And this is what it looks like:
The possibilities are endless. Just change the texture and/or the particle emitter.
Here are some other screenshots:
Step 1:
Step 2:
Step 3:

Step 4:
Step 5:
Step 6:
Step 7:
An Ice sword.
Added June 22, 2008
Creating an Unequiped Model:
Here, I will teach you how to edit a model to look "unequiped" or weaponless by edinting the previously made Blizzard model. This unit will be holding our weapon. Awesome!
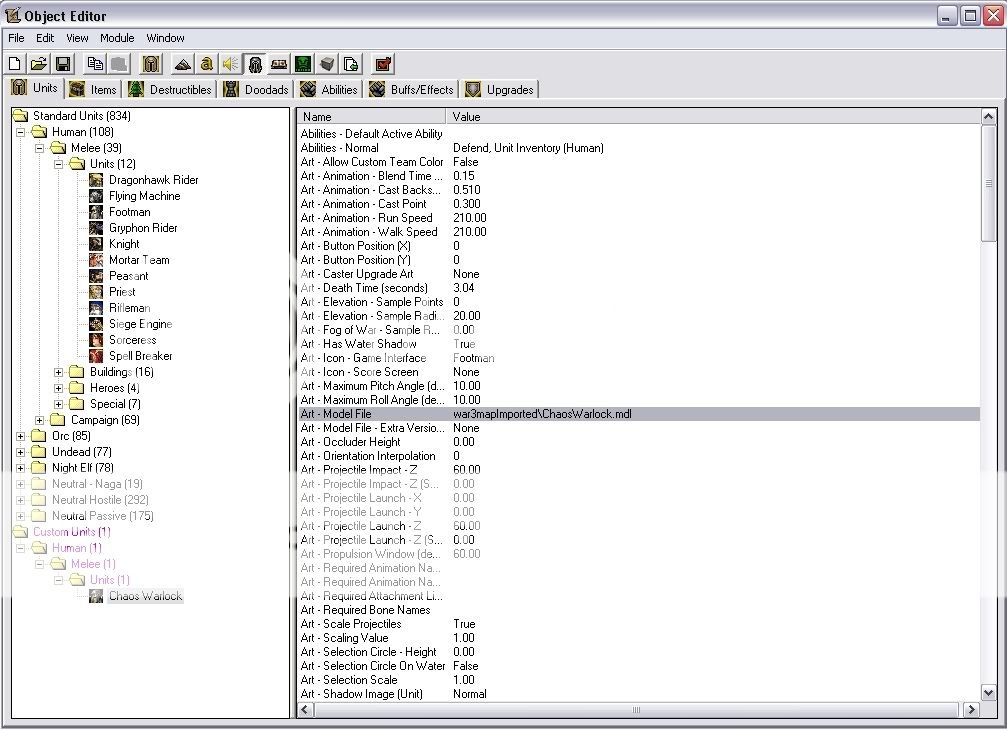
- Open Magos' War3 Model Editor and go to "Windows" and select "MPQ Browser"
- Go to "File" and select either "War3.mpq" or "War3x.mpq" The latter is the expansion models.
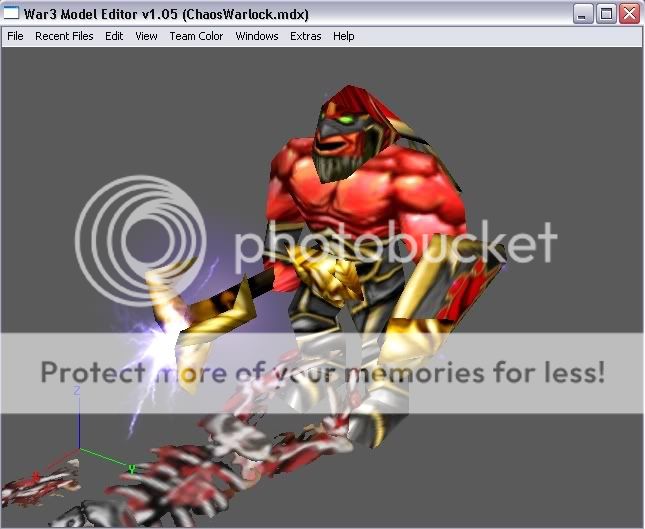
- Select the file "Units" and choose any model that is holding a weapon.
- I went to "War3.mpq" and choose "Units\Demons\ChaosWarlock\ChaosWarlock.mdx"
- Now, save your .mdx file as a .mdl.
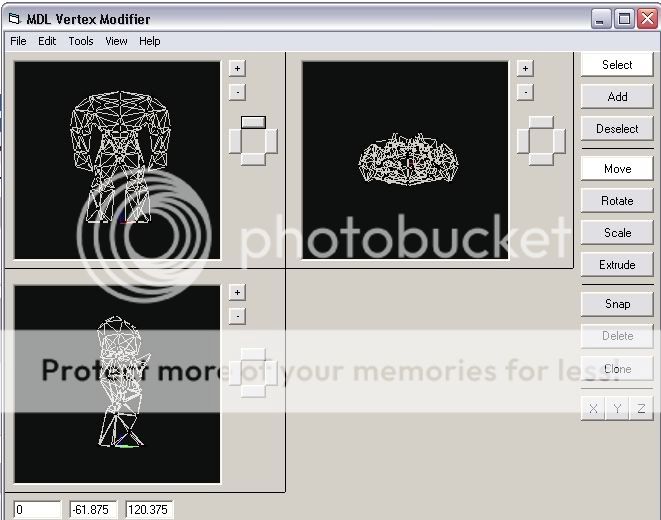
- Open your file in Vertex Modifier. It may ask you which geoset you want to open. Find the one with the weapons in it. For my model, the shield and staff thing are in two different geosets.
- Now, we will remove the mesh that makes the weapon. Select the vertexs that makes up the mesh of the weapon. Then press "Delete".
This geoset two, where the shield is:
This is what geoset one looks like, after I remove the staff:
- Save your model in the Vertex Modifier.
- Open your model in War3 Model Editor
Note: The portrait of your unit will be messed up, to fix this, go to the node manager and create a new camera view with your desired portrait view. - Save your model as .mdx file.
- Open your World Editor and go to the import manager.
- Select "Import File" and import your .mdx file.
- Save your World Editor and exit out.
- Reopen your World Editor and map and go to the Objects Manager.
- Select the Units tab and right-click in the left column and select create a new custom unit.
- Select your new unit and go to "Art - Model File" and double-click that part.
- Select your imported model in the "Import" drop menu.
- Right-click your unit in the left column and select "Select in tool Palette.
- Theres your new unit! Good job!
- Import both your unit(s) and weapon(s), save, exit, and reopen.
- Go to the Object Manager, and go to the "abilities" tab.
- Right-click the left column and select: "New Custom Ability..."
- Choose an item ability, such as: "Item Damage Bonus", "Item Armor Bonus", or "Item Stat Bonus". We use these abilities because they don't show a buff.
- With your new ability, remove any "bonuses" it has. Such as the "Item Stat Bonus Agility +1: go to Data - Agility Bonus, and remove that.
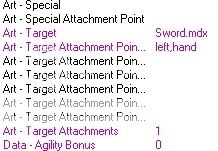
- Set "Art - Target" to the weapon you want to give the unit.
- Set "Art - Attachment Point 1" to:
- hand
- right
- left
- foot
- right
- left
- overhead
- head
- chest
- origin
- hand
- For my weapon, I will use "hand" "right". Two different sets of strings.
- Now, you can either make this ability an item ability or unit ability.
- Item: you can match a weapon attachment with an item. Whenever an item with this ability is picked up, the attachment will be shown.
- Unit: You can give or remove these attachments through triggers, or if you want to always have the unit to equip that weapon.
- Now, you can create an item with the object manager, and give the item the ability we just created. If you use an item ability, you will need to give the new unit an invetory.
Please post any mistakes or if you have any questions!
Below are two models that are shown in the tutorial.
Look forward to other tutorials by Fabioz!
[Tutorial] Voting with Dialog Boxes - GUI by Fabioz
This Tutorial can be found on thehelper.net, wc3campaigns.net, and thehiveworkshop.com.
Last edited:


 Or just tell me, or someone else a bit more about your problem.
 That makes people add